9 Tips You Need When Cooking With A Wooden Spoon

It's not uncommon to have some pretty serious preferences in the kitchen. Perhaps you already have a kitchen full of metal utensils, so you might be hesitant to switch over to something else. We can admit that metal utensils are super-easy to clean and maintain, and they do have a certain appeal, especially if you're just getting into cooking and don't want to spend more time than necessary looking after your stuff. They're fantastic for certain applications, like a perfectly springy and ultra-thin fish spatula. But let us just say this — wooden spoons are great and can be used for nearly everything you'd use metal implements for. They've also been around forever. Some of us have spoons that are so well-loved that we don't even remember which relative's kitchen they came from.
For those enthusiasts who have switched over with no regrets or have been wooden-spoon users for years, read on for a few tips that you might not be aware of. We'll even tell you how to look after the ones you already own so they last longer.
Use wooden spoons over metal spoons
If you need the best reasons for trying out wooden spoons (and spatulas, of course), we've got you covered. The four top reasons that we love our wooden wares are simple — their relatively poor heat retention, they inevitably scratch less than metal utensils, they won't change the taste of your food, and they are comfortable in your hand. Poor heat conductivity wouldn't be something you'd look for in most cookware, but it can be pretty important in something handheld. You want anything you're holding to stay cool when you're using it, unlike a metal utensil that will heat up quickly. Without realizing it, you might be reaching for something that's already hot. Wooden utensils might warm up a little when being used over really high heat, but you're not going to risk burning yourself by simply sautéing some onions.
Hardwood spoons are still soft enough that they won't inflict damage on your cookware, especially if you're going after some particularly savory, cooked-on food. Not only are you damaging your cookware, but you also risk the possibility of scraping tiny bits of your cookware into your food. And unlike some metals, wood won't react to acidic foods, creating an unmistakable metallic taste in your tomato soup. And finally, a well-worn and well-cared-for wooden implement just fits your hand in a way that cold metal never could.
Hardwood is best for wooden cooking utensils
While quite a bit gentler than stainless steel and yet significantly sturdier than most softwoods, a well-made hardwood spoon will last for years while not damaging your cookware with scratches or dings. Bamboo has recently become a popular option for kitchenwares because of the quick regenerating qualities that make it an environmentally-worthy choice, as well as its modern good looks. Not only does bamboo make lovely cooking utensils, compostable options now exist to replace that environmental scourge, disposable plastic cutlery. Generally speaking, however, wooden spoons are more often made from fine-grained hardwoods such as walnut, olive, beech, and birch, (via Four Oaks Crafts). Finer-grained hardwood will also help to keep the piece from absorbing all that nasty stuff you don't want in your cooking utensils — odors, stains, and bacteria.
Wooden spoons, or even spatulas, are a terrific place to start when you're outfitting your first kitchen (or when it comes time to upgrade your current one) as long as you pay attention when you're shopping. And, as we've said before, the absolute best type of wood for cooking utensils is a spectacular hardwood that best suits your needs, which means buying spoons that are durable, long-lasting, comfortable to use, and still look fantastic. Some companies now make hardwood spoons from offcuts and scrap wood, making these utensils even more sustainable than spoons cut from a fresh piece of wood.
Sanitize your wooden spoons with soap and water
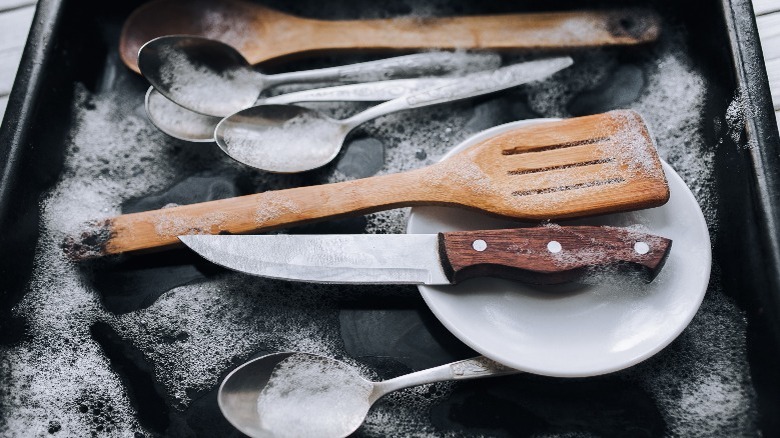
One of the reasons that people started using stainless steel utensils in place of wooden ones was because of the fear of germs. But, fear not — wood is easy to clean and impervious to absorbing or breeding bacteria. Finer-grained woods don't absorb much liquid, so you don't need to worry as much about your utensils becoming water-logged germ factories. In fact, bacteria don't grow well on wooden surfaces and they will very likely die much faster than you would expect.
So what's the best way to get your wooden utensils as clean as possible without ruining them at the same time? If we've learned anything from COVID-19 protocols, soap and water are truly the best way to go for most things. Forget about all the fancy stuff, a little hot water and mild dish soap is the best way to sanitize them. Don't let them soak too long, you're just looking to get them nicely clean without water-logging them. It might be tempting to let everything luxuriate in a sink full of hot sudsy water, but it's not a good idea for your wooden utensils.
Dry them properly to make them last longer
And now it's time to dry those spoons. How hard can that be? One of the biggest reasons you should never put wooden utensils in the dishwasher is the combination of too much hot water, harsh detergent, and time. Dishwashers can get incredibly hot (much too hot for your needs here) and the soap used for hand washing is quite a bit more gentle. On top of all that, dishwasher cycles are far too long for what's needed, leading to the utensils absorbing water, harsh detergent, and drying out from the excessive heat used to evaporate moisture and avoid water spots.
Once you've given those utensils a quick swish and scrub with some gentle soap and water, drying is pretty straightforward. First, you'll need to stop laying wooden spoons flat when drying them. Instead, give them a quick wipe with a dry dish towel and then simply leave them to dry by standing them upright. Being upright means that there won't be a puddle of water lurking beneath the bowl of the spoon, leading to the wood expanding and eventually even cracking. Once a spoon cracks, unfortunately, it has to be discarded because it can no longer be safely used.
Season wooden spoons with oil before use
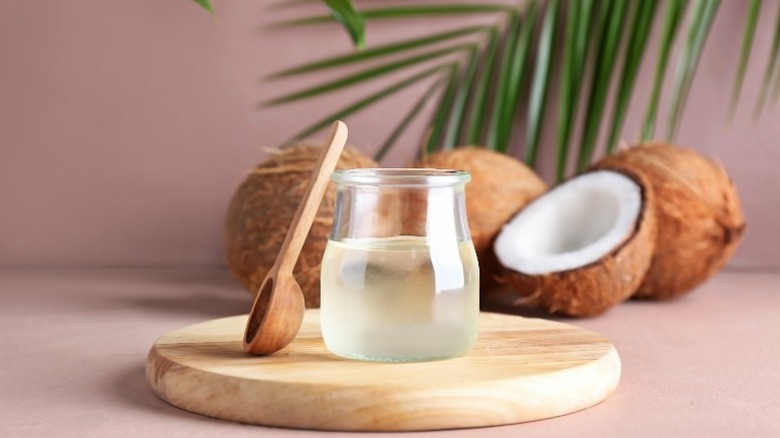
Like other kinds of cookware, wooden utensils tend to last far longer and work even better if you give them a little extra care. A bit of neutral-flavored oil and the occasional wipe-down throughout the life of the tool will go a long way to keeping them in terrific condition. Think of it as an easier version of the cast-iron seasoning that we were all throwing ourselves into a few years back. It's even easier than that. And like cast iron, a well-made and decently cared-for spoon can be used for years and even passed down to your cooking progeny.
There are many opinions out there about what oil to use to condition your spoons, from mineral to coconut to olive oil. If you're in possession of some gorgeous hand-me-downs, you might want to up the ante and mix up a batch of wooden spoon butter. But for those not truly sold on the idea of spending loads of time on it, then a quick swipe with an oil-covered cloth is still a good start. Use something with a high-heat tolerance that won't go rancid quickly — both very good reasons to use coconut or food-safe mineral oils.
Remove smells with baking soda
Wooden spoons don't absorb too much, but some foods, in particular, can make their way in there and add color or scent to your utensil. And while you can just continue to use it, sometimes you might want to clean your spoon extra well before using it again. No one wants to go from scooping up a delicious turmeric-laden homemade saag paneer to slathering whipped cream on waffles with anything even resembling cross-contamination of flavor, no matter how delicious that food was.
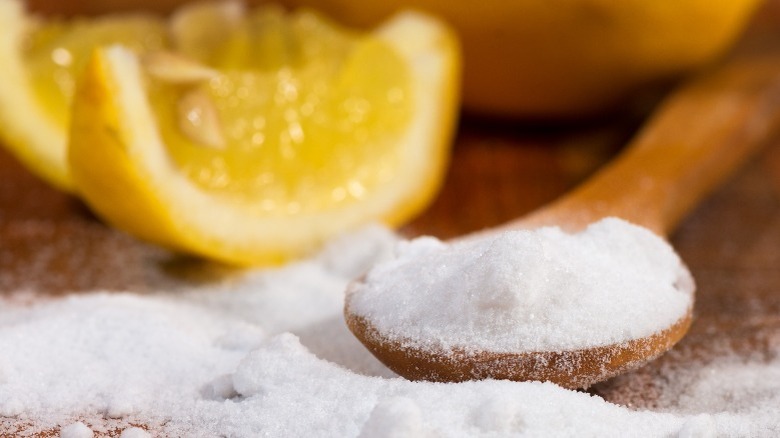
Fortunately, there is a pantry staple that can remove strong odors from wooden utensils, and we bet you've already got some on hand. A simple paste of baking soda and water is about all you will need to get that utensil back to a perfectly flavorless specimen. Our recipe is a simple one — a simple paste of 1 tablespoon of baking soda mixed with a teaspoon of water, massaged into your utensil of choice. Rinse in warm water and dry with a fresh towel. Prop it up to dry and you should be good to start stirring with a little flavor transfer soon enough. Failing that, lemon juice is an acceptable alternative; just make sure to give them a quick swipe of oil afterward to counteract the drying of the lemon juice.
Use it to stop water from boiling over
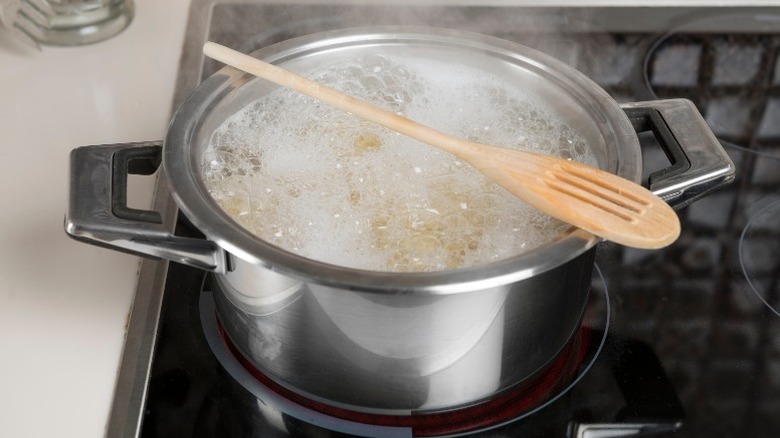
There's an old wives' tale that laying a wooden spoon over the top of your pasta pot will keep it from boiling over. Turns out, those ladies sometimes really did know what they were talking about. The act of simply laying a wooden spoon across your pasta pot will go pretty far in keeping your boiling water in check. For a large pot filled with the proper amount of water, that wooden spoon really does help to keep the burbling, foaming, carb-filled water from frothing all over your cooktop in a matter of seconds.
Get ready for some pretty simple, yet effective, science. The bubbles in unadulterated boiling water burst pretty easily as the water evaporates. Add a handful of pasta, however, and that water gets amped up with starch, giving the bubbles a bit more resistance. Laying a wooden spoon across the top of your pot helps to burst them before they boil up and over the edge because of both the physical obstruction and the coolness (remember, wood is a poor conductor of heat) of the utensil. And don't just take our word for it: Chef Geoffrey Zakarian also says that the boiling water spoon trick actually works. Keep in mind that this trick will only work for so long; a waterlogged and warm wooden spoon isn't going to do much, but how long are you planning to boil that pasta for, anyway?
Don't use a wooden spoon for whipping or folding
Wooden spoons really are a terrific addition to your kitchen essentials. They scrape up fond beautifully without damaging your precious cookware. Hardwood's inability to conduct heat very well also prevents it from becoming super-hot, so that your risk of burning yourself is minimized, making them terrifically comfortable (and safer) to use. The barely fluctuating temperature of a sturdy spoon also makes them great for using when cooking things that can suffer from a quick change in temperature, for example, anything with hot, melted sugar or chronically temperamental chocolate.
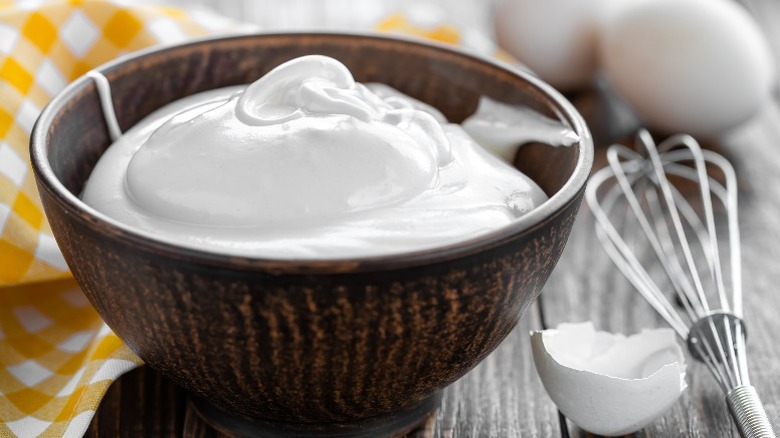
While we've made the case for using a wooden spoon as often as possible, there are a few instances when you might want to reach for something else. There's definitely something to be said for trying to keep kitchen clutter to a minimum, but you can't expect to use your one favorite spoon for everything. In some cases, you might want to use a metal spoon instead, so we earnestly hope that you've still held on to one or two of those. For folding in whipped cream beating air into egg whites, or anywhere a lighter hand is needed, a metal spoon is preferable because it will help to keep the lightness in your dish. A wooden spoon just doesn't have the delicacy needed to maintain all that air you've worked so hard to get into your ingredient.
Use a wooden spoon to deseed a pomegranate
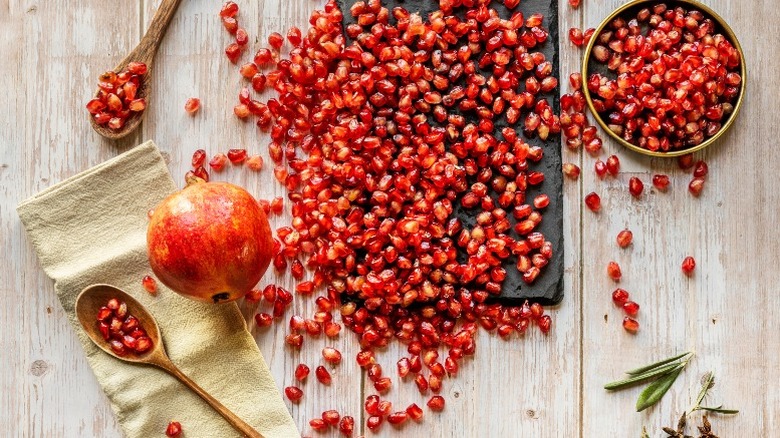
We've got one last trick for making the most of your wooden spoons — they're a pretty terrific tool for persuading those tricky arils out of juicy pomegranates, with no scraping required. We know that we'd eat loads more pomegranates if they were just a little easier to tackle. One common method includes submerging the fruit underwater and cracking it open, which is easy enough but uses more dishes, utensils, and water than necessary. Another option is to simply slice it open and start picking the bits out, but that can be messy and time-consuming, especially when you realize how easily the juice will stain everything it touches.
So what's a struggling pomegranate lover to do? Slice it open and give it a few whacks with your now-trusty wooden spoon. It takes less than 10 seconds to easily empty out a fresh, ripe beauty with just a few well-placed taps. We suspect that your first go at it might take up to a minute of tapping and whacking but, like everything else, you'll get better at it the more you do it. Keep in mind that this method will be a little messy — some of those plump arils will inevitably burst with the force of your spooning — but it'll definitely get the job done quickly and easily.