Essential Tips For The Novice Homebrewer
We may receive a commission on purchases made from links.
Homebrewing can be a rewarding hobby. Brewers develop a new set of skills, have the ability to experiment and customize their creations, and are left with large quantities of cheap, high-quality alcoholic beverages. But it can also appear complex and intimidating. While you can go very scientific with your brews — right down to having your tapwater's mineral composition analyzed in a lab and sweating about pH levels — you don't need to.
Brewing is actually a very easy hobby to get into. You can get started with some very limited equipment, coupled with some basic knowledge of how the process works. Like many hobbies, there's a chance you'll get hooked and soon be looking into the more scientific, complex parts of the craft. At the very least, you'll have some cheap drinks to share with your friends.
The more complex aspects aren't difficult to learn, either. There are many websites and YouTube channels dedicated to homebrewing — along with a number of thriving internet communities. As for the absolute basics, we have you covered here. So read on and see how easy it can be to make your own booze at home.
Essential equipment
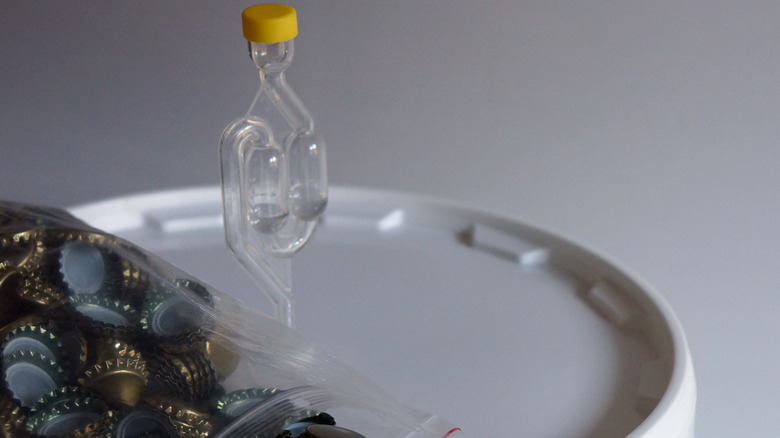
At a minimum, you simply need a vessel to ferment your brew in. This can be something as basic as a food-safe plastic bucket, with a hole drilled in its lid for the airlock (via BBC). A basic airlock can be made by running a tube from the bucket into a second bucket that has been filled with water. Add a fermentable liquid to this vessel with yeast, and in a few weeks, you should have an alcoholic drink.
However, there are a few more basic items that can really enhance your brewing experience. Knowing how strong your brew is can be helpful, and you can work it out with a cheap piece of equipment called a hydrometer and some math. A siphon is also very helpful when transferring your brew between vessels. Bottling wands make transferring your brew to smaller vessels a lot easier. Smaller airlocks are also a touch more practical than a large bucket of water.
Certain insects love the smell of fermenting beverages and may appear floating in your airlock (via Reddit). So it is advisable to fill an airlock with something that will kill them if they attempt to break into your batch and sterilize their bodies. A small amount of the Star San you used to sterilize your equipment works for this purpose, as does cheap vodka. You can also use distilled or spring water, provided the airlock is also sealed by some kind of bug-resistant mesh-like cheesecloth (via Beer Creation).
You can go hi-tech
At the other end of the spectrum, there is a lot of expensive equipment that will make brewing very easy and yield better results. But if you go this route, you could end up spending thousands of dollars.
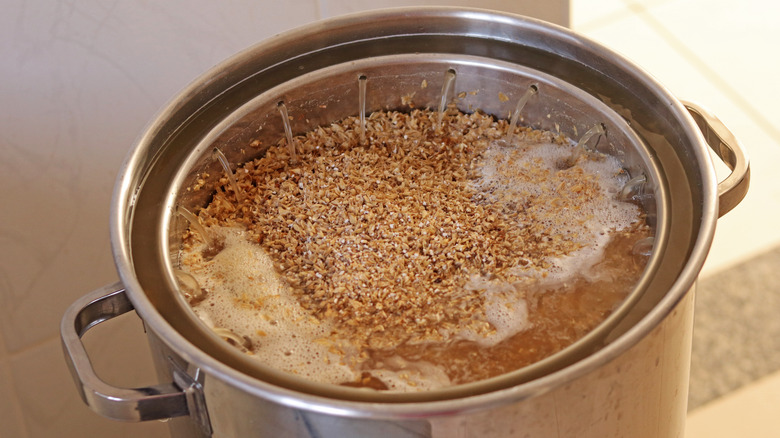
If you primarily make beer and want to splash some cash, an all-in-one brewer is probably the best investment you can make. Although the systems aren't technically "all-in-one" (though true all-in-one systems do exist), you still need a separate pot to heat sparge water and a fermentation vessel. They highly automate the initial stages of the beer brewing process, and make all-grain brewing accessible to everyone. Just dial your settings in, and the all-in-one will control temperatures and alert you at various stages of the mashing and sparging process. All-grain brewing is essentially making beer from scratch. It involves more work, but it allows for heavy customization and better results.
Other pricey but useful toys are refractometers to measure alcohol content, Bluetooth or Wi-Fi thermometers, and hydrometers. You can also make a fermentation fridge that keeps your brew at an optimal temperature. To do this, buy a reasonably sized fridge, hook it up to the cold size of a brewing thermostat, and hook a heating pad up to the hot side. Fermentation vessels also have a wide array of pricing. At the bottom end are the cheap plastic buckets, and at the top are pricey, temperature-controlled, stainless steel vessels (like the ones from SS Brewtech).
A hydrometer will tell you how strong your brew is
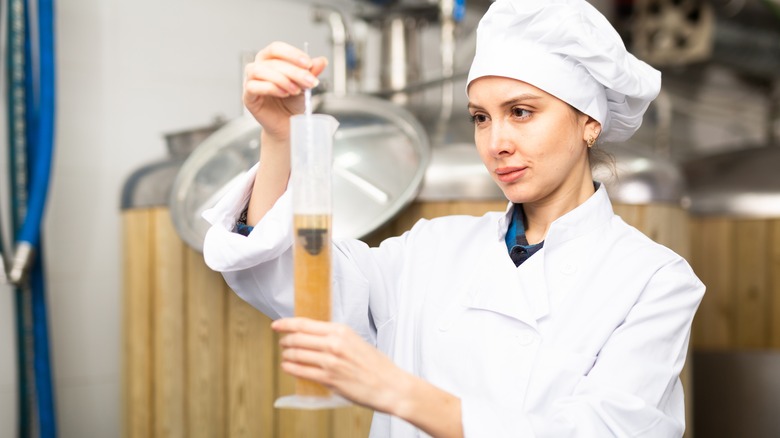
Knowing how strong your batch is can also be helpful. The usual way to measure a brew's strength involves taking multiple gravity readings with a hydrometer. A hydrometer is a glass tube that floats at different levels in different liquids (via CraftBeer.com). It is first dropped into a sample of the brew before the yeast is pitched, and a reading is taken. This is referred to as the "original gravity." The higher the original gravity, the more sugar is in the liquid. More sugar means the yeast has more food it can convert to alcohol.
Measurements are then taken throughout fermentation; these readings track the drink's "specific gravity." This will let the brewer know if the fermentation has stalled or finished. If two readings measure the same a few days to a week apart from each other, you know your brew has stopped fermenting. If the reading is close to your intended "final gravity," then the fermentation process is likely finished. If it isn't, then you have a stuck fermentation. When this happens, you may want to move the fermentation vessel somewhere warmer, add water, or maybe even pitch in some more yeast to get it going again. Online calculators can help with the math you need to work out your alcohol content. If you can splash the cash, a refractometer is another way to measure your beer's gravity, and only requires a few drops (via Brew Your Own).
Brewing software is a great investment

Although brewing can seem complex, you aren't on your own. Several brewing software programs are available, all of which take some of the guesswork out of brewing experimentation. Beer Smith, Beer Tools, Pro Mash, and Brewfather are just four of the many programs available, and they can all help you through a brew day.
Most brewing software comes with a database of tried and tested recipes. These are always a good starting point. From here, you can just tweak ingredients, measurements, timings, and temperatures in the recipe, and the software will calculate the effect that has on the final brew. This could include taking steps to make a beer sweeter, darker, stronger, or fuller bodied. The software tends to be very accurate, and will save you tons of time and effort when compared to guesswork and test batches. Some of the software can even link up with fancy tools like digital hydrometers and temperature control systems. Information like the beer's target starting and final gravities is also provided, though if your own brew varies, you can change the figures to estimate the difference in alcohol content. Although it is most useful for beers, you can also get recipes for, and help with, other drinks. This includes meads, wines, and ciders.
Sanitization is key
This is something that needs to be learned early and never forgotten: The one easy mistake that is impossible to recover from is spoilage due to poor sanitation. Everything involved in the brewing process should really be pasteurized or sanitized.
For liquids, boiling tends to be the go-to method. For example, if you're adding priming sugar (additional sugar added during the bottling process, which ferments and carbonates the beer), a solution of sugar and water can be made, boiled, and left to cool to ensure no contaminants make it into your beverage. There are also products like Campden tablets, which can kill off bacteria and unwanted wild yeasts present in your fermentable liquid (via Midwest Supplies). These sulfite-based products are usually added 24 hours before a brew to ensure that the unwanted bacteria and yeasts are killed off, but the yeast the brewer wants to add is not harmed. The tablets can also be used later in the brewing process to kill off yeast and ensure your brew doesn't continue to ferment in the bottle.
Equipment should be thoroughly cleaned to ensure there aren't any clumps of organic waste, dirt, or oils from the factory present. A food-safe no-rinse sanitizer should then be used to kill off as many surface germs as possible. Five Star's Star San is one of the most popular sanitizers used for this purpose, as it also creates a germ-resistant coating on the surfaces it has cleaned. That said, other cleaners are available.
There are many ways to clear a brew
Depending on what you're brewing, the final results could look a bit cloudy. This is usually because yeast, hops residue, and other compounds are still suspended in the liquid. There is also a phenomenon known as "chill haze" which leads to beers looking cloudy at colder temperatures. Although a cloudy drink won't usually affect the flavor and some beers are deliberately cloudy (looking at you, wheat beer), a lot of brewers want to clarify their creation. After all, a clear drink tends to look better and more appetizing.
You may just get lucky, though. Yeast has a habit of cleaning up after itself, and given enough time in secondary fermentation, a lot of brews will simply clear on their own. There is also a process known as "cold shock," where a drink is placed in an environment close to its freezing point and left there for at least 24 hours. This can cause yeast and other elements to fall out of suspension.
Finings are popular ways to clear a beer (via AWRI). They work by clumping unwanted particles together and dragging them to the bottom of the vessel. "Irish Moss" tends to be used before the fermentation phase, while gelatin and isinglass are used after fermentation is complete. Wines and ciders can also be cleared effectively with bentonite. As for chill haze, simply condition your brew in a fridge for a few weeks, and it should clear up (via Bertus Brewery).
Fermentation can stall and start when you don't want it to
Fermentation is the most important part of the brewing process. It's the phase during which the alcohol is actually produced. If you get the overall conditions correctly, most fermentations take place without issue.
However, the process can also prove a bit troublesome from time to time. If you've noticed the specific gravity of your brew isn't changing but you're nowhere near the target final gravity, you probably have a stalled fermentation (via Beer and Brewing). Fortunately, there's plenty you can do to get it going again. You may need to move the fermentation vessel somewhere warmer for a few days, shake up your carboy, or simply throw in more yeast.
It's also possible for a fermentation to start again when you don't want it to. This can be a major issue, as a wine you intended to be still could end up slightly fizzy and coating the inside of your cupboard. Some yeast remains in the brew, which is why it's possible to naturally carbonate some beverages by adding more sugar and then sealing the container they are in. However, the yeast may also become active again in still drinks if it isn't dealt with. The solution is easy: you can simply kill off the yeast with a couple of campden tablets. Pop the crushed tablets in your fermentation vessel the day before bottling, and your drink should be sterile by the time you transfer it (via Homebrewing.org).
Kegging: the pros and cons
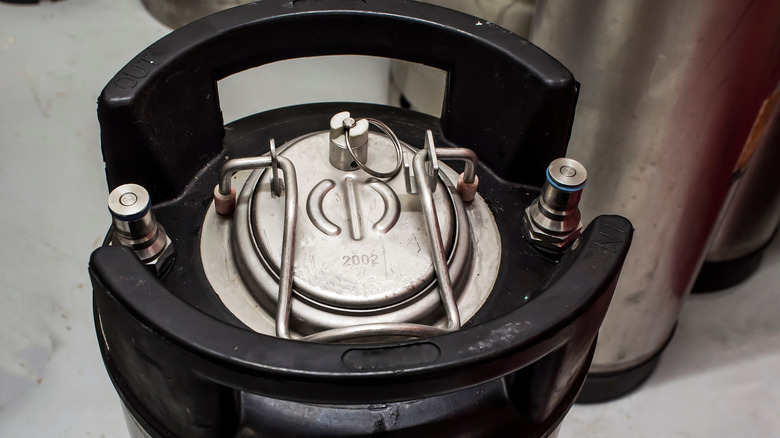
Kegging is slightly more complex than bottling, with higher setup costs. You'll need a keg (5-gallon soda kegs are popular amongst homebrewers), a C02 system, and a bottle of gas. Then, you'll need a way to dispense your beer from the keg. You can use a kegerator to produce high-quality draft, or just a cheap dispensing kit to fill glasses on the go. So why keg? Although the kegs can be a pain to clean, it is arguably less tedious than bottles. You can use your keg to bulk condition and pressure ferment your brews. Then, there's the option of filling the keg with CO2 before transferring your beer into it, minimizing the chance of any oxidation. When kegging, it also feels like you're taking your brewing experience to the next level and producing something of a professional standard.
Kegs are also almost infinitely reusable, aside from a few parts like O-rings that need to be routinely replaced. Force-carbing is another handy method keg users can take advantage of (via Midwest Supplies). Simply leave your keg under pressure for a few weeks and it'll get fizzy.
Despite the high initial costs, you'll probably save money over bottles in the long run. Another downside is the lack of versatility. When it's in a keg, you're probably going to be dispensing it from a kegerator. While you can still fill a growler for your friends, it is less convenient than just handing out a few bottles.
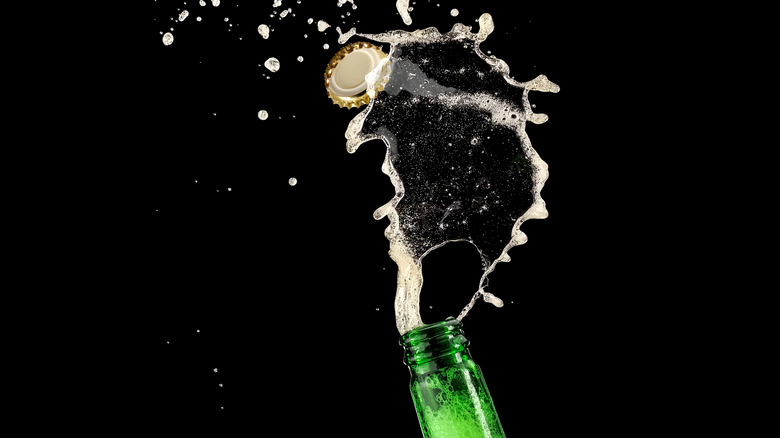
Bottling has its dangers
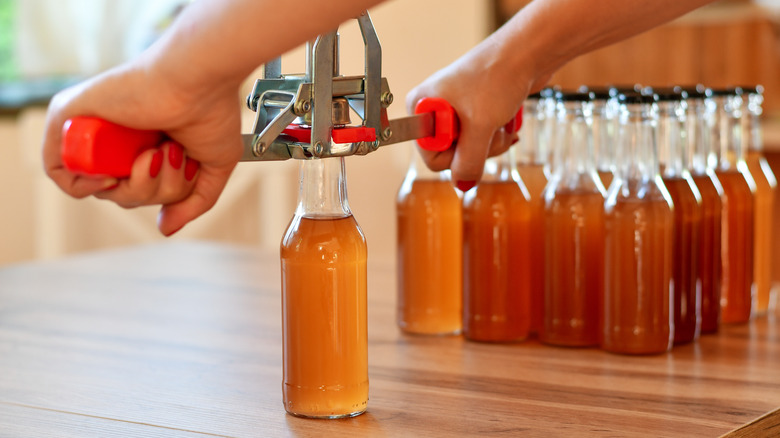
Bottling is one of the more common storage methods homebrewers use. On the face of it, you simply transfer your finished brew to sanitized bottles, add some priming sugar if you want some fizz, then seal the bottle in some way.
Unfortunately, things are slightly riskier than that. Although sanitization is still vital, the biggest bottling danger comes in the form of priming sugar. Use too little, and your beverage will be under-carbonated. Too much, and the pressure created will blast the cap off your bottle and leave your house covered in the sticky remains of your over-fizzed brew. For sparkling wine, you'll also need a champagne-style bottle, as wine bottles and the straight corks they use aren't designed to handle pressure (via Homebrew Advice).
Bottles can be expensive if bought new, so bottling may not be as cheap as it first seems. You can reuse regular beer bottles, but even that isn't simply a case of washing one out and filling it up again. The correct type of beer bottle has to be used, and there are several different styles. Screw caps should be avoided, as the glass around the lip tends to be too thin to cap safely. European and American beers have different bottle styles. American-style bottles have thicker rims and tend to cap better. The best thing you can do is get a Grolsch bottle with a swing top, as these are easy to seal and can handle more pressure.
There is a time and a place for oxygen
Oxygen is an essential element for many forms of life, and yeast is no exception. It is also vital to the brewing process, though there are times you should include as much as possible, and times you should avoid it.
The fermentable liquid should ideally be oxygenated before the yeast is pitched, as this gives the microorganisms doing the work some help getting started (via Beersmith). Oxygenation can be as simple as shaking a carboy full of the fermentable for a few minutes. There are also specialist tools which, when combined with a small O2 tank, can oxygenate an entire batch of pre-booze in just a few minutes. Oxygenation is a particularly important step with beers, as boiling tends to be involved and this reduces the liquid's oxygen levels dramatically.
Once your yeast is pitched, oxygen is no longer your beer's friend. It can dramatically change the drink's flavor — so unless you're making sherry, you should avoid letting your brew make contact with the air. In an airlocked fermenter, everything should be fine. The times where you need to be on guard are when transferring your beverage to a secondary fermentation vessel, keg, or bottles.
There are many kinds of yeast available
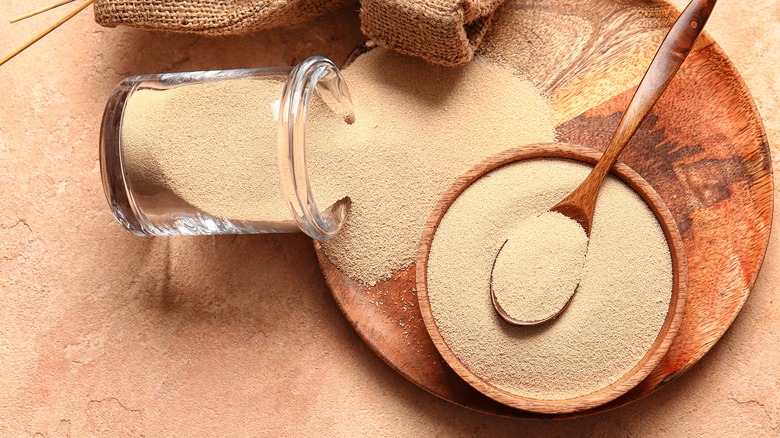
Yeast is central to fermentation. The wonderful little microbe will seek out sugars in your mash, wort, or must and transform it into alcohol. However, yeast is a broad group of organisms, even in the world of brewing. There are more strains of beer yeast alone than we can even list, and some breweries have had their own strain proliferating for hundreds of years. If you're stuck, you can even use baker's yeast to ferment your beverages. That's right, the stuff they use to make bread will also make booze. While it may work just fine for small beers and mild ciders, you may want to look at what you can achieve with the specialist stuff. When choosing a yeast strain, you want to think about what you're trying to create and the conditions you are brewing in. If you want something strong, some champagne yeasts can function in beverages with up to 18% alcohol content.
If you're struggling with temperature control, English ale yeasts can operate at warmer temperatures. If you're set on making a lager, you will almost definitely need a lager yeast because of the conditions involved. Do your research, experiment, and see what works for you and your brew. You can even separate healthy yeast from the yeast cake after fermentation is done and reuse it (via Vine Pair).
Temperature control is a major factor
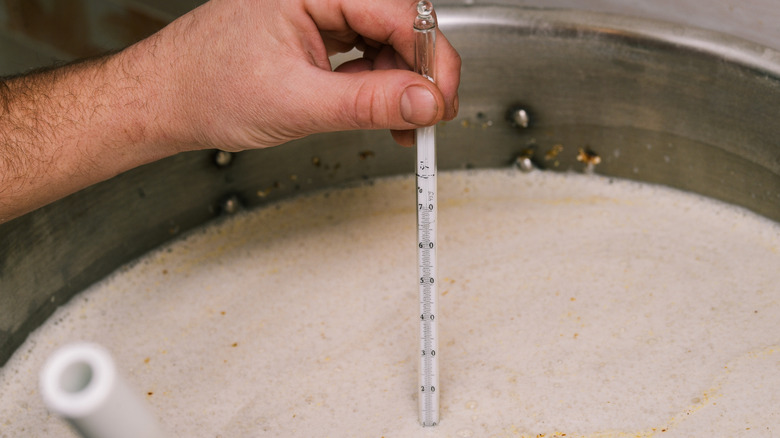
No matter what you find yourself brewing, yeast will be doing all of the actual work. Yeasts are living organisms, and there's an incredibly diverse range of yeasts used in brewing. Each yeast has its own preferences when it comes to alcohol tolerance, temperature, and fermentability. However, the best temperature for your yeast may not be the best temperature for your brew. Most yeasts like to be quite warm; this allows them to eat, grow, and multiply at an increased rate (via Science Brewer). But you want your yeast focused on producing high-quality alcohol, not proliferating.
Most ideal brewing temperatures are a bit lower than the yeast would prefer. This lower temperature slows down the process but reduces the chances of your yeast producing less desirable compounds like fusel alcohols. The actual temperature range you want to keep your fermenter at depends on the yeast you are using and the style of beer or wine you're making — so do your research before setting a temperature. A temperature that's too low can stall a brew; too high can leave you with something harsh tasting, "chalky," or fruity. Temperature control should be considered when maturing your brews too, though the ideal range tends to shift after fermentation.
There are several ways to control temperatures
The most basic way to keep a fermenter's temperature down is to simply dump it in a tub of ice water. This is pretty high maintenance, as the ice will melt and does need swapping out regularly. If you want to take the ice bath to the next level, an old t-shirt or a similar piece of cloth wrapped around the fermenter and hanging into the water can create something colloquially known as a "swamp cooler" (via Homebrew Academy). Osmosis will drag the already cold water around the fermenter, and the energy lost as it evaporates can drop the temperature of a fermentation vessel by more than 10 degrees Fahrenheit.
Things can also get a little more high-tech. If you don't want to cool your fermentation down and actually need things a little warmer, a heating pad like the ones used for seed starting is a good choice. The pads can boost temperatures by as much as 30 degrees, are adjustable, and can be pretty cheap as far as brewing equipment goes. If you really want to go all out with the cooling, you can repurpose an old mini-fridge and create a dedicated fermentation temperature controller. Buy a thermostat, plug in the fridge and a heating pad, hook up a thermometer, then stop worrying about temperature until your beer or wine is ready to drink.
Aging is a worthwhile step
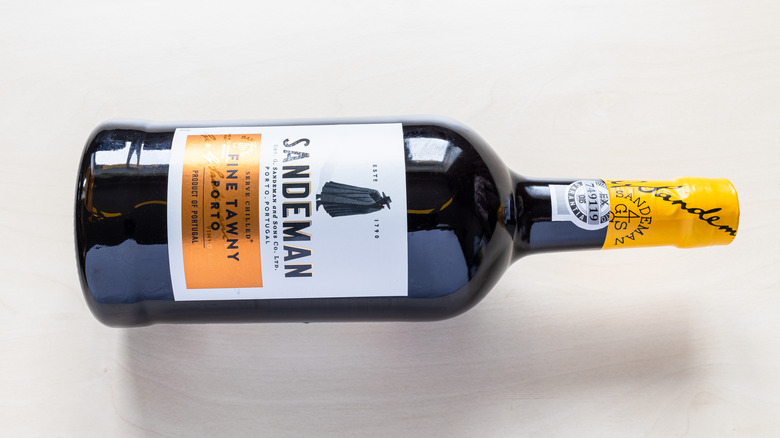
You may have heard the term "aged like a fine wine." This comes from the fact that alcoholic drinks sometimes taste a little better when given some time to mature. You're unlikely to be making any fine wines, though, so shelve the idea of keeping a bottle in the cellar for 50 years.
Most wines have an ideal aging window, and this can be between six months and a few years. Beers also benefit from a bit of maturation time; for English ales, a couple of weeks to a month of aging time is recommended to get the best out of your brew (via Beer and Brewing). Over-aging beer may be an issue too, as some of the compounds that give it its unique flavor and fresh taste will eventually begin to break down. You can also age beer in a barrel for several months, but this comes with its own risks. Barrel aging is how sours came about (via Vine Pair).
During the maturation process, some of the less desirable compounds the yeast has produced during fermentation break down, and the drink tends to mellow. The wine's color and body will change as time goes on, and other flavors can also develop during this time. Elevated levels of acidity and tannins also tend to be present in young wines, so sipping it straight from the fermenter is not recommended (via Jancis Robinson).
This is really hard to mess up
Nerves are pretty natural, even amongst experienced brewers. Nobody wants to see the money they've spent and the beer or wine they've toiled over literally go down the drain. But the good news is, it's really hard to mess up homebrewing. Although it can look highly scientific at times, maintaining proper sanitization and following the steps as closely as you can will usually yield a desirable result. The exception is when you're brewing something for a competition. The judging is pretty strict, so an off-note, incorrect amount of body or even a slight divergence in color can cost you dearly. But by the time you're ready to enter a competition, you won't need an article like this to walk you through the basics.
For the stuff you'll just be drinking on your own or with friends, the standards can be as lax as you want. As the official Kegerator website says: "Never dump a batch unless it has mold or you are positive that it is infected." If you mess up while bottling and oxidize your beer, it will probably just develop a fruity, sherry-like flavor. Similarly, brewing wine in the living room during a heatwave may lead to a harsh alcohol taste. Simply age the wine for a few months to a year, and those tastes should mellow. The bottom line is, unless it's obviously riddled with bacteria and potentially poisonous, never abandon a brew.