Ten Easy Drinks That Will Kickstart Your Homebrew Hobby
Homebrewing can be a rewarding hobby. Like anything you make yourself, you can be assured about the quality of ingredients and care that went into the product. A great variety of things are available to brew, and it can be simple to add your own unique twist to a recipe when you get the basics down. The only real limitation with homebrewing is your imagination. Plus, it can be very cheap. Instead of paying several dollars per pint, you can batch brew drinks that cost just a few cents a glass — if you don't add in the cost of your care and attention.
However, it may seem intimidating at first. With their stainless steel vats, measuring equipment, and careful temperature regulation, some breweries can look more like high-tech labs than places intoxicating beverages are made. It can be even more intimidating if you start to think how one little mistake can potentially spoil a batch and leave you tearfully tipping gallons of hard work right down the drain. Well, don't worry. You don't need high-end equipment; all you really need is a vessel as basic as a food-grade plastic bucket, something fermentable, and some yeast.
Here are a few recipes to get you started with your home brewing adventure. Nothing is complicated, and we aren't trying to win any awards — but if you master a few of these, you'll be ready to take on more complex brews or even create some drinks of your own.
A basic hard cider is a great starting point

Hard cider is as basic as things get. At its simplest level, you get drinks like a traditional scrumpy. Farmers have made this drink for centuries by crushing the juice from a batch of apples, putting it in a jug, and letting it ferment in a cupboard for a few weeks. Apple skins tend to be home to various natural yeasts, which end up in the apple juice when the fruit is pressed (via National Library of Medicine). However, the type of yeast used can affect the final product, as can other microorganisms present.
To avoid leaving things to chance, treat any apple juice you crush yourself with a Campden tablet and leave it for 24 hours before adding your yeast. You can also buy pasteurized, filtered apple juice from a store, pour it into your fermenter, and add the yeast straight in. Ciders come in various strengths, though apple juice alone fermented until dry usually lands somewhere in the 5% to 7% alcohol by volume (ABV) range or 10 to 14 proof. If you desire a higher alcohol content, then sugar can be added.
In terms of yeast: specific cider yeasts are available, though you may want to consider an alcohol-tolerant champagne yeast if you intend to make something stronger than 12% ABV. Bread yeast will also work, especially with basic ciders. Try to keep the fermentation vessel between 68 and 72 degrees F for the best results.
Mead is sweet and simple
Although mead might conjure up images of Vikings, people were getting inebriated on honey wine long before the men in horned hats arrived. An important thing to know about mead is that many people believe it to be the oldest alcoholic beverage on the planet, and it is also one of the simplest. Mead can be pretty strong, up to 20% ABV in some cases, and the main factor in determining the strength is how well the yeast you use tolerates alcohol. Champagne yeast is recommended if you want something that is 15% ABV or higher.
The exact flavor of the mead depends on the kind of honey used, with honey from a single reliable source producing the best results. Pasteurizing your honey is an important sanitization step. However, some brewers claim this can destroy the compounds responsible for some of the more subtle, flowery notes the beverage can have (via The Florida Times-Union).
You will need 2 to 3 pounds of honey per gallon of mead you intend to ferment. Mix the honey with water to create a must, and let it cool below 80 degrees F before pitching your champagne yeast in. Let it ferment in a glass carboy at a temperature of 70 to 75 degrees F for two weeks to a month. Fresh mead tends to have a "young wine" taste, so you should age your beverage for between six months and a year after bottling.
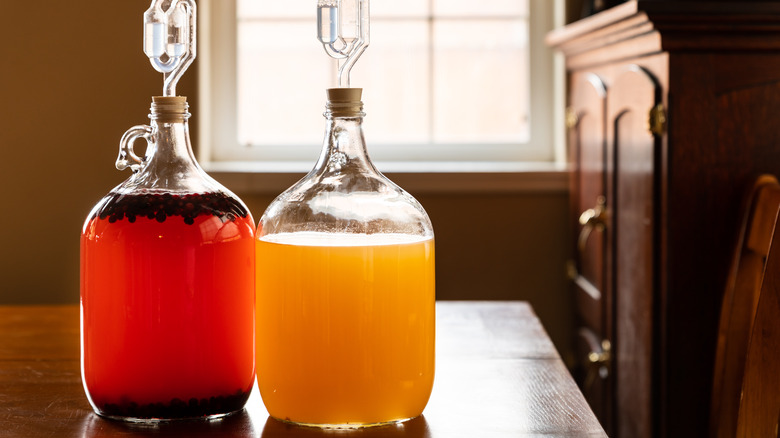
A fruit-infused mead isn't much harder
If plain mead sounds a bit boring, you can add some fruity flavors and create a beverage known as a melomel. Melomel begins the same way as a basic mead; two to three pounds of honey are mixed with water to create a must, which is then fermented for two weeks to a month. However, fruit can be added to the fermentation vessel, and this provides a few advantages. Firstly, the fruit will give the yeast nutrients and increase the chances of successful fermentation (via the Beer Judge Certification Program). Secondly, a single fruit or a blend of fruits can add a unique flavor to your drink.
Home brewers can also add fruit during secondary fermentation. Secondary fermentation is a step that isn't always necessary but can help create a clearer beverage by separating an alcoholic liquid from the yeast cake and putting it in a second vessel while more yeast drops out. When the mead is siphoned to secondary, chopped-up fruit can be added to the vessel being used. The fruit is left in the mead for around two weeks before the resulting melomel is racked into a large container to batch age or bottle.
Popular choices of fruit include strawberries, peaches, pears, and cherries. You can use a single fruit or a combination (via Winning Homebrew). It is one of the easier ways to experiment with homebrew and provides a chance for relative beginners to craft their own unique recipes.
Cyser: less common but still easy
If you're sitting on a large quantity of apple juice and honey, you have two choices. You can make individual batches of mead and hard cider — or you can combine the two and create a drink called cyser. 2 pounds of honey, a gallon of apple juice, and a wine yeast are all you need to make a good cider — though a yeast nutrient can also be added to improve fermentation. If a yeast nutrient is used, spread it throughout the fermentation instead of adding it all in at the start. A high gravity cyser can take a month or two to finish fermenting; take regular gravity readings after two to three weeks to help gauge its progress (via Home Cider Making).
Fermentation temperatures vary slightly, but colder temperatures like those between 50 and 60 degrees F may preserve more of the drink's apple character, per The Beverage People. If you want a sweet drink that is somewhere between 8% and 12% ABV, consider utilizing a cider or ale yeast. A wine or champagne yeast will push the ABV up towards, or even past, 15% and might result in a dry cyser. Like other wines, cyser may benefit from aging. Don't throw away your creation if the smell or flavor seems harsh immediately following fermentation. A few months to a year in a bottle may be all it needs to go from a rough drink to a delicious beverage.
An easy white wine recipe
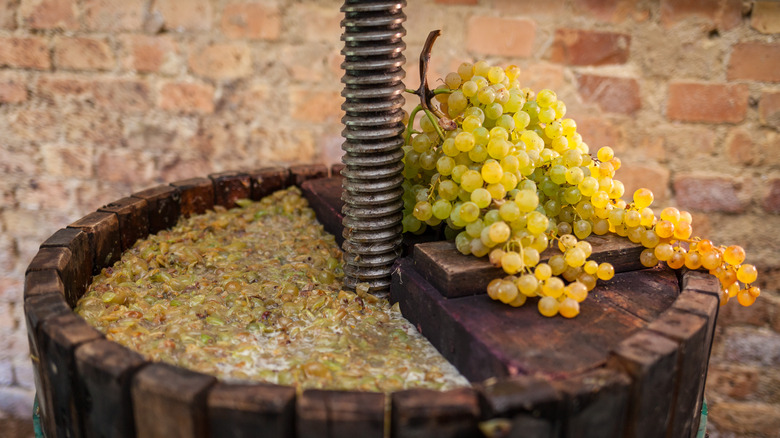
Wine is a drink that has been enjoyed for thousands of years, and it isn't difficult to make your own. Per Brewbitz, you'll need around 20 pounds of grapes to make a gallon of white wine. You can grow them yourself or buy them in bulk. Once you have your grapes, you'll need to press them to extract the juice. You don't have to do this with your feet; a wine press will do the job well. You can also get by with a large pot and a potato masher. If you're using seeded grapes, take care not to crush the pips. All of the pulp, seeds, and skins should be strained off to leave just the juice.
You'll want the juice to have a specific gravity of 1.090 for a 12% ABV white wine, so add sugar to the juice until your hydrometer reading hits that point. Add a crushed Campden tablet and leave the must for 24 hours to kill any unwanted microbes. Pitch in some wine yeast and ferment at a temperature of around 68 degrees F for one week. This temperature is variable, however, as Penn State University reports that a white wine fermentation under 59 degrees F will help preserve the compounds that contribute to flavor and aroma. Transfer your wine to a carboy or demijohn and give it a couple of weeks to allow the fermentation process to finish. Before bottling, you'll want to add a fermentation stopper to the wine to avoid it carbonating in the bottle. Campden tablets will work for this purpose. After bottling, age your wine for three months to a year.
A very simple red table wine
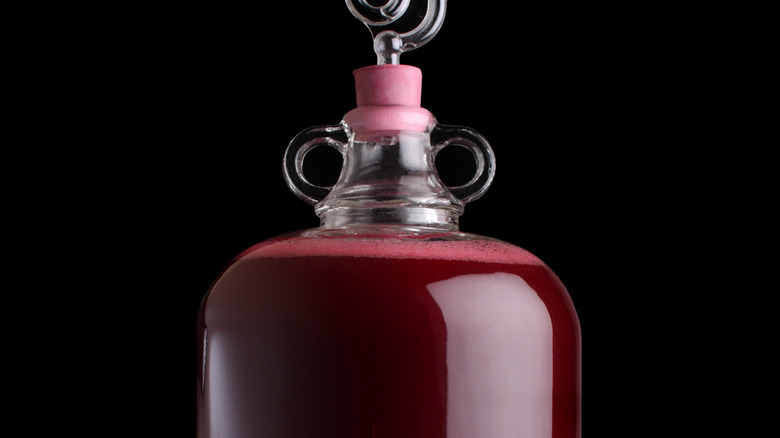
You don't have to spend a while stomping on grapes to make a basic table wine; you can buy some grape juice from a grocery store and use that. As we're making red table wine, you will need to purchase purple grape juice. White grape juice will make white wine. If you want to make things as simple as possible, pitch 1½ cups of sugar into a quart bottle of grape juice, add a packet of wine yeast, pop in an airlock, and come back in a few weeks. Alternatively, add around 3½ quarts of the juice to a glass carboy, before adding 6 cups of sugar and a pack of yeast (via Delishably).
Unlike recipes involving fresh grapes, store-bought grape juice is already sterile and does not require a crushed Campden tablet to be added 24 hours before pitching the yeast. However, numerous factors can cause fermentation to restart after you think it is finished. Therefore, throwing a crushed Campden tablet into your batch is good practice before bottling your wine. If fermentation does kick up again, at best, you'll end up with a fizzy red wine; at worst, you could have a bottle or two explode. The sulfites in the Campden tablet will also help preserve the wine. Ideally, your wine should ferment at around 68 degrees F and be given a few months to age after bottling (via Penn State University).
Dessert wine isn't complicated
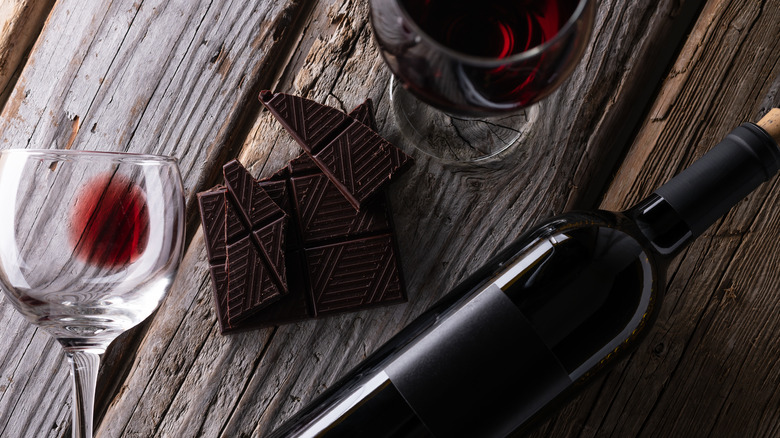
Dessert wines can be red or white but are full-bodied, sweet, and contain a relatively high amount of alcohol. They can contain fruits other than grapes and allow homebrewers to experiment without taking risks, providing a good opportunity for us to talk about backsweetening.
Backsweetening is a process where sugars are added after fermentation is complete, and a stabilizer, like potassium sorbate has been added to kill off any remaining yeast. In most beverages, sugar present before fermentation tends to be converted into alcohol. If the alcohol content of the beverage exceeds the levels that the yeast present is capable of handling, some sugar may remain — but this isn't the ideal way to homebrew a sweet alcoholic drink. It's hard to know how much sugar the yeast will consume as the ratings aren't precise.
To make a dessert wine, ferment a strong red or white wine, kill off any remaining yeast with a stabilizer, then add a sweetener to taste. Sweeteners can include fruit juices, sugars, or artificial sweeteners (via Adventures in Homebrewing). Fruit juices work well and impart a lot of flavors. White wines tend to work with apple or pear juice; reds do well with cherry, strawberry, or orange juice. You can also experiment by simply buying a strong red or white wine and playing around with its sweetness levels. However, you may just end up finding out what's really in sangria.
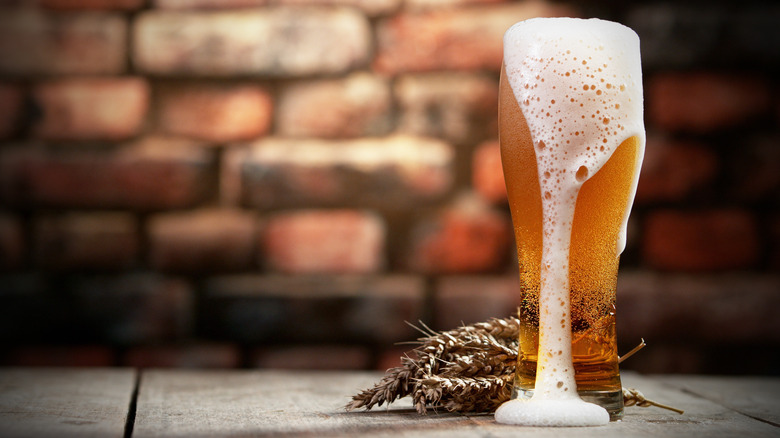
Malt extract kits make beer easy
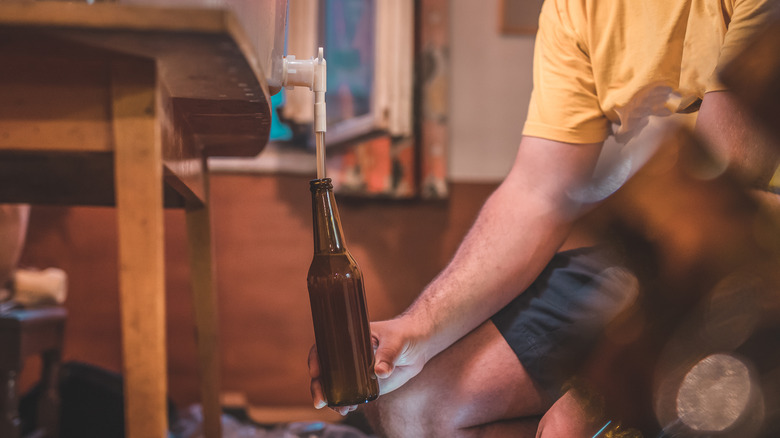
Brewing beers is where things can get complicated. All-grain recipes can be tweaked to provide exact flavors and characteristics. What hops to add and when to add them play a part. Mashing temperature also has a huge role in a finished beer's levels of body and sweetness. But you don't need to worry about all that because malt extract is a thing. Malt extracts form the basis of most entry-level brew kits and allow easy access to the world of beer brewing. The extract is basically a concentrated form of what you get when you boil malted grains. With a brew kit containing a malt extract, you only need a fermentation vessel. As Youtuber Fast Homebrew shows, using a kit is incredibly simple.
You'll just need to warm your can of extract in hot water before pouring the contents into your fermenter. Add some powdered malt, which should also come with the kit, and mix until dissolved. Kits are usually designed for 5 gallon batches, so top the fermenter up to that level and ensure the temperature is below 80 degrees F before pitching the yeast. This kind of brewing gets complex only when you have to boil the extract with some hops.
Ales ferment best at between 65 and 72 degrees F, and you could have beer in as little as three days. However, fermentation can take as long as three weeks, depending on the yeast and conditions.
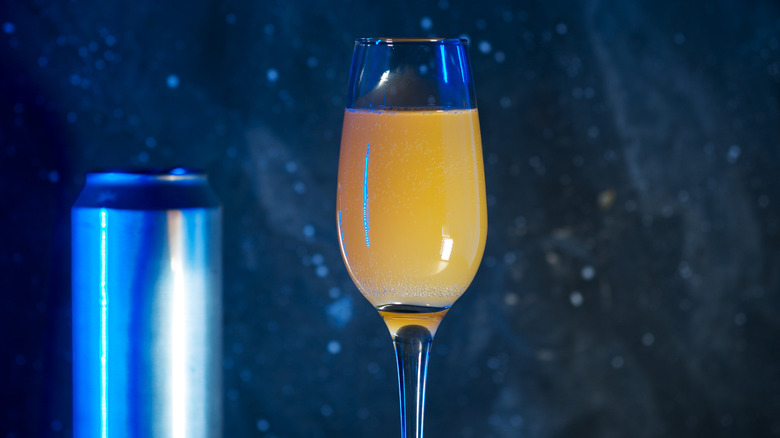
Double up with hard kombucha
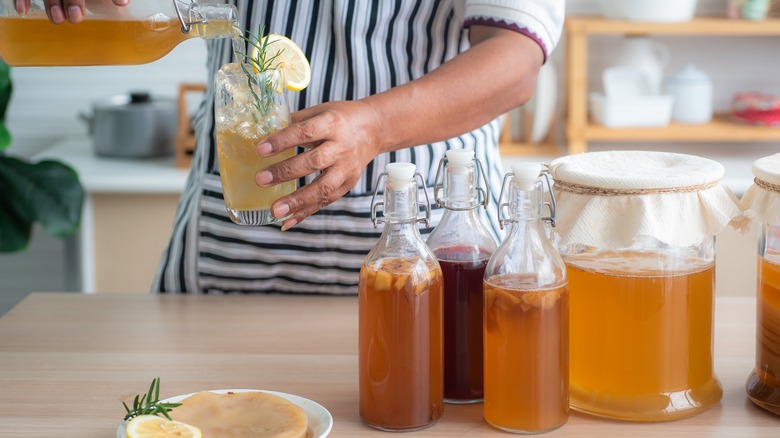
Why ferment something once when you can double up on fermentation and create a complex drink like hard kombucha. Regular kombucha is made when sweetened tea is fermented by a bacteria colony known as a SCOBY. The fermentation process creates a sour, fizzy drink that is packed with probiotics. With fruit, you can add flavor to your kombucha during a secondary fermentation process. All in all, fermenting kombucha is very similar to regular brewing in many ways, with one major exception. Beyond some trace amounts, kombucha isn't really alcoholic. But you can fix that.
Hard kombucha works best at 6% to 7% alcohol, but as with other recipes, you can mess around with sugar levels and yeast choices to make it stronger or weaker as needed. For a gallon of hard kombucha at around 6% AVB, dissolve 1 cup of sugar in 1 cup of water, then add it to some freshly brewed kombucha — make sure you remove the SCOBY first, though. Pitch in some champagne yeast and fit a lid loosely to your fermentation vessel so the CO2 can escape. Store your fermenting hard kombucha somewhere dark and with a consistent temperature — in a week or two, you'll have hard kombucha (via Boochcraft). Once fermentation is complete, you can add fruity or botanical flavors to your drink as you normally would.
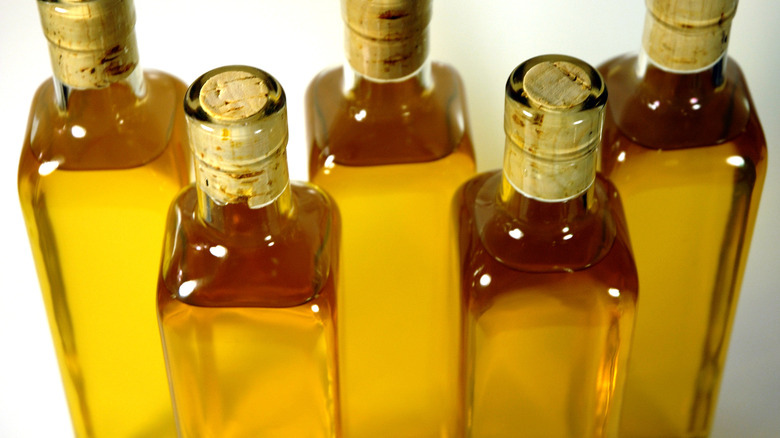
Limoncello is a traditional treat
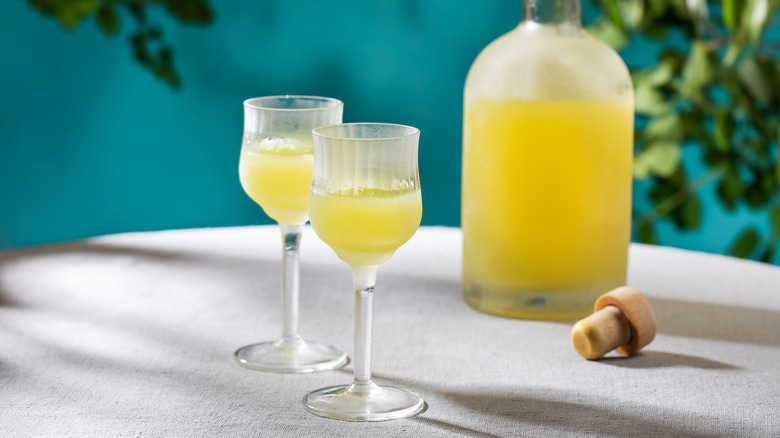
This isn't technically brewing as no fermentation is involved, but making your own limoncello recipe can be a rewarding experience. The sweet Italian liqueur can be easily made with a small number of ingredients, a carboy, and a bit of patience. As the name may suggest, the key component is lemons — or their zest anyway — which need to be combined with sugar, water, and some clear alcoholic spirit. Vodka can be used; you don't need to splash out on an expensive bottle. Grain alcohol can also be used if you want a more potent liqueur; Everclear is a popular brand that comes in varying strengths. Bottles of Everclear with alcohol contents of 60%, 75.5%, 94.5%, and 95% ABV are available, so choose your poison.
To make the drink, zest your lemons (while being careful not to include any of the bitter white pith) and steep the zest in your alcohol. After two to four weeks, your spirit should be infused with lemony goodness, and you can finish and bottle your limoncello. To finish, use sugar and water to create a syrup. When the syrup has cooled, strain your infused spirit into it. Discard the zest and transfer your limoncello to as many bottles or jars as you need. Done.