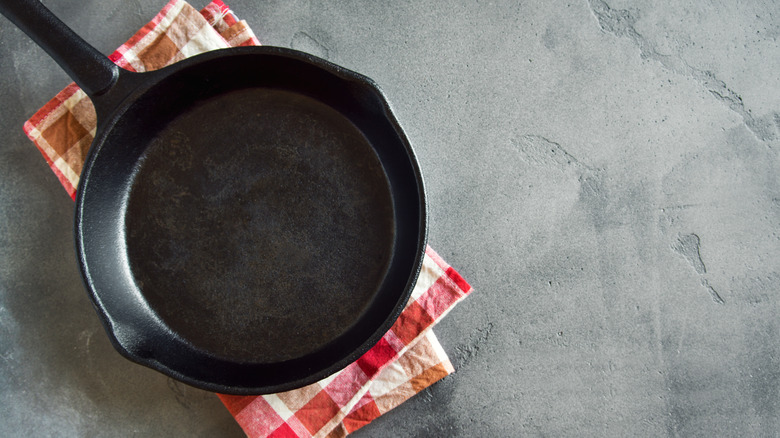
How To Season A Cast Iron Pan
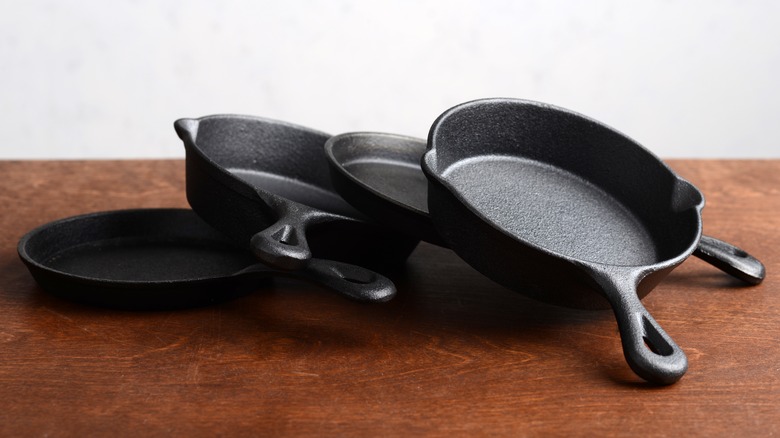
Is there anything a cast iron pan can't do? You can sear steak in it, bake in it, roast in it; you can even cook eggs in it — if the pan's seasoned properly. There's a reason cooks have been using these pans for centuries (and why inheriting one from your grandmother or spotting one at a garage sale is a major find).
If you weren't lucky enough to be left an heirloom pan in a dearly departed relative's will, don't worry. There are plenty of high-quality cast iron brands out there to fill that void in your kitchen from high-priced and handmade to the much-beloved, affordable brands you might find at your local hardware store.
Of course, a pan can only do what it's designed for if it's cared for properly. And when it comes to cast iron pans, that means seasoning. Now, many modern cast iron pans are sold pre-seasoned and already have a layer of oil baked into the pan upon purchase (which is the key to making cast iron non-stick). But if you're looking to refurbish a vintage pan, or give some extra love to a new one — thus ensuring it remains as stick-free as possible — here's how to season a cast iron pan at home.
What is seasoning?
Straight from the fire, raw cast iron is rough. The surface is bumpy, and those bumps are the perfect place for food to grab hold of while you're cooking — meaning anything you make is apt to stick like crazy to the surface. The solution? Seasoning.
Seasoning a cast iron pan means applying thin layers of oil to the pan, and then heating it to encourage polymerization. When done properly, the oil bonds to the rough surface of the cast iron, and fills in the gaps. By building up layers of oil and allowing them to bond to the pan, you eventually wind up with a smooth, non-stick surface with a coating that can handle intense heat and regular use. If you do it right, seasoning can turn that rough pan into one that will rival the priciest nonstick pans out there.
There's another benefit to seasoning your pan — and a reason you need to season the whole pan (not just the interior where you'll be cooking). Iron likes to rust, and rust is not delicious. By seasoning the pan, you're also creating a seal that prevents water and oxygen from impacting the iron — increasing the longevity of your pan and likely preserving it for years to come.
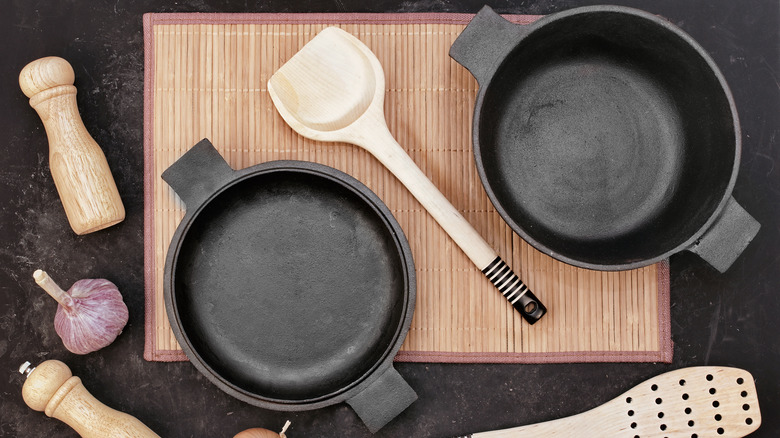
Tools you'll need
Once you're ready to get started, you'll want to arm yourself with all the tools you need to prep, season, and care for your cast iron. For starters, to season your cast iron at home, you'll need access to an oven that can be heated to at least 450 degrees Fahrenheit. If your pan is rusty, you'll need steel wool, a scrub brush, and mild dish soap to get it clean.
Are you in good shape rust-wise but trying to get rid of food scraps? Grab some coarse salt to help scrub them away. Don't forget lint-free towels, which you'll need to dry your pan, and use to apply the oil in even layers.
Finally, you'll need oil. Cast iron is fantastic for high-temperature cooking — and you'll need to crank your oven up to properly season it — so the best oils for your cast iron are those with a high smoke point. Grapeseed, sunflower, and canola oil are all great choices for seasoning, as each has a smoke point over 400 degrees Fahrenheit. In other words, save the olive oil for later.
Before you season, assess the state of your pan
Take a close look at your pan to figure out your first step. A brand-new pan might come pre-seasoned, so you could go straight to cooking in it to build up seasoning naturally. But if you think it looks a little rough, you may prefer to apply a layer or two of seasoning on top of what's already there.
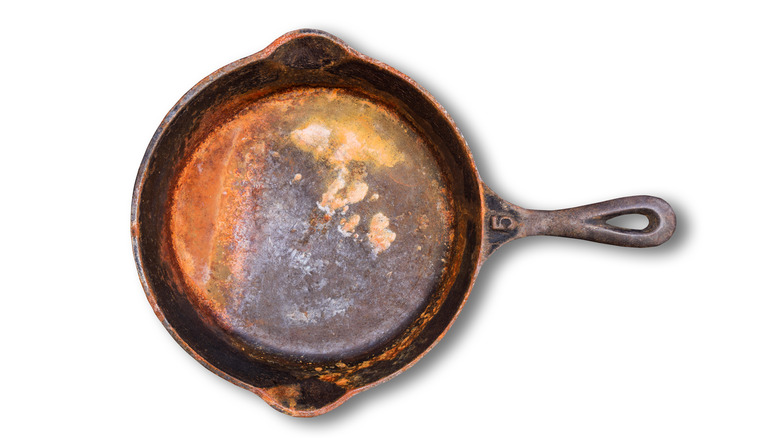
For a pan with flaking seasoning or rust, you'll need to get it clean and start from scratch. First, use steel wool to remove the rust. If there are flakes, scrape off those loosened parts of the seasoning, as well. Use the steel wool to scuff up the entire pan, even in places where it isn't rusting or flaking. You'll want this rough surface so that your seasoning can properly adhere to the pan.
Clean your pan
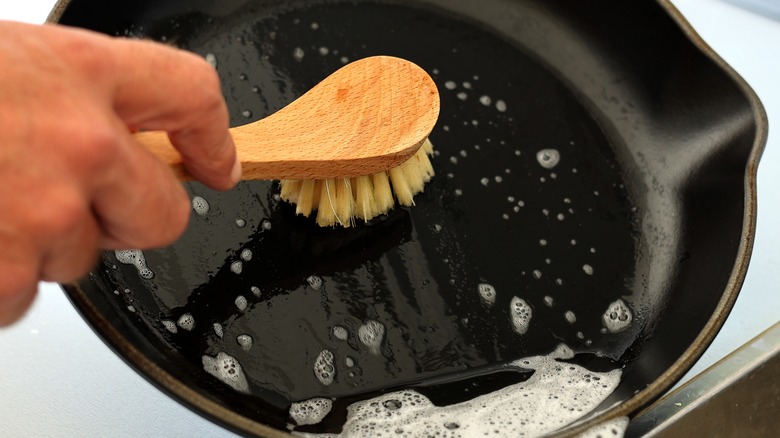
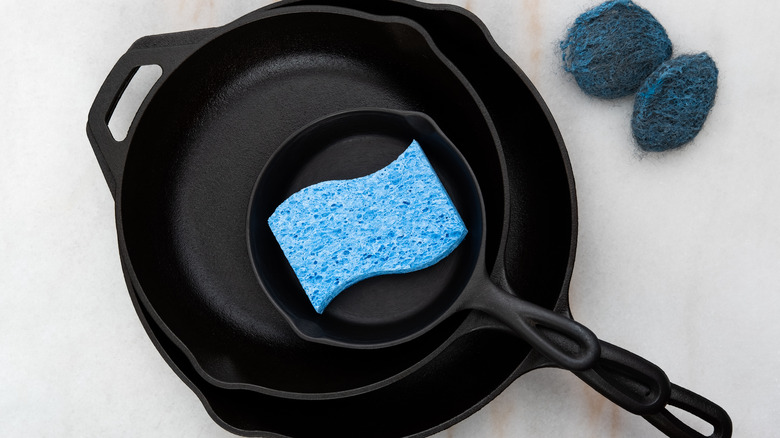
You'll want to make sure your pan is clean before seasoning. Now, you may have heard you can't use soap on cast iron, but that's not necessarily the case. Just be gentle, and make sure you don't soak cast iron in soapy water (or soak it at all), as soaking may damage the bond between the existing seasoning and the pan. Remember to clean every surface — inside, outside, bottom, and the handle — as you'll be seasoning each of these surfaces, as well.
If there are bits of stubborn food stuck on your pan from the last time you used it, turn to coarse salt to get everything clean. Add 2 tablespoons of coarse salt to your pan, then use a paper towel or lint-free kitchen towel to rub the salt over the surface (with a particular focus on any sticky food bits). When everything's been removed, dump out the salt and rinse your pan with warm water. Pro tip: This is also a great way to clean your pan after each use to ensure your seasoning stays intact!
After rinsing your pan, make sure it's totally dry. Wipe it down with a lint-free towel, then use heat to make sure any remaining water is completely gone. You can dry a cast iron pan on a burner over medium heat or place it in an oven heated to 200 degrees Fahrenheit for several minutes. Either way, ensure the pan is fully dry before you start seasoning.
Heat your oven

Time to turn on your oven, which you'll want to set to 300 degrees Fahrenheit to start. Why so low? Well, when cast iron spends more time at a low temperature, the pores of the pan will open up so it's better suited to receive the seasoning. You want to prepare the pan as much as possible, after all, to ensure you end up with the best, most durable results.
Apply oil
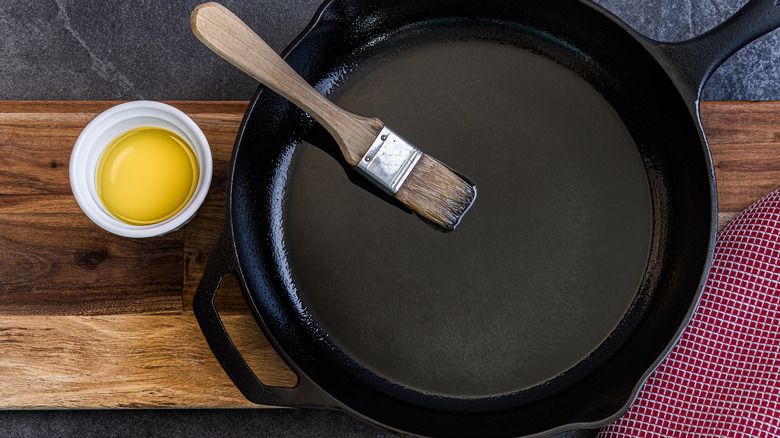
Now it's time to oil your pan. Using a paper towel or lint-free cloth, spread an exceptionally thin layer of oil over the entire surface. Be sure to get oil on every crevice: Into the corners, on the lip of the pan, around the handle, and inside any etchings or engravings, as well.
Take your time and create a seamless layer of oil around the surface. Any unseasoned areas are prone to rusting and can cause your seasoning to flake off. Don't use more than a small amount of oil at a time to keep it from gathering in thick layers or puddling.
After you've finished your application, wipe the pan down with a clean cloth to remove any excess oil. Your pan shouldn't look shiny or greasy; instead, it should be almost matte with a consistent color across the pan.
Bake your pan
Place your oiled cast iron pan onto a rack in the oven ... but place it upside down. By baking it upside down, you allow any excess oil to drip off the pan instead of remaining on the cooking surface (just be sure to place a baking sheet on the rack below your cast iron to catch any oily drips).
Leave the pan in the oven for about 10 minutes, then remove it and wipe off any excess oil that remains. While you're wiping, increase the heat to 450 degrees Fahrenheit. Once the oven has come to temperature, return your pan to the oven — upside down, of course.
Now? It's time to wait. You'll want to leave your pan in the oven for about an hour to allow the oil to completely bond with the pan.
Repeat if needed
Perhaps you found your pan at the flea market and had to remove a lot of rust. In that case, you may want to repeat the seasoning process once or twice to ensure you've built a truly protective layer. If you're looking to further the seasoning process — after a pan's spent an hour in the oven, that is — simply add one more thin layer of oil, and return it to the oven for an additional hour.
For a pan that just needed a little boost, consider oven-seasoning the basecoat — although keep in mind the very best way to season a cast iron pan (once it's protected from rust) is by using it.
Cool the pan in the oven
After an hour, turn the oven off — but leave the pan inside. Allowing the pan to cool completely inside the oven is another step to help that seasoning stick.
The residual heat in the oven may allow the polymerization process to continue, which, in turn, may increase the strength of the seasoning's bond. This also might help prevent the seasoning from peeling due to the quickly changing temperature from inside the oven to outside it.
Protect your hard work
What's the best way to protect your cast iron pan (one you've spent hours of work getting seasoned)? Cooking with it, of course! Now, while seasoning is necessary before using your pan, you'll also need to use additional oil each time you cook with it. Utilizing fat during each use fills in any remaining ridges (thus reducing the risk of food sticking to it), lowers the risk of rust forming, and increases a cast iron pan's non-stick abilities.
In other words, if you use your pan regularly, you'll continue to add seasoning, which will get it closer and closer to the cast iron pan Holy Grail: a completely smooth (to the naked eye, at least) item ready to be passed down to the next generation. Don't forget to properly clean your pan between uses. Remember a little mild soap can remove stubborn food, as can coarse salt (an excellent choice when stuck-on food requires some scrubbing).
After it's clean, always be sure to thoroughly dry the pan; a little time on a medium burner will evaporate any water droplets you missed with your towel, of course. Finally (as you may have guessed), give your pan a super thin coating of oil. Be sure to buff off any excess oil before it pools, as well, as it can become sticky.
How long does seasoning last?
If you take good care of your cast iron between uses, your seasoning will only improve — meaning you shouldn't have to strip the pan and start over too often (if at all). Of course, while we've established a cast iron pan will just get better the more you cook in it, you may still need to repeat the seasoning process several times a year to retain the non-stick surface (and protect your pan from damage or rust).
The good news is the appearance of rusty spots and flaking doesn't mean your pan is ruined. If you see that the seasoning on your pan is damaged, simply come back here — and start from the beginning to give your pan new life.
Recipes to cook with your cast iron pan
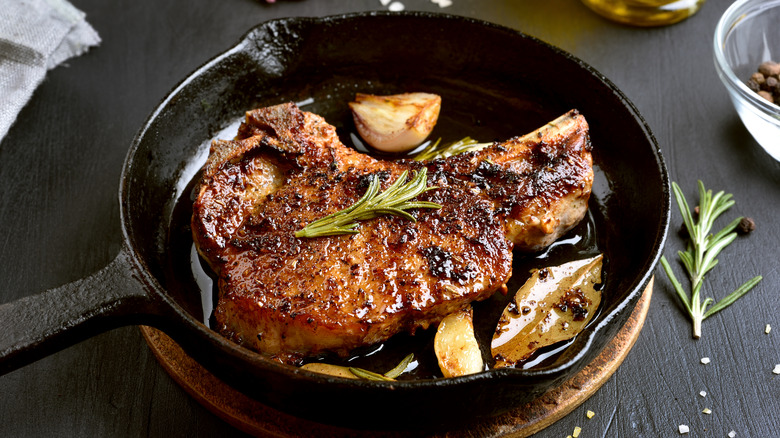
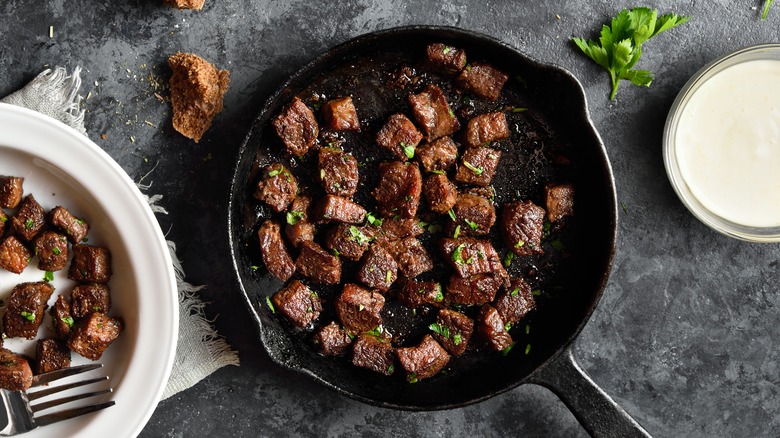
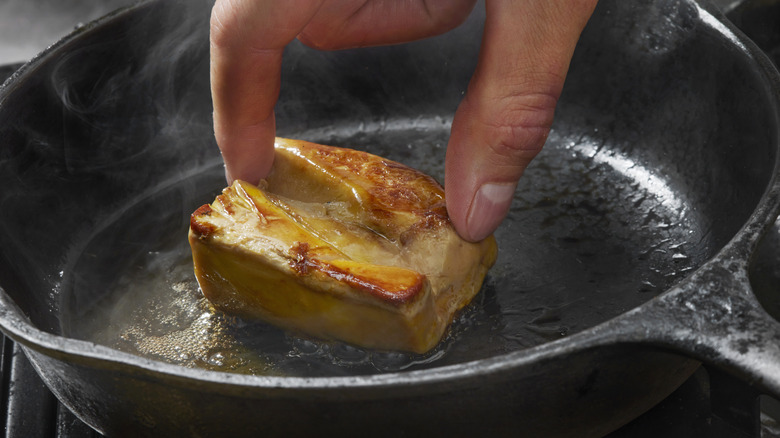
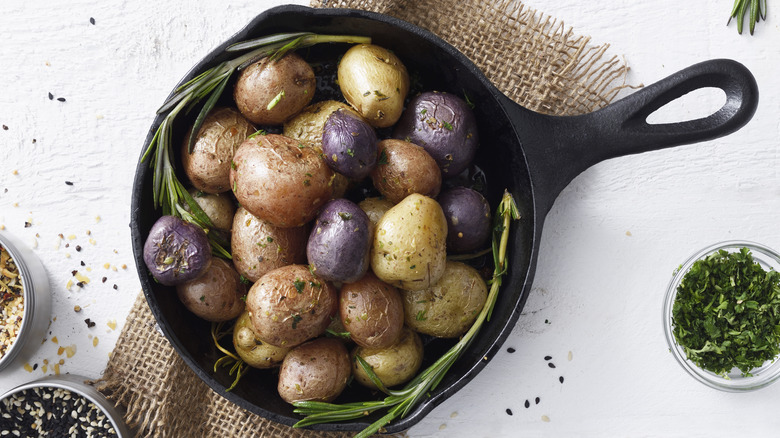
Now that your pan is seasoned, it's time to start cooking. You can use a cast iron pan to cook on the stove, in the oven — even over an open fire. It's the secret to making fantastic steak without a grill, stepping up your campfire meals, and dishing up incredibly crispy fried chicken.
When cooking steak in a cast iron, try the reverse sear method. Place a steak in the oven at a low temperature until it's just below your desired doneness, then finish it in a hot cast iron pan with butter (perhaps some garlic and herbs, as well) to develop a delicious crust. To use your cast iron for baking, you'll want to make sure you grease the pan well beforehand. Yes, great seasoning will help, but the key to a clean release is plenty of butter. Plus, making cornbread in a cast iron pan creates crispy, buttery edges that aren't feasible in a standard loaf pan.
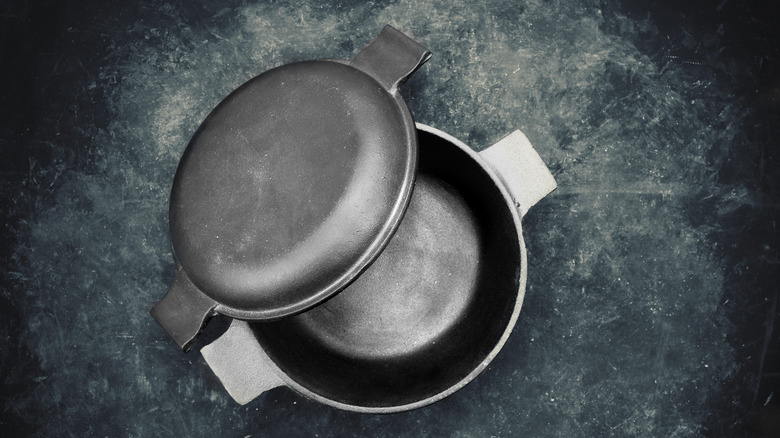
Cast iron pans (or Dutch ovens) are fantastic for frying, too. They hold heat well, so you can add pieces of chicken without as much variation in oil temperature. A deep-sided cast iron pan is great for making fried chicken, and is a fantastic option for shallow-frying.