15 Tips You Need For Making Sugar Cookies
We may receive a commission on purchases made from links.
Holiday baking is the crown jewel for many home bakers. You have the opportunity to branch out and challenge yourself to make a new cookie recipe, but you also have the potential to perfect holiday baking classics — like the sugar cookie. Almost anyone can make a sugar cookie, but very few people can master the chemistry that results in a perfectly sweet, lightly colored cookie artistically decorated with a layer of finicky royal icing. Not only is baking the perfect sugar cookie a matter of artistic prowess, but you have to understand the chemistry of the cookie to truly master its creation.
To get some helpful tips for mastering the perfect Christmas cookie, we've teamed up with Emmy Stallings from The Cookie Nook. Stallings bakes and designs custom cookies for corporate events, parties, and weddings. We also tuned into several well-known tips from celebrity bakers known for their holiday treats. If you're readying yourself for the cookie-swap season, these suggestions are essential.
Substitute brown butter for regular butter
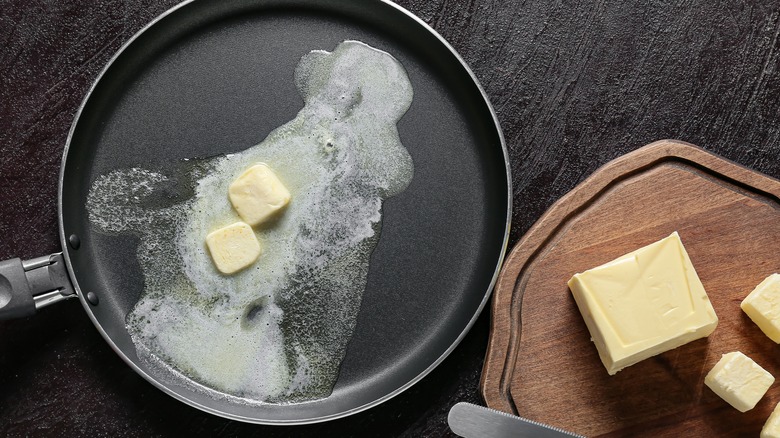
One of the easiest ways to add depth to the flavor of your sugar cookie is to substitute the butter in the recipe for browned butter. Browned butter has a stronger nutty undertone than room-temperature butter, which results in a richer cookie. You'll want to use the same amount of room-temperature butter required for the recipe. You should also factor in the time you'll need to properly brown your butter into your holiday baking timeline; you'll need to remain attentive to the pan as the butter starts to produce the nutty, strong aroma that tells you to remove it from the heat.
After you have browned your butter for the cookie recipe, you'll need to place the butter back into the fridge so it can harden out of a liquid state (for about 20 minutes). Don't worry though — you won't lose any of the delicious flavors of your butter as it starts to saturate and harden. You may, however, find that your dough is drier than if you were to use the same amount of regular butter. This is because browning the butter evaporates about 15% of the volume of the butter. To fix this conundrum, add a little bit of extra water or milk to help balance out the dryness.
Use room temperature, not melted, butter
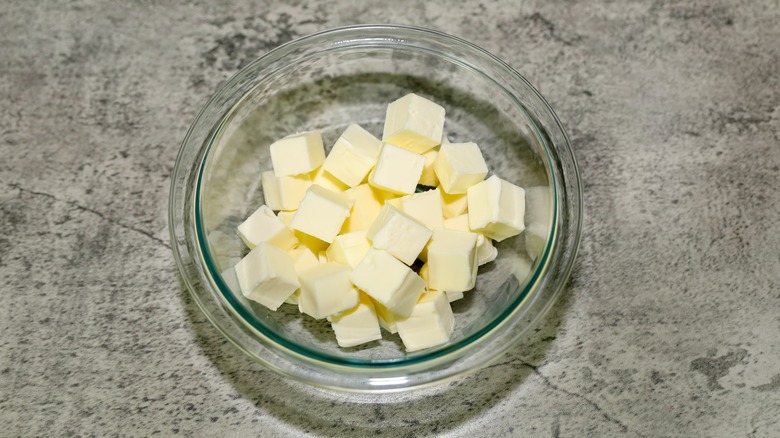
If you don't want to experiment with the brown butter hack, you will still need to use butter in your sugar cookie recipe. When you're making sugar cookies, you need to find the happy medium between butter that is solid enough not to turn into a goopy mess when you mix it with the other ingredients, but not so solid that it will break your stand mixer when you whip it.
You'll want to leave your butter at room temperature for about an hour to soften before you start preparing your sugar cookie dough. There are some tricks you can use for warming up your butter faster, such as cubing the butter into tiny pieces before letting it warm up on your countertop. Cubing the butter can cut your warming time down to 15 minutes, which is perfect for when you're caught up in too many other things to remember to pull the butter out of the fridge. And if you're worried about the food safety risks of leaving butter (a dairy product) at room temperature, the USDA notes that both butter and margarine are safe at room temperature — so long as you don't leave the products out of the fridge for several days.
Always use room-temperature eggs
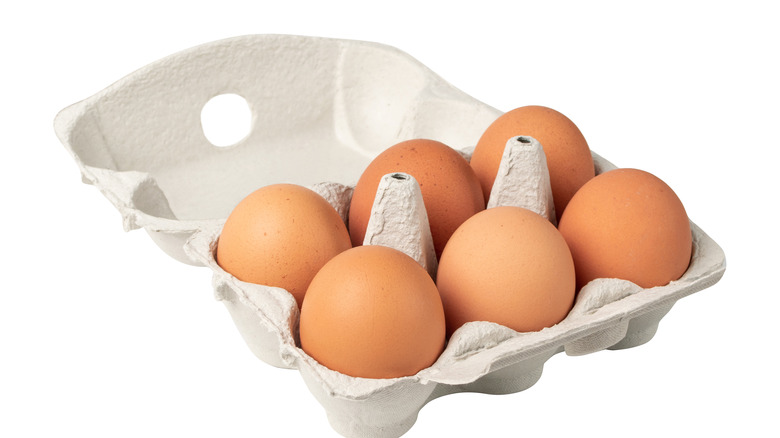
Are you starting to notice a theme? Room-temperature eggs are the key to making perfect sugar cookies this holiday season. In the realm of baking, warm eggs tend to bind better to other ingredients like flour and leavening agents. Room temperature eggs also are important for the fluffy factor in treats like angel food cakes — but this isn't as relevant for soft sugar cookies that aren't dependent on eggs for a rise.
Although it might seem that you have to rush to get yet another ingredient warm, all you have to do is place the eggs you need into a bowl filled with warm water. This method will yield ready-to-bake eggs in less than five minutes, but this factor is a little bit dependent on the number of eggs you add to the bowl and the temperature of the water. The water should be warm from the tap, but not boiling (after all, we don't want hard-boiled eggs in our cookies).
Use brown sugar instead of white sugar for more moisture
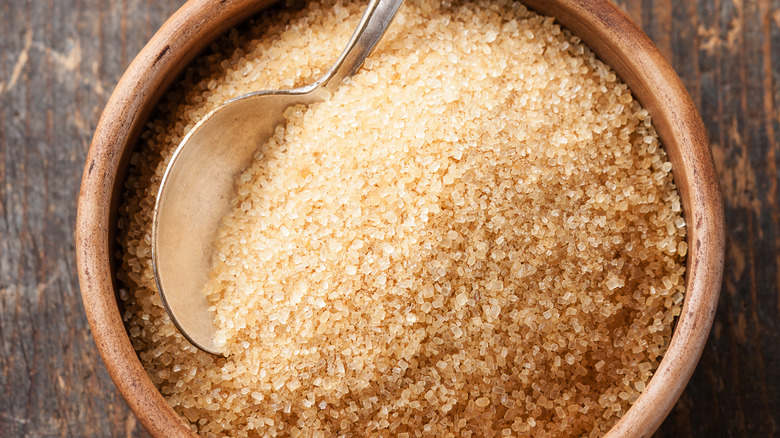
The primary difference between brown sugar and white sugar (besides the color, of course) is the inclusion of molasses. Brown sugar gets its signature nutty flavor from molasses, while white sugar does not. The acidity in the molasses reacts with the proteins in the eggs and other ingredients to create a chewier cookie. The molasses also locks in moisture, which is the key to keeping the sugar cookie soft and pliable.
If you're aiming for a snappy sugar cookie, you can use white sugar only. But if you want a little bit of give in the cookie, you'll want to substitute a little bit of the white sugar for brown sugar in your sugar cookie recipe. If your brown sugar is rock solid and you're out of options, you can make your brown sugar at home by mixing 1 tablespoon of molasses for each cup of sugar and store in an airtight container.
Invest in a good vanilla extract

The perfect sugar cookie is set against a light backdrop of vanilla flavor — it's why we recommend only using pure vanilla extract, rather than imitation vanilla, for baking sugar cookies. Pure vanilla extract contains between 250 and 500 flavor compounds, (via National Geographic), compared to the flat notes of artificial vanillin made from petrochemical precursors.
Our favorite brand of pure vanilla extract is undoubtedly Nielson-Massey. Although each bottle is pricier than the imitation vanilla you'd find at the grocery store, the undercurrent of sweetness and flavor in this brand's extract is unique and worth the price you pay per bottle. For folks looking for a slightly more cost-effective vanilla (without sacrificing quality), we would recommend sticking with McCormick. You'll get the same vanilla flavors as using a pricier bottle but will have the benefit of purchasing a product that is more widely available in local grocery stores.
Avoid over-mixing once you add the flour
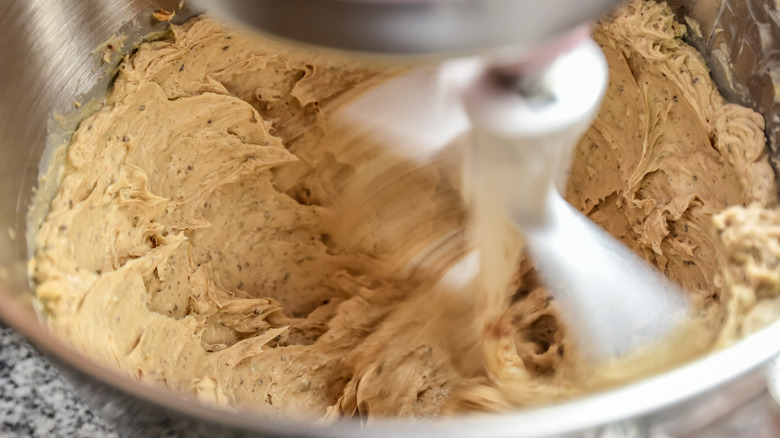
One of the most common mistakes people make when making cookies at home is overbeating the flour into the other ingredients. If you're baking with gluten-based flour, such as all-purpose or pastry flour, overbeating the flour can lead to an especially glutenous and rubbery texture. Over-mixing the batter can also warm the butter up too much, which causes the butter to melt and splatter out of the cookies as they're baking.
You should stick to mixing your batter only enough to remove all the streaks and clumps of flour. You can also use your hands to feel the texture of the batter more, instead of using a stand mixer or a handy wooden spoon. But is there anything to be done if you've over-mixed your batter already? If you notice your batter is crumbly and hard, it's likely over-mixed (or a myriad of other issues including not enough fat, not enough liquid, or too many dry ingredients).
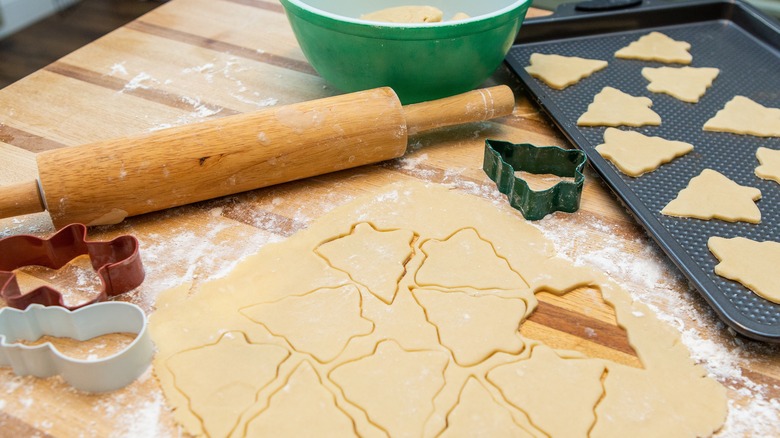
Limit rolling to a quarter-inch
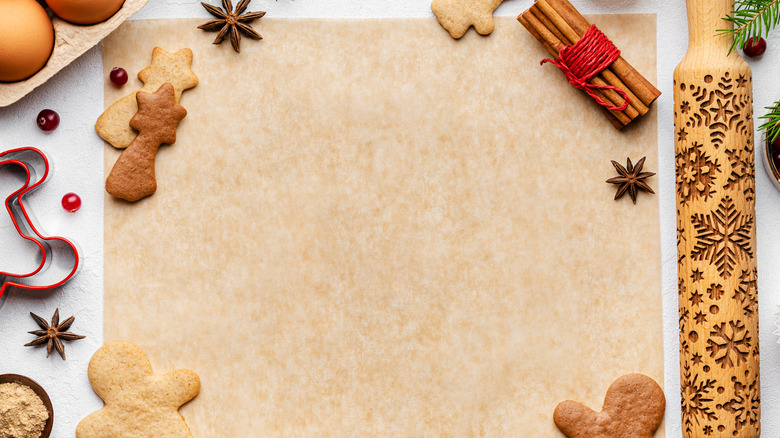
The perfect Christmas cookie is thin and perfectly crunchy when you bite into it. And as a baker, you may have a tendency to roll your cookies a little too thin to get this crispy result. You can roll out your sugar cookie dough no thinner than ¼ of an inch thick. This thinness ensures the cookie will be able to handle the weight of the icing, but not so heavy that it loses its crispiness. If you don't want to fuss around with a ruler in measuring your cookie dough, you can purchase an adjustable rolling pin with removable discs to measure your dough to the perfect thickness. The design of this rolling pin is also critical because it ensures that your sheet of cookie dough is the same size throughout.
You can also roll out your dough between two sheets of parchment paper rather than in a bath of flour. While the flour can help prevent sticking to the counter, it also impacts the texture of the dough and can make it drier than what you intend.
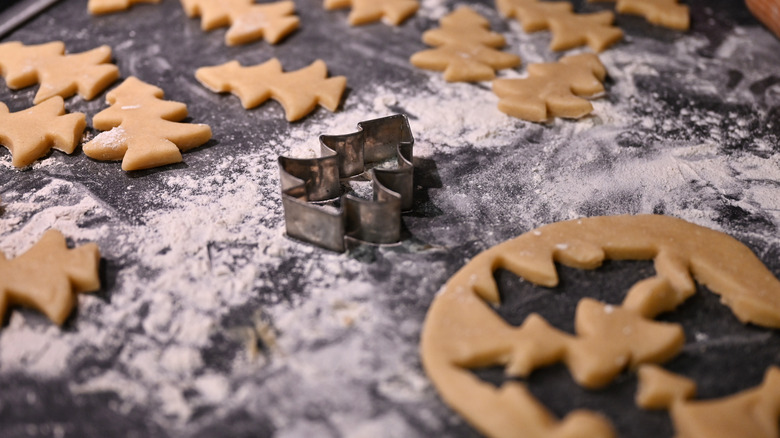
Dip your cookie cutters in flour to prevent sticking
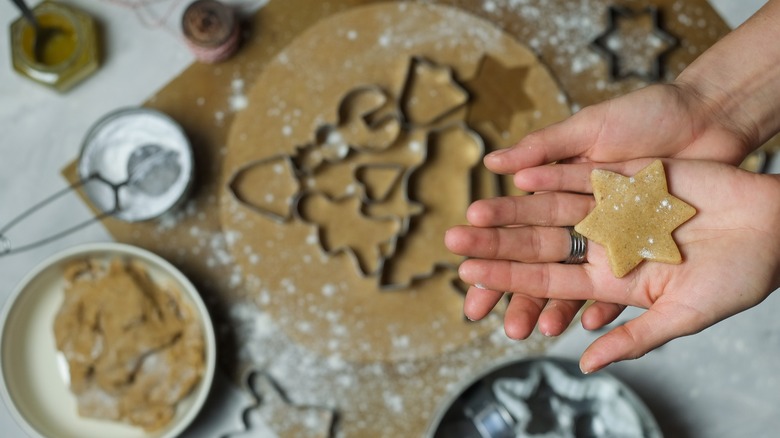
Part of working with sugar cookies is to working with a ton of sticky dough. And one of the most annoying parts of making sugar cookies is feeling your cookie dough stick to your metal cookie cutters. Luckily, we have a remedy for your cookie-cutter woes. You should dip your cookie cutters in a pool of flour in between cutting your cookies to prevent sticking.
If you notice this method is slowly becoming ineffective, use a clean towel to wipe off your cookie cutters. However, you should refrain from washing your cookie cutters constantly — not only will it take up a lot of your time, but it will result in the butter in the cookies melting faster when they come into contact with the warm cutter. Use the washing method when the remnants on your cookie cutter distort the design of the cookies.
Freeze your cutouts before baking
There isn't a worse feeling than cutting out a cookie just to have it turn into a disc after it's finished baking. The likely cause of a phenomenon where the butter is melting out of your cookies too quickly. This can be caused by several factors, including baking on a hot baking sheet, not using enough flour to help the butter pieces keep their shape, or forgetting to chill your cookie dough. You should always chill your cookie dough after you bring the dough together. This slows down the process of the cookie spreading right from the start.
Emmy Stallings recommends freezing your cut cookie dough pieces again before baking to help the cookies retain their shape. Freezing your cookies for only 10 minutes after the cookies have been cut can make a tremendous difference in how much your cookies spread. You can place the cookies directly onto a lined baking sheet and freeze the entire sheet pan.
Avoid re-rolling the dough more than twice

We've already deduced that handling cookie dough too much before baking has detrimental consequences. The same goes for re-rolling your dough after you've cut several rounds of cookies. Having the dough out of the refrigerator at room temperature, plus putting the dough through extra contact with your hands, means that the dough will likely spread more than you'd expect. You should only roll out your cookie dough twice before cutting your losses. Between rolling periods, you should also refrigerate the dough to help the gluten relax and harden the butter.
After you've rolled and re-rolled your cookie dough twice, you can meld the rest of your cookie dough into a ball and just slice your cookie dough with a knife to create pieces you can decorate. To avoid having to re-roll your cookie dough, try cutting your cookies as close to one another as possible and starting from the outside of the dough first.
Bake on parchment paper
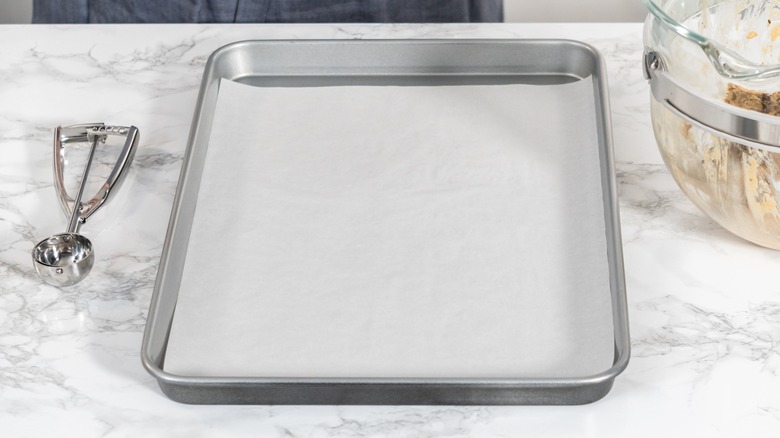
Parchment paper is a critical tool for any baker in the kitchen. This paper is made with silicon to help prevent the cookies from sticking to the sheet. And unlike wax paper, parchment paper has a high heat tolerance and won't stick to your cookies or catch on fire.
If you neglect to layer your cookie sheet with parchment paper, you will have to deal with numerous issues of your dough sticking to the sheet. Greasing the cookie sheet, which implies using butter or a non-stick cooking spray to add an oily layer to your sheet, can do more harm than good for cookies. The grease on the cookie sheet may cause your cookies to spread more than you'd like or potentially lead to burning the bottoms of the cookies. Parchment paper adds a barrier between the cookies and the hot metal of the sheet, which means your sugar cookies will have the perfect golden brown hue.
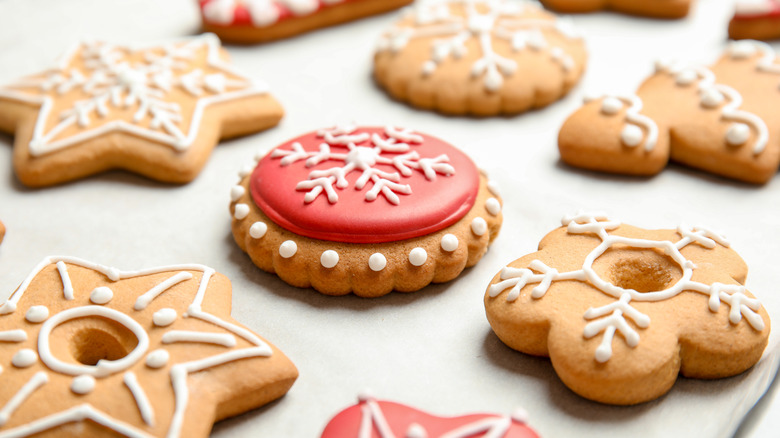
Stick to royal icing for decorating

Royal icing is the standard for decorating cookies — and for good reason. This icing is made from a few simple ingredients, including powdered sugar, meringue powder, and water. Unlike buttercream, which is made by combining butter, extracts, cream or milk, and powdered sugar, royal icing hardens and forms a stiff, glossy layer on top of the cookie. Royal icing is also usually much thinner than buttercream so it is easier to manipulate and decorate intricate designs with. It is also more sturdy than buttercream, which is why many bakers use royal icing to form gingerbread houses.
There are several different ratios of ingredients you use to get the perfect royal icing consistency. For the stiffer royal icing, add more powdered sugar. If you want royal icing that allows you to quickly flood the surface of a cookie, you'll want to add a bit more water so your icing is a honey-like consistency.
Add corn syrup to your royal icing

Emmy Stallings uses corn syrup as a key ingredient in her royal icing recipe. She notes that the addition of this simple ingredient, which is sold in the store in light and dark varieties, adds a softer bite to the royal icing. Corn syrup is used in recipes as a humectant (moistening agent) to soften the texture of the icing and to prevent the crystallization of the sugar. Besides making the taste of the royal icing a bit softer, corn syrup also adds an unmistakable sheen to the cookies and allows for a bit more elasticity when piping lines on the cookie.
Corn syrup is sweeter than glucose or glycerin, both of which are often found in royal icing recipes where corn syrup is not readily available. If you plan to add corn syrup to your royal icing recipe, you should opt for light corn syrup rather than a darker type — which is made with molasses for color.
Regulate your piping bag's pressure with a binder clip
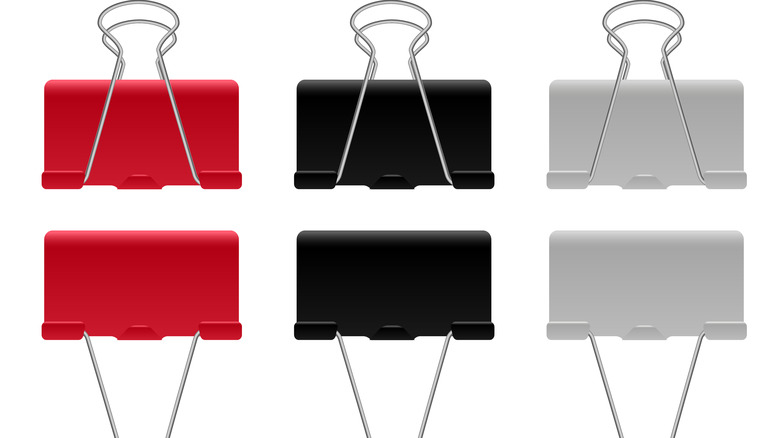
If you've ever decorated a cake or cookies using a piping bag, you probably know how difficult it can be to regulate the pressure on the bag. While most people use rubber bands to close the top of their pastry bags, we recommend opting for another office supply — binder clips. You can easily unclip and move the binder clip down the pastry bag as you're piping. This will keep equal pressure on the bag and help you push down the royal icing to the bottom of the bag rather than on the sides.
To start using this technique, fill ¾ of your piping bag with royal icing. Any more will make the bag difficult to handle and maneuver. Twist the top of the bag closed and apply your binder clip to keep your icing from coming out on the wide part of the bag. When your bag starts to slack, you can move the binder clip down towards the nozzle. To refill the bag, simply unclasp the clip, refill, and repeat.
Try an icing transfer
It can be a lot of pressure to pipe beautiful designs on your cookie without messing up. Instead of piping directly on the cookies, you can use an icing transfer method to pipe your designs on parchment paper before placing the design back on top of the cookie. This method, which is loved by cooking icon and television personality Ree Drummond, involves piping the icing on a non-stick surface and, most importantly, waiting for the icing to dry. Waiting for the icing to dry can take up to three days, depending on how much liquid you use. Alternatively, you can stick your designs in a dehydrator to expedite the process.
There are some things you can do to ensure the icing dries as fast as possible. You should use fresh icing because it has more air incorporated into it. The air, combined with the molecular structure of the sugar and eggs, will help the icing dry faster. You can also clip a handheld fan to your sheet pan to help the icing dry faster.
For the best color, let your royal icing sit

The phrase "patience is a virtue" can be applied to many things — including royal icing. You should give food coloring time to fully dye your royal icing before piping it onto your cookies. Once you've mixed your food dye with the icing, let it sit for at least 30 to 40 minutes for light colors and upwards of two to four hours for dark ones. You'll find that if you put your icing straight into the fridge with the food coloring for this length of time, though, it will harden and become nearly impossible to pipe. To keep your icing soft, store it in an airtight container and cover it with a damp paper towel.
Letting the icing sit isn't the only thing that can cause a hint of vibrant colors. You should also stir the food coloring into the icing base completely so that no streaks remain. You should also remember that the icing will dry darker than it will pipe onto the cookie, so you can always do a few tests to ensure your dye-to-base ratio is perfect.
Add an egg yolk wash for a beautiful shine

The Pioneer Woman, Ree Drummond, always has handy kitchen tips up her sleeve. The unique way Drummond decorates her Christmas cookies is by first painting the cookies with an egg yolk wash before placing them into the oven. Not only does this hack impart a beautiful golden hue onto the cookies, but individuals who have tried the hack report that their kitchen smelled amazing after baking these cookies. We also love this approach because it won't dramatically change the flavor of your cookie, which means it's safe to use for flavorful add-ins like extracts and herbs.
You can add egg wash to your cookies whether you're working with sanding sugar decorations or standard icing. In addition, you can also personalize your cookies by adding some color tint to your wash with the water before slathering it on with a pastry brush. You'll need to use one teaspoon of water for each standard egg yolk in the wash.
Use a cookie cutter as an icing guide

Do your Christmas cookies tend to look like a five-year-old was given a piping bag and told to "have at it?" The training wheels method every beginner needs for icing sugar cookies involves using a cookie cutter as a guide for flooding your icing. Start by piping a thin border around the rim of the cutter. Then, use a thinner icing to flood the inside of the cookie cutter carefully. It's essential to keep your cutter firmly against the cookie but not dig into it as you pipe. Then, you can use a toothpick to clean up any spots before removing the cookie cutter and moving on to your next one.
Still consider yourself a decorating novice? Pick up some seasonal holiday stencils to make designs on your cookies with ease. The worst-case scenario is that you can always eat the "bad" cookies before other people have a chance to see them.
Add cornstarch to keep your cookies from spreading

Seeing that your cookies spread out more than you intended can be disappointing. There are some instances where your individually cut cookies come out of the oven as one big mega-cookie. The secret ingredient that will change your sugar cookies forever and ensure they come out just like you cut them is cornstarch, which you should add in small amounts to your dough. Adding ⅓ cup of cornstarch with the rest of your dry ingredients will help cookies keep their shape as they bake and lend themselves to a crumbly texture.
Another reason why you should consider adding cornstarch is because it will prevent the dough from getting as sticky when you're rolling it out. This means less opportunity for the dough to stick to the rolling pin or your countertop. Besides this extra ingredient, you should also always use cold butter to curb the cookie spread.
Use sanding sugar for easy decorating
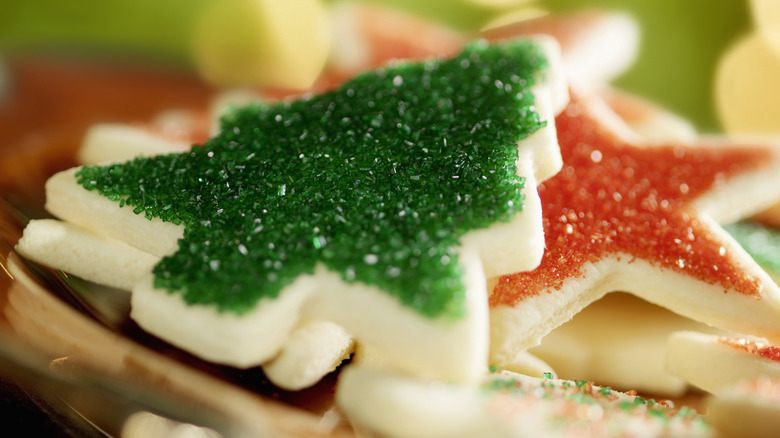
We don't want to downplay the difficulty of piping royal icing onto a cookie. Instead of using this decoration method, check out Martha Stewart's genius hack that makes decorating sugar cookies a breeze. Stewart shared a photo of her trick on Instagram, explaining how she cuts her sugar cookies into circles before rolling the edges in colored sanding sugar. She uses two different sizes of sugar to ensure that her cookies get full coverage.
Alternatively, Stewart also recommends her fans roll up their cookie dough into a log and roll the entire thing in sugar before cutting it into slice-and-bake cookies. This method saves you the time of rolling the individual coins in sugar and allows you to pop the roll into the refrigerator or freezer to bake your cookies later. You may not get the mitten or tree-shaped cuts, but you will have a much easier time making these cookies at home during the holiday season.