White Christmas Pie Recipe
When the holidays roll around, it can be overwhelming trying to come up with dishes that will satisfy a variety of palates. Once you've sorted out the main course, there's always dessert to think about, too. Or, if you aren't hosting, bringing a festive dessert is a surefire way to make you a popular guest. Thankfully, recipe developer and private practice registered dietitian Kristen Carli from Camelback Nutrition & Wellness has created a recipe that'll totally please a crowd.
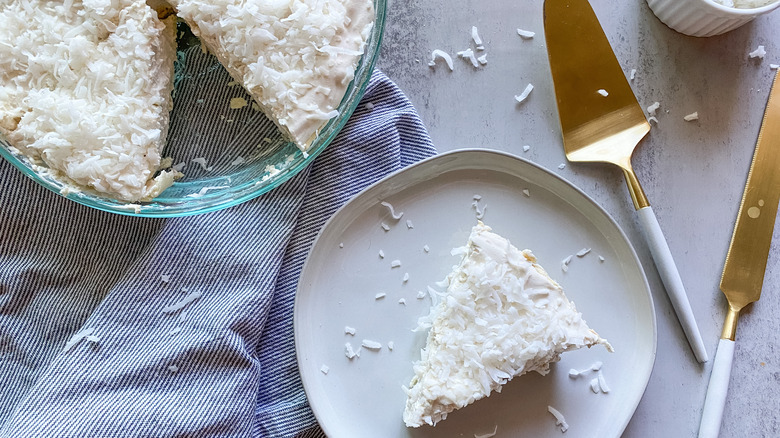
This white Christmas pie gets its name from the color and shredded coconut topping, which appropriately also looks like a beautiful, snowy blizzard. Carli agrees, and adds, "I love its festive snowy appearance." This tasty pie won't keep you too busy in the kitchen, but you will need to set aside a few hours to let the filling set. It's definitely worth the wait, as it will undoubtedly be a crowd-pleaser thanks to its creamy sweet flavor.
If you want to get a head start on your holiday baking, it's easy to store this Christmas pie in the freezer until you're ready to serve it up. So, what are you waiting for?
Gather the ingredients for this white Christmas pie recipe
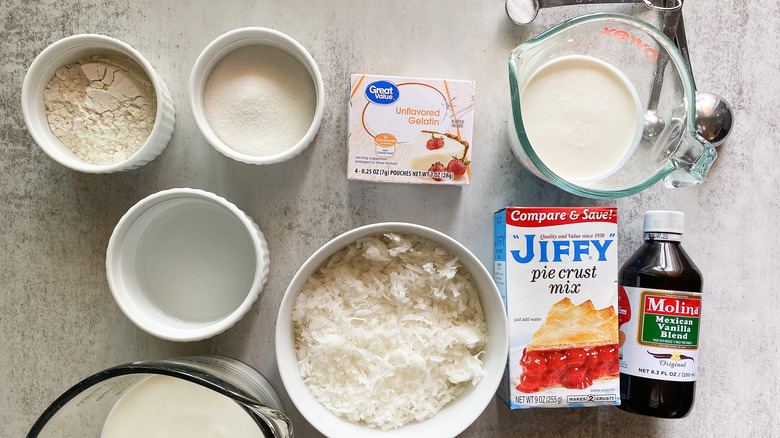
First of all, get the ingredients you'll need for this white Christmas pie together. To simplify the recipe, Carli opts for Jiffy pie crust mix for the base. You'll only need half of the mix, so she notes, "You can save [the rest] in a ziplock and freeze [it] for later." To combine the mix into a pie crust, you'll need some water. Save some extra liquid to add to the unflavored gelatin for the filling.
In addition, you'll need some other baking staples for the creamy center. White sugar, flour, salt, whole milk, and heavy cream make up the bulk of it. Don't forget the vanilla extract to infuse some warm, comforting flavors.
Finally, add the icing on the cake — aka the shredded coconut on the pie. For an extra pleasant flavor, be sure to get sweetened coconut flakes!
Bake the pie crust
Once you have your ingredients lined up, it's time to start on the pie crust. Preheat your oven to 450 F — you'll only need to bake the crust as the rest of the pie remains uncooked. Be sure to have a pie pan close at hand.
Set out a large bowl, and add the Jiffy pie crust mix and ¼ cup of water. Use a fork to mix the water in to form a dough. Split it in two, and either save one half to make this pie again, or use it for another recipe. Shape the other half of the dough into a ball, then sprinkle flour onto a flat surface. With a rolling pin, roll the ball out into a thin layer about the size of a pie pan.
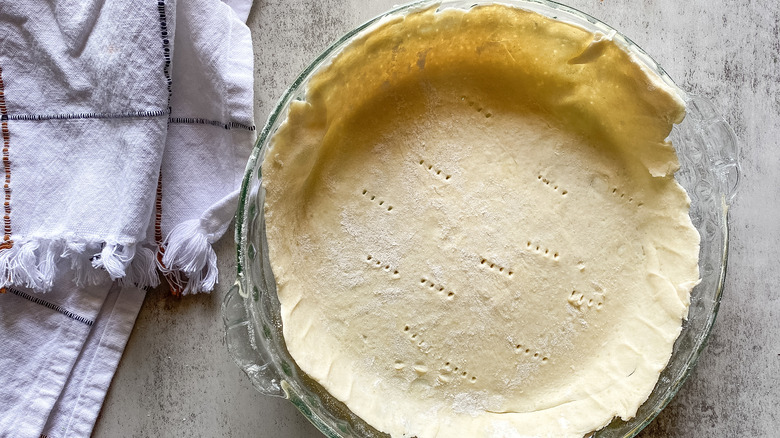
Now, carefully lift the dough onto the pie pan, and press it down to fit the dish's shape. Take a knife, and cut off the excess edges of dough, then poke the base of the crust with a fork several times. When the oven has reached temperature, pop the pie crust onto a rack, and bake it for 10 minutes. Then, remove the crust from the oven, and set it aside to cool.
Start making the filling
Now that the crust is ready, move on to the filling. First, empty the contents of the gelatin envelope into a small bowl, and mix in the remaining ¼ cup of water. Set the mixture aside for five minutes so that it thickens. Fill a large bowl with ice, as you will need it shortly.
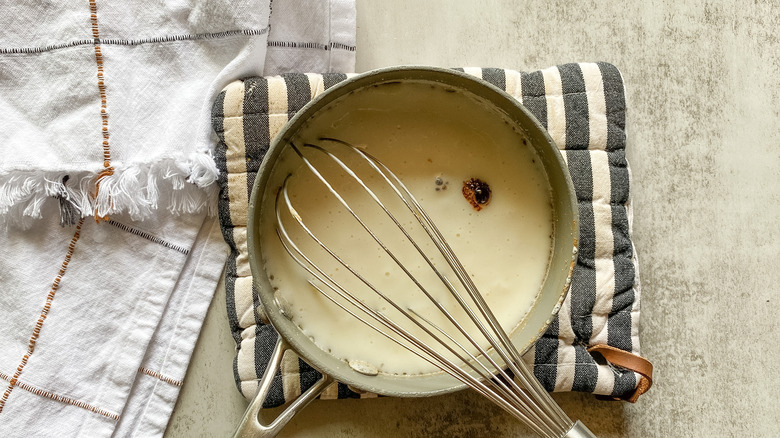
Next, place a saucepan on the stovetop, and add in the sugar, flour, salt, and milk. Whisk the ingredients together, bring them to a boil, and cook for one minute. Then, remove the saucepan from the heat before stirring in 1 teaspoon of vanilla extract and the thickened gelatin mixture. Transfer the saucepan into the ice bath, which Carli explains "allows the cream to cool quickly."
As the mixture is cooling down, pour 2 cups of heavy cream into the bowl of a stand mixer. Whisk the cream for about three minutes until stiff peaks form.
Fold the heavy cream into the milk mixture, and pour it into the pie crust
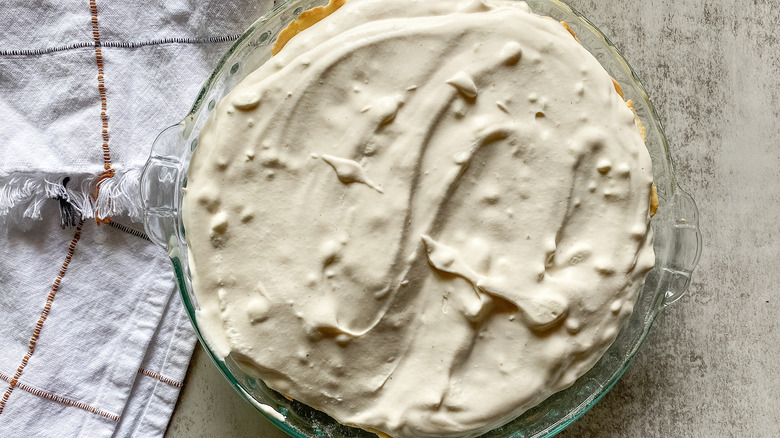
Once the heavy cream stiffens, the filling is ready to complete. Fold the whipped cream into the milk mixture in the saucepan. It should be extra creamy at this point, so it's time to finish up the pie assembly. Carefully pour the creamy filling into the baked crust you previously set aside. Using a spatula, spread the mixture evenly so that the surface of the pie is smooth.
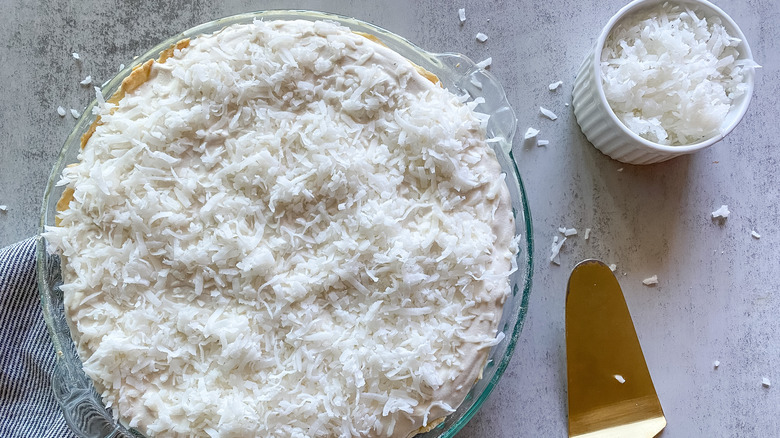
Top the pie with shredded coconut, then refrigerate it before serving
It's time to add the final touch to this delicious winter Christmas pie. Let it snow — aka sprinkle the shredded coconut evenly across the surface of the pie.
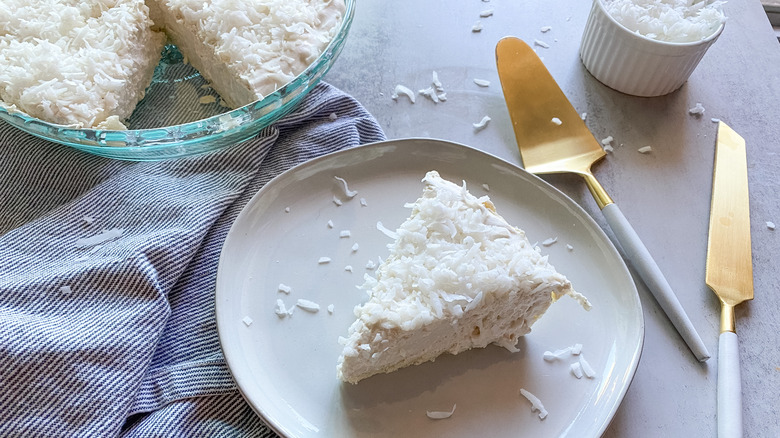
The last step requires the most patience — chill the pie in the fridge for at least four hours while the filling cools down and sets. When the time is up, slice into this creamy pie and enjoy.
If you end up with any leftovers, "This stores in the fridge for up to two days," Carli notes. Meanwhile, if you're making it ahead of time, Carli advises, "Just be sure to pull [the pie] out to defrost before slicing."
White Christmas Pie Recipe
If you're hosting a festive dinner party, serving this white Christmas pie for dessert is the way to go.
Ingredients
- For the crust
- 1 Jiffy pie crust mix
- ¼ cup water
- For the filling
- ¼ cup water
- 1 envelope unflavored gelatin
- ⅔ cup sugar
- ¼ cup flour
- ½ teaspoon salt
- 1 ½ cups whole milk
- 1 teaspoon vanilla extract
- 2 cups heavy cream
- For topping
- ½ cup sweetened shredded coconut
Directions
- Preheat the oven to 450 F.
- Add the pie crust mix and ¼ cup of water to a large bowl, then mix with a fork to combine.
- Separate the mixture into 2, and roll ½ of the dough into a ball.
- Place it on a floured work surface, and roll the crust out into a thin layer the size of a pie pan.
- Carefully transfer the dough to a pie pan, and press it down.
- Using a knife, remove the excess edges.
- Using a fork, poke the bottom of the crust several times.
- Bake the pie crust for 10 minutes, then remove it from the oven, and allow it to cool.
- In a small bowl, add the remaining water and the contents of the gelatin envelope. Mix to combine, and allow the gelatin to sit untouched for 5 minutes.
- Meanwhile, in a small saucepan, add the sugar, flour, salt, and milk, and whisk to combine.
- Bring the contents of the saucepan to a boil, and cook for 1 minute.
- Remove the saucepan from the heat, and mix in the vanilla extract and the gelatin mixture.
- Set the pan in an ice bath to cool quickly.
- Add the heavy cream to the bowl of a stand mixer, and whisk it for about 3 minutes until stiff peaks form.
- Gently fold the whipped cream into the milk mixture.
- Pour the cream filling into the baked crust, spreading it out evenly.
- Sprinkle shredded coconut evenly on top.
- Chill the pie in the fridge for at least 4 hours, then serve.
Nutrition
| Calories per Serving | 473 |
| Total Fat | 32.9 g |
| Saturated Fat | 19.1 g |
| Trans Fat | 0.0 |
| Cholesterol | 86.1 mg |
| Total Carbohydrates | 41.0 g |
| Dietary Fiber | 0.9 g |
| Total Sugars | 23.2 g |
| Sodium | 322.5 mg |
| Protein | 4.8 g |