12 Mistakes To Avoid When Making Caramel
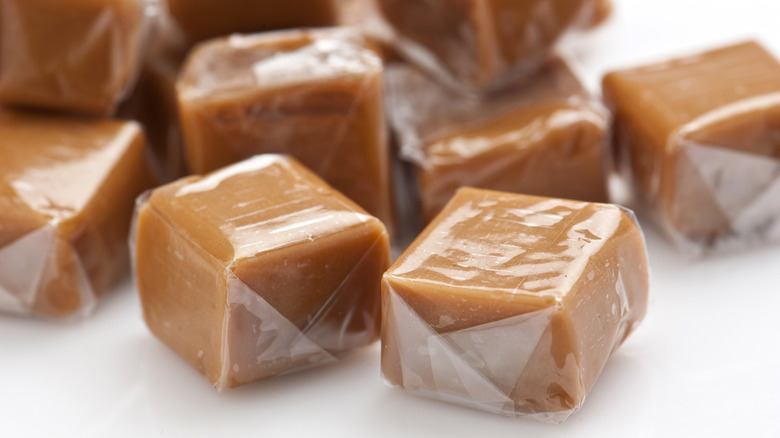
Caramel is proof that some of the best things in life are simple. You don't need a long list of items to make this sweet treat at home. In fact, in its most basic form, caramel is made with just two ingredients: sugar and water. A few additional pantry staples are necessary to make caramel desserts like caramel cake or caramel thumbprint cookies, but the unique sweet, buttery flavor caramel adds to these confections makes it worth the effort and extra ingredients.
Making caramel from scratch can be intimidating. While the process for making it is technically simple, it does require planning and strong attention to detail to achieve perfect results. There's no sugar-coating the fact that cooking with piping hot sugar can be tricky — and downright dangerous. Melting the sugar without lumps, reaching but not exceeding the perfect temperature, and adding your other ingredients at just the right time can be overwhelming, especially for novice cooks.
I learned to make caramel in cooking school in a kitchen cloudy with the smoke and acrid smell of burnt sugar as my classmates and I made every possible caramel mistake in the book. Here are some of our tips for making your caramel dreams come true, whether you're making a caramel candy or sauce or are dead-set on pronouncing it "car-uh-mel" instead of "car-mel."
Not assembling your ingredients
Preparation and organization are your secret weapons for success in the kitchen. It's why professional chefs make a habit of gathering and prepping all of their ingredients before they actually start cooking. The fancy French word for this process is mise en place. Dropping this phrase into casual conversation will not only make you sound like a pro to your friends and family, but it will also make your time in the kitchen more efficient. It allows you to focus solely on the steps of your recipe instead of interrupting your flow to collect and measure the items you need.
Mise en place is essential for all recipes, but it's crucial when you're making caramel. The art of making caramel is a lot like a baseball game. There are long periods of waiting where not much seems to happen, then someone hits a homer, and the baseball diamond comes to life with a frantic flurry of activity. Like baseball, making caramel shifts from peace to panic, so it's crucial to have all of your ingredients and tools assembled and measured so you're ready to go when the action starts.
Choosing the wrong pan
Choosing the right equipment for the job can make or break your recipe. For example, attempting to roast your Thanksgiving turkey in a cake pan or trying to bake a pizza in a mixing bowl would yield disastrous results. Using the right type of pan for your caramel, in this case, a heavy-bottomed one will help ensure a positive outcome.
The extra thickness allows the pan to disseminate heat evenly, which remediates hot spots that may otherwise burn your food. You should also choose a pan with high sides when making caramel. If you're adding a liquid to your pot, this can cause the sugar to bubble up and over the edge. In addition, you should select a light-colored pan to easily monitor the color of the sugar as it cooks. Darker-colored pans make it much more difficult to gauge the color of the sugar, which in turn makes it easier to burn.
Using the wrong sugar

Muscovado, demerera, and turbinado, oh my! There's much more to sugar than the tried-and-true pantry staples most people use regularly, like brown sugar and granulated sugar. Muscovado, for example, adds a rich molasses punch to everything from BBQ sauce to chocolate ganache. Demerara sugar's large crystals add a delectable crunch to banana bread, and turbinado sugar is Ina Garten's secret to a perfect pound cake crust. These sweet variations are excellent options for a host of other recipes, but you'll want to skip the fancy stuff and turn to the white granulated sugar in your cupboard when you're making caramel from scratch. Granulated sugar, the culinary workhorse in many desserts, is the star ingredient in caramel. While all sugars can be melted, granulated sugar is the superior choice for several reasons. For starters granulated sugar's small crystals make it melt more quickly and evenly than raw sugars, like Demerara and turbinado.
You should also resist the temptation to get a head start on the deep brown caramel color by using brown sugar. This molasses-based sugar is unrefined, which means it contains impurities that burn faster than the rest of the sugar. The dark color can also make it challenging to determine where your sugar is in the melting and caramelization process, and the molasses flavor can alter the taste of your finished caramel.
Getting the temperature wrong
Minding the temperature might be the most critical aspect of making caramel from scratch. Temperature is what transforms simple granulated sugar into the golden caramel we love, and missing the mark by just a few degrees can have a huge impact on your final product.
In order to make caramel, the sugar has to undergo caramelization, which occurs when sugar is exposed to heat. The heat breaks down the crystals and causes massive changes in the molecular structure, altering its texture and taste. As the sugar melts and liquidizes, the taste transforms into the rich caramel one we love. The only difference between the perfectly balanced caramel flavor and the sharp, bitter flavor of burnt sugar is the temperature it reaches during caramelization.
Temperature is what unlocks the full spectrum of flavors and textures in caramel. Too low, and instead of caramel, you're left with a syrup that's both mild in color and flavor. Heat the sugar too high, and your caramel will be overpowered by the harsh, bitter notes that signal you've burnt your sugar. Keep a candy thermometer nearby to test the temperature of your sugar. The minimum temperature required for caramelization is 320 F, but you won't notice much in the way of color. The magic typically happens when temperatures in the pan reach 330 F.
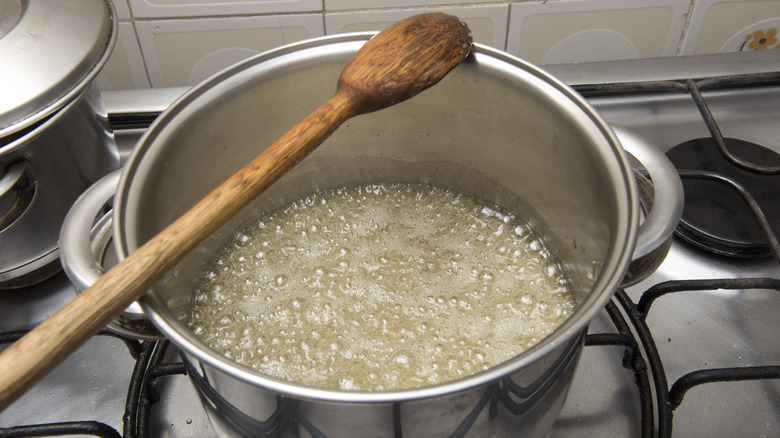
Stirring the sugar too much
Patience, precision, and willpower are three tools you may not have known you'd need to make caramel. After all, waiting for the sugar to reach just the right temperature and shade of brown can be more challenging than you might think. This is especially true when it comes to stirring caramel. Stirring can lead to one of caramel's worst enemies, crystallization, which causes crunchy bits of sugar amid a smooth caramel.
Your sugar likely won't all melt at the same speed, so it is tempting to stir it to smooth it out. However, it's best not to stir the sugar at all to prevent crystallization. When left alone, all of the sugar will melt eventually. If you're concerned about hot spots in your pan, which can cause some of the sugar to brown before the rest, gently swirl the pan over the burner in a circular motion instead of stirring.
Stirring the sugar as it melts or bubbles will likely splash some of the melted sugar onto the sides of the pan, which are not as hot as the bottom. When the melted sugar hits these cooler sides, it will immediately revert to a solid state or crystalize. If this does happen, use a pastry brush dipped in water to gently brush the crystalized bits on the side of the pan to dissolve them back into the caramel.
Forgetting about safety

Playing it safe in the kitchen should be a top priority no matter what you're making — but it's essential when whipping up a batch of caramel. When it's in a liquid state, it's like stirring a pot of hot lava that will not only burn, but adhere to your skin, according to Art Chocolat. Always express caution when making caramel and take a couple of important steps to set yourself up for an injury-free caramel-making experience.
It's always a good idea to wear long sleeves when making caramel. The sleeves will do double duty and protect your arms from the bubbling hot sugar or any steam that might develop if you add liquid to your pot. Place a fine mesh strainer over the pot before you add your liquid to minimize the risk of splatter burns, and keep a small bowl of ice water nearby to treat minor wounds.
While tasting is an essential part of cooking, you'll need to refrain from trying your caramel until it's sufficiently cooled. Grab a bite any sooner, and you'll incinerate your tastebuds.
Not heating your liquid
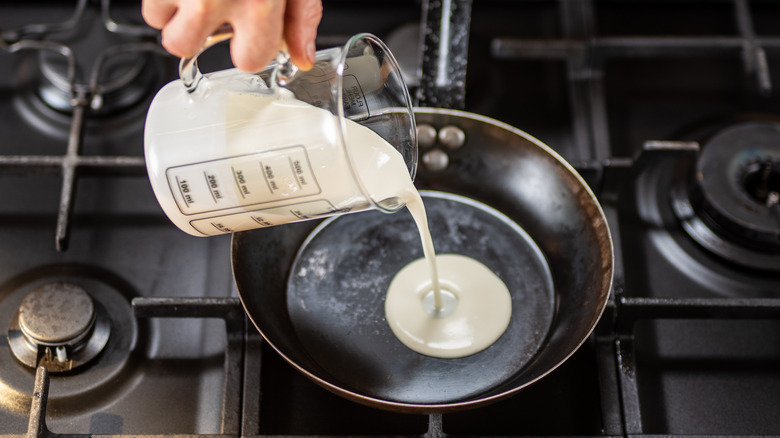
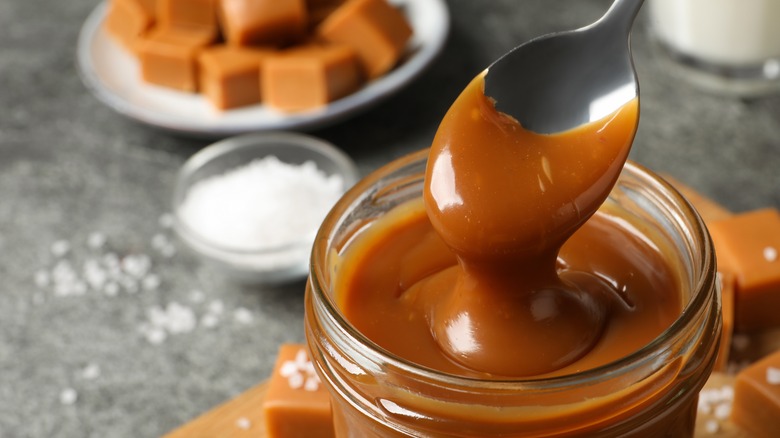
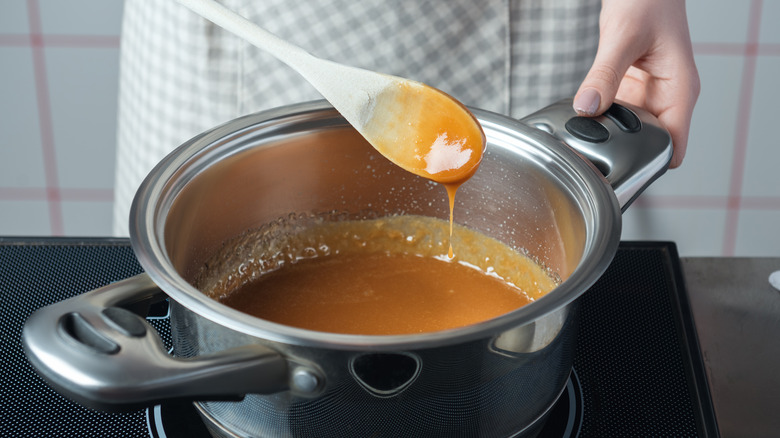
Caramel sauce is a delicious thing of wonder, and it elevates almost any dessert recipe, including glazed donuts or caramel apples. Unlike standard caramel, it's made by adding a liquid, like heavy cream, to melted sugar, which gives it a creamy, smooth consistency. However, using cold liquids when making caramel sauce can get in the way of this perfect texture. Temperature plays an integral role in melting the sugar for caramel and crafting the perfect sauce. Sugar is sensitive to heat and temperature, so drastic temperature changes can affect how it behaves in a recipe.
Pouring a cold liquid, like heavy cream or water, into caramel can cause the hot sugar to bubble and splatter and potentially create a dangerous situation. Making caramel with cold liquids can also cause your caramel to seize. Seizing occurs when a sudden temperature shock, usually from hot to cold, can cause the sugar to crystallize or harden and create a grainy caramel.
You can avoid these caramel calamities by gently heating the liquid before adding it to the pan. Your liquids don't have to match the caramel's temperature, but the less difference between the two temperatures, the less likely you are to encounter any of these potential problems.
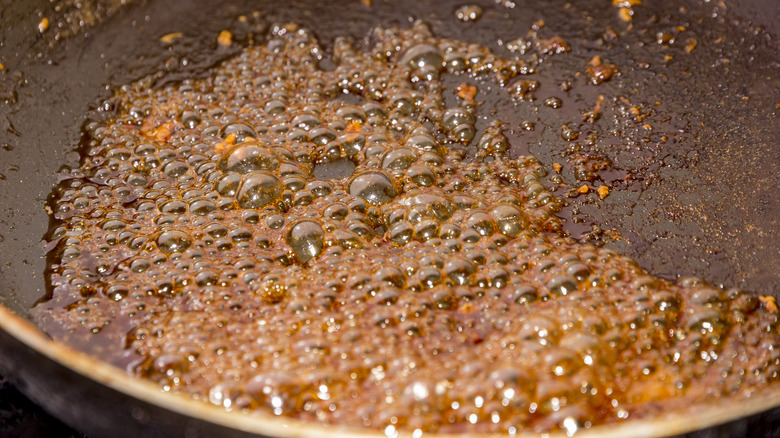
Stopping before the sugar browns
Color equals flavor for caramel. Sugar in its original, granulated state is sweet without any richness or depth of flavor. Cooking the sugar until it melts and turns golden brown is how the caramel flavor develops. However, it's not uncommon for cautious cooks to remove the caramel prematurely from the heat to prevent it from burning. This mistake doesn't allow enough time for the caramel's flavor to mature. The result is a pale, thin, cloyingly sweet mixture that doesn't resemble caramel in the slightest.
The sugar needs to melt and cook until it browns. It has to reach a specific temperature, about 320 F, to create the chemical compounds that produce the clear caramel flavor that you crave. These chemical compounds, including diacetyl, esters, and lactones, are accentuated during the cooking process and give your final product its buttery, sweet taste. We advise being patient yet cautious to get the perfect color and flavor in your recipe.
Choosing the wrong caramel method
There are two methods to make caramel at home: the dry method and the wet method. Since each has its own unique pros and cons, the one you choose will ultimately depend on your experience in the kitchen.
The dry method requires fewer ingredients — you only need sugar — but it can be more challenging to master. The sugar melts faster with no other ingredients in the pan, in turn making it easier to overcook. Moreover, the rapid melting and browning can also affect the taste of your caramel. Its rich flavor takes time to develop, which means dry-method caramels can lack this depth of flavor. One advantage of the dry method is there's no liquid to potentially cause crystallization.
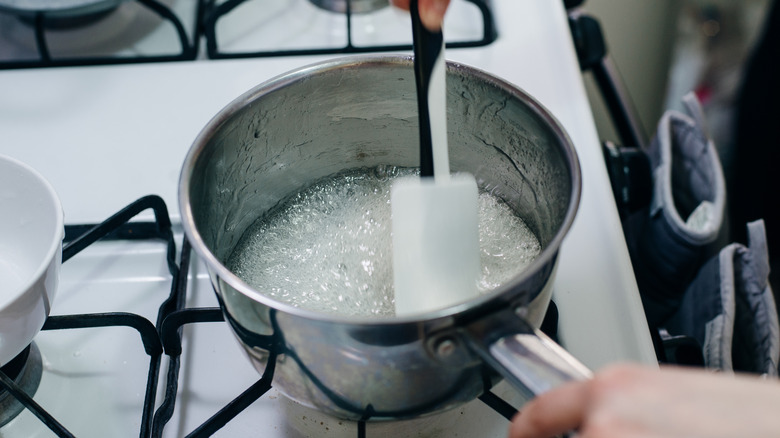
The wet method adds water to the sugar before it's heated. The water buffers the sugars, slows down the caramelization process, and makes it more difficult to burn than the dry method. Plus, the longer cooking time allows your caramel to develop layers of flavor slowly. However, you'll need patience to wait for the sugar and water to brown. Another drawback is the risk of crystallization and splatter from the wet caramel moving around in the pan.
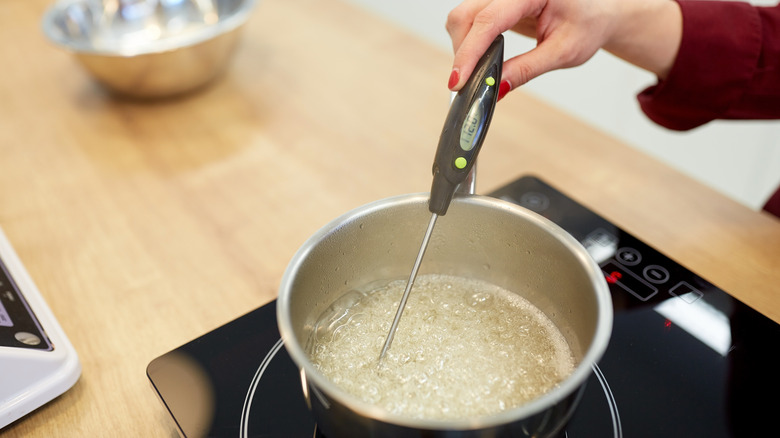
Avoiding a candy thermometer
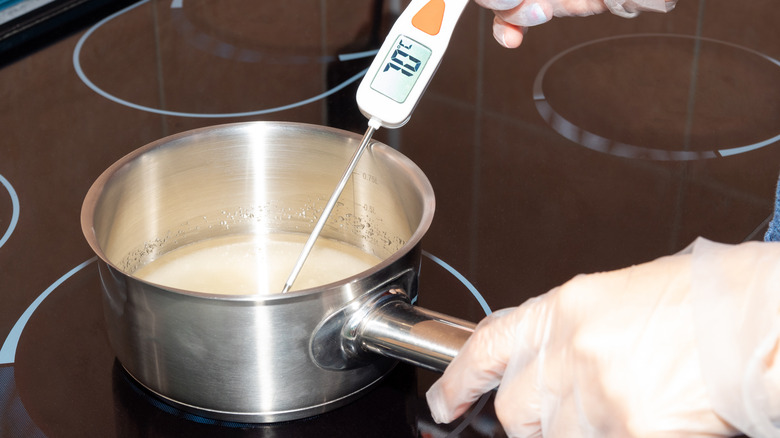
A candy thermometer is your secret weapon in nailing your caramel recipe every time. It will help you ensure your caramel reaches the appropriate temperatures and eliminates any questions regarding doneness. Over time, you may become comfortable enough making caramel that you'll be able to tell by the color of the sugar if it's at the right temperature, but until then, investing in an inexpensive candy thermometer can save you stress and wasted ingredients.
Candy thermometers are designed to measure the high temperatures that come with making candy and other sweet treats. The tool can also be used for measuring the temperature of oil when deep-frying. Most measure up to 400 F and include the critical candy-making temperatures to make it easy to see when you've reached the soft-ball, firm-ball, and hard-ball stages. Candy thermometers are longer than regular thermometers, so they can be clamped to the side of the deep pots used for frying and cooking. There's no easier way to ensure you're in the proper temperature range for caramel than using this useful gadget, which is why we recommend having one on hand.
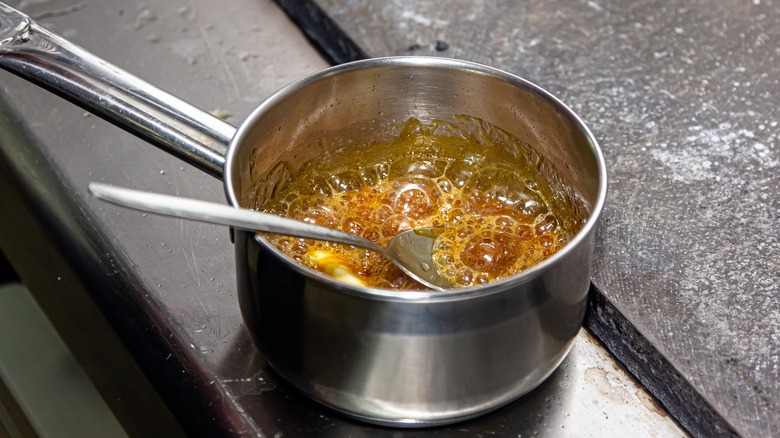
Burning the caramel
Many mistakes in cooking can be reversed or corrected. Burnt sugar is the exception to this rule. It's impossible to correct once your sugar has hit temperatures above 350 F, also known as the burnt-sugar phase. The sharp, astringent taste will overpower anything added to it. That means it's better to be proactive about preventing the burning in the first place than trying to salvage your recipe.
Making caramel from scratch is a commitment, and once you start, it's imperative that what's happening in your pan gets your full and undivided attention. Since there is a thin line between caramel perfection and burnt sugar, it's go-time once you notice browning. You'll need to be ready to move on to the next step in your recipe immediately, whether that's pouring the caramel into a prepared pan for candy or adding heavy cream or another liquid to make a caramel sauce. There's no time for hesitation.
The caramel will continue to cook in the few minutes after you remove it from the heat. You can combat carryover cooking by pulling your caramel from the heat when it's a few degrees shy of your ideal temperature or a shade lighter than you'd like it to be.
Using a dirty pan
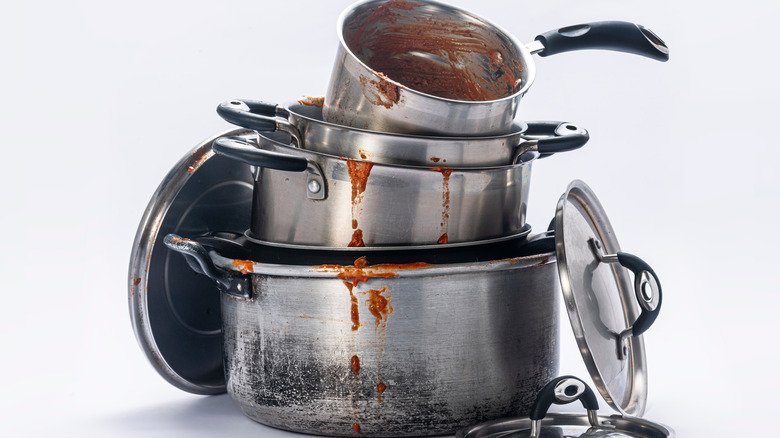
Cleanliness and food safety should always be your goal in the kitchen. Starting every session with clean pots, pans, and utensils is a no-brainer. No one wants to cook with or eat food prepared with dirty equipment, and even though you'll be cooking the caramel at temperatures that will likely kill any harmful contaminants or bacteria present, it's always better to start with a clean slate.
Food safety concerns aside, there are other reasons you should make sure your pan is sparkling clean before you begin to make caramel. Any residual oil or food left in the pan will likely be incorporated into your sauce. This will alter or diminish the taste and, potentially, the texture of your caramel. In the same way egg whites won't whip properly into meringue if they're prepared in a bowl with even the slightest hint of oil or food residue, caramel will not reach your desired texture if it's prepared in a pan with bits of food stuck to it. These crumbs can be more than just a nuisance; they can also cause your sauce to crystalize or seize. Before adding your ingredients, be sure to wash your pan thoroughly and ensure it's dry and free of leftover crumbs.