12 Mistakes You Need To Avoid With Veal
Veal, you've come a long way, baby. Back in the last millennium, veal had a bad reputation for how its sourced animals — usually young male cattle — were treated before their slaughter. In the old, darker days, the calves were held immobile in tiny cages, and their short lives were filled with pain and misery before the one-way trip to the slaughterhouse.
But veal has been making a comeback in the past few decades, and veal is now okay to eat from the standpoint of animal cruelty and bad nutrition. No longer tied down in small, restricting pens, veal cattle can now move around, lie down, and mingle with other animals in group pens, as per the American Veal Association. The idea that baby calves are subject to animal abuse is one of the biggest veal myths you can stop believing.
But that doesn't mean that veal is like any other cattle cut. Veal's unique nature can make it tricky when it comes to prepping and serving. After doing some online digging and consulting various veal organizations, here are 12 tips that can help ensure that you'll get the real deal out of your veal.
Know what it looks like
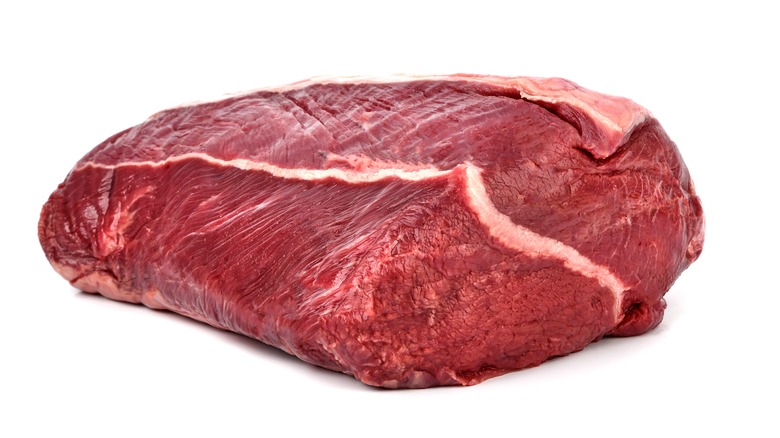
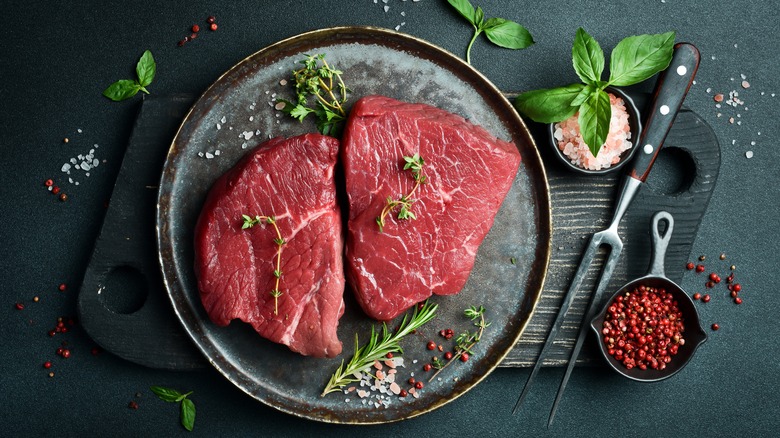
When pursuing your local butcher's shop for that perfect cutlet, the first thing to keep in mind is that veal doesn't resemble other beef cuts. For one thing, veal tends to have very little, if any, marbling. This is because the young calves haven't matured and haven't had time to develop the fat within its muscle fibers that we're accustomed to when looking for flavorful cuts. The lack of marbling doesn't mean that veal has no fat; any fat covering should have a milky white consistency.
As to the color of the meat, veal is classified as a red meat, but the actual tint tends to be pinkish gray, according to the USDA. On its own, veal meat is deficient in iron and has a grayish hue, as per Verywell Fit. If you're purchasing grain-fed veal, the cutlet should have darker appearance than calves that were fed with milk. For veal that is milk-fed, the formula has added iron supplements as well as other nutrients, vitamins, amino acids, and fats. The extra iron gives the veal its pink shade.
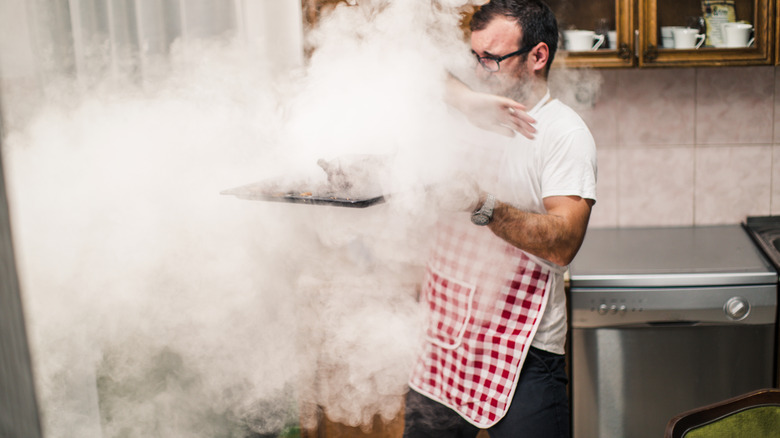
Don't cook veal straight from the fridge
Planning ahead seems like common sense when approaching any meal, but for meat dishes, you'll need extra time to properly thaw out your meat to prevent bacteria growth and food contamination. One of the biggest mistakes people make when defrosting meat is just leaving the cut on the counter to naturally thaw to room temperature, which is just an invitation for spoilage to set in. Conversely, cooking your veal straight from the fridge is another of the biggest mistakes you're making with steak, as doing so can impact the flavor and texture.
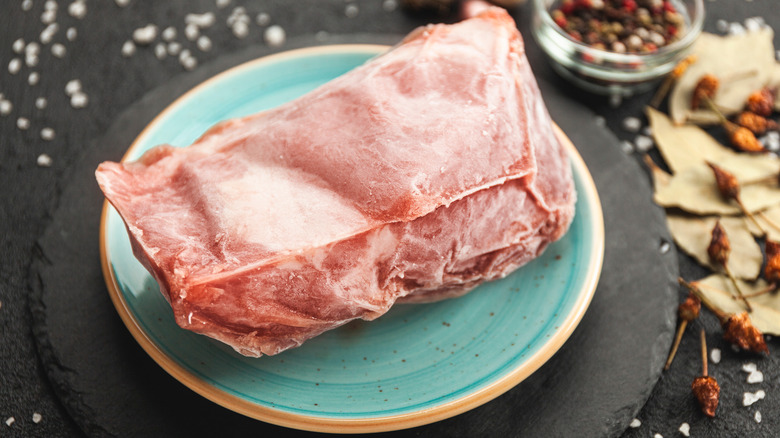
For veal, the USDA recommends cooking freshly refrigerated ground veal in 1 to 2 days, with other cuts keeping up to 5 days, tops. If prepping your meal from frozen veal, thaw your meat in the refrigerator, in cold water, or zapping it in the microwave. If using the fridge, it takes about 4-7 hours to thaw out a large roast and up to 12 hours for thick ribs and shoulder chops. A faster way to thaw is to submerge the entire package in cold water, while changing the water every 30 minutes. A 2-pound roast can take up to an hour to thaw out while heavier cuts might require up to 3 hours. If you thaw out the entire package, it's best to cook the whole thing. Re-freezing veal can lead to bacterial growth and also detract the flavor.
Be wary of leaving the bone in
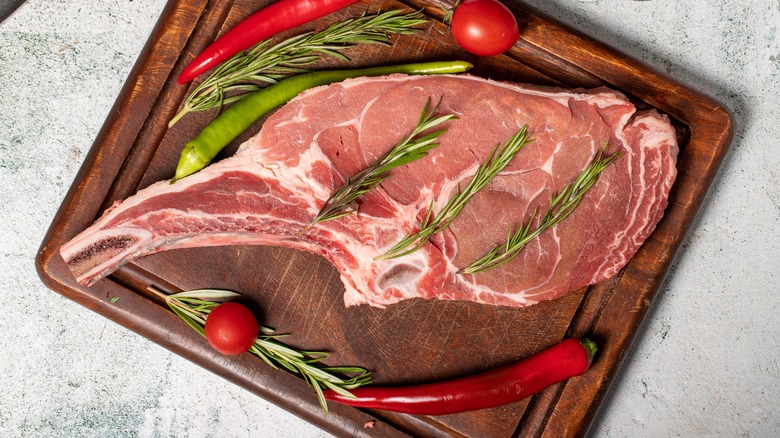
Ah, the bone. At the end of every meal, there's nothing more satisfying than seeing a pile of ribs stacked neatly on a plate as evidence of a feast consigned to history. When it comes to any slab of meat ready for the ol' gullet, the bone often stands out. Though not edible on its own, the bone is a signature part of any meat dish's taste and aesthetics.
But for veal, the bone might just get in the way with the meat's tender texture and taste. According to Esquire, bones can act like a heat sink, which absorbs heat from other areas of the meat, leaving those portions under cooked. The bone will also have tendons that connect with the meat, which, if also left under cooked, can be chewy and gummy.
That's not to say that we should just toss out the bone. Veal bones are rich in collagen and are perfect for brewing various types of veal stock with vegetables to make soups, sauces, and stews to enhance any recipe's flavor. Even if you have to take the bone out of your chop, the next dish on the menu will thank you.
Know when to use a mallet to tenderize
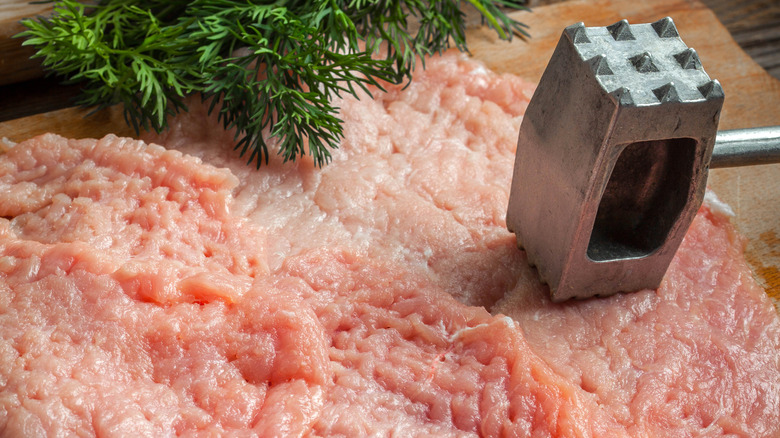
Calves that become veal lead pretty sedentary lives. Unlike dairy cattle, these calves have yet to have the opportunity to exercise and build muscle that comes with age. As a result, veal is pretty tender on its own. But that doesn't mean that your particular cutlet couldn't stand to be a little softer when recipes call for it. Enter the meat mallet.
But before you start whacking away at the slab on the counter, remember that veal isn't like its adult counterpart. The sinews aren't as tough or chewy in veal as they are in a regular steak. In other words, you might end up turning your cutlet into mush.
One tip to remember when tenderizing a cut of veal with a mallet is to cover the cutlet with a plastic wrap or wax paper. Use the flat side of your mallet to even out the thickness. Then, use the spiky end once over the cut to soften the meat without making it into pulp.
If you don't want to use a meat mallet, other options exist to tenderize your cut. Some seasonings and marinades can help flavor veal while softening the tendons and chewer tissue. Braising veal in a variety of juices and herbs helps to soften the meat while also injecting your flavor of choice into the cut. Whether adding cilantro or lemon juice, your veal will have that extra tender zing without looking like it went through the meat grinder.
Make sure to add some fat
By its nature, veal is very lean, which may be good for the calorie count but not necessarily for flavor. The lack of marbling in veal cuts can really detract from the meat's umami flavor, and veal, if it's roasted straight up on its own, can be tender but pretty bland.
One way to amp up the savoriness is to get the fat back in. Back in the nineteenth century, the go-to option was lard; larded veal meant cutting slits into the meat and inserting lard into the slats. One 1916 butcher's guide for larded veal loin called for removing the veal skin covering, inserting lard into the upper surface, and then binding it with twine. If you want to duplicate these recipes of yore, substitute bacon instead of lard, with the beacon strips pre-cut to fit right into their designated slots.
More modern methods include using cooking oils instead of lard. Pan-frying your veal as part of the prep is key to moistening the meat before the main cooking, whether that be braising or baking. The outer edge will get that marvelous sear look and texture while the insides remain tender as the cut soaks up the cooking oils.
Use the right oils and fats to sear veal
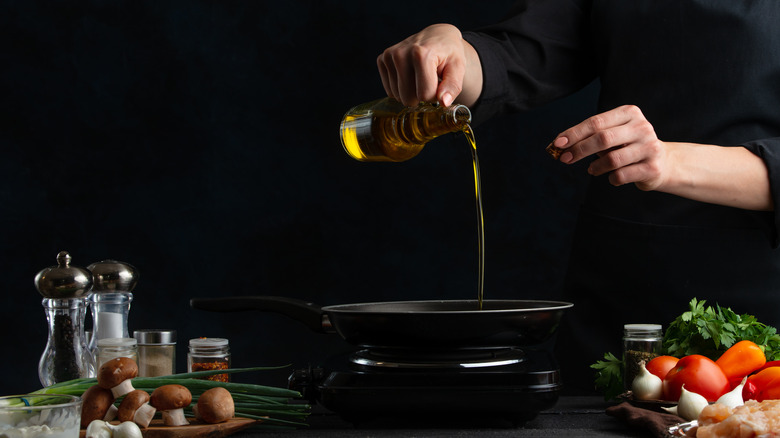
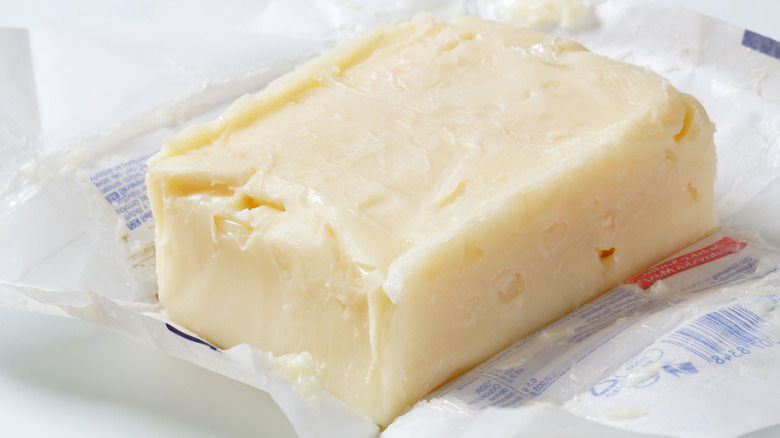
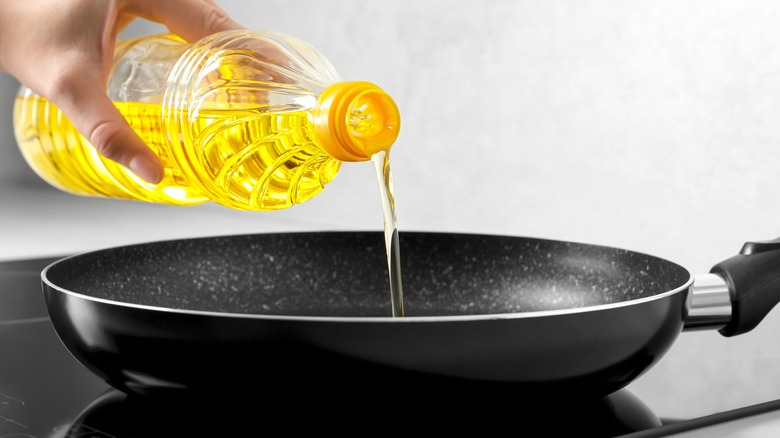
While using fats and oils to cook veal is pretty standard, it pays to be mindful regarding which oils you're using. For one thing, you should never use unrefined oils for cooking any kind of steak. Unrefined oils are those that haven't been processed to remove impurities. That means the oils will break down in high heat, leaving your meat with an unsavory flavor or a burnt look. Along the same lines, don't use butter or extra virgin olive oil. Avocado and walnut oil, on the other hand, are great for frying veal while adding some light flavor to your cuts.
Instead of oils, you can try using fat. Fats that have a high smoke point, like tallow or lard, are great starting points to give your veal that seared look and texture. Tallow, in particular, is a great choice; beef tallow originated in cows, and it just makes sense that the absolute best use for beef tallow is to cook other cattle cutlets.
Don't over-rely on frying
Frying veal is one of the most traditional ways of cooking it, but it's actually a starting point. With a little imagination, you can find multiple ways to create a savory veal dish while not upping the calories. The oven is always an easy go-to when it comes to cooking meat. One idea for crispy baked veal parmesan, for instance, calls for creating a crispy, golden-brown edge on your veal by adding smashed cornflakes to the breadcrumbs and seasoning prior to baking.
Another strategy to avoid frying is to grill your veal. However, don't just lay the meat on the barbecue. You'll need to make sure that the veal retains as much moisture as possible. This means heavily coating the veal with melted butter or a marinade before grilling it. The marinade will flavor and moisturize the meat so it doesn't dry out. After flipping the cut (using tongs, not a fork, to avoid piercing the meat and risk losing the cooking juices), add some toppers like mushrooms and tomatoes to re-moisturize the top. Finally, a more high-tech solution might be the air fryer, which doesn't require any added oils to the meat other than that from a cooking spray.
Don't over-bread your meal
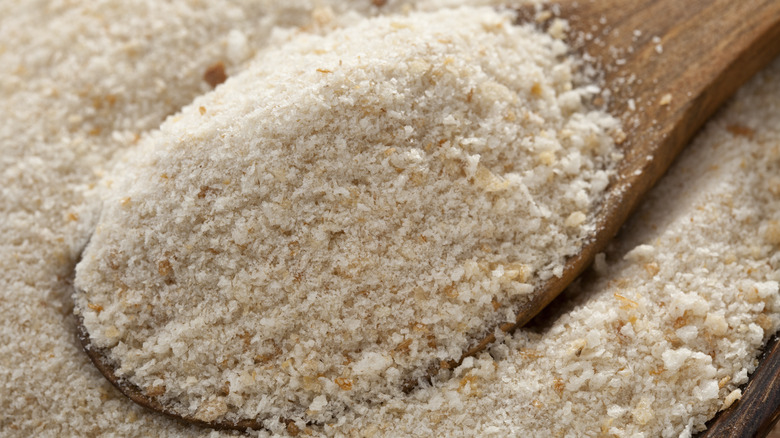
Breading your veal is standard for prepping it for the frying pan, but one major caveat with breadcrumbs is that they can turn soggy when frying. Not all breadcrumbs are created equal; for instance, among the 12 types of breadcrumbs, Panko breadcrumbs absorb less fat than regular breadcrumbs, which means they don't get soggy. But that doesn't mean we need to invest in a gourmet miette de pain just to make simple veal parmesan. Chef Scott Conant has a simple solution for his Italian-American favorites while avoiding wet breadcrumbs. His tip: Keep the ingredients separate. Freshly toasted breadcrumbs are naturally crunchy and don't require a deep immersion into a frying pan.
One strategy is to shape your own cutlet by using ground veal instead of a single cut. Chef Cammie Kim Lin shares one fast and easy breading method for crispy cutlets without making a mess: Roll the ground meat into balls and then press the ground meat into the breadcrumbs directly. The breadcrumb will adhere to the moist balls, meaning no additional flour or egg yolks are needed to complicate the process — and the mess — by weighing down your meal with excess bread. Flatten the breaded veal into your desired shape and dip it straight into the frying pan.
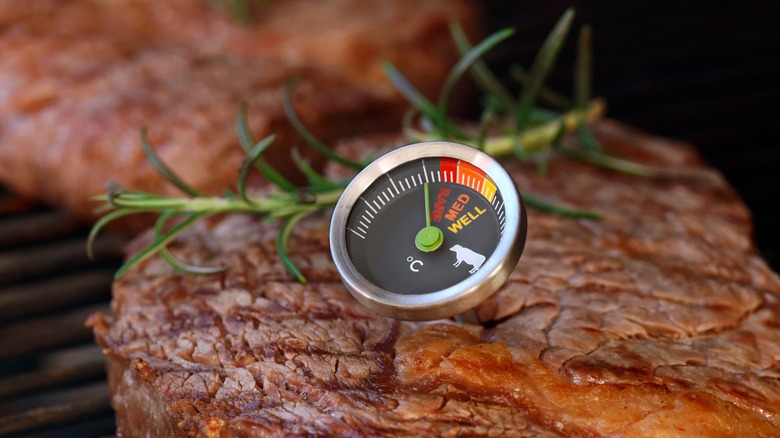
Use the right temperature
One sign that you're eating at a high-quality steakhouse is that the cuts are always cooked to perfection. For a rare steak, 125 F is an ideal temperature, and the scale runs up to 160 F for a well-done cut. For the discriminating carnivore connoisseur, the temperature has to be just right for any cut of meat to reach its peak potential flavor.
Veal's unique texture means that some of the temperatures need to be adjusted. FoodSafety recommends that the veal should have a minimal internal temperature of 145 F after resting for three minutes to ensure that all bacteria are eliminated, with higher cooking temperatures for larger cuts. However, according to Veal, the meat is at its optimal best at medium when it hits around 160 F. Please remember that the temperature will change even when the roast is removed from the oven; as the meat stands, the internal juices keep cooking, so the final temperature won't be as expected.
Don't over-cook the cut
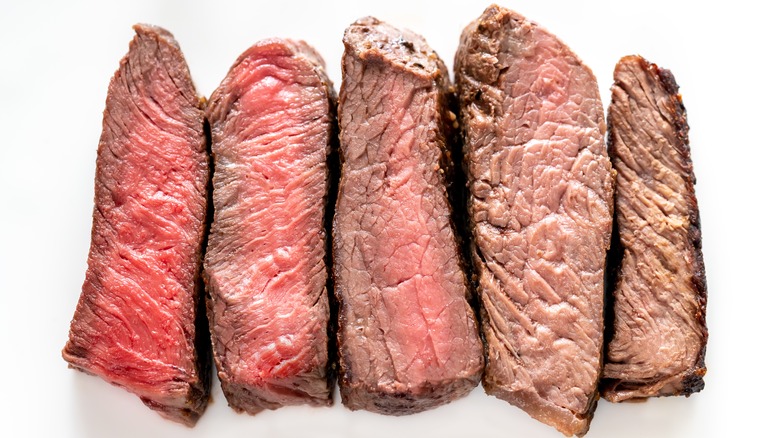
One of the pitfalls with veal is that, unlike regular steaks, veal has a much more limited range when it comes to applying heat to a particular cut. Veal's lack of fat and its lean texture means that they aren't as juicier as meat from grown cattle. Some cuts, such as the chop from the loin or rib of the calf, will have some fat, which makes it an ideal cut that's perfect for beginners. However, even then, its fat content won't save it should you happen to overcook the meat, and it's best to cook veal until it is medium rare.
If you like your steaks thoroughly cooked — from medium well to well done — veal might be too overdone and tough on the chompers. When well done, veal dries out and might look like a treat for Fido rather than the centerpiece for your gourmet dinner. But even if your veal is too tough as a steak, that doesn't mean it's ready for the compost. Chef Bobby Flay recommends one simple method to rescuing overcooked meat: A little lime juice and olive oil to tenderize it and then cutting the overcooked portions into strips to make them more bite-size. From there, Flay suggests using your veal for taco stuffing; the guacamole, sour cream, cheeses, and veggies have their own moisture that will balance out the chewiness of your lamented cuisine.
Always use a meat thermometer
When checking to see if your veal cutlet is done, it's tempting to just eyeball a breaded piece and judge it just by how long it has been in the frying pan. But for larger veal cuts and roasts, you'll actually need a meat thermometer to check the temperature since the meat's residual heat finishes cooking the insides as it rests.
Rather than a meat thermometer, some experienced chefs might use the classic hand trick, where they give their veal the finger. Just poke the meat and compare the feel with the base of your thumb. A raw cut is as soft as the thumb's base in an open-hand position. When your thumb connects to your forefinger, that same spot is a little firmer — similar to rare doneness. Move across the digits for medium rare, medium well, and well-done when your thumb touches the pinky. While a nifty shorthand for pros, a casual cook probably shouldn't rely on the hand trick to check meat doneness. Veal is tenderer than traditional steaks to begin with, and the hand trick is less accurate than a trusty thermometer.
If you do make a visual inspection of your cooked veal, the inside meat near the bone (or in the center for boneless cuts) should have a light pink tint, as per Veel. If the meat is tender when cut with a fork, it's chow time. However, slicing the meat to check the temperature might turn your veal into a juice-leaking sieve, leaving your taste buds salivating to catch up.
Use leftovers quickly
When your meal is too much in one sitting, one of the joys is getting to scarf down the leftovers at the next sitting. But, like any fresh and cooked food, veal has a short shelf life. According to USDA, leftover veal should be eaten within the week, preferably before the 5-day mark. You can freeze it, but letting it sit in the fridge for a week or more invites food poisoning.
When heating leftover veal, be careful not to overcook it. Just like the outset when preparing the original meal, veal can dry out pretty quickly if overdone. Leftovers can be tricky because the food tends to heat from the outside in, which can dry out the edges while the insides are still stone cold. One way to evenly heat veal is to cut the leftovers into smaller portions for faster, more even reheating.
There are a variety of ways you can use steak scraps and trimmings to make extra meals, and leftover veal is no exception. From salads to stroganoffs, omelets to empanadas, your leftover veal can be transformed into a feast for any part of the day — and night. And that's the real deal with veal.