10 Mistakes Everyone Makes When Making Apple Tarte Tatin
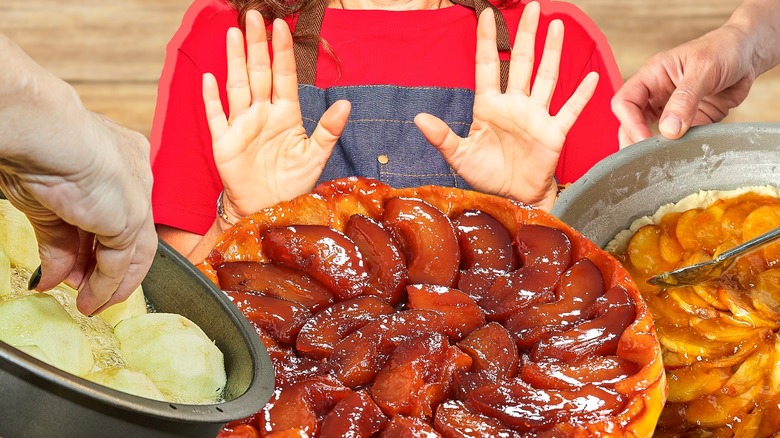
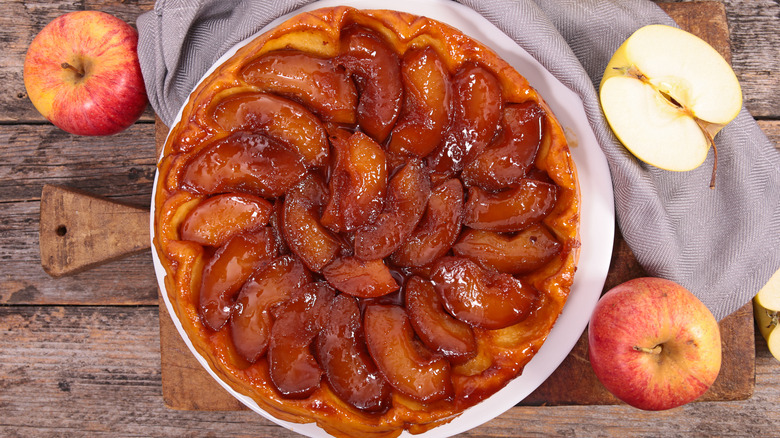
Butter, sugar, apples, puff pastry — yes, please! Apple tarte tatin combines all these tasty ingredients in one gloriously decadent dish, so it's no wonder this French-style tart is popular for special occasions. Rumored to have been invented by accident in the 1880s at the French Hotel Tatin by two sisters, Stephanie and Caroline Tatin, apple tarte tatin is made by caramelizing sugar in a skillet and enriching it with butter before adding a layer of apples that get cooked until tender and juicy. The apples are topped with a pastry crust, and the whole thing gets baked in the oven until bubbly and browned. When done, the dish is inverted onto a plate so the caramelized apples sit on top of the crisp puff pastry, and the gloriously sticky-sweet sauce spills over them for an elegant, show-stopping dessert.
Making apple tarte tatin at home can be daunting. Cooking sugar over a hot stove and skillet flipping can scare off even an experienced home baker. To help us avoid some common pitfalls when making this classic French dessert, Tasting Table spoke with chef Michelle Palazzo, director of pastry operations at Frenchette Bakery and Frenchette, the renowned French brasserie in Tribeca and winner of the James Beard Foundation Best New Restaurant in 2019. An award-winning pastry chef and dessert expert, Michelle specializes in developing French desserts with a modern twist. We discussed the biggest mistakes to avoid when making apple tarte tatin, as well as how to master this flaky holiday dessert.
1. Using the wrong type of skillet
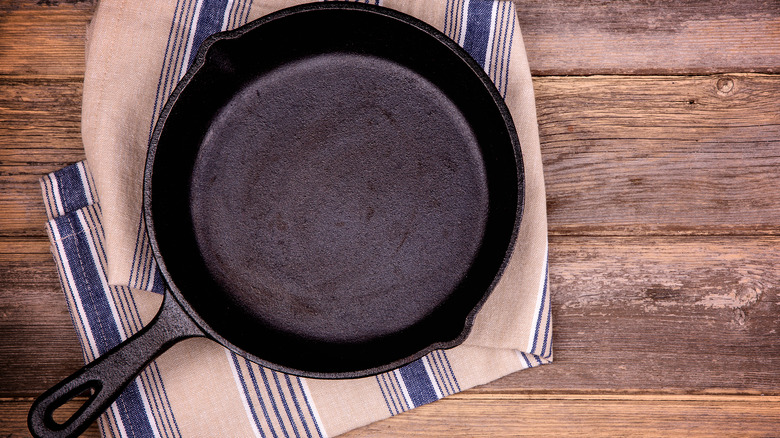
Long before one-pan dishes became all the rage, apple tarte tatin was being made in one skillet from start to finish. This classic European one-skillet dessert starts on the stovetop and ends in the oven before being inverted for serving. This means that the skillet you use to make your tarte tatin needs to work well for each stage of the dessert-making process: caramelizing the sugar, cooking the apples in caramel, and baking the flaky pastry crust in the oven.
Our expert's advice? Choose a sturdy skillet that will retain heat well and cook more evenly. "Typically, the best pan is a heavy bottom skillet," Palazzo says. "You can also use a cake pan if needed, but you'll get a more even bake using something like stoneware." We'll take this one step further to remind you that since the first step to apple tarte tatin involves cooking sugar to make caramel, your skillet must be absolutely clean. Any trace of impurities in your skillet will cause the sugar to seize and crystallize, and you'll need to start over.
2. Not cooking the sugar properly
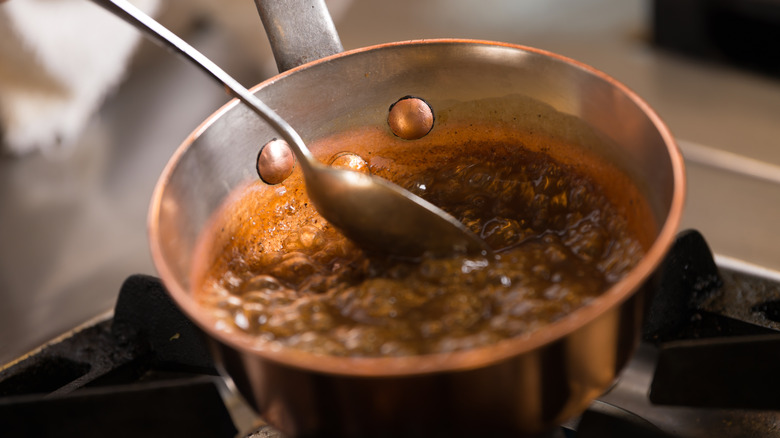
The first step when making apple tarte tatin is melting white granulated sugar in your skillet and cooking it until it thickens and darkens into caramel. There are two main things you want to avoid when making caramel: overstirring and undercooking. As the sugar melts, it may be tempting to stir to speed up the process, but doing so can lead to catastrophic results. As you stir, you risk introducing impurities and splashing the water-sugar mixture onto the sides, which, when the water evaporates, leaves sugar to recrystallize and fall into the pot. This leads to further recrystallization and a grainy caramel. The solution? Be patient when cooking your sugar, and let the heat do the work. When the sugar begins to turn color, swirl the skillet gently to allow the sugar to caramelize evenly. No stirring needed.
Palazzo likes to cook her caramel to a dark amber color and warns against removing it from the heat too quickly. "If you don't cook your sugar long enough, your finished tatin will not have the proper finish or taste." The sugar won't have time to develop those wonderful deep toffee notes that make caramel taste uniquely good. All that wonderful flavor won't be present to soak into the apples as they bake in the oven, and the resulting dessert will taste more sweet than anything else.
3. Not adding butter to the caramel
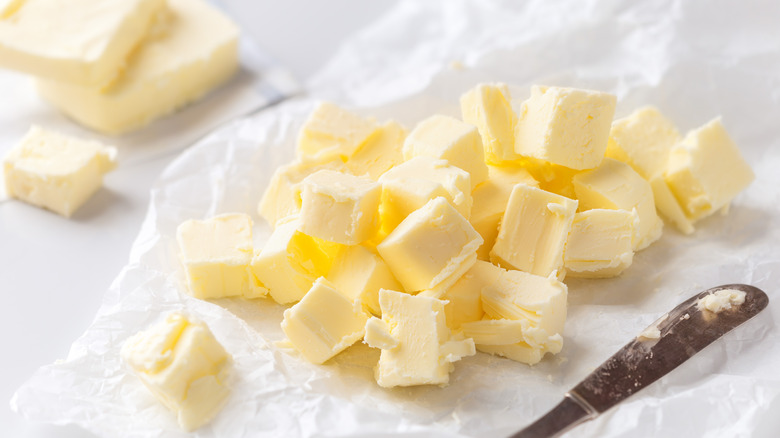
Once your sugar has reached the desired color, it's time to add in some butter. Remove your skillet from the heat and incorporate the butter, stirring or swirling the pan until the resulting caramel turns a creamy light brown. The importance of adding butter in this step is fourfold: it stops the sugar from continuing to darken in color, it adds creamy fat for moisture and a luscious mouthfeel, it adds a glossy sheen to the caramel, and lastly, as Palazzo notes, "it will help balance the acidity and sweetness of the caramelized apples."
When it comes to what kind of butter to use in apple tarte tatin, Palazzo has a favorite. "Using a high-quality butter like Plugrà European Style Unsalted Butter will add a wonderful flavor because of its high butterfat formulation (82% — the French standard)," states Palazzo. In comparison, American butter has a fat content of 80%, which for everyday baking is perfectly fine. However, in a recipe like apple tarte tatin that uses a small number of ingredients, you want to make sure that each is of high quality as they all play an important role, and their individual flavors will shine through in the final product.
4. Skipping the salt
Salt is used in cooking to enhance the flavor of the other ingredients, and using it can elevate a dish from ordinary to extraordinary. This magical touch of salt works in both sweet and savory dishes alike — and exceptionally well with caramel sauce. Anyone who has tried salted caramel knows it blows regular caramel sauce out of the water and tastes incredible on anything it's poured over. When used in a dessert like tarte tatin, salt enhances the caramel by deepening its rich, sweet tasting notes while bringing out the flavor of the butter, making the final dish a mouthwatering delight.
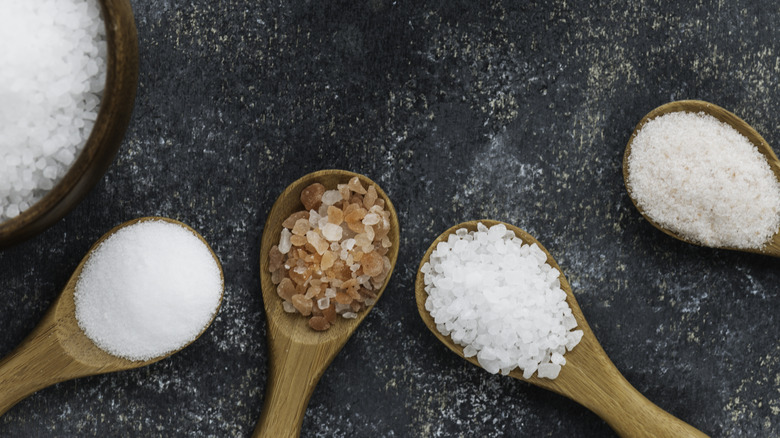
You can stir some salt directly into your caramel or incorporate it as a garnish, as Palazzo does. "I like adding some finishing salt once my tatin is unmolded — just a small pinch," notes Palazzo. While kosher or fine sea salt is best for dissolving into your cooked caramel, finishing salts are a specific category of coarse or flaky salts. Examples include Maldon sea salt, fleur de sel, and Himalayan pink salt. These unrefined, flaky salts add a final flourish of crunchy texture and a burst of flavor to a dish. Using finishing salts is an easy way to add a final layer of flavor to your apple tarte tatin that will have your guests sitting back and taking notice.
5. Using the wrong variety of apples
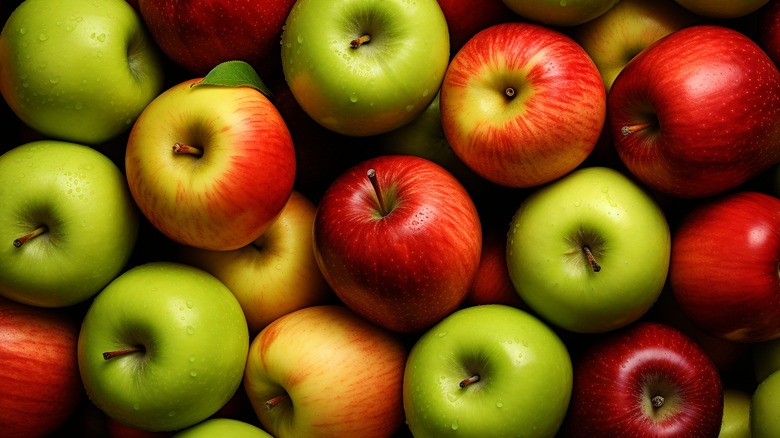
There are many delicious varieties of apples for eating, but when it comes to apple tarte tatin, you'll want to select a variety (or varieties) that holds up when baked at high temperatures. Choose apples that maintain their shape during baking instead of cooking down into mush. And, of course, you want the apples to taste sweet, delicious, and crispy, not mealy. It's a good idea to peel the apples for your tarte tatin, too. While some bakers prefer to leave the peels on, as some varieties have thinner skins than others, you risk altering the final texture and appearance of the dessert. "I always peel the apples no matter what variety I use," notes Palazzo.
Sturdy apples are best for tarte tatin because shape and texture play a key role in whether the finished dessert is a hit or a flop. As Palazzo points out, "The apple you use is very important — I look for a firm apple that is crisp." We're big fans of Braeburn, Jonagold, and Pink Lady here at Tasting Table. Palazzo says, "I typically use a combination of apple varieties; my personal favorite combination is green apples [like Granny Smith] and Honeycrisp. I find the flavor of these two together compliments the caramel the best."
6. Cutting the apples too thin or too thick
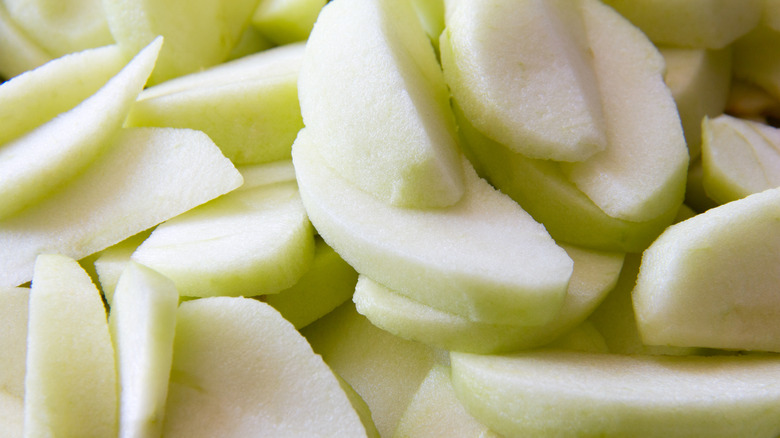
The star of any apple tarte tatin is the apples — it's in the name, after all. A well-made apple tarte tatin features perfectly tender, juicy apple wedges. To ensure this, it's crucial to cut the apples to the correct thickness. If you cut them too thick, they'll take longer to cook and turn tender, making them harder to eat, and you risk having a greater proportion of fruit to pastry than desired. But it's also important not to cut the apples too thin as you'll risk not having enough of a fruit-to-pastry ratio and, as Palazzo warns, having them overcook and turn mushy. "Sometimes, if the apples are cut too thin, they can get mushy while baking, resulting in a caramelized apple sauce on top of your tatin."
So, what's the perfect thickness to cut the apples? "I like to cut the apples no smaller than a quarter, depending on the size of the apple," says Palazzo. While you may think that seems a bit large, she explains why. "It's important to make sure that the apples are big enough that they can soak in all the butter and caramel." Stick to our expert's advice and we're certain your apples will turn out not too soft, not too hard, but just right!
7. Overcooking the apples
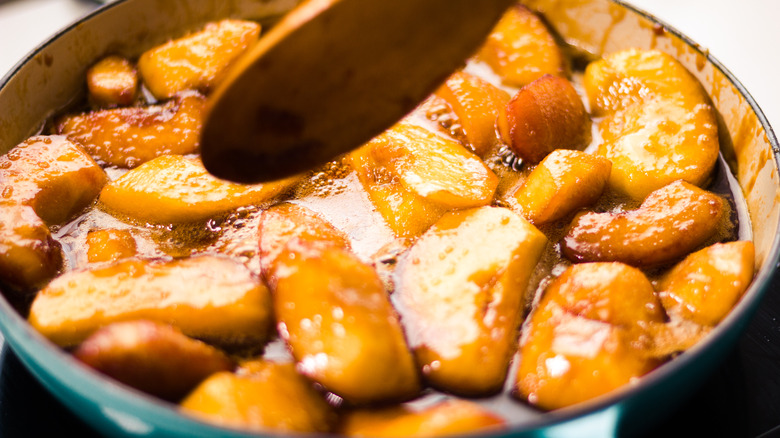
One thing that makes apple tarte tatin so unique is that the apples are cooked twice: once on the stovetop and once in the oven. The challenge with this two-step method is that you need to par-cook the apples on the stove for just the right amount of time so they can finish cooking in the oven without becoming too soft. If you cook the apples for too long on the stovetop, they will get too soft in the oven, ruining the texture of the final dessert. On the other hand, if you undercook the apples on the stovetop, they'll still be slightly crisp after baking, making an unpleasant eating experience for your guests.
After you arrange your cut apple wedges snugly into the caramel in the skillet, begin cooking them over medium heat. "Cook the apples until the outside just starts to tenderize," recommends Palazzo. "I like to almost leave the centers raw so the apples will stay intact as the caramel cooks them in the oven." There is another visual cue you can be on the lookout for. When the apples release their juices into the caramel, this is a sign that their cells are breaking down and softening. While the apples cook, the sauce may continue to darken. If this happens, reduce the heat slightly to prevent burning the caramel.
8. Using the wrong type of pastry
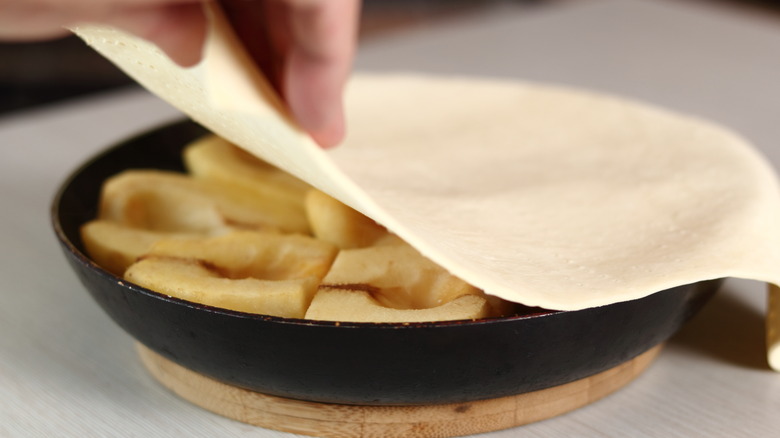
Once the apples are sufficiently cooked, they're ready to be covered with a pastry crust. Palazzo uses both puff pastry and pie dough when making apple tarte tatin, but she notes, "For a more professional tatin, I typically will use puff pastry." While she enjoys making puff pastry from scratch, Palazzo says that store-bought puff pastry works great, too. The most important thing to remember, she advises, is to "make sure when you're working with your dough that you keep it cold and dock the pastry." Docking involves pricking the surface of the pastry with a fork or a dough docker. This technique keeps the pastry from puffing up too much by releasing steam as it bakes.
Palazzo recommends rolling out your puff pastry ahead of time and allowing it to rest before draping it over the apples. "This will eliminate any shrinking of the dough," she says. One final note: If you choose to use store-bought puff pastry, it will likely be square. If that's the case, use sharp kitchen scissors to round out the edges, or invert another skillet, the same size as what you used to cook the apples, over the pastry sheet and use a paring knife to trace and cut out a circle of dough. Don't despair if it looks rough around the edges, as you can tuck the excess pastry between the skillet and the apples.
9. Flipping the tarte tatin too soon after baking
If cooking sugar and working with puff pastry isn't enough to turn you off from making apple tarte tatin, flipping it out of its skillet may. But despite common belief, flipping a tarte tatin isn't really all that hard. The trick is to use one smooth, continuous motion so the tarte slides out onto your serving platter in one piece without a mess. Keep in mind, even if the apples happen to shift around a bit during the flipping process, the pastry crumbles a bit, or the dessert ends up not perfectly centered on the serving plate, it will still taste ahhh-mazing.
Many make the mistake of flipping an apple tarte tatin immediately after it comes out of the oven, and there can be severe consequences. You might seriously burn yourself with dripping caramel, and the tarte may not hold together well, as the apples will likely move around in the wet caramel sauce. Palazzo has a better idea. "I like to leave my tatin to fully cool and then flip it over on top of a cooling rack," she explains. "Sometimes, I like to flash it back in the oven for a minute or use a blowtorch to take the pan off. I find either of these methods helps the tarte keep its shape, and the cooling rack helps keep the tatin from getting soggy."
10. Serving it alone

Apple tarte tatin is best eaten on the day it's made — and served warm. So, if your apple tarte tatin has cooled to room temperature, make sure to heat it in a 350F oven for 5 to 10 minutes before serving. And, as delicious as it can be on its own, we suggest pairing it with an accompaniment to create a truly indulgent eating experience. Serving your tarte tatin with a creamy, cold component — like a dollop of softly whipped cream — will complement the tarte's flavors, temperature, and textures, combining flaky puff pastry, fleshy apples, smooth caramel sauce, and cool whipped cream for a perfect bite.
Palazzo's recommendation? "My all-time favorite way of finishing apple tatin is serving it with a house-made crème fraîche ice cream, which is how we serve it at all our restaurants," she says. "This ice cream is a perfect combination of tangy and cool." But hey, we get it. Not all of us have the time — or skill — to whip up a batch of homemade crème fraîche ice cream. So Palazzo suggests, "You also can't ever go wrong with a classic vanilla ice cream or a crème fraîche Chantilly."