11 Tips For Making The Best Homemade Cappuccino
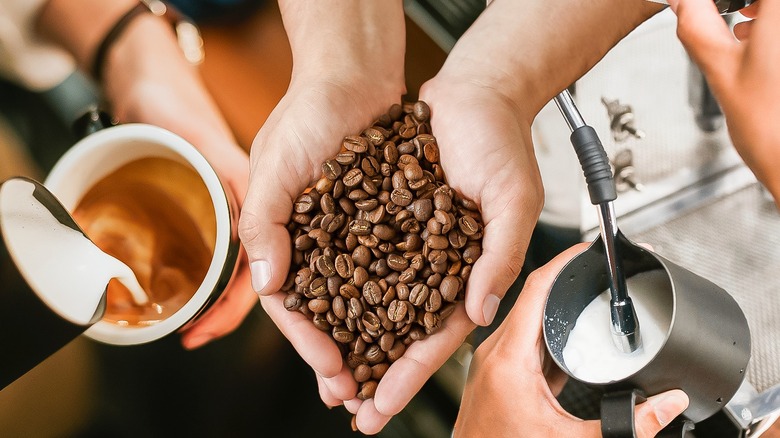
There is something wonderful about the atmosphere of a coffee shop, and it makes every beverage there delicious. The sudden hiss of the milk steamer and the warm and inviting fragrance as you step in the door: These things are part of what makes these "third places" so attractive.
Even if the vibe at home isn't exactly the same, it's possible to recreate that coffee-shop flavor. Cappuccino is one of the best drinks to start with when it comes to dabbling in espresso-based beverages. The earliest version was called kapuziner, a drink of coffee with whipped cream and spices that was popular in 17th-century Vienna. Today's cappuccino takes its name from the outfits of Capuchin friars: the brown, flowing body of a robe with a pointed hood lined in white. This hood — the cappuccio — combines with the Italian diminutive "ino" to create the name of the espresso beverage that features creamy steamy milk and pillowy foam.
Italian immigrants led the way when it came to cappuccino in the U.S., but New York's Caffe Reggio claims it was the first restaurant to sell the drink in 1927. The 1950s saw an increase of in-home espresso machines, with more people attempting to recreate the cappuccino in their kitchens. Making cappuccino is not complicated, but it requires patience and practice to get right. Here are a few important things to remember when making the perfect cappuccino at home.
Use quality beans
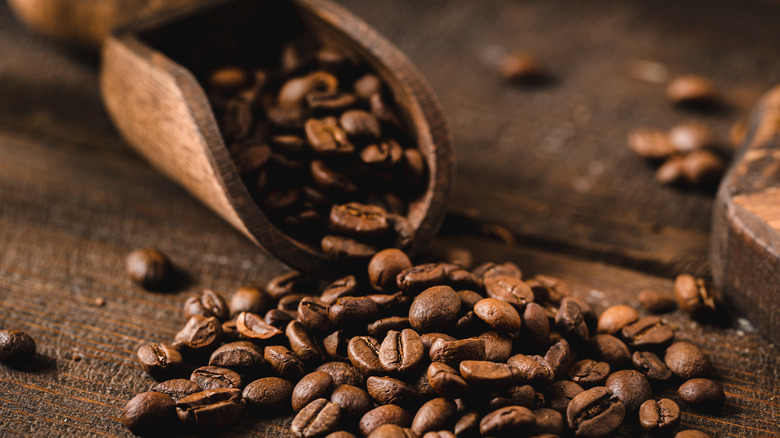
If you belong to the contingent of people who just use coffee as fuel for your day, you may be in the habit of paying less attention to the type of coffee bean that's used in your morning cup. But for truly exceptional cappuccino, using quality beans is critical.
So how do you know you have the best bean for the job? While even low-quality coffee beans can smell delicious, there are a few other signs to look for. Very oily coffee beans may have been roasted past their prime. The initial roasting heats the beans to 385 degrees Fahrenheit, At which point subtle flavors begin to develop. This is called the first crack; lighter roasts are better suited for coffee beverages without lots of milk. When the beans roast beyond that temperature, they begin to release their oils, and the more nuanced taste disappears as oil is released.
But espresso drinks take full advantage of these medium- or dark-roasted oily beans. Make sure your beans are fresh, as indicated by a roasting date. Older dark roasts can become rancid and affect the cappuccino. The way to know that you're getting quality is to pay attention to who's selling the beans. Reputable producers will have certifications that indicate not only the manner in which they are grown but also the way that they treat their growers. Look for sustainable coffee labels indicating that the beans you buy are fair trade, ethically sourced, or USDA-certified organic.
Buy the proper equipment
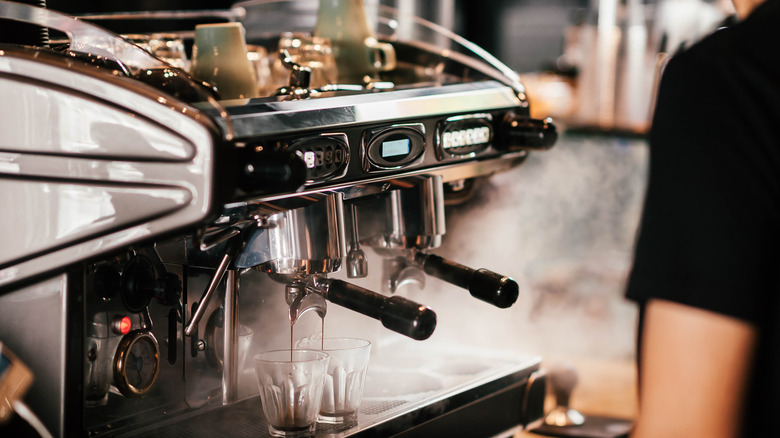
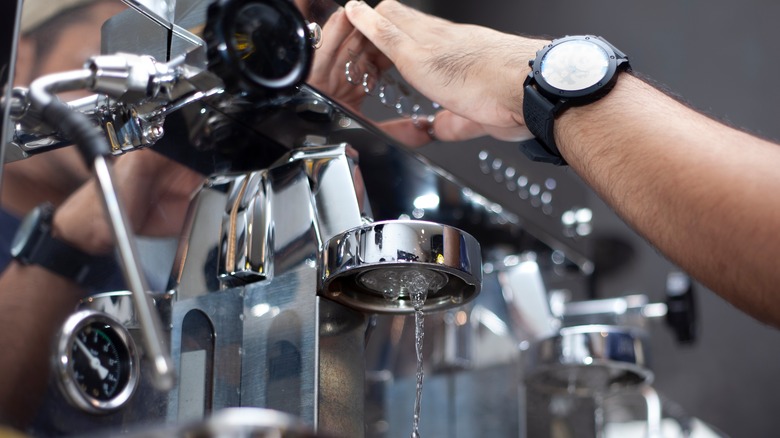
Let's get this out of the way: you don't need a brutally expensive espresso machine to produce delicious coffee drinks at home. In fact, these restaurant-quality machines are often more trouble than they're worth regarding cleaning, maintenance, and repair. But, one thing you do need is a few basic tools to properly pull a shot of espresso and foam a frothy pitcher of milk. A solid espresso machine can do both but need not break the bank. The simplest versions have a single portafilter (where ground beans go — think of this as a "portable filter") and a steam wand on the side of the machine.
Beyond that, everything is luxury. Fully automatic espresso machines will perform every function at the press of a button (just add water for coffee and milk for steaming), and some come with grinders that grind and tamp your beans on demand for each cup. As you add features, the price begins to tick upwards. If you're new to making cappuccino at home, it makes sense to start with a basic machine that does the job with fewer bells and whistles. Ensure it's clean and well-maintained, and you might find joy in its simplicity.
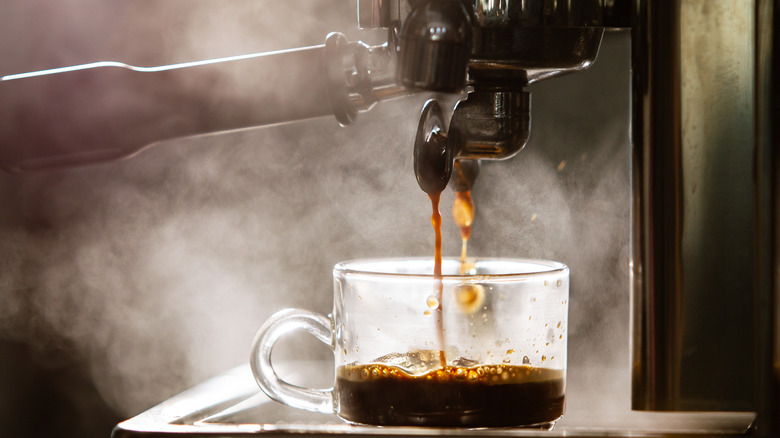
Master tamping
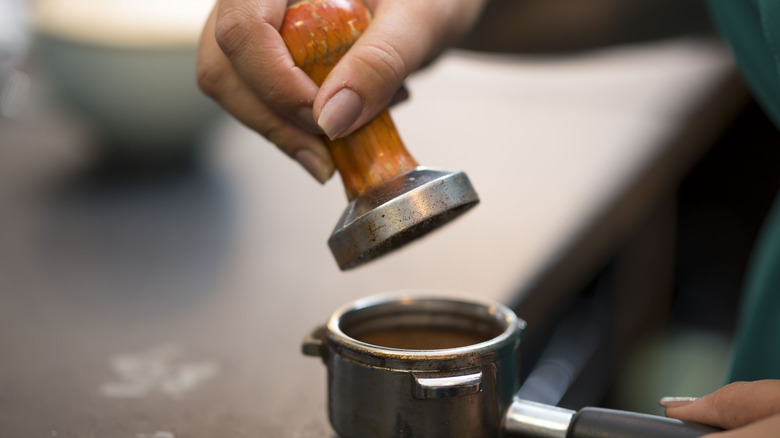
You've got all your supplies — fresh beans, the perfect espresso machine — and your coffee is ground and ready to go. Now it's time to master the tamp. When you order a cappuccino or any other espresso drink in a restaurant, you may notice your barista pressing into the portafilter before they pull your shot. Tamping is the first step to recreating these delicious drinks at home. An uneven tamp can result in a weak shot of espresso. If water is not pushed evenly through the grounds, you won't get maximum flavor or that crema that marks the perfect pull.
Start by leveling the coffee in the portafilter. Tap the side to make sure the coffee is evenly distributed. Next, grab your tamper and press firmly straight down. Your goal is a dense puck of coffee grounds, and it doesn't require brute force to get there. Keep the tamper level with the rim of the portafilter and apply force evenly downward.
Monitor brewing water temperature
Achieving and maintaining the proper brewing temperature is another critical aspect of creating the perfect cappuccino. You don't simply boil water and push it through the grounds. This ham-handed approach destroys subtle flavor and produces an over-extracted, bitter shot.
The most delicious flavor compounds in espresso are extracted at temperatures that range from 190 to 205 degrees Fahrenheit. Although espresso experts sometimes split hairs when it comes to the actual perfect temperature, much of this depends on the type of coffee, the size of the ground, and the skill with which grounds were tamped. Aiming for a range that doesn't exceed 205 degrees Fahrenheit is a good way to ensure you get the best possible extraction.
Make no mistake about it either: Because espresso is extracted quickly, little things like a fluctuating water temperature can make or break your final beverage. More expensive professional espresso machines have built-in temperature controls, but most at-home models cannot fine-tune temperature. The best way to figure out how your machine performs is to take the temperature of the espresso as it is brewed. This will show you if you're in the optimal temperature range.
Choose the best milk
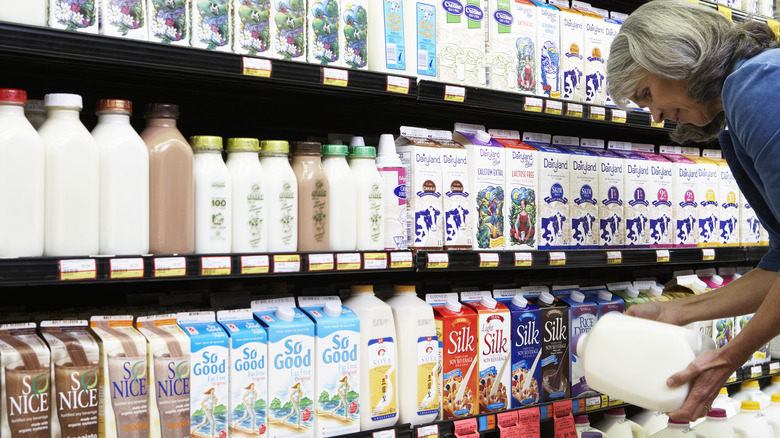
That frothy mountain of foam sitting proudly atop your cappuccino doesn't happen by accident. It's a crafty combination of technique and using the best milk to achieve the right foam texture.
Generally, the higher the fat and lactose (milk sugar) content, the better the milk will foam. Air pumped into the milk creates bubbles, and higher fat content stabilizes them and keeps them uniform. Whey and casein proteins found in milk also help stabilize the bubbles, resulting in a rich, creamy foam. Whole milk is sweeter when warmed, too, which might be why your cappuccino doesn't need any additional sweetener.
Milk with a lower fat content creates large, dry bubbles. These are less stable and more prone to deflating quickly, but good if you prefer a "dry" cappuccino with more foam than milk. If you are avoiding dairy, plant-based milk creates foam but to varying degrees of success. If you want heaps of non-dairy foam, soy milk is the best bet. It has plenty of fat, nearly the same amount of protein as dairy milk, and acts similarly. Some people have issues with the taste of soy milk, though, and don't prefer this alternative.
Oat milk is another option, especially one that is labeled "barista edition." This plant milk, and others including almond milk, has additives like vegetable oil that help stabilize the bubbles and create the same mouthfeel as full-fat dairy.
Steam properly
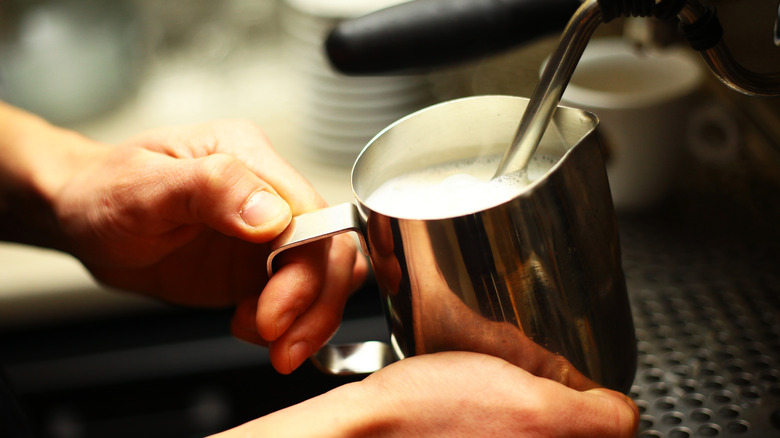
Use a steam wand to heat the milk. Start with the wand tip just below the surface and open the valve to turn the steam on all the way. Keep the wand's tip just below the surface and move the milk jug to increase its volume. This is called stretching the milk.
After stretching the milk for approximately 5 seconds, submerge the wand deeper and move it to the side. This creates a circling, whirlpool effect and mixes foamed and steamed milk. Continue this action until the temperature of the milk is 140 F. If your milk makes a screaming sound, the steaming wand may be too deep into the jug. Bubbles forming that are too large? The wand may be too shallow.
The final step is referred to as polishing the milk. It removes larger air bubbles to create a dense but light foam. Tap the bottom of the milk jug on the counter and then swirl it. You'll know the milk is polished when it turns shiny. Finally, if you are frothing and frothing and not getting the texture of foam you're looking for, check the pressure on the steam arm. Make sure the valve is fully opened. If it is, your steaming wand may be blocked.
Hit the Goldilocks milk temperature
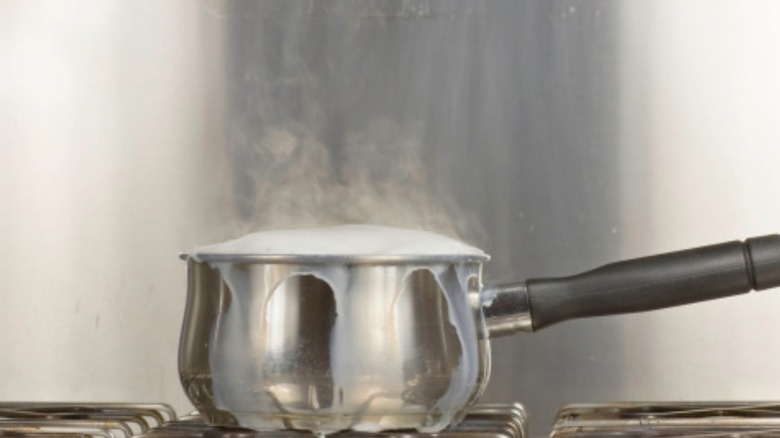
The best cappuccino starts with icy cold, full-fat milk. From there, temperature matters when it comes to both flavor and foam texture. The sugars in milk (lactose) don't appear when milk is ice cold, but heating milk slowly brings out that sweetness. Boil the milk, however, and your drink will have a cooked-milk flavor (like skin on the surface of pudding) and taste burnt. Oversteamed milk tastes bad and also hides any flavor you've managed to extract from your espresso.
Aim for a Goldilocks milk temperature of below 150 F. This is well below boiling. When combined with espresso pulled at the proper temperature, this creates a pleasantly hot coffee drink that is not likely to burn you as you drink it. Temperature is critical for those who prefer their espresso drinks extra hot. Many coffee beverages purchased outside of the home are slightly cooler. This is partly in a rush to serve drinks quickly, but it also makes it safer for harried consumers to drink. At home, you can control the temperature of your finished drink, so pay close attention to the temperature for the best flavor.
Aim for microfoam
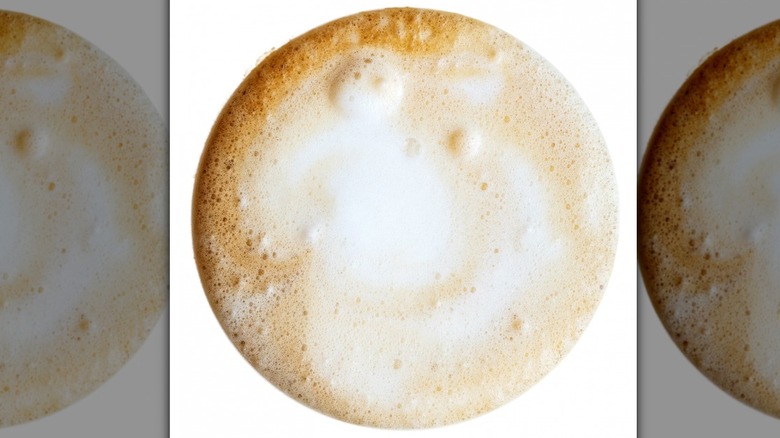
Steaming and frothing are often used interchangeably when discussing creating a cappuccino, but these techniques vary slightly, with a big difference in the final result. While both produce foam, frothing milk creates larger bubbles that are more transient. This is one part of the process and does make for a dramatic topping on an espresso drink.
Steaming milk, as explained above, creates something called microfoam. Microfoam is velvety and smooth, not bubbly. The bubbles are small and dense while still being more liquid. When combined with frothing, the heavy, velvety bubbles of microfoam sit on the surface of the espresso and are topped with the frothy, large bubbles that mark a cappuccino. Both of these textures are activated by maintaining the angle and depth of the steaming wand.
If you want more foam for creating designs and decorating your finished coffee, then microfoam is the way to go. Enjoy the towering beauty of bubbles above rich espresso? Add more frothing to your repertoire.
Pour like a pro
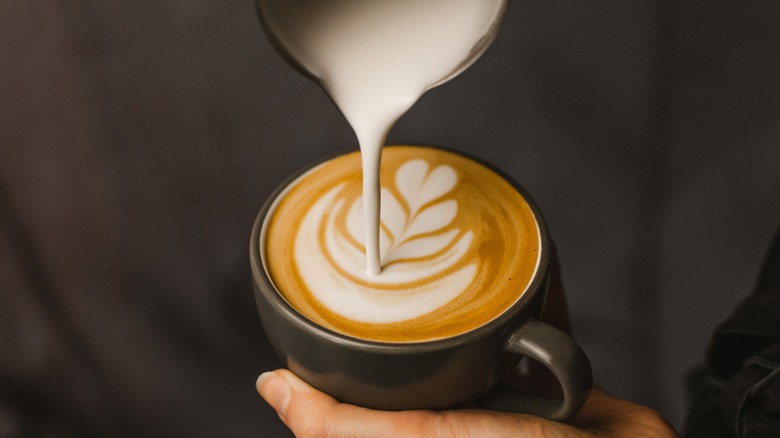
When it is time to assemble your cappuccino, don't ruin everything in the last step. Start by pouring your espresso into a warm mug. A bowl-shaped mug is traditional, but anything you enjoy drinking out of will work just fine.
If you simply pour your entire jug of milk into your espresso, your foam will dissipate in the rush of hot milk. Instead, use a spoon to hold back the froth and microfoam as you pour in the milk. Then, allow a bit of the microfoam to make its way underneath the spoon. Finally, add the frothed larger foam to the top of the cup. Some people enjoy a dramatic amount of foam. There is an actual ratio to follow, but ultimately, add as much as you enjoy.
There is a raging debate about whether cinnamon should be added to the top of the foam. Traditionalists say no — cinnamon is not a typically Italian addition, nor is nutmeg or powdered chocolate. But if you enjoy a little spice in your coffee and want to add it to the foam, be judicious. Too much will overwhelm every other flavor and may also collapse your foam.
Don't mess up the ratio

If you are new to espresso drinks, it's easy to believe they are the same. After all, they all include espresso, hot milk, and (for many of them) foam. The key difference here is the ratio of those three ingredients.
The most common ratio in the U.S. is a story in thirds: one-third steamed milk, one-third steamed espresso, and one-third steamed foam. This is perfect for those who like the strong coffee flavor but also want to taste the milk. But these recommended thirds are not universal. In Italy, where the modern cappuccino was first created, fifths are the rule. Espresso makes up just 20% of the total drink, with the remaining 80% divided equally between steamed milk and fluffy foam. This ratio is the best option for those who want more coffee-flavored milk.
When creating a cappuccino at home, you can decide which ratio works best for you. Keep in mind, though, if you stray too far, you might be creating a different drink altogether. But whatever you choose, remember that practice makes perfect. Making a cappuccino is as much an art as a science, so don't be discouraged if your first few attempts aren't perfect.
Keep it clean
Arguably, the most critical component of an at-home cappuccino is a clean machine. An espresso machine with a clogged steaming wand or filthy portafilter basket will not function properly. A dirty machine also affects the flavor and can ultimately affect the safety of your final beverage. Regularly cleaning your espresso machine and performing maintenance ensures consistent coffee quality and extends your espresso machine's life.
After each use, clean and flush your portafilter basket by running plain water through it. This removes any coffee residue or oils that may eventually clog it. You must also clean the steam wand to prevent milk residue build-up. Be careful as you clean the steam wand — use a clean towel and run the steam fully open, using the towel and the resulting hot water from the steam to remove any milk on the outside of the wand.
If you make a couple of espressos daily, you'll also need to perform a weekly deep clean. Following the manufacturer's directions is the best way to clean your machine. They will also suggest specific cleaners to make the job easier. Pay attention to your machine's performance. It might be time for a replacement if it cannot hold a temperature, is extracting poorly, or is not steaming milk.