For The Best Cheese Danish, Use Chilled Pastry Dough
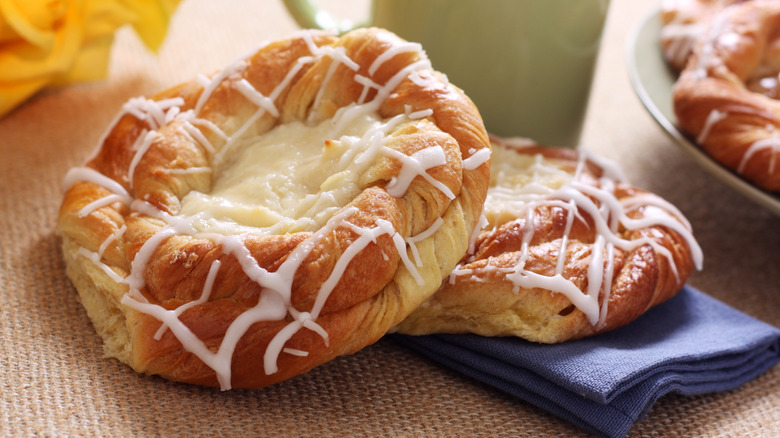
Crispy and creamy in every bite, a fresh cheese Danish from the bakery counter is a dreamy treat. However, a homemade version arguably takes it up a notch, as you can customize the filling to suit your preferences — be it different flavors, extra cream cheese, or a more generous drizzle of icing. Take our word for it, and chill your pastry dough before working with it. The end result will be a golden, buttery, flaky pastry that is utterly delicious.
The type of pastry used for a cheese Danish is puff pastry, a laminated dough featuring multiple layers of butter rolled into its strata. When this butter encounters the heat of a hot oven, the water within it turns to steam, forcing the pastry to rise. This steam creates pockets of air within the super-thin dough layers, causing them to separate as they cook and yielding that characteristic flaky texture. To achieve the loftiest, crispiest cheese Danish — whether sweet or savory — it's crucial that the butter within the layers remains as cold as possible before entering the oven. If the butter is already warm, it will simply seep out, preventing those wonderful layers from rising. The takeaway? Always chill your pastry dough rather than leaving it out on the counter.
Chilled pastry dough is easier to work with
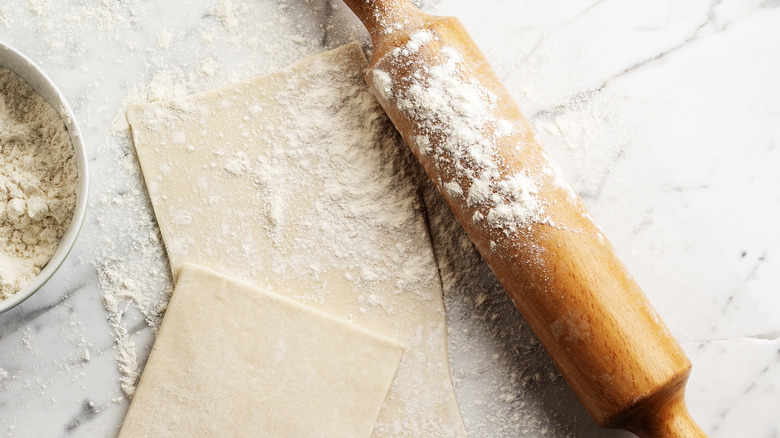
Chilled puff pastry is easier to handle than dough that's been left out at room temperature. If the butter in the puff pastry softens too much, it results in a sticky dough that's difficult to roll out. The dough will stick to both the counter and your rolling pin, complicating your quest to achieve the perfect thickness and shape for your cheese Danish. Ideally, your puff pastry should be taut yet workable, rather than limp and doughy, to create the ultimate sweet treat.
If you're using ready-rolled pastry, you won't need to worry about the dough sticking to the counter. Just remove it from the fridge as late as possible to keep it cool. The key is to have your cream cheese filling prepped, your baking tray ready, and your oven preheated to the correct temperature before you even consider taking the pastry out of the fridge. Then, cut it to size, fold in the corners, and place your filling in the center before baking. The quicker you get your cheese Danish into the oven, the better the pastry will rise, resulting in a golden, puffed rim around the edge. The combination of crispy, layered pastry and sweet, creamy filling will harmonize perfectly to offer a texturally delightful bite.