What To Know Before Attempting To Can Soup At Home

There's nothing worse than making a big batch of soup, eating a few servings, then storing it in the fridge and seeing the rest of it slowly go to waste over time. To avoid creating food waste and also have delicious, nutritious meals ready to go in the future, how about learning how to can soup at home?
Though the process may seem simple — put soup in a can — there are actually quite a few rules to follow, as well as safety measures to keep in mind. In fact, there are some soups it's best to not can at all, and others that you can store for a long time. The canning process can even be affected by things as seemingly random as how and at what distance from each other you let the jars cool, the altitude you are canning at, and how you pour the liquid and solid portions of a soup into a container. It may seem overwhelming at first, but once you know what to do and what steps to take, canning soup will become a very simple process you can do at home as often as you'd like.
The type of soup makes a big difference
This piece of advice may be confusing, as when you go shopping for canned soup, you can buy almost any variety off a store shelf. However, when you are canning at home, you have to remember that since you don't have access to the professional equipment corporations like Campbell's have, there are certain soups that are better to can than others.
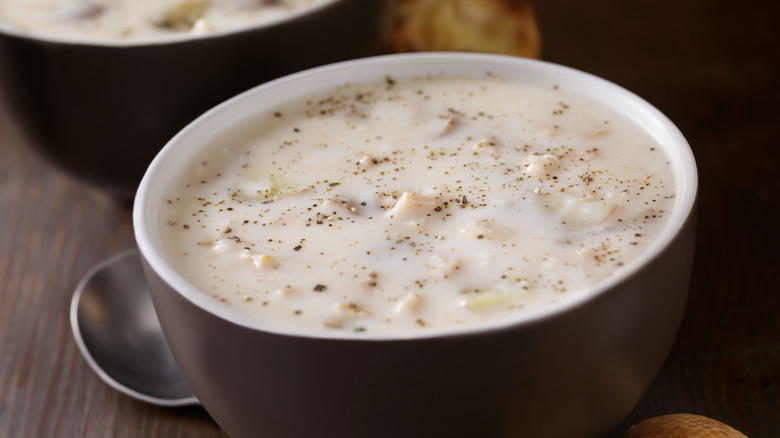
For example, vegetable soups and other produce-based soups can be easily canned, as can chicken soups and meat-based soups. On the other hand, you should avoid canning a milk or cream based soup at home. That is because dairy-based soups are low-acid and have a type of fat that protects botulism spores from the effects of heat, allowing them to survive the temperature of a pressure canner. This could potentially result in bacterial contamination and food-borne illness when you eventually eat. The no-dairy rule includes items like butter. Though this rule takes some popular soups off the canning list, such as the New England clam chowder pictured here, there are still plenty of recipes you may can at home.
Check the USDA for safe recipes
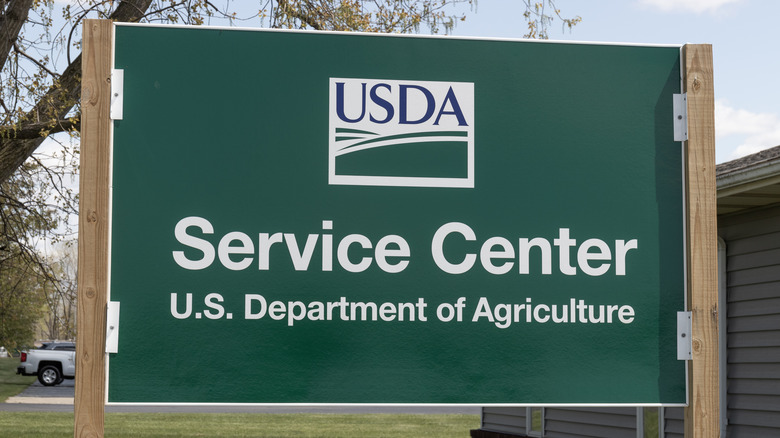
If you're feeling a little anxious and aren't sure if you should can the soup you made, know that the USDA has recipes and guidelines for which soups can be safely canned. This may be surprising coming from a government agency, but after all, the U.S. Department of Agriculture is responsible for overseeing and providing guidance on food and nutrition issues, in addition to agriculture and natural resources, based on the latest available science and public policy.
That means the USDA even has specific, step-by-step instructions for exactly how to prepare, and eventually can, family favorites like a classic and filling vegetable and meat soup. You can also check out the websites of soup jar manufacturers like Ball for even more recipes you can use with their specially-made equipment for pressure canning.
Overall, the USDA recommends avoiding thick, pureed soups in general, like cream of mushroom or cream of broccoli, as the heat has trouble penetrating all the way through the mixture during the process. Soups that have a broth instead of creamy liquids, as well as minestrone soup, dried bean, meat, poultry, and seafood soups, mostly get the seal of approval from the USDA. That gives you a lot of options to work with when choosing what soup to make and store at home.
The jars you use must be sterilized
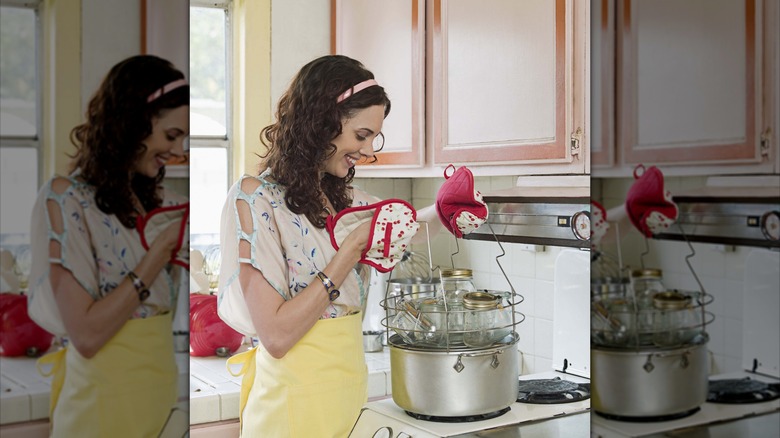
A lot of home cooks forget this step, but remember that contamination can occur not only in the soup itself but also in the containers storing the soup. So before you even get around to making your dish, properly sterilize the jars you will use.
First off, check the jars to make sure there are no chips or cracks in them that would let air and a whole host of potential contaminants inside, negating the canning process. Use soap and very hot water to wash the jars, lids, and screw bands; then rinse it all out.
Follow this initial wash-up with proper sterilization by placing the jars on a rack in a big pot, topping off the pot with water, and boiling everything for at least ten minutes. Lids will usually need to be sterilized separately, and manufacturers like Ball will have instructions as to how to do that for their particular brand. Finally, use tongs to extract the jars from the pot, as they will be very hot to touch after sterilization, and let them dry fully on a clean towel before filling them with your soup of choice.
Don't add noodles, rice, or flour
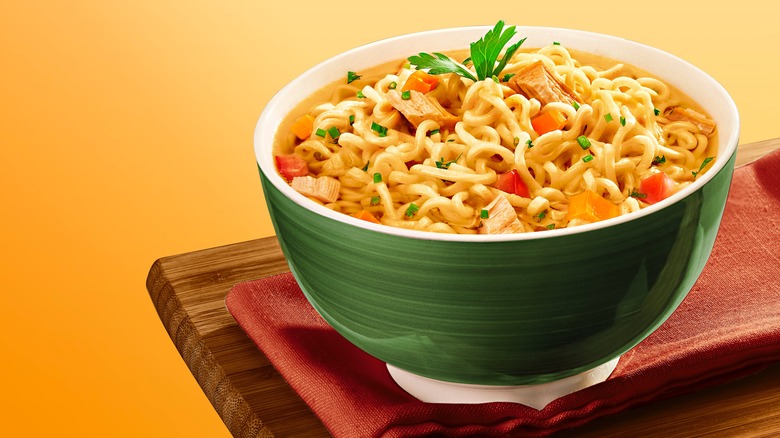
In addition to milk, the soup thickeners that pose potential safety issues for home canning include noodles, rice, flour, or anything else with a high level of starch. This might come as a surprise since one of the most popular soups in the U.S. is chicken noodle soup, a popular product of canned food companies like Campbell's. However, noodles and rice will become mushy over time if the soup is simply sealed up with a pressure canner, as at home, you do not have the same expensive and industrial-strength professional canning tools and ingredients that the Campbell corporation does.
This doesn't mean you can't can soups that include noodles and rice at all; just make sure you add the starchy ingredients to the soup after the canning and storage process, right before you reheat the soup to serve it. A good rule of thumb when it comes to what ingredients to leave out of soup you're going to end up storing is to avoid anything that cannot be safely canned on its own, like cabbage.
Meat and beans must be cooked thoroughly before canning
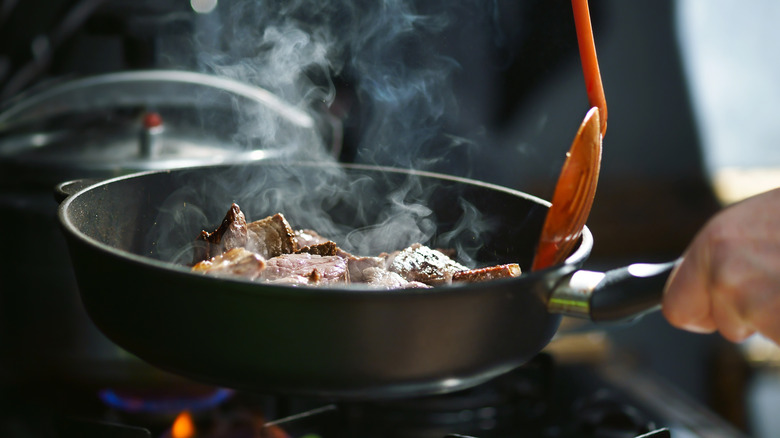
If the recipe involves beans or meat, cook them thoroughly before starting the process, as pressure canning and reheating will often not cook these ingredients all the way through. That's because the liquid content in the jar isn't enough to cook the meat or beans contained within it.
For soup recipes with meat, cover the meat with water and heat it until it's tender and cooked through. After letting the meat rest for a while, take it off any bones it may be clinging to, as bones should not be in the jar you will be using to can soup.
Recipes with dried beans or peas require a more complex cooking method. For each cup of beans or peas you're using, you have to add three cups of water. Then, turn the heat up until your water is boiling, and boil the mixture for two minutes. Remove the beans from the stove and let them soak for at least one hour before reboiling everything. Finally, drain the whole mixture to remove the beans or peas from the water. They should be ready to can now, along with the rest of your soup ingredients.
Underseason and use canning salt
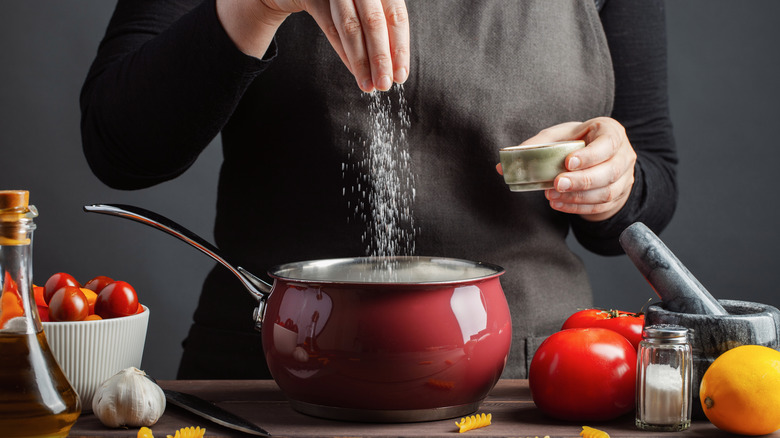
This is another piece of canning advice that comes as a surprise to most, as most canned soup brands are well-known for the tons of sodium they contain. However, when you're canning at home, you should always err on the side of underseasoning rather than overseasoning or even just seasoning to the extent you normally would while cooking. That's because most spices and herbs don't really preserve well in soup and will end up heavily diluted by the time you serve your canned soup, potentially leaving a strange taste in the mixture.
Besides, the less sodium your soup has, the healthier it will be for you and your family to eat. You can always add more seasonings when you reheat and serve the soup, but you can't take out what you've already put in it. So, if your soup is a little bland before you store it, don't worry.
If you do throw in a pinch of salt, try to use canning salt or Kosher salt if you don't have the former on hand. The pure granulated crystals found in canning salt easily dissolve into your soup mixture, and since this type of salt doesn't have iodine or other additives, it won't darken the color of your soup while it's being stored. Other salts that may darken the soup don't affect the safety and quality of the dish, but the distorted color can look unappetizing.
Fill the jars carefully and remove the air bubbles
Don't overfill the jars; you should always leave one inch of headspace at the top. This space is necessary to successfully can a soup; otherwise, you won't be able to create a vacuum seal on the jar that will keep contaminants out. A vacuum seal only occurs when heat escapes after processing, enough to remove the available oxygen and create that airtight seal. Make sure there are no solid ingredients of your soup sticking out into that one inch of space between the liquid and lid.
After you have finished pouring the liquid, and before you seal the jar, take a fork and carefully remove air bubbles as well. Use plastic or wooden utensils, as a normal metal fork runs the risk of scratching up the jar and interfering with its shelf life. Try not to leave too much headspace either, as the liquid will slightly reduce during the canning process, and the tops of your solid ingredients may end up sticking out. Though this isn't a health risk, as your jar will likely be successfully vacuum sealed, the solid ingredients can become discolored and unsightly when eventually serving your meal.
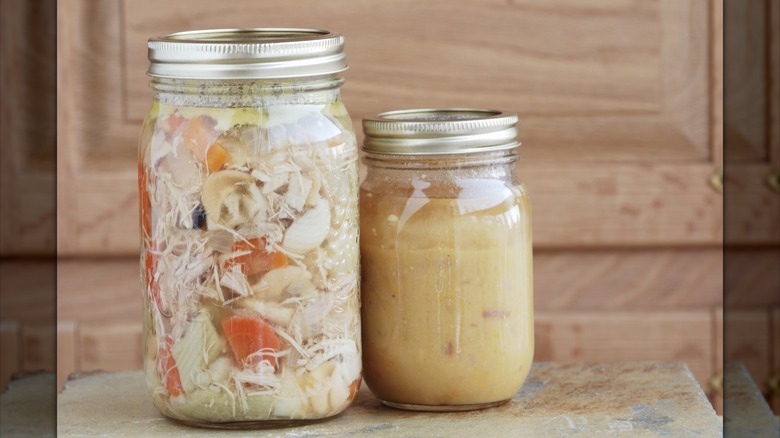
Follow the half-solid, half-liquid rule
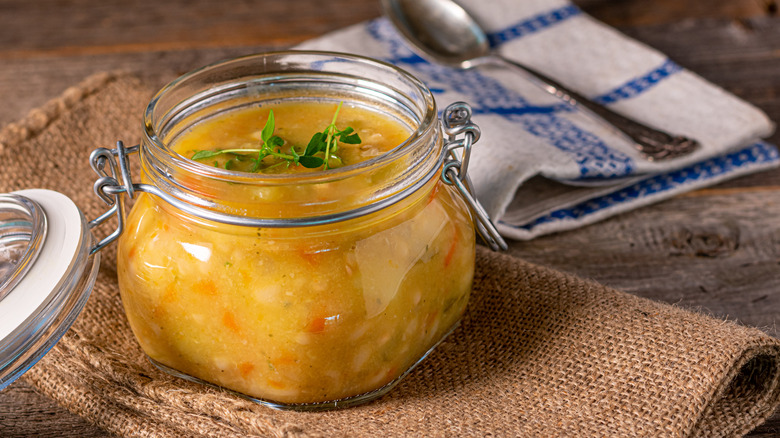
Separate the solid ingredients of the soup and put them in the jar first, allowing them to settle at the bottom, then top them off with the soup's liquid or broth. Make sure the solid ingredients aren't packed way too tightly and have enough space between them to let the available liquid move through. That way, when the canning process heats up the liquid, it can actually cook and preserve the meat, vegetables, or other ingredients around it.
In order to sidestep the possible issue of tightly packing vegetables, avoid canning soups that include pumpkin, broccoli, or cauliflower, as these ingredients tend to become squeezed against each other. If you do want to preserve soups like these, you can always freeze them instead, which will preserve the cooked soup safely. However, freezing soup is only recommended if you have a handful of servings left, not if you're purposely making multiple cans of soup to feed your family for months.
The half-and-half rule says that when you have poured everything into the jar, it should look about half full of solids at the bottom and half full of liquid at the top, in addition to the inch of headspace you will allow. If the proportions are too unbalanced, i.e., the solids are taking up 80% of your jar, and the liquid is only taking up 20%, the soup may not cook through thoroughly during the canning process.
All soups must be pressured canned
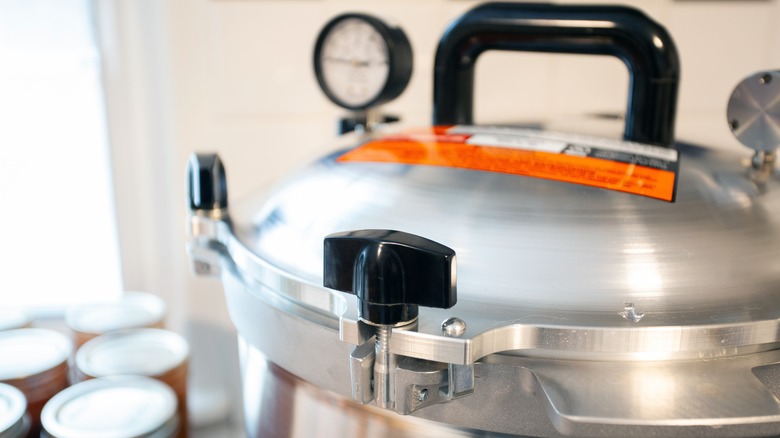
When you pickle or can certain ingredients by themselves, you can sometimes use a water bath method. However, there is no way to safely can soup in a boiling water bath, as it may lead to botulism thanks to the combination of low-acid ingredients found within most soups. Forget the old horror stories you may have heard about old canners exploding, hardly a common occurrence with today's technology, and invest in a good old-fashioned pressure canner if you want to avoid any potential botulism contamination.
The pressure canner's locking lids and gauge will keep the steam pressure around 240 degrees Fahrenheit, which kills any harmful bacteria that may exist within your freshly made soup. Soups canned at home with a pressure canner can last up to one year, although if you want to get the best possible version of the soup, you should probably eat it a bit before the one-year mark.
Adjust canning times to size
All jars are not created equal, so if you're looking to make a slightly larger amount of soup, go for a quart jar. During the canning process, different jar sizes are treated differently; pints need around 70 minutes to be pressure canned, while quarts will require up to 95 minutes.
The one exception on this list is any soup containing seafood. For seafood, only use pint or half-pint jars, avoid quart jars altogether, and set the processing time to 100 minutes. Seafood can often be a source of bacteria, most notably Clostridium Botulinum, so the longer processing times and smaller sizes allow the heat from the canning process to more effectively permeate the seafood ingredients and kill any contamination. If you're looking for specific brands that make jars for canning, both Ball Mason Jars and the various brands on Fillmore Containers are great options.
Take altitude into account when canning
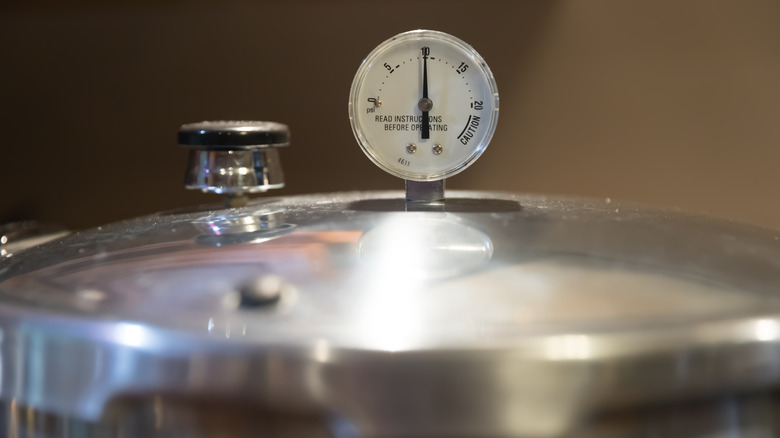
Altitude can affect a number of variables in the kitchen, from the temperature required to boil water to the moisture content of food. When it comes to pressure canning and pressure cooking, your altitude will determine the amount of pressure you need to use to safely can soup and kill any of the potential bacteria that reside within it. If you're not exactly sure what your current altitude is, there are plenty of websites like What Is My Elevation where you can input your location and figure it out.
You may think this won't apply to you, but you don't need to be all the way up in the mountains for elevation to start being a problem, either. Depending on the kind of gauge you're using, if you're above as low an altitude as 1,000 or 2,000 feet, you will need to adjust your settings.
For a weighted gauge pressure canner, the adjustment is easy; at any altitude over 1,000 feet, change the pressure from sea level 10 pounds to 15 pounds. For dial gauge pressure canners, increase the pressure like so, such as 11 pounds at 0-2000 feet or 12 pounds at 2001-4000 feet, and so forth.
Allow the jars to cool correctly
The cooling process is one of the most important parts of properly canning soup at home, as it determines if your jar will be properly vacuum sealed. After you cool the canner to zero pressure and turn off the heat, let the jar stand where it is for about five more minutes. Then, if you have multiple jars, leave them out on the counter, spaced apart, for at least 12 hours, preferably up to 24 hours. Place a rack or towel underneath the jars so the superheated jars don't damage your countertops.
After 12-24 hours have passed, the level of your soup should be lower. Remove the screw bands, and test the vacuum seal by pressing the middle of the lid with your finger. It should not spring up; if it does, the seal has not properly formed. To check the jar using a second method, hold the jar up to your eye level and check if the lid is slightly curved down in the center. A flat or bulging lid indicates that the jar has not been sealed properly.