9 Mistakes People Make When Freezing And Defrosting Cheesecake
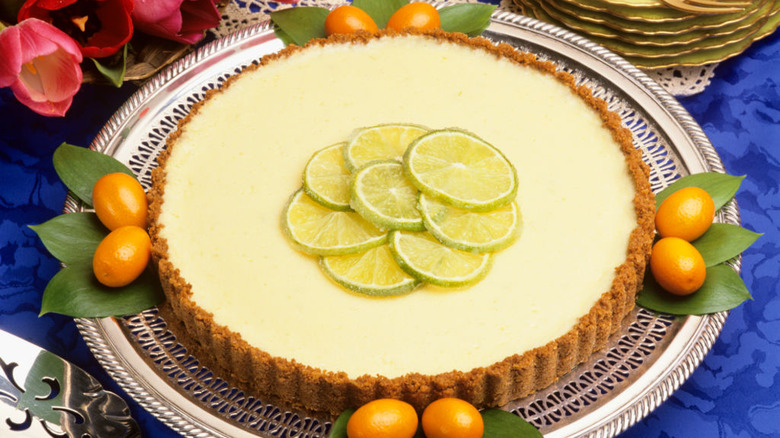
Creamy, sweet, and unapologetically decadent, cheesecake is a much-loved dessert that can elevate any occasion to extra special. A staple on menus of fine-dining restaurants and neighborhood diners alike, cheesecake has charmed dessert lovers with its perfect combination of chewy-crunchy crust and smooth filling that melts in your mouth. Lucky for us, popular flavors like ricotta cheesecake and seasonal favorites like pumpkin cheesecake make it easy to enjoy this luscious last course year-round.
Cheesecake is undoubtedly near the top of the list when it comes to desserts that take a lot of time to make. Fortunately, cheesecake freezes well, so you can make it ahead of time or save leftovers so your hard work won't go to waste. However, there are some things you need to know before attempting to freeze cheesecake to ensure it retains its taste and texture. Ready to find out what they are? Here are the most common mistakes people make when freezing and defrosting cheesecake. Take notes, and you'll be well on your way to mastering this valuable skill.
1. Not allowing the cheesecake to cool gradually and completely
It's not a good idea to freeze your cheesecake right after baking it, so don't be tempted to make this common mistake. Even though you may be in a rush to get your cheesecake cooled and into the freezer, you won't do yourself — or your cheesecake — any favors by rushing. While it's easy to think that your cheesecake will chill faster by placing it straight from the oven into the freezer, doing so will be detrimental.
After baking, the important step you can't skip is chilling the cheesecake gradually. If you transfer the cheesecake from a hot oven to your kitchen counter, there's a good chance that the extreme temperature change will cause cracks on the cake's surface. The best method for cooling a cheesecake after baking is to turn off the oven, crack open the oven door, and let the heat slowly escape for about an hour. By doing this, the cheesecake won't be exposed to a sudden, extreme burst of cooler air, and the surface won't form cracks.
Once the cheesecake cools in the oven, transfer it to your kitchen counter to cool down to room temperature. Then, transfer the cheesecake to the refrigerator in its springform pan so the filling can adequately set and develop its trademark creamy, smooth texture. We recommend thoroughly chilling your cheesecake in the refrigerator for 24 hours before freezing it. While this cooling process is lengthy, it's essential for properly freezing cheesecake.
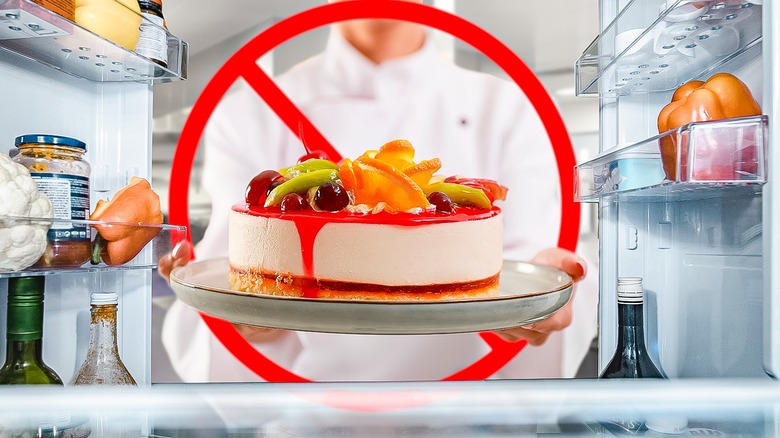
2. Keeping wet toppings on the cheesecake
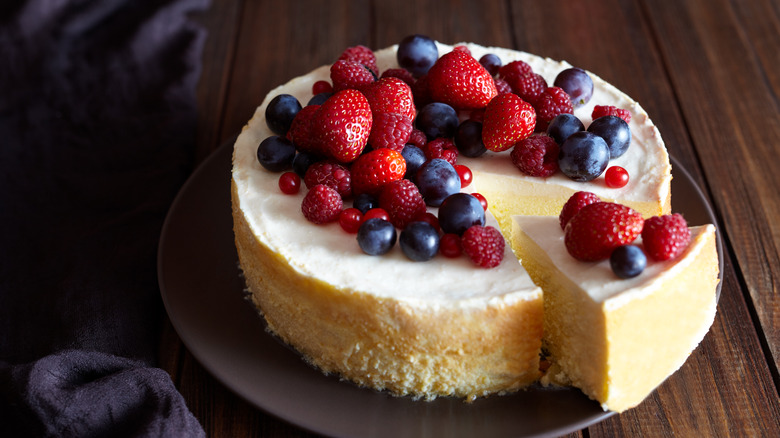
Some of the yummiest cheesecakes have wet toppings, like fresh fruit, whipped cream, and sour cream, to name a few. But if you want to freeze these cheesecakes, remember to remove these wet toppings before freezing. Or if you baked a plain cheesecake and plan to serve it with fresh fruit in the future, hold off on adding the toppings and freeze it bare. While the cheesecake will survive being frozen, the toppings likely won't.
Fresh fruits, like melon, berries, and peaches, have high water content and usually don't defrost very well. Their appearance, taste, and consistency might be altered through the freezing process. When fresh fruits thaw, they can wilt and turn watery, and their texture can turn mushy. Luckily, you have some options for freezing cheesecake with fresh fruit. You can remove the fruit from the cheesecake before freezing it and top it in the future with (new) fresh fruit once it is thawed. Or, turn the fruit into a sauce you can spread over the cheesecake and freeze; cooked fruit sauces, including jams and preserves, freeze better due to their sugar content and concentration. You could also use store-bought fruit toppings, which typically freeze well thanks to preservatives. Doing any of these options before freezing your cheesecake with a wet topping will help you have the most enjoyable future cheesecake-eating experience.
3. Neglecting to place the cheesecake on a cardboard round
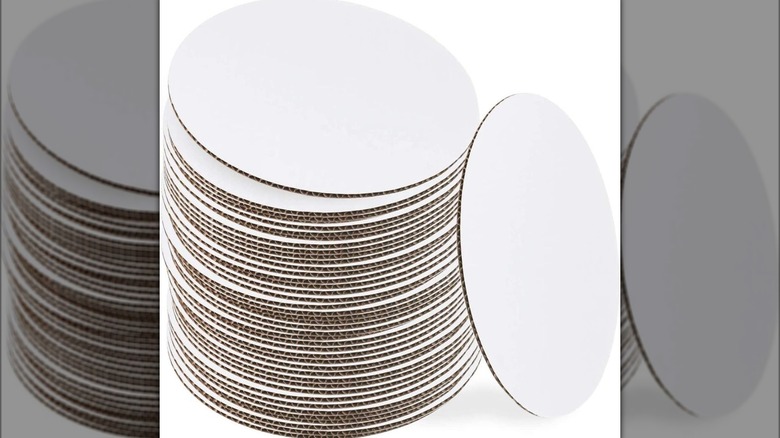
Cardboard rounds, also known as cake boards, are sturdy coated bases that support cake layers and improve appearance and mobility. They can be found online or at specialty craft and hobby stores. Cardboard rounds aren't just for professional bakers. If you're an avid home baker, you know that cardboard rounds are handy, reliable, moisture-resistant bases for all types of cakes, including cheesecake.
When freezing cheesecake, placing it on a cardboard round is essential. The cardboard base will protect the cheesecake's crust from getting any freezer burn and provide a sturdy foundation when freezing, moving, and thawing the cheesecake. By having the cheesecake on a cardboard round, there's less chance of you dropping the cake, too, thanks to the sturdiness of the board. Cardboard rounds strengthen the cheesecake's bottom while also keeping it dry.
You'll want to place your cheesecake onto a cardboard round after it has been thoroughly chilled overnight in the refrigerator. Use a knife to separate the cheesecake from the springform pan bottom, then slide it onto a cardboard round. If you don't have a cardboard round, you can cut any heavy cardboard around the house to fit it. Just remember to cover the makeshift cardboard round with aluminum foil before using it to make it safe for food.
4. Leaving the cheesecake whole instead of slicing
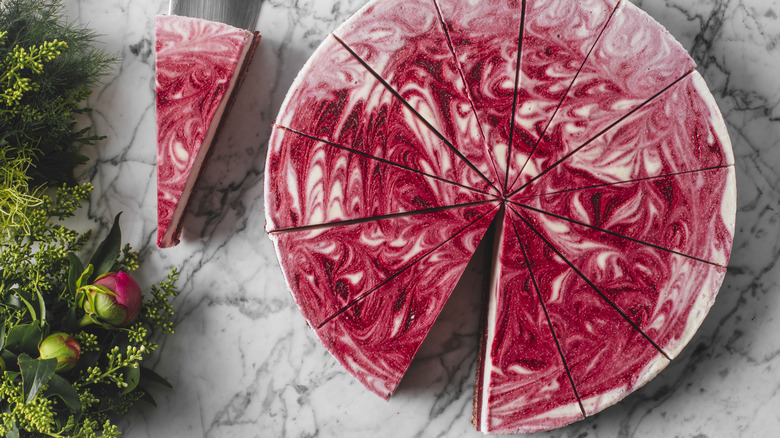
Once your cheesecake is thoroughly chilled and any wet toppings are removed (if needed), it's time to get slicing. While you can freeze cheesecake whole, why not save yourself a step in the future and slice the cheesecake before you pop it in the freezer? If it is sliced before freezing, your cheesecake is already pre-portioned, so you can remove as many or as few slices as you need, be it for an impromptu gathering or a quick snack.
One of the common mistakes people make with homemade cheesecake is using the wrong tool to slice it. The best tool for slicing cheesecake is a sharp, thin-bladed knife, ideally with hollowed edges that reduce drag. First, remove your chilled cheesecake from the pan, including the sides, if using a springform. Next, dip the knife blade in hot tap water, wipe dry, then cut a perfect slice with smooth edges and no crumbs. If you neglect to dip the knife in warm water before each slice, the filling and crust crumbs will stick to the knife's blade. Make sure to always wipe the blade dry after dipping to keep your slicing clean and neat. Once your cheesecake is sliced, place small sheets of waxed paper between the slices so they can be separated easily when the time comes. You can also freeze the slices individually if desired.
5. Freezing old cheesecake
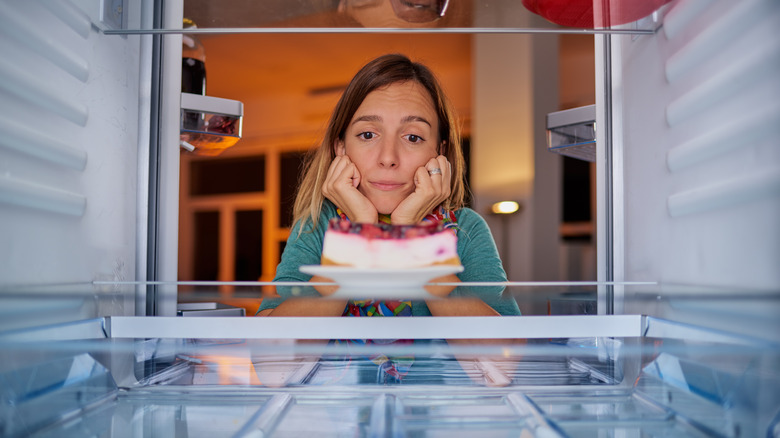
We get it. It's a huge bummer when you work hard to bake a cheesecake and it ends up sitting in the refrigerator, aging away and losing quality with each passing day. But while it may be tempting to freeze that days-old cheesecake, you'll be better off scarfing it down instead of freezing it. Trust us — if a cheesecake has been sitting around for a few days accumulating fridge odors and deteriorating in texture before being frozen, it will still taste like it has been sitting around for a few days once defrosted.
Your best bet is to freeze your cheesecake as soon as possible so it tastes nice and fresh after it's defrosted. Or, if you want to enjoy a few slices of your freshly baked cheesecake, portion those off and freeze the rest. If you know you won't be able to finish a whole cheesecake within a couple of days, it's best to cut the cheesecake and freeze some of the slices. If you crave more cheesecake after a few days, you can grab the frozen slices and rest assured they'll taste just as fresh as they did when first baked. You'll want to freeze cheesecake that has been properly baked with no signs of spoilage. If your cheesecake tasted good going into the freezer, there's a solid chance it will taste good when removed if stored properly.
6. Not double-wrapping the cheesecake
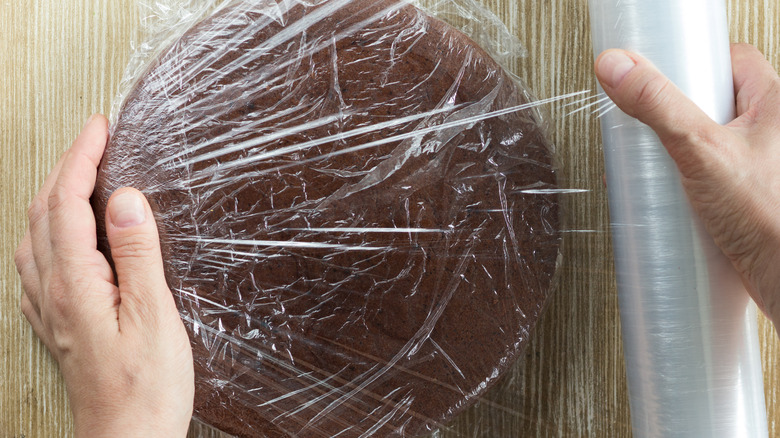
Freezing cheesecake is a great way to extend shelf-life, keep money in your pocket, free up extra space in your refrigerator, and have dessert ready for last-minute guests. But if not executed properly, you'll be in for some future disappointment. By using the absolute best way to freeze cheesecake, you'll prevent mishaps like freezer burn and moisture loss.
You'll need plastic wrap and aluminum foil to prepare cheesecake for freezing. The first step involves wrapping the cheesecake tightly in plastic wrap. The proper way to do this is to pull out a sheet of plastic three times as wide as the cheesecake. Next, place the cheesecake with its cardboard base in the center. Bring one end of plastic up over the cheesecake, then bring the other end over the top and press down to seal the edges. Finally, wrap the entire plastic-wrapped cheesecake with aluminum foil. This double wrap will protect your cheesecake from the chilly air in the freezer. The less air that comes into contact with your cheesecake, the better it will retain its quality and the longer it will last in the freezer. You can also place the double-wrapped cheesecake in a vacuum seal bag for extra protection if you don't want to take any chances.
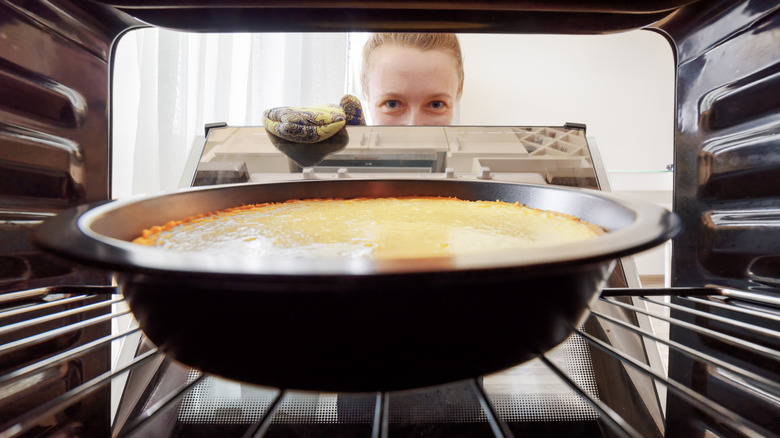
7. Failing to set aside enough time for thawing the cheesecake
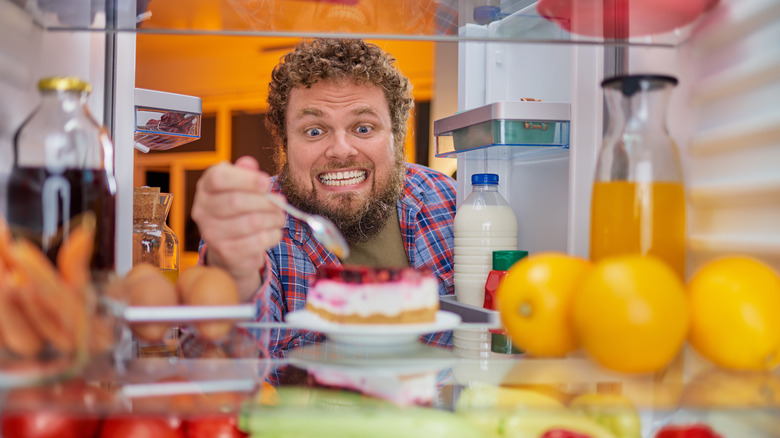
A whole cheesecake will need considerable time to thaw — and not at room temperature, please, or you'll risk bacteria forming. The length of thawing time will depend on some variables. First is the size. The larger the cheesecake, the longer it will take to thaw. In other words, a 10-inch cheesecake will take longer to thaw than a 6-inch cheesecake. The other variables to consider are thickness and density. Thicker, denser cheesecakes will take much longer to thaw than lighter ones. With this in mind, you can see that you'll be better off planning ahead and allotting more time than you may need. If you let your cheesecake continue to sit in the refrigerator after it's lost its frozen chill, no harm is done. Your best plan is to let the cheesecake sit in the refrigerator overnight (or at least 8 hours) so you can be sure it is fully defrosted, regardless of its size, thickness, or density. Once thawed, you can brighten your cheesecake by adding toppings, like fresh strawberries, caramel sauce, swirls of chocolate frosting, or whipped cream.
If you're thawing frozen cheesecake slices, you won't have to wait as long to enjoy them. The slices will thaw out much quicker than a whole cake. Unwrap the slices and expect them to defrost at room temperature for 20 to 40 minutes, depending on size, thickness, and density.
8. Not placing the cheesecake on a serving plate before thawing
If you've ever tried to transfer a cheesecake to a serving plate, you know how difficult it can be. Fortunately, if you're dealing with a frozen cheesecake, there's an easy way to avoid this hurdle. When you're ready to begin thawing your cheesecake, transfer it from the freezer to the refrigerator, removing the outer foil layer but leaving the plastic. Once the cheesecake is partially thawed, remove the plastic and transfer it from its cardboard round base onto a serving plate. Since the cheesecake is still partially frozen, it will be easier to move around and not as unwieldy. If you wait until the cheesecake is completely thawed, it will be a lot harder (and messier) to transfer it onto a plate for serving.
The serving plate you present the cheesecake on can positively affect how your dessert is received. Plus, after spending time, energy, and money on making it, wouldn't you want to ensure it's presented as beautifully as possible? We're big fans of using a marble cheese board as a serving plate since the marble keeps the cheesecake cold, but wooden charcuterie boards work well, too. Large charger plates are great, just make sure the cheesecake sits flat so the slices are easy to remove. Pedestal cake stands are another option for a beautiful presentation.
9. Freezing the cheesecake for too long
You can freeze a baked cheesecake for up to six months, but in our experience, it is best to consume it within two months for optimal taste, texture, and appearance. You can freeze no-bake cheesecakes as you would baked cheesecakes, but the results will depend on the recipe. Some no-bake cheesecakes are higher in moisture with a soft texture. These higher-moisture cheesecakes have a greater chance of developing ice crystals in the freezer, which can lead to a grainy texture once thawed.
If you plan to freeze your cheesecake for longer than a week, writing the date and contents on the outer foil wrapping is an excellent idea. If you're any bit like us, forgetting what's in our freezer happens more frequently than we like. Despite how much we tell ourselves that we'll remember what something is, we usually end up forgetting all about it. More often than not, it gets pushed to the back of the freezer — and our minds. So, it's best to spare a few minutes dating and labeling your cheesecake. That way, you'll know exactly what it is and whether it's still good to eat in the future.