Store-Bought Cake Mix Is Your Ticket To Classic Ice Cream Sandwiches

Classic ice cream sandwiches are the stuff childhood memories are made of. Though this warm-weather dessert has a long and rich history (the version we're most familiar with has been around since 1945), its popularity still endures to this day. If you ever desired to revisit this frozen treat as an adult, you may have considered making it home. Of course, the ice cream's the easy part. No problem there. It's the chocolatey outer layer — the texture of which is a cake-like cookie — that stumps many.
Commercially sold classic ice cream sandwiches typically employ a crisp chocolate wafer cookie made with chocolate cake ingredients that soften as it sits in contact with the ice cream. This is why using a store-bought cake mix is the perfect hack for making them fresh at home. A devil's food cake mix delivers just the right taste of deep dark chocolate and easily allows you to achieve that cushion-soft outer layer that perfectly accompanies the silky, smooth ice cream in between.
Using cake mix for homemade ice cream sandwiches
To turn cake mix into something closer to the wafers for ice cream sandwiches, you'll need one box of your favorite Devil's food mix and some homemade or store-bought ice cream. You'll also need to make a few changes to the mix — namely, reducing liquids, as Betty Crocker does when making ice cream sandwiches using its Chocolate Fudge Cake mix (omitting water, reducing eggs from 3 to 2, and swapping ½ cup vegetable oil for softened butter).
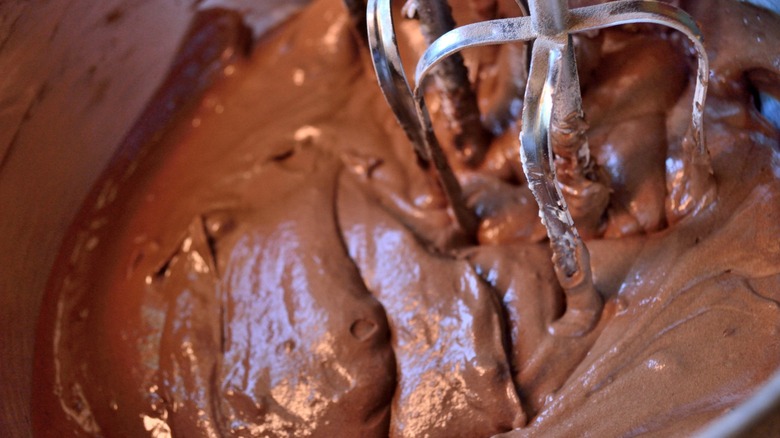
To customize your own boxed mix, swap liquid oil for softened butter and omit water. Once you've mixed up your batter (which will be thick), you'll need to distribute it onto a half-sheet pan lined with parchment paper, spreading it to the edges. (Putting butter beneath the paper will help it stay put as you spread the dense batter.)
Bake at 350 degrees Fahrenheit until done (10 to 15 minutes). Transfer to a cooling rack. Allow your ice cream to soften on the counter until just malleable. Since half of the finished cake will be your top layer and the other your bottom, you'll need a measurement of half that same size pan for the ice cream. Spread the softened ice cream onto half your plastic wrap-lined pan, leaving the wrap long on both sides. Fold the ends of your plastic over to cover the ice cream and finish smoothing it into one large, flat chunk with no gaps. Put in the freezer to set.
Assembling your cake mix ice cream sandwich
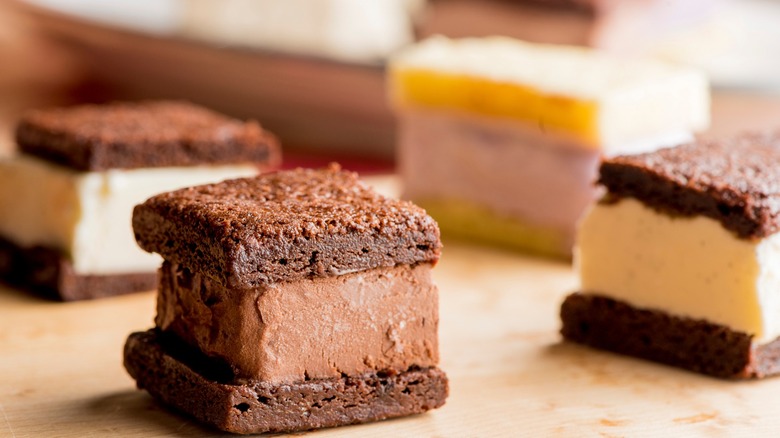
Once the cake has cooled and your ice cream has set, cut the cake into two equal pieces. Unwrap the ice cream, laying it on one half of the cake. Then, put the other layer on top. Trim any excess cake or ice cream until both are aligned. Cut into individual ice cream sandwiches. If not serving right away, wrap the sandwiches individually in foil or plastic and place them back in the freezer.
Learning to DIY ice cream sandwiches allows you to put your own spin on an old fave. In addition to trying out your favorite cake and ice cream flavors (and the endless pairings between them), you can go one or even 10 steps further, adding sprinkles or candy to ice cream edges, chocolate or butterscotch chips to cake batter, or dipping the whole thing in melted chocolate or a homemade magic shell.
And since this method makes one big ice cream sandwich, you can show off your fancy knife skills by cutting them into squares, rectangles, or triangles, or use cookie cutters to cut them into rounds or other fun shapes. And because you make the cut — you control the size. With a grown-up improvement this good, whether you cut them into little two-bite gems or super-sized chunks, it's a good excuse for a taste of nostalgia.