Craft Perfect Pieces Of Homemade Sushi Using An Ice Cube Tray

Craving sushi but haven't got a bamboo mat to make California rolls? We've got a trick that'll help you craft perfect pieces of homemade sushi using nothing but an ice cube tray and a dash of know-how. Although rolling and slicing sushi is a fun activity, it takes effort and practice to achieve those flawless maki discs. Using the cavities in an ice cube tray will eliminate that pressure because it makes it easy to form row upon row of Insta-worthy sushi bites that you can top with Japanese mayo, sesame seeds, scallions, or what have you.
Though you don't have to sweat the assembly stage, you'll still need to make quality batch of sushi rice. This variety of rice has a dense and sticky consistency once cooked, making it excellent for retaining its shape when pressed down into the individual sections of the ice cube tray. The grains are plump and satisfying too, which lends sushi its telltale filling characteristic when paired with vegetables, seaweed, and seafood. Season the cooked rice with a mixture of sugar, salt, and rice wine vinegar before setting it aside to cool, and you're ready to build your layers.
How to use an ice cube tray to make sushi
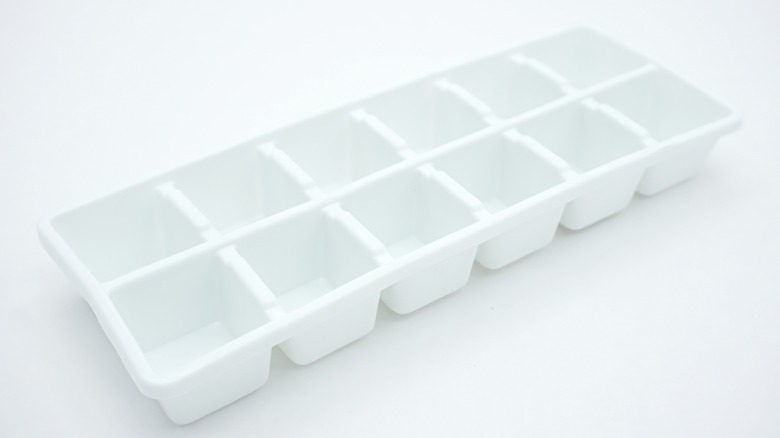
To begin, mist your ice cube tray with cooking spray or lay a sheet of cling film over it and press it down well into the corners of each cube. Then prepare your sushi ingredients — anything goes from thinly sliced scallions and cucumber to avocado, salmon, bell peppers, shrimp, fish roe, and cream cheese. Chop the bigger items or thinly slice them with a vegetable peeler so they fit neatly within the sections of the ice cube tray, and carefully cut nori sheets to size using scissors.
With your ingredients laid out, you can now start putting your sushi together. You can begin with nori, veggies, or seafood on the bottom so that when you flip the ice cube tray over, the most colorful ingredients sit at the top of each segment, creating a pretty bite-sized mouthful. However, if you prefer, you can make a rice base first, place your fillings in the middle, and press in a final layer of rice at the end. Be creative with the layering process but always finish with tightly-packed rice to give your sushi a solid foundation when it's flipped out of the tray so it won't fall apart once it's picked up with chopsticks or fingers.
Refrigerate the sushi for at least 10 minutes so it can firm up before gently turning it out. Sprinkle over some white or black sesame seeds for extra flavor, and enjoy your impressive spread!