The Best Canning Method For Cautious First-Timers
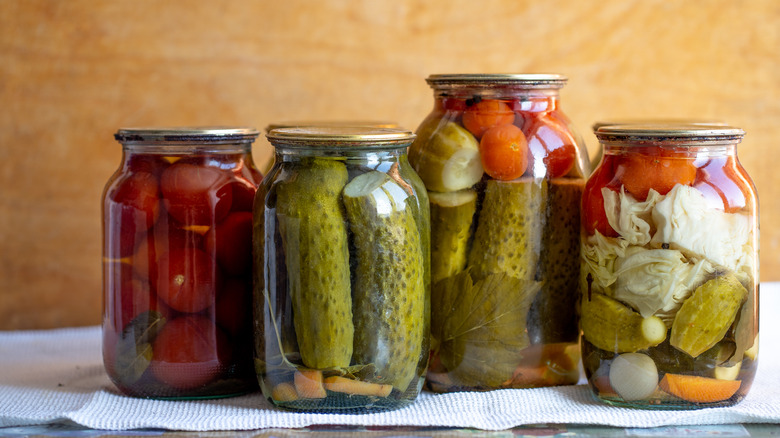
With the cost of groceries on the rise and a growing consciousness of reducing food waste, canning has become increasingly popular with people at home. Many home gardeners know that it's the best way to preserve leftover fruits and veggies from seasonal crops as well as ensure you have home-grown produce during the winter months. There are many methods of canning your food, some of which may be a little intimidating for beginners. But don't let that stop you from reaching your at-home canning dreams. Consider starting with the most accessible and foolproof method of canning — electric.
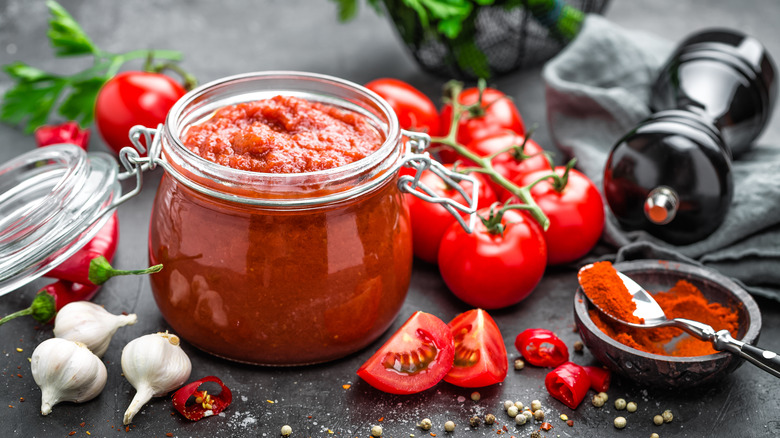
Electric canning is nearly as easy as pressing a button. It's essentially using the water bath method of preservation. A water bath uses boiling water to create pressure, which will help preserve your food. This is ideal for acidic food (pH of 4.6 or lower) – only without the hassle of having to babysit your cans while they boil, as well as taking the guesswork out of how long to let your cans go in the bath.
The do's and don'ts of electric canning
Many people already have an Instant Pot or some off-brand equivalent that has a pressurized function. However, this is not suitable for canning, and the method of electric canning will require the use of a designated machine. It's also important to note that even with the proper canning machine, the electric method of canning is not suitable for every type of food, and that the risks involved in improperly canning food are quite serious, as it can lead to the growth of bacteria that produces botulism (per the CDC).
Electric canning is ideal for foods such as jams, pickles, and salsas. You can even use acidic preservatives in some foods with the addition of citric acid or vinegar to ensure the correct pH balance. With a good electric canning machine, a little knowledge, and the acquisition of a few basic tools you're off the races, happy (worry-free) canning!