13 Ways To Make The Best Angel Food Cake
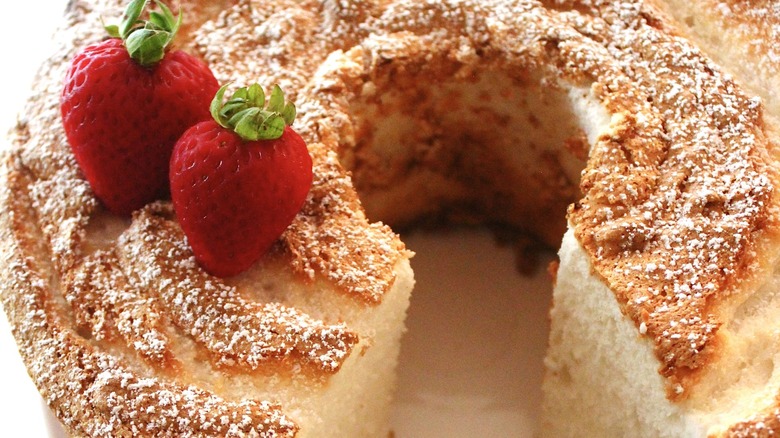
When summer rolls around, we start craving light and airy desserts like angel food cake. Unlike rich, decadent desserts like devil's food cake, angel food cake uses no butter — or fat, for that matter. Instead, this marvelously spongy cake uses egg whites, sugar, and cake flour to create its ethereally light, namesake texture. The cake achieves its impressive height, pristine white crumb, and light flavor with a precise mixing method that involves whipping the foamy egg whites and sugar until billowy peaks form. It's a gorgeous dessert simply served with whipped cream and juicy summer berries.
Angel food cake may seem like a cinch to make because the recipe typically calls for just five or six ingredients, but don't be fooled. Each ingredient plays an important role in the cake's final taste and texture. Great care should be taken when making this classic American sponge cake to achieve its iconic white color, delicate taste, and cloud-like texture. Follow our tips for making the best angel food cake, and get ready to taste a slice of heaven.
1. Use room-temperature egg whites
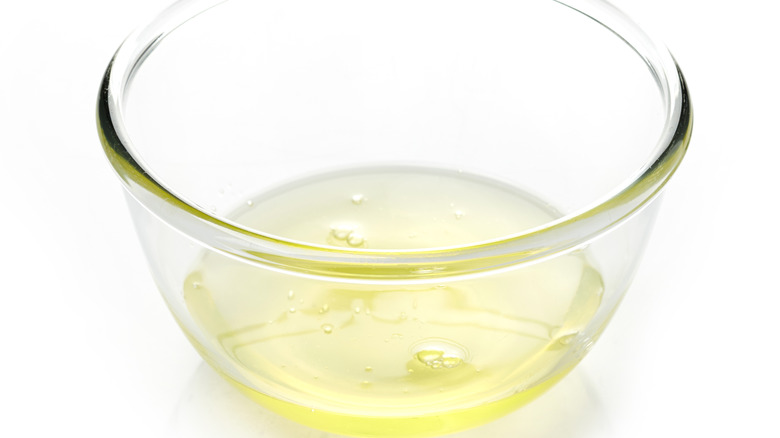
The first important step when making angel food cake is to bring your egg whites to room temperature, which typically measures between 68 to 72 degrees Fahrenheit. Egg whites that register in this temperature range whip up faster and more voluminously than cold ones; as a result, you can rest assured that they will reach their full volume when beaten, resulting in a billowy angel food cake. If you're wondering, cold egg whites beaten straight out of the refrigerator will whip up, but it takes much longer to see any significant volume.
If you're an avid baker, you may have heard that whole eggs are easier to separate when cold. Indeed, you should separate the yolks from the whites when cold, then allow the whites to come to room temperature before whipping. Cold egg whites take about 30 minutes to come to room temperature. During that time, you can prep the remaining ingredients and give your oven sufficient time to preheat.
2. Separate the eggs carefully
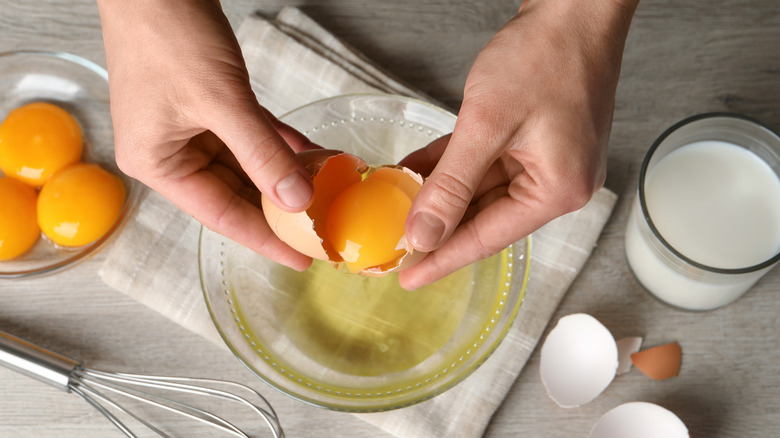
Egg yolks are your worst enemy when making a meringue. Even a trace of fatty egg yolk can delay the formation of peaks — or prevent peaks from forming at all. To ensure your egg whites are yolk-free, we recommend separating each egg into a small bowl, then transferring each white, one by one, into your mixing bowl. This way, if a yolk breaks, you limit the heartbreak of having to start over. After all, it's better to toss one egg white instead of a whole batch. If separating eggs by hand proves too challenging, there are all types of nifty egg yolk separator tools available online which are efficient and budget-friendly.
Once you've finished prepping the egg whites, transfer them to a clean bowl completely free of grease. Avoid using plastic bowls and utensils, which can hold traces of grease even after being washed. Pro tip: We recommend using fresh eggs over packaged liquid egg whites because pasteurization can prevent liquid egg whites from forming a stable meringue.
3. Do not skip the cream of tartar
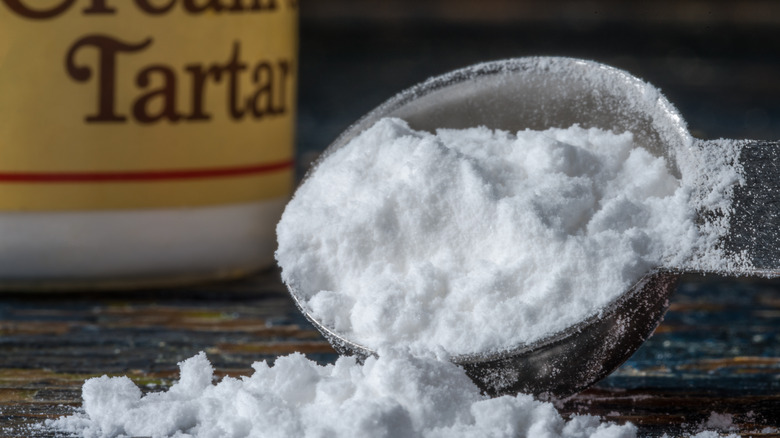
For a stronger, more stable meringue, add cream of tartar to your egg whites before whipping them to stabilize the foam and prevent it from collapsing. Found in any grocery store's spice aisle, cream of tartar is a white, powdery acid that does wonders to help meringue achieve more volume and strengthen its structure. In other words, your meringue will inflate more fully and hold its air longer, leading to a taller cake with a spongy texture that will float in your mouth.
If you don't have cream of tartar, you can substitute it with an equal amount of white vinegar or lemon juice. But, for better results, don't skip the cream of tartar. Without it, your angel food cake won't be as soft and light as it can be. If your recipe doesn't already include cream of tartar, use ¼ teaspoon cream of tartar for every two egg whites. If you're a bit short, that's okay — even a pinch will make a difference.
4. Add flavoring to your cake batter
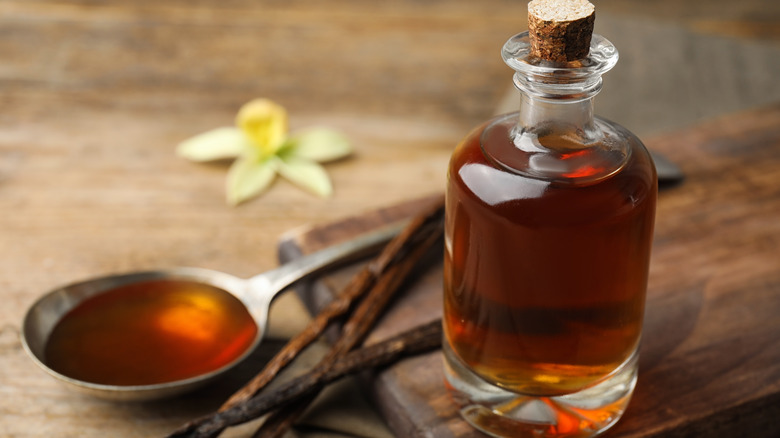
Angel food cake is considered non-fat because it contains no egg yolks or butter. While this is a plus if you're counting calories, it doesn't do much for flavor, because without flavorful fat, angel food cake will taste, well, sweet. This may be fine for some, but most of us want (need) our food to be more than just one-dimensional in taste. Our solution? Add flavor!
The most convenient way to add flavor to angel food cake is to use extracts that can be added to your egg whites before beating into a meringue. The classic extract of choice is vanilla, but so many other terrific choices are available, like orange and almond. If you're a coffee lover, give your cake a caffeine boost with coffee extract or instant espresso dissolved in a bit of vanilla extract. You can also consider using freshly grated citrus zest to add bright flavor to your angel food cake. Simply rub the zest with the sugar called for in the recipe for one minute before incorporating it into the egg whites.
5. Use superfine sugar instead of granulated sugar
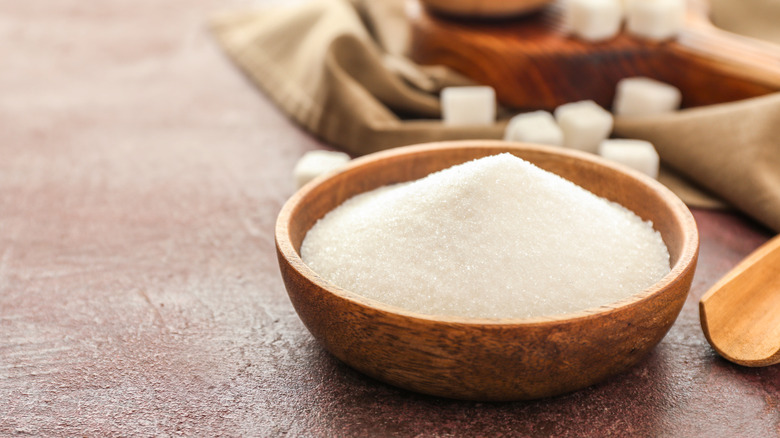
White sugar is the type of sugar most frequently used in baking. It is made from sugar cane or sugar beets and is sold in three varieties: granulated, superfine, and powdered. The difference between each variety is the granule size, with granulated being the largest and powdered being the smallest.
While granulated sugar is most commonly used in baking, superfine sugar should be used when making meringue-based desserts such as angel food cake. The minute-sized crystals of superfine sugar dissolve faster than granulated sugar's coarse crystals. This rapid dissolving is beneficial when making meringues because the sugar is more evenly distributed with the egg whites, resulting in a fluffier, more stable meringue.
Superfine sugar can be elusive, so you may not be able to easily find it. If that's the case, you can make it at home by blending granulated sugar in a food processor for about 30 seconds until fine. While it may be tempting to skip this step, it's better not to, so your angel food cake can turn out light as air.
6. Add sugar to the egg whites just before soft peaks form
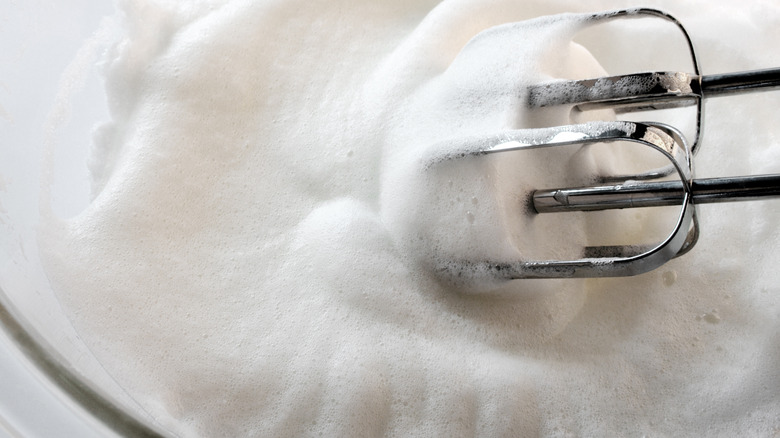
Meringue is the primary component of angel food cake, so it's essential that it is made correctly. If not, the final results will be affected — and not in a good way. Unfortunately, making a well-whipped meringue is more complex than just beating egg whites and sugar together. When it comes to making a meringue, timing plays an important role that can make or break your meringue.
To make meringue, begin by whipping the egg whites at low speed. This allows the egg proteins to unfold as small, stable bubbles form, creating a network of linked protein chains holding air bubbles. Visually, this appears as frothiness that morphs into soft peaks. It's at this point — just as soft peaks form — that the network of protein chains and air bubbles turns stable, and you can begin gradually adding the sugar while beating until stiff peaks form.
Suppose the sugar is added before the network is stabilized. In this case, the sugar disrupts the network from forming, leading to either a runny meringue that never peaks or an unstable meringue that takes a long time to form.
7. Use cake flour instead of all-purpose flour
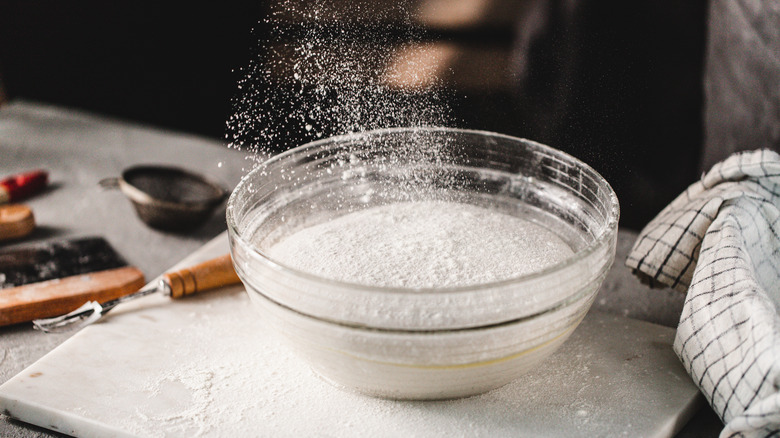
When making angel food cake, leave all-purpose flour in the cupboard and reach for cake flour instead because the type of flour you use will make a big difference in the cake's final texture. Unlike all-purpose flour, cake flour has a finer consistency, a softer texture, and lower protein levels, allowing it to absorb more moisture. The result is a smoother batter that bakes into a more tender, delicate crumb.
Cake flour should be folded into your meringue quickly but gently, about ¼ cup at a time, so the meringue doesn't lose too much volume. After each addition of flour, cut down vertically through the meringue using a spatula, then move it across the bottom of the bowl and up the other side, lifting some of the meringue from the bottom up over the top. The goal is to gently incorporate the flour without deflating the meringue so your cake will be soft and light.
Pro tip: Softasilk and Swans Down are two popular cake flour brands available in most grocery stores. Only have all-purpose flour? Measure out one cup of flour, then remove three tablespoons and add two tablespoons of cornstarch to make an equal amount of cake flour.
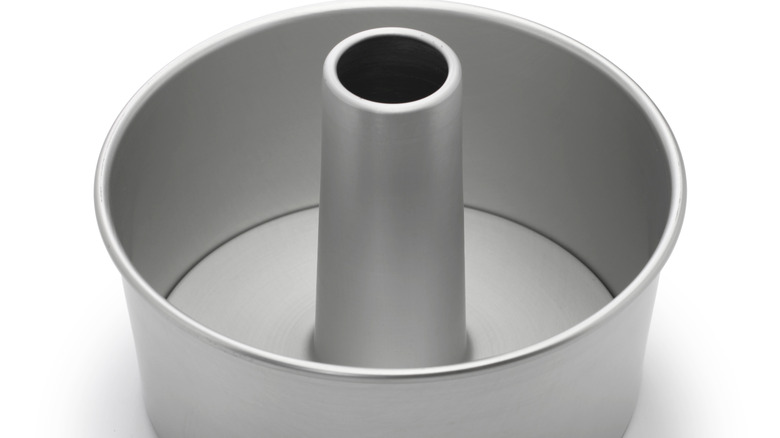
8. Bake the cake in a tube pan
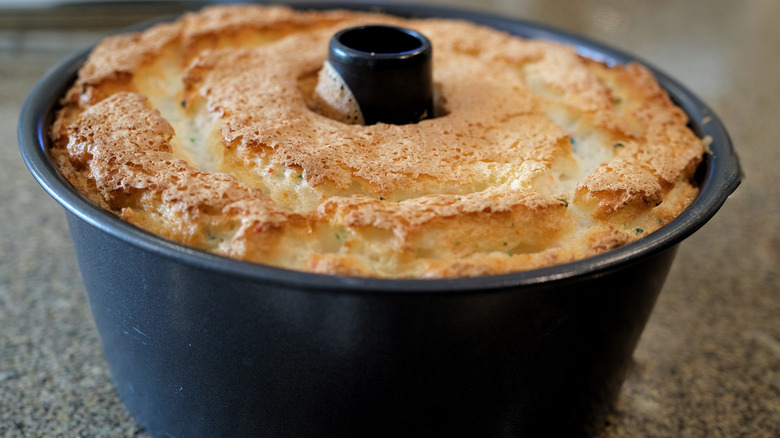
A proper angel food cake is baked in a tube pan with a flat bottom, straight sides, and a central cylinder. This uniquely shaped pan allows hot air to circulate around the cake so the batter can rise evenly up the sides, resulting in a magnificently tall and fluffy cake. Baking angel food cake in a standard cake pan or even a Bundt pan will not yield the same airy results — and good luck getting the cake out of a Bundt pan's indented curves. If you're serious about angel food cake, stick to a tube pan.
If you don't have a tube pan, it doesn't necessarily mean you need to run out and buy one. You can create a makeshift tube pan with a large round cake pan, a tall, empty can, and some sheets of parchment paper. Simply line the cake pan with parchment (without grease), then wrap the can in parchment and place it in the center of the cake pan. If DIY projects aren't your thing, you can make a batch of angel food cupcakes instead. Fortunately, you can bake angel food cake as cupcakes without compromising texture and taste.
9. Do not grease the tube pan
If you bake often, you probably instinctively reach for a can of nonstick cooking spray without even thinking when preparing the pan. But when baking angel food cake, you should forgo the nonstick spray and leave your pan ungreased for one very important reason: traction. Angel food cake batter needs to cling to the wall of the baking pan to rise properly. If the pan is greased, the batter will slide off the sides of the pan and won't be able to climb up. Greasing your pan can result in a flat, dense cake — and no one wants that.
You may think this all sounds fine and dandy for when the cake is baking in the oven, but how will you get the cake out of an ungreased pan afterward? This may surprise you, but after the cake is completely cooled, all you need to do to release the cake is run a slender paring knife around the outer sides of the pan. Then, remove the inner piece of the pan, run your knife between the cake and the bottom and center cylinder, and invert the cake onto a serving plate. If you have a one-piece tube pan, be sure to line the bottom of the pan with parchment paper (without grease) before filling it with batter to make removal easier.
10. Spread the batter gently to prevent air pockets
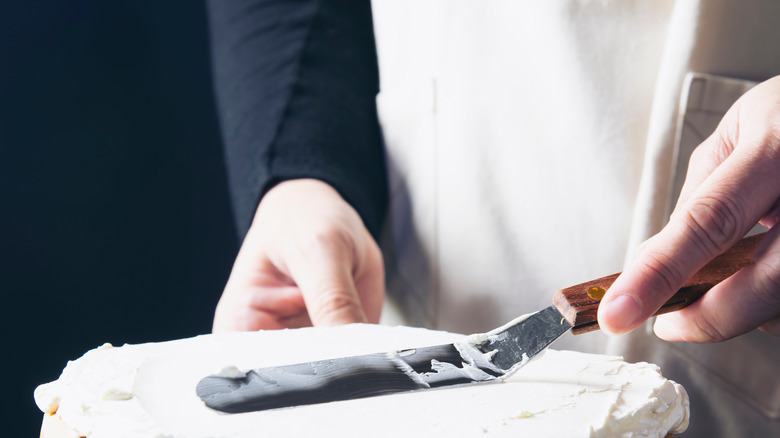
Angel food cake batter likes to hold its shape; it is, after all, stiffly beaten meringue strengthened with flour. So when you transfer the batter to the pan, you will notice that the batter won't spread smoothly like butter-based cakes. This means you'll have to use the back of a spoon or a spatula to gently press the batter into the pan so no air pockets bake up as gaps — all while making sure not to deflate too many air bubbles.
Make sure to also flatten the top of the cake before baking; otherwise, it will bake in whatever shape it's left. Then, to further ensure a fine crumb and even cake texture, run an icing spatula or skewer through the batter right before baking to break up any sizable air bubbles. If you follow these simple steps when transferring your angel food cake batter to the baking pan, you'll end up with an angel food cake that's perfectly shaped, soft as clouds, and undeniably delicious every single time.
11. Keep the oven door closed during baking
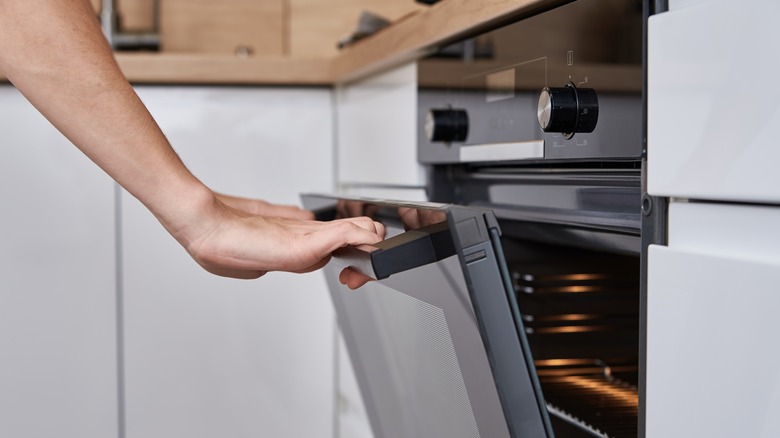
We know it's incredibly tempting to crack open the oven door to catch a glimpse of your cake baking in action. The anticipation of a well-risen cake with a glorious golden brown top can sometimes be maddening. But if you think that a quick two-second peek in the oven won't cause any trouble, think again because in all likelihood, another two-second peek will follow a few minutes later, and well, you get the idea. Frequently opening the oven to check on the progress of your baked goods is one of the biggest mistakes you can make while baking.
Every time you open the oven door, the inside temperature drops. Then, when the door is shut, it takes time for the oven to reheat to the desired temperature. This slows the baking process, disrupts the oven temperature, and compromises your cake's rise, possibly causing it to bake unevenly — or even collapse. For the best results, resist the urge to open your oven door. If you want to check on the progress of your cake, use the oven light.
12. Cool the just-baked cake upside down
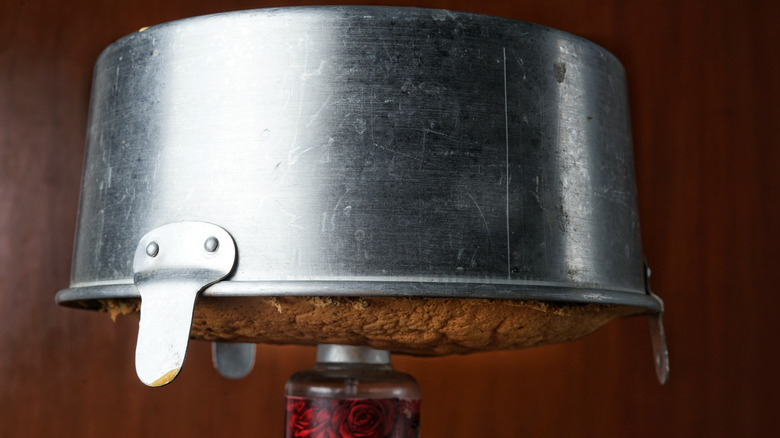
Angel food cake must be cooled upside down in its pan as soon as it is removed from the oven. Why? When the cake comes out of the oven, its spongy structure is still loose and unstable, so if it's not inverted, the cake will begin to collapse under its own weight. When the cake is placed upside down, the bottom of the cake remains stuck to the pan while the rest hangs down as the structure sets, sustaining its height and volume. This cooling period is crucial for maintaining the cake's appearance and fluffy texture.
Some tube pans have raised legs for easier cooling; if that's the case, you can invert the cake onto any flat surface and allow it to cool. If your pan doesn't have this feature, you can either invert the pan on a wire rack or fit the central cylinder of the pan over the neck of a heavy bottle. Cooling your just-baked angel food cake upside down ensures it will have the ethereal look and texture you desire.
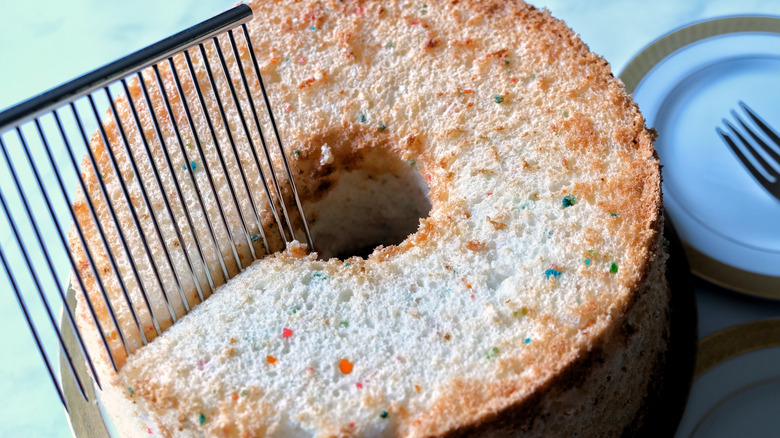
13. Slice the cake with a serrated knife or breaker comb
Angel food cake is delicate and spongy; as a result, it requires careful handling when sliced. If you use the wrong knife to slice it, there's a good chance you'll end up smooshing the cake, and all your hard work making it will be for naught.
While it may be more convenient to grab your all-purpose chef's knife, a better tool for slicing angel food cake is a serrated knife (also known as a bread knife). When used in a back-and-forth sawing motion, the toothlike grooves of a serrated knife's blade pristinely cut through angel food cake without compressing it. The one drawback is that it can sometimes produce a more-than-desired amount of cake crumbs.
If you want to up your slicing game and impress your wannabe baker friends, consider using a specialty angel food cake breaker with comb tines instead of a solid blade. When used in a wiggling motion, this breaker comb separates small sections of the cake's foamy interior without creating crumbs or smashing it. So, stop drooling, select your knife of choice, and treat yourself to a slice (or two) of heavenly angel food cake.