16 Mistakes You're Making With Apple Pie
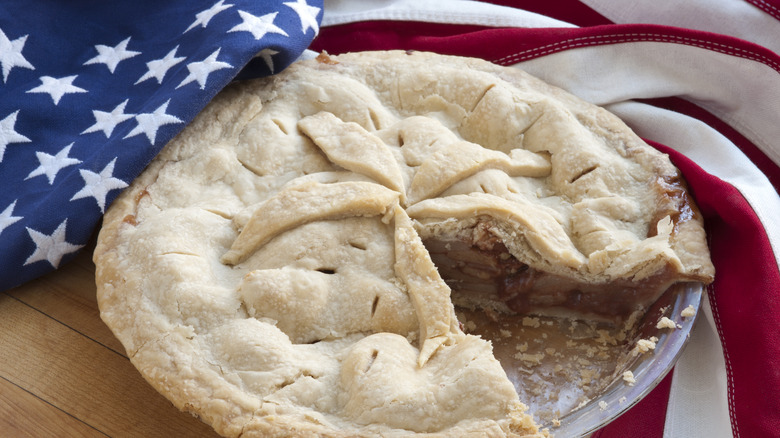
For Americans, there's no dessert more emblematic than a slice of apple pie — even if the history of the famous treat says otherwise. The truth behind apple pie is that the dessert dates back to 14th century England, but it has since morphed into a well-loved American tradition.
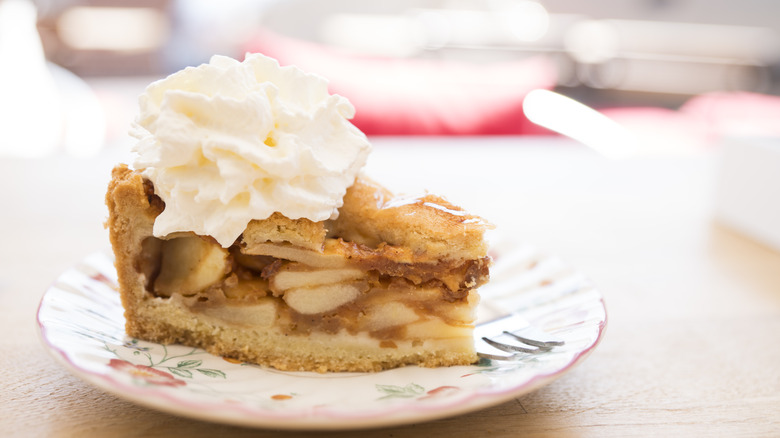
What constitutes the ideal slice of apple pie depends on the person tasting it. While some folks like their apple pies made "Dutch" with a streusel topping, others prefer the standard double-crusted version with a heaping scoop of ice cream served on top. Regardless of how you choose to prepare or serve your apple pie, there are some minute mistakes you can make along the way that could alter the texture, color, and taste of your bake and make it less than desirable. Here are some of the biggest mistakes you can make when baking an apple pie, along with some ways to make a better pie for your next cookout or family gathering.
1. Choosing the wrong apples

There are nearly 7,500 apple varieties grown globally, so how are you supposed to pick the right type of apple for your pie?
When you're looking for an apple that's perfect for baking, you'll want to choose a sturdy fruit that doesn't mush up when cooked. Some of the absolute best apples for baking include the massive Cortland, the tart Granny Smith, and the crunchy Honeycrisp. One of the mistakes bakers make when picking apples for their pies is choosing apples that are much too sweet. Even though the apple pie is a sweet dessert, you'll want to rely on the sugar you use to add sweetness, since this gives you a bit more control over the flavor of your pie.
The worst kinds of apples you can use for pies include the Red Delicious — which tastes like plastic and is barely edible anyway — and the mealy McIntosh.
2. Cutting the apples too finely
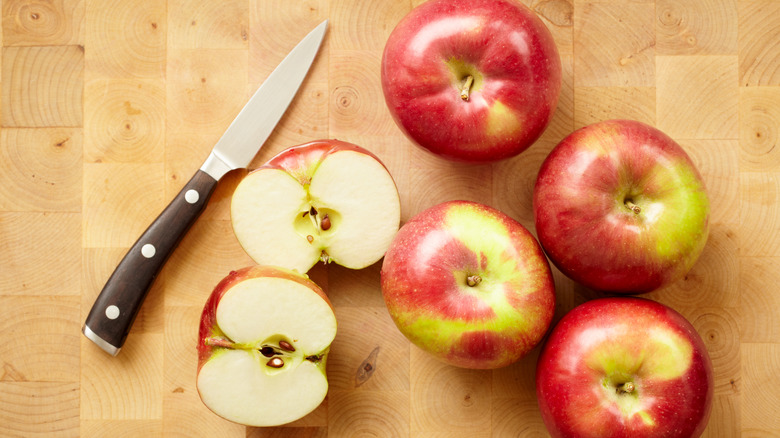
Once you've selected the apples for your pie, it's time to start slicing. First and foremost, you should always peel your apples when you make apple pie. While leaving the red- and green-hued peels on your apples may add some color to your pie filling, it will only detract from its smooth texture. The waxy peel will also prevent the apples from melding together when they bake.
After peeling the apples, you'll want to cut them with a small paring knife. Although a food processor might be the quickest way to get your apples into tiny pieces, it often causes your pie filling to turn mushy and applesauce-like. So instead, you'll want to cut your apples into ¼-inch slices. Although the exact shape of the slices isn't essential, these slices must be all the same size; this will prevent spots of overcooking and undercooking.
3. Not pre-cooking your pie filling
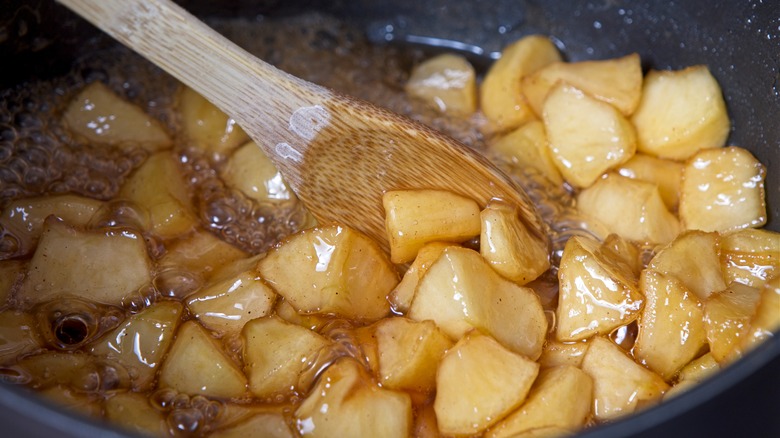
To cook, or not to cook? That is the (pie) question. There are numerous benefits to pre-cooking your pie filling before you add it to your pie shell. If you cook the apples before making the pie, you will likely prevent the top crust of the pie from crashing down. Cooking the apples removes some of the moisture (and subsequent volume), which in turn will leave you with a more sturdy pie.
There are numerous ways to pre-cook your apples, including submerging them in boiling water or roasting and draining them. The exact method you choose is dependent on the time you have to make your apple pie, as well as how much effort you want to put into it. We prefer boiling water on the stovetop before pouring it over the apples, covering the bowl, and allowing the apples to steam for at least 10 minutes before draining out the water. You'll find that the apples retain their shape but have significantly less volume than before.
4. Neglecting the acid

Lemon juice is a staple ingredient in apple pie recipes — and for good reason. The primary reason why you should mix lemon juice, or orange juice, with your apples is to slow down the browning process. When the apple slices are exposed to oxygen, they turn an unsightly brown color that does not impact the flavor of the apples — just the color. Therefore, adding lemon juice isn't a necessity for baking a good pie, but it does help make a prettier one.
Another reason why adding acid to your pie may be beneficial is that it makes for a more well-rounded flavor. The dominant taste of apple pie is sweet. But adding a couple of tablespoons of lemon juice to your pie can help balance out the flavor a bit and add tartness. If you don't have lemon juice handy, you can substitute an equal amount of commercial balsamic vinegar or a 50/50 mixture of apple cider vinegar and water.
5. Only using nutmeg and cinnamon for seasoning
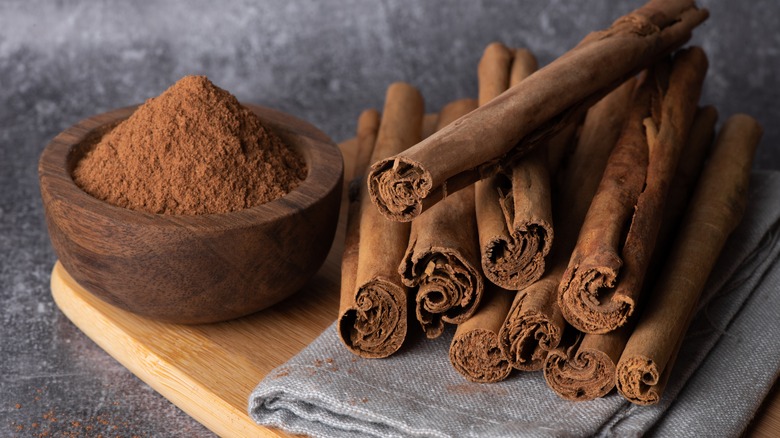
Most apple pie recipes utilize two spices: cinnamon and nutmeg. But there are many other types of spices you can add to your apple pie to develop a more complex flavor. For example, if you like to stay on the sweet side of things but want a bit of heat, we recommend adding dried ginger to your apples. The flavor will catch you in the back of your mouth but not overtake the other spices you use in your recipe — provided that you use a light hand with the ginger. For the chai lovers, you can substitute some cardamom for the cinnamon in the recipe.
If you like pairing savory and sweet together, we recommend trying some freshly chopped rosemary and honey. And if you're feeling more adventurous, you can try adding Chinese five spice to your pie. You'll get the familiar taste of cinnamon and cloves but with the added influence of Sichuan peppercorns, star anise, and fennel.
6. Forgetting to use a thickener
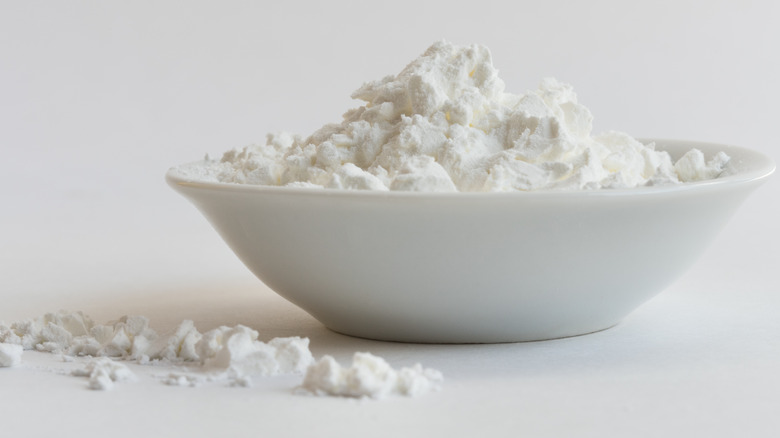
Is your pie coming out runny every single time? This is likely because you're not using a thickener in your recipe. Conventional thickeners, which include flour, cornstarch, and tapioca, help bind the leftover juices in your pie and prevent your bottom crust from becoming too soggy. The exact amount of thickener you add to your pie filling will depend on which type you're using. For example, you'll need to use more flour because it contains less starch than if you were using cornstarch or tapioca. Tapioca tends to produce a sticky texture, and your filling will need to rest for at least 15 minutes before baking so the tapioca can soften.
Another thickener you may see used in pie recipes is Clear Jel. This modified cornstarch is one of the most reliable thickeners out there because it doesn't dramatically alter the taste and texture of the filling, even with big temperature changes. So if you plan to freeze your apple pie, Clear Jel needs to be your go-to thickener.
7. Not adding a creamy element to your apples
Ice cream and whipped cream are often reserved for topping your pie, but have you ever considered adding a creamy element to your pie filling itself? One ingredient that will change your apple pie forever is sour cream. This tangy, unctuous condiment will make your pie taste like dulce de leche — and you may not even need to add whipped cream to the top of your pie when you serve it.
You can also use melted ice cream to add creaminess to your apple pie. For a major upgrade to your apple pie, add melted ice cream to the apple filling before you put the pie in the shell. You'll need to add about ½ cup of melted vanilla ice cream per 2½ pounds of apples, and let the mixture sit for at least an hour before baking. Then, allow your pie to rest after baking for a minimum of four hours to allow the mock custard to set.
8. Only using butter in your pie crust
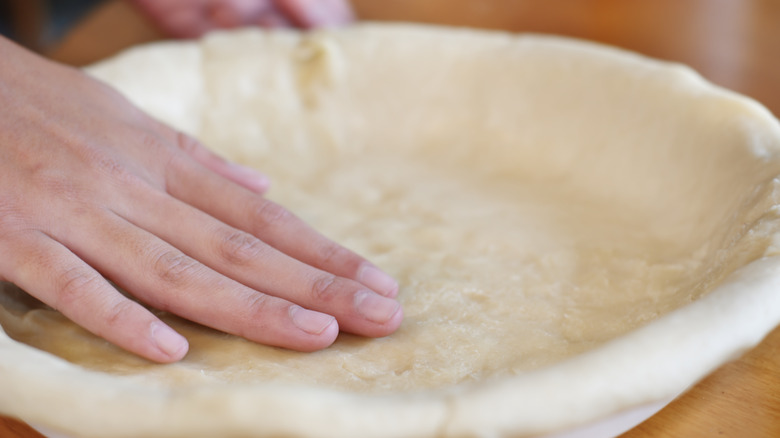
The only thing more important than a perfect apple pie filling is a perfect crust. To make your apple pie crust, you must create the ideal ratio of flour, salt, and fat. But how do you decide which type of fat to use?
The most popular type of fat used in baking (more than just pie crusts) is butter. The butter imparts a very soft, smooth flavor, while the minimal water content creates a small, but not drastic, puff in the crust. But your fat options include both animal-based and plant-based options too. You can use a mixture of butter and lard, or butter and suet in your pie crust. Lard can help your pie crust by creating a better flake, while you should consider adding suet to your pie crust if you want a less overtly sweet taste.
If you are sticking to exclusively plant-based ingredients, you can make some swaps to get a similar structure and flavor as a butter crust. The trick is to always use a fat that stays solid at room temperature, such as vegetable shortening or coconut oil.
9. Making the standard shortcrust pastry
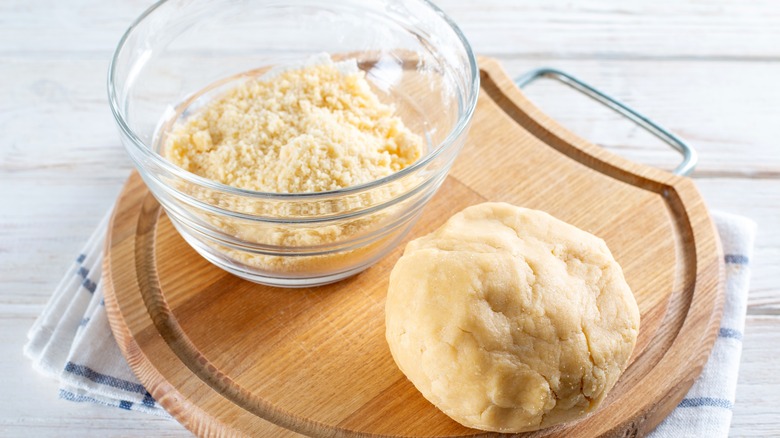
The obvious crust choice for most pie bakers is shortcrust. The shortcrust pastry is made by combining small flecks of butter into a flour mixture with a fat-to-flour ratio of 1-to-2. The resulting crust has a "short" texture that breaks easily. American-style pie dough is made with a similar technique but has a more equal fat-to-flour ratio, producing a more pliable and bendy crust.
If you want to venture away from these timeless crusts, you can make a treat that combines the best desserts ever invented: cookies and apple pie. Our recipe for Dutch apple pie with a sugar cookie crust utilizes brown sugar and eggs for a decadent crust that easily breaks like a crumbly cookie. After the dough has been brought together, it's pressed into a springform pan (which makes the removal process much easier) and baked with a four-spice-seasoned apple filling.
10. Keeping the dough at room temperature while you prepare your filling
If your apple pie is coming out greasy rather than flaky, it's likely because all of the butter leaked from your pie crust. And assuming you got a good distribution of the fat in your crust, the likely culprit is the temperature of your butter. Once butter gets between 68 and 72 degrees Fahrenheit, it becomes soft and easily pliable — which is good for creating a crust that you can work with. But if you let your crust sit out at this temperature sweet spot for too long, the butter will become too soft. Likewise, if you get to the point where your butter is completely melted, you won't get any flaky layers when you bake it in the oven.
Not only does the ambient air temperature help accelerate the softening process, but so does handling the dough. Cutting the butter into small pieces, rolling it out on a countertop, and other steps can cause a drastic textural change in your crust. If you want to slow down the softening process, remember to work the dough as little as possible and refrigerate it in between steps.
11. Overworking your pie dough

If you notice your pie dough starts to get a bit more difficult to roll and maneuver when you're baking, it may be a sign that you have overworked it. Once you introduce water to the flour, you will have some bit of gluten formation. The key to making a pie crust is to develop the gluten just enough so that the dough holds together but not enough where the dough starts to become bread-like. You should also remain cognizant of the butter in your dough, as overworking tends to melt the butter and cause a flat pastry.
To avoid overworking your dough, we recommend bringing it together by hand rather than with a stand mixer. The power of the stand mixer tends to mix the dough so much that it will snap and break when you try to handle it. Unfortunately, there's not much you can do if you overwork your pie crust, so prevention is key.
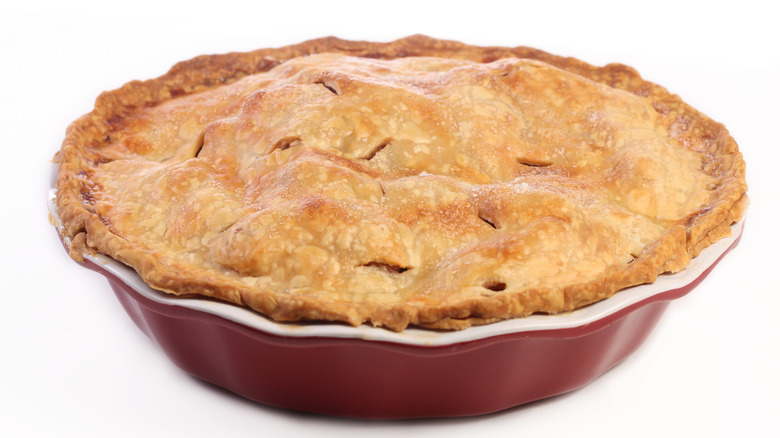
12. Using the wrong type of pie plate
Who knew there were so many different kinds of pie plates? You'll find many different materials, including ceramic, glass, and aluminum, to choose from. Ceramic and glass dishes are ideal for baking pies because they conduct heat very slowly, which produces a uniform golden color and a thoroughly cooked interior. Ceramic pans can also come with fluted edges, which makes crimping your pie together much easier than if you had to freehand it. Glass pans have their own benefit because you can check the underside of the pie to see if it's adequately cooked.
Disposable and aluminum pans aren't the best for baking apple pies. The disposable metal pans are quite flimsy and won't hold up to the density of a standard apple pie. If you need to have your pie in a disposable pan, like for a potluck, try baking the disposable pan inside a ceramic or glass pan; you'll get the added stability and can remove the heavy pan when you're ready to serve.
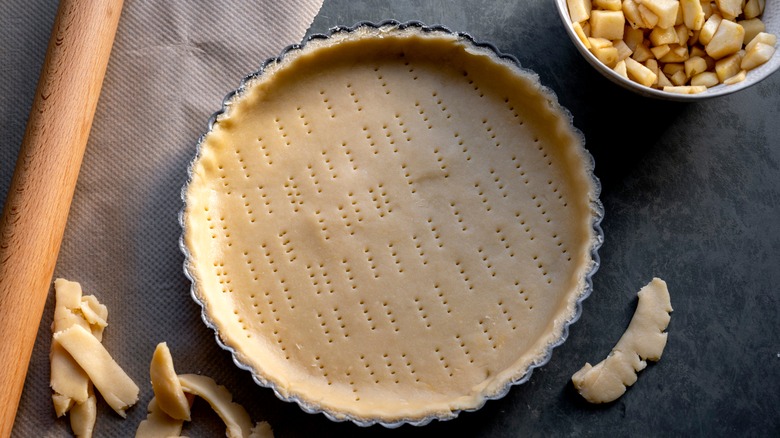
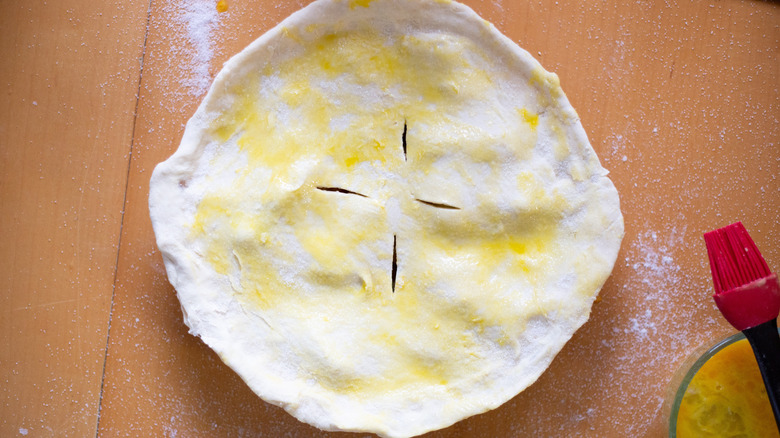
13. Forgetting to cut steam vents
Those little slits in the top of a pie serve an essential purpose. If you're baking a double-crusted pie, you'll need to cut steam vents in the top crust prior to putting it in the oven. The vents allow steam to escape from the pie — which could otherwise cause the top of the pie to rupture as the steam escapes. If you fail to cut vents in your pie, you also risk your top crust getting soggy from the trapped steam.
Cutting pie vents is a simple process. Use a sharp knife to slice four or five slits radiating from the center of the pie to the edges. These slits only need to be about 2 inches long, and you can widen them with your fingers if you prefer. When your pie is almost done baking, you can test the apples underneath the slits for doneness without disturbing the rest of your pie.
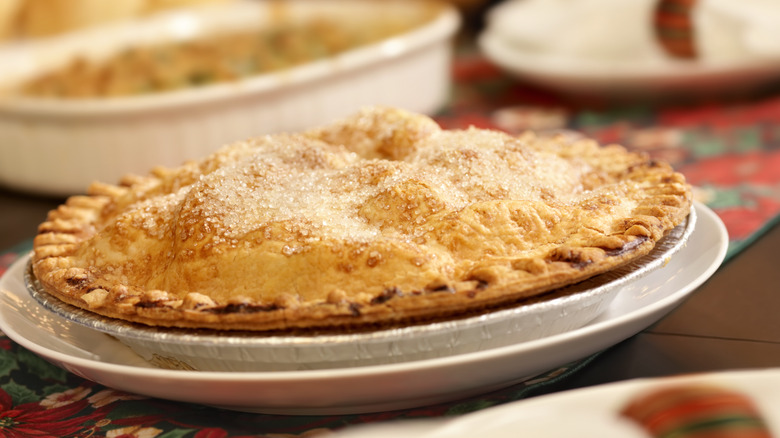
14. Skipping the egg wash
If you want a great color on your pie, you're going to need to enlist the help of a wash. The most common types of wash used for pies include a cream wash and an egg wash. Egg wash gives your pie a glossy finish and can help you affix pastry cut-out designs to your crust, while heavy cream or half-and-half gives your pie a more matte, somewhat golden color. If you go the egg wash route, mix together one egg with 2 tablespoons of water or milk.
You should use heavy cream instead of milk in an egg wash if you want a dark color on your pie. This is because the fat in the heavy cream browns more readily than the fat in the milk. Since the heavy cream egg wash browns more efficiently, you must pay attention to ensure the color doesn't get too dark. If you notice your crust baking much faster than your filling, tent the pie with aluminum foil for the last 20 minutes (or so) of baking.
15. Baking your pie on the wrong rack
Your go-to placement for anything in your oven is likely the middle rack. It's not too far away from the heat source, but it's also not so close to the heat that the risk of burning is imminent.
Although this idea has some grounding, the middle rack is not the best placement for your pie. Instead, you should place your pie on the bottom rack of your conventional oven. This will cook the bottom of the pie while the ambient temperature of the oven will do its magic on the top crust. If you're working with a convection oven, you can opt for the bottom or the middle rack because there is better air circulation than with a conventional oven. The top of the oven should be used exclusively for finishing the pie and helping it develop a golden color and crisp texture. If you leave the pie too close to the top for too long, you may end up with a top crust that is too dark.
16. Slicing your pie prematurely
If you went to such great lengths to bake your perfect pie, your first inclination is going to be to pull it out of the oven and grab a slice for yourself. But one of the best ways to avoid a wet apple pie is to rest your pie adequately. When your pie first comes out of the oven, the juices haven't yet had an opportunity to thicken. You should rest your apple pie for an absolute minimum of an hour, but ideally, more like four hours, before serving.
Once your pie is out of the oven, you should rest it on an elevated wire rack to help air circulate underneath the pie. You can also use your refrigerator to help speed up the cooling process, but the pie must be kept at room temperature for a minimum of 30 minutes beforehand.