13 Best Tips For Making Potato Wedges
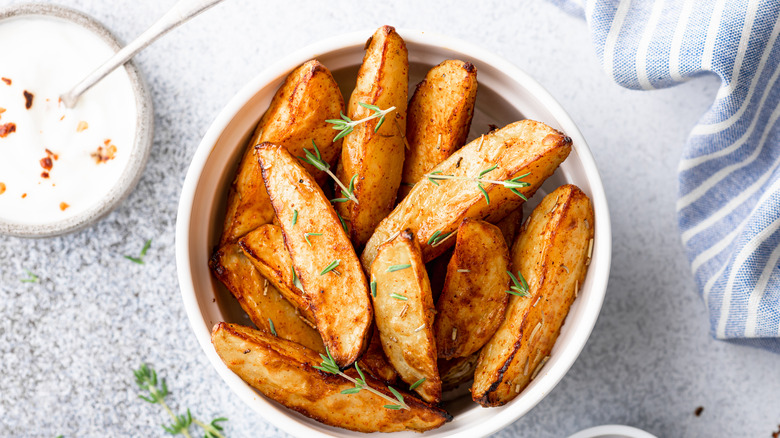
Potato wedges are a classic favorite snack or side dish for dinner: thick-cut wedges of potato, baked until crispy on the outside and fluffy on the inside, dusted with salt and spices. When done right, potato wedges are light, airy, and irresistibly crispy — far superior to soggy or limp wedge attempts of the past. They make a perfect appetizer for sharing or a side for burgers, sandwiches, and salads. Most people tend to prefer simple seasonings to allow the natural flavor of the potato to shine through. However, for extra flavor, you can also coat the wedges generously with your favorite spices and herbs or even try marinating them before baking.
The secrets to crispy wedges involve more than just cutting potatoes into wedges, tossing them with oil and salt, and baking. There are several important tips and techniques that will take your wedges from average to crave-worthy. Selecting the right type of potato, soaking the wedges before baking, drying them thoroughly, and choosing the proper amount of high-heat oil are all keys to success. The qualities of your baking sheet and oven setup also have a significant impact. If you want to perfect your potato wedge skills, these 13 tips will get you well on your way.
Choose the right potatoes

When making potato wedges, the spud you choose matters a lot. Not all potatoes have the right qualities to get beautifully crispy on the outside and fluffy on the inside. Potatoes come in a plethora of varieties — russet, Yukon Gold, red, fingerling, purple, and many more. The best potatoes for wedges are starchy potatoes that can stand up well to high-temperature baking. Russets are high in starch, so they get delightfully crispy when baked while still being light and airy inside. You can tell a russet potato by its classic large, oblong shape and rough, netted brown skin. When picking them out, ensure they are firm to the touch with no soft spots, cuts, or bruises.
Yukon gold potatoes have smoother yellow skin and yellow flesh. They have a medium starch level, so baking Yukon gold potatoes can get you wedges with a crispy exterior but a creamy interior. Yukon gold wedges may get slightly soft if overbaked, so keep an eye on them. But when cooked right, Yukon gold wedges have a rich, buttery flavor and tender-crisp texture. Avoid red potatoes, white potatoes, or other waxy varieties. These potatoes won't get crispy when baked and tend to get soggy. No matter how much you increase the oil or temperature, waxy potatoes simply won't achieve the crispness of starchy russets or Yukon golds.
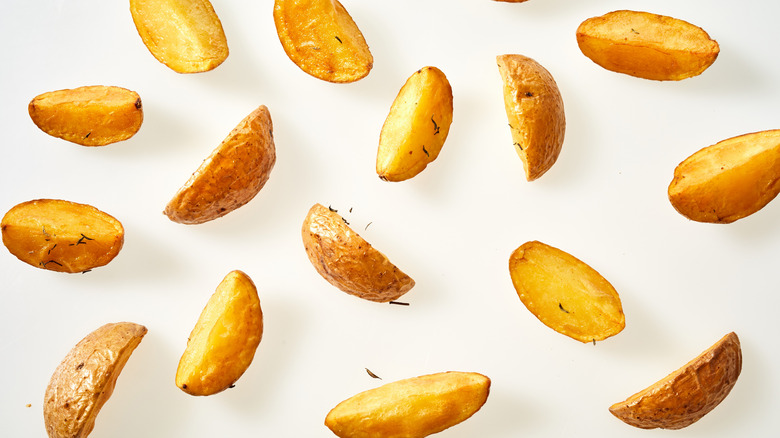
Perfect your cutting technique:
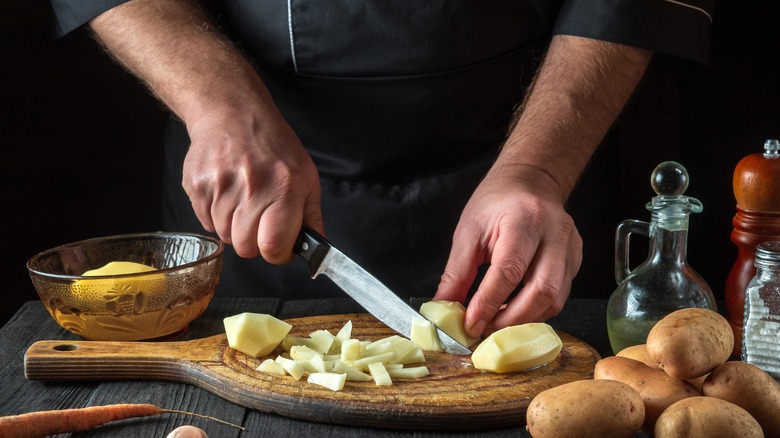
Cutting your potatoes into evenly sized wedges is key to ensuring they bake evenly and get crispy all over. The cutting technique you use can make or break your potato wedges. Uneven, messy cuts will lead to uneven cooking and limp, soggy wedges. Sharp, precise cuts will lead to wedges that get crispy at the same rate, with consistent texture inside and out.
To start, use a chef's knife, slicing knife, or serrated knife with a pointed tip and a large, wide blade. A paring knife is too small and will require multiple cuts for each wedge. For most people, an 8- to 10-inch chef's knife works great. Make sure your knife is sharp — a dull knife requires extra force and can lead to uneven, jagged cuts and is actually more dangerous to work with. Cut the potato in half lengthwise. Place the halves cut-side down on your cutting board. Cut each half into wedges of the same width. This is one of the easiest ways to cut fries. For classic wedge shapes, cut the potato into six or eight wedges. For thinner wedges, cut into eight to 12 wedges. Work slowly and carefully, holding the potato steady with one hand while cutting with the other hand. Apply even pressure and slice all the way through the potato with each cut.
Soak your potato wedges in cold water to remove excess starch
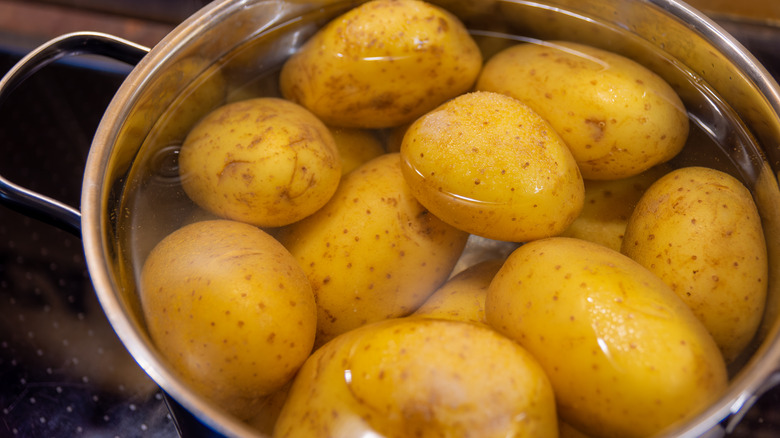
After cutting your potatoes into wedges, soak them in a bowl of cold water for at least 30 minutes to remove excess starch before baking. This simple step will help potatoes cook more evenly and will result in crispier wedges. As potatoes are cut into wedges, starch is released from the cells exposed by cutting. This starch can coat the surface of the wedges and prevent them from getting as crispy as possible when baked. Soaking the wedges washes away excess starch from the surfaces, allowing the wedges to get crispy all over. After soaking and patting dry, the internal starch will still provide enough moisture for the centers to get fluffy. The less starch on the outside, the crispier the wedges will get.
Soaking also allows any oil, salt, and spices you toss the wedges in to better adhere to the surfaces. As starch is washed away, the surface of the wedges becomes more porous. This means that when you toss the wedges to coat, the oil, salt, and spices will stick better and more evenly to the wedges. This allows for maximum flavor in each crispy, golden-brown bite.
Dry the potatoes well with paper towels
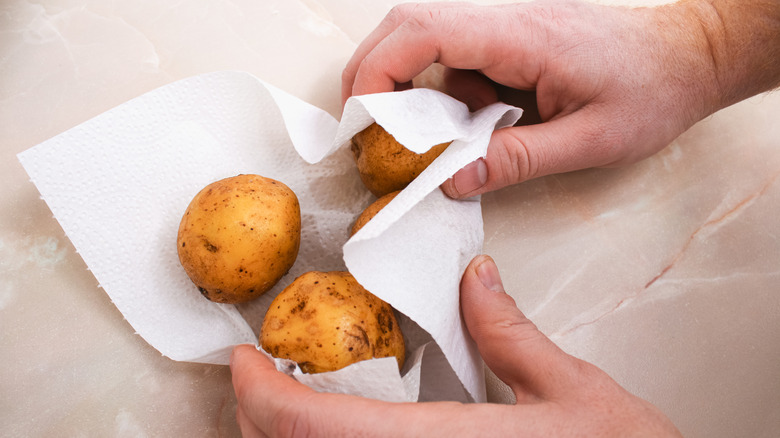
After soaking your cut potato wedges, it is essential to dry your potatoes before baking them by thoroughly patting them dry with paper towels or a clean kitchen towel. Getting the wedges as dry as possible before baking will allow them to get nicely crispy all over. Any excess water left on the wedges will simply steam them in the oven, leaving you with soggy, limp wedges instead of crisp ones.
As soon as you drain the wedges from their water bath, pat them gently with paper towels to absorb surface moisture. Do not scrub or rub the potatoes, which can damage their surfaces. Gently blot and pat until the towels are no longer picking up much moisture. Use additional towels as needed. Turn the wedges over and pat the other sides dry as well. In addition to moisture-preventing crispness, the remaining water on the wedges will also dilute any oil, salt, and spices you coat them in. The water will form a barrier preventing these flavorings from properly sticking to and coating the potato surfaces. With excess water, much of the oil and seasonings will simply run off the potatoes, leaving them lacking in flavor.
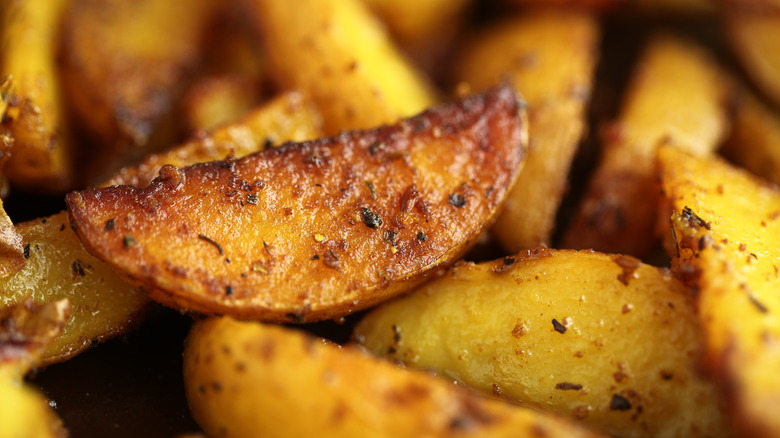
Season the potato wedges generously
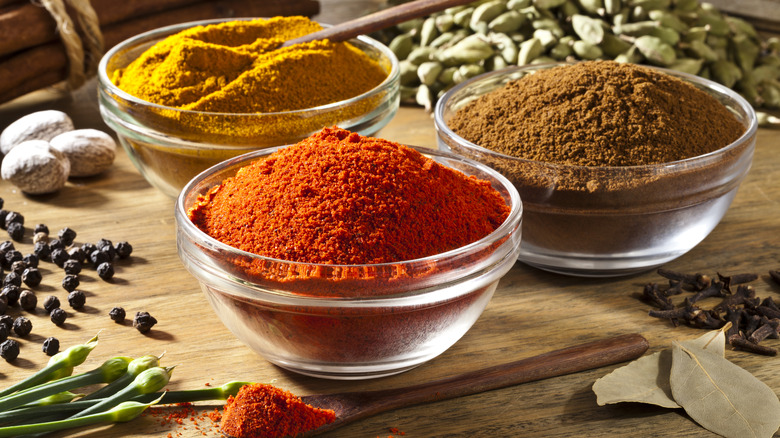
While potatoes are undoubtedly delicious on their own, they are also a blank canvas, eager to soak up the flavors we bestow upon them. In the case of potato wedges, that means a generous sprinkling of our favorite spices and seasonings. Let's start with the basics. Salt is a must and not just a pinch. Salt enhances the natural flavor of the potatoes and is key to achieving that addictive, savory taste we all love in a good potato wedge. A good rule of thumb is about one teaspoon of salt for every pound of potatoes, but feel free to adjust to your taste. Pepper is another fundamental seasoning. A hearty dash of freshly ground black pepper provides a subtle heat that complements the potato's earthiness. If you're a fan of heat, consider adding a touch of cayenne pepper or chili powder.
Next, come the herbs and spices. Garlic powder, onion powder, smoked paprika, and dried herbs like rosemary and thyme are excellent choices that work wonderfully with potatoes. Don't be shy with these seasonings. Here's a pro tip: Mix your chosen spices and herbs in a small bowl before adding them to the potatoes. This way, you'll have a well-combined seasoning mix that can be evenly distributed over your wedges, ensuring each one is equally delicious.
Choose the right cooking oil
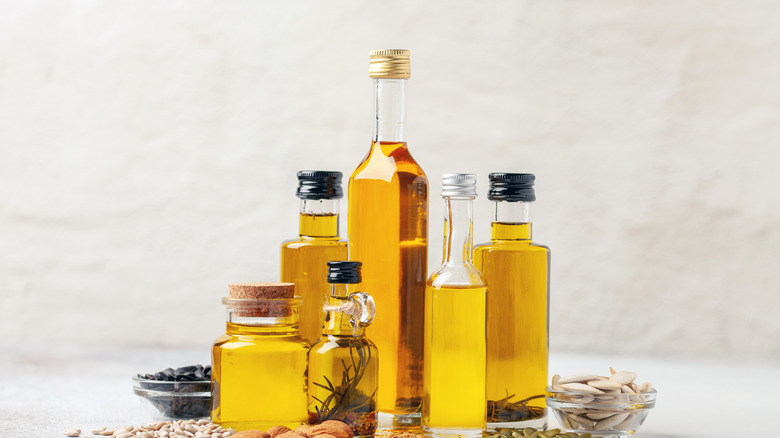
The oil you choose to toss your potato wedges in has a significant impact on how crispy they get and thus it is important that you choose the right oil for the job. For the crispiest wedges, choose an oil with a high smoke point that is neutral in flavor. Oils with low smoke points, like olive oil, coconut oil, or walnut oil, will start to burn before your wedges get crispy, causing them to taste burnt. While these oils are very flavorful, save them for drizzling or salad dressings. For baking wedges, use an oil with a smoke point above 400 degrees F.
Vegetable, canola, peanut, avocado, rice bran, and sunflower oils all have high smoke points, so they can handle the high heat of baking without burning. These neutral-flavored oils will make your wedges crispy without imparting a strong oil flavor. A blend of half vegetable, canola, or rice bran oil and half melted coconut oil also works great for baking crispy wedges. The neutral oil prevents burning at high heat, while the coconut oil adds moisture and helps the wedges get light and fluffy inside.
You can also marinate your potato wedges to enhance their flavors
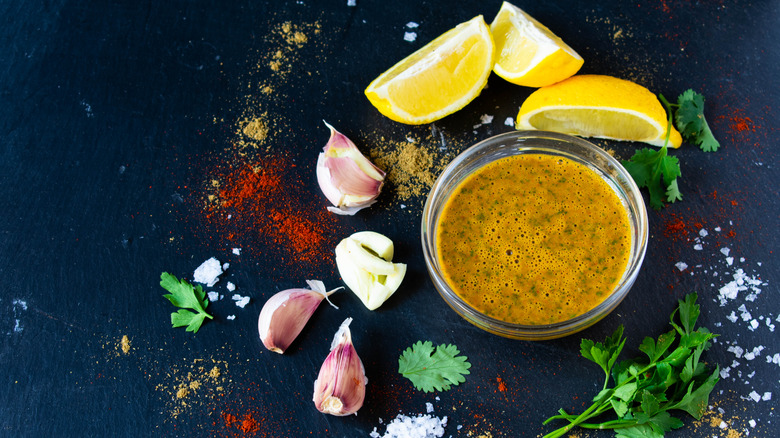
Marinating is a culinary technique usually associated with meat, but it works wonders for potato wedges too. Similar to how a marinade imparts flavor to a piece of chicken or beef, it can do the same for our humble potatoes. A marinade typically consists of an acid, such as vinegar or lemon juice, oil, and seasonings. The acid and oil work together to both tenderize and infuse flavor into the potatoes, while the seasonings add that extra layer of deliciousness. A simple marinade might include olive oil, apple cider vinegar, minced garlic, dried herbs, and a touch of spicy heat, perhaps from chili flakes or paprika. For an Asian twist, consider a marinade made from soy sauce, sesame oil, minced ginger, and a splash of lime juice.
To marinate your potato wedges, combine your chosen marinade ingredients in a large bowl, then add the wedges, stirring well to ensure they're all thoroughly coated. Next, cover the bowl and let it sit in the refrigerator. Even a short marinating time of 30 minutes can make a noticeable difference. However, if you have the time, letting your potato wedges sit in the marinade for a few hours, or even overnight, will allow the flavors to penetrate more deeply.
Choose the right method for making your potato wedges
The method you choose to make your potato wedges will determine how crisp and golden they turn out. The two most common methods to prepare potato wedges are baking and frying. Each method has its own merits and results in a slightly different texture and flavor. Your choice will depend on your personal preference, the equipment you have on hand, and the dietary needs of those you're cooking for. Baking is often the go-to method for potato wedges. It's simple, convenient, and doesn't require a lot of oil, making it a healthier option. Baked potato wedges can achieve a beautiful golden brown exterior and a fluffy interior.
Frying, on the other hand, gives you incredibly crispy potato wedges with a distinct flavor that only comes from frying. This method requires more oil and is a bit more involved, but if it's crispy wedges you're after, frying is your best bet. A deep fryer is perfect for this, but you can also shallow fry in a pan. Just be sure your oil is hot enough (around 375 degrees F) before adding the potatoes, and don't overcrowd the pan to avoid soggy, undercooked wedges.
Spread out the wedges when using a baking sheet
When baking your potato wedges on a baking sheet, spreading them out in an even layer is important for crispness. Crowding the wedges together will cause them to steam rather than get crispy. As the wedges bake, they release moisture in the form of steam. If they are crowded close together, this steam accumulates and condenses, resulting in soggy wedges. Spreading the wedges out on the baking sheet allows for proper air circulation so steam can escape, leading to crispy, golden wedges.
If needed, divide the wedges between two separate baking sheets to prevent overcrowding rather than stacking them on top of each other. Stacking causes the bottom layer of wedges to steam, preventing them from getting crispy, while the top layer may burn before the insides are cooked through. It is best to use multiple pans than to stack the wedges. You can also brush the baking sheet with oil and place each wedge fat-side down, creating little boats with the cut sides facing up. The curved shape of the wedges will allow steam to ventilate out and keep the fat ends crisping as they bake.
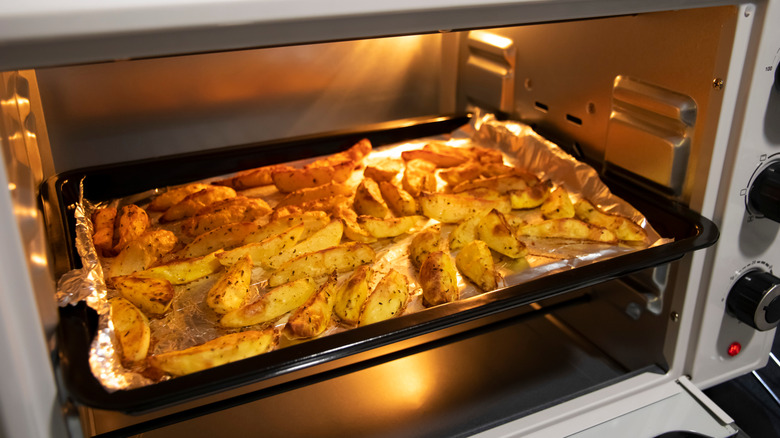
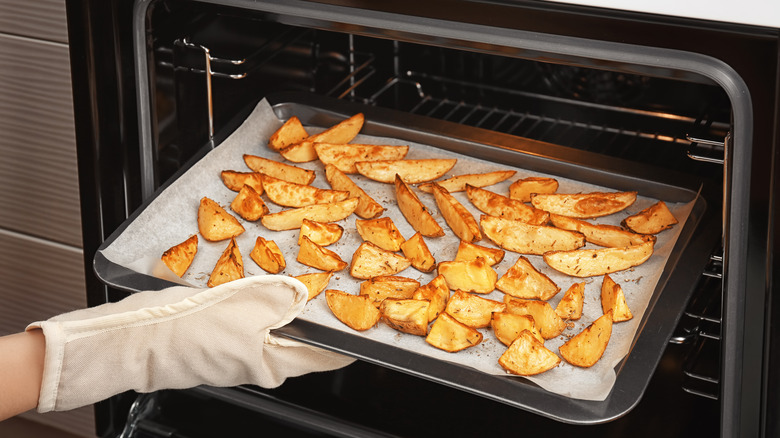
Choose the ideal oven temperature for baking your wedges
You might think that any hot oven will do the trick, but the truth is that temperature can significantly impact the outcome of your wedges. Too hot, and the outside of the wedges can burn before the inside is fully cooked. Too low, and the wedges may become dry and lack that crisp, golden-brown exterior we're after. For the crispiest wedges with a fluffy interior, bake them at a high temperature, between 400 to 450 degrees F. The intense heat causes the excess moisture in the wedges to evaporate quickly and the natural starch in the potatoes to caramelize, resulting in a perfectly crispy crust and tender inside.
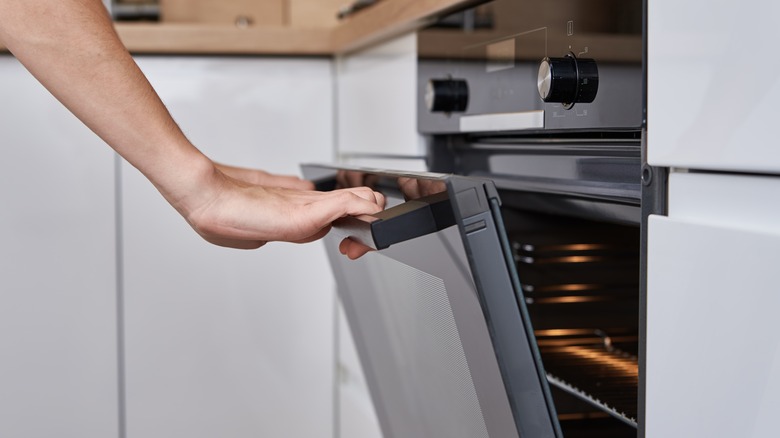
Before you place your wedges in the oven, make sure it's preheated. A properly heated oven ensures that your wedges start cooking immediately and helps to achieve that ideal crispness. And remember, oven temperatures can vary, so if you're not getting the results you want, don't be afraid to adjust the temperature a bit. Another tip: Consider your oven's hot spots. Most ovens have areas that are hotter than others, and this can affect how evenly your wedges cook. If you notice that wedges in one part of the baking sheet are browning faster than others, try rotating the sheet halfway through the baking time.
Flip the wedges halfway through the cooking process
Flipping your potato wedges over halfway through baking is essential for even crispness on all sides. If left unflipped, the side laying against the baking sheet will soften and steam while the exposed side browns. Flipping the wedges overexposes the soft side to the hot oven air, allowing it to crisp up as well. Flipped wedges emerge from the oven evenly crispy all over with a fluffy interior. After putting your prepared wedges in the preheated oven, set a timer to remind you to flip them over halfway through the total recommended baking time. For example, if baking wedges at 425 degrees F for a total of 30 minutes, set a timer for 15 minutes. When the timer goes off, carefully remove the baking sheet from the oven and flip each wedge over so the soft side is now facing up. Use tongs or spatulas to gently lift and flip each wedge.
Be very careful when handling the baking sheet, as the oil on it and the wedges will be extremely hot. Oven mitts are a must. Try not to overlap the wedges when flipping them, and make sure each wedge has regained its space on the sheet after flipping before returning to the oven. Return the sheet to the oven immediately for the remaining baking time until the wedges are browned and crisp on both sides.
Check for doneness after cooking your wedges
Checking on your wedges starting a few minutes before the recommended baking time is up and keeping a close eye on them as they finish baking allows you to remove them from the oven at their prime. A visual check is always a good starting point. Your wedges should have a beautiful golden-brown color. But be careful not to rely solely on color. Sometimes, the wedges might appear done on the outside but still be raw on the inside. This is especially true if the oven temperature is too high. That's where the fork test comes in. Take a fork and gently press it into one of the larger wedges. It should easily slide in without any resistance. If you feel any hardness, it means the interior of the wedge is not fully cooked, and you should give them a little more time.
Another reliable method is the taste test. After passing the visual and fork test, pick a wedge, let it cool a bit (we don't want any burnt tongues!), and take a bite. It should be crispy on the outside, fluffy on the inside, and, of course, delicious. Keep in mind that your wedges will continue to cook a bit more from the residual heat even after you take them out of the oven. So if they are borderline ready, it's safer to take them out to prevent overcooking.
You can also use an air fryer for healthier potato wedges
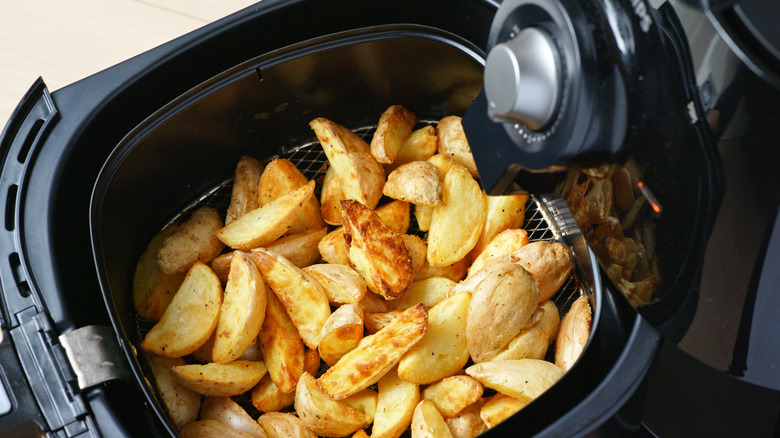
An air fryer is a convenient small kitchen appliance that circulates hot air to quickly cook foods like potato wedges using little or no oil. Air fryer wedges have a similar crispy crust as oven-baked wedges but require significantly less oil, resulting in a healthier preparation. The circulating hot air quickly evaporates excess moisture while browning and crisping the surfaces.
Air fryers work by circulating hot air around the food, effectively "frying" it without needing to submerge the food in oil as in traditional deep frying. The process is surprisingly simple. Start with the same steps as before — pick the right potatoes, cut them into wedges, soak them to remove excess starch, and dry them well. Then, instead of drenching them in oil, you just need a light coating. You can simply toss the wedges with a small amount of oil in a bowl. After that, it's just a matter of seasoning, and they're ready to go into the air fryer. One of the many perks of using an air fryer is its speed. Because of the concentrated heat source and the small cooking space, air fryers can often cook food faster than traditional ovens, meaning you could be enjoying your potato wedges in even less time!
Static Media owns and operates Tasting Table and Mashed.