When It Comes To Challah, Patience Is Key
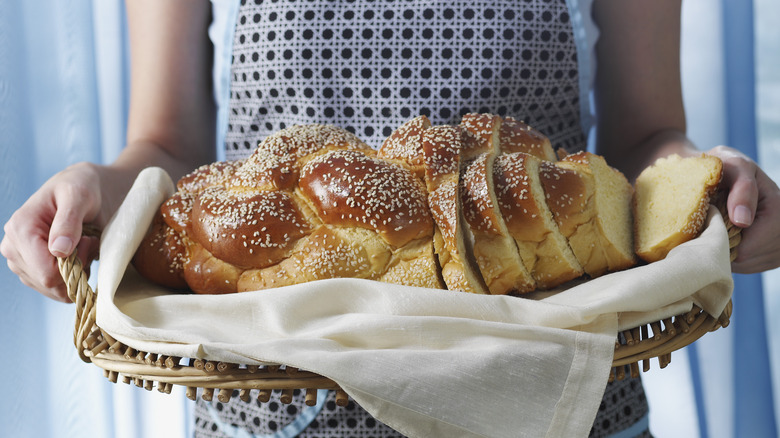
Challah is the famed enriched bread synonymous with celebratory feasts and family gatherings, particularly in the Jewish community. Sweetened with honey and (like brioche) turned butter-yellow with numerous egg yolks, it can be an intimidating loaf for first-time bakers to tackle. For some challah-baking guidance, we talked to Amy Emberling, one of the original bakers and current managing partners of Zingerman's Bakehouse in Ann Arbor, MI.
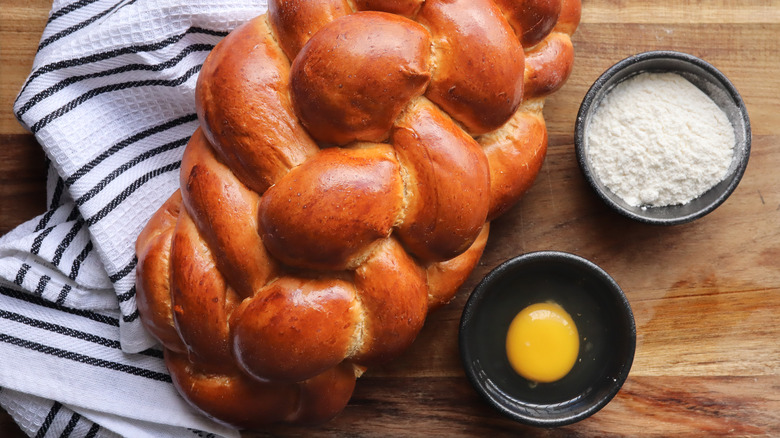
Emberling extols the virtues of using high-quality ingredients for this variety, like first-pressing corn oil, and a complex honey, instead of simply sweet granulated sugar. She told Tasting Table, "With this kind of bread, the flavor comes more from the ingredients than the process."
While many get stuck on the intricately braided and glossy appearance of challah (which is just the result of a double egg wash), according to Emberling, it's the step after shaping that's the most difficult hurdle, as it asks for something modern generations seem to have in short supply: patience. For her, the most common pitfall is not letting the shaped loaf proof long enough. How can a baker make sure they're not rushing the proofing process?
Playing the waiting game with Challah
Let's examine why it takes so long for your challah to prove. The very thing that makes challah so deliciously rich and tasty, the sugar, egg yolks, and oil, is also what makes challah such a time-consuming endeavor. When it comes to enriched bread, the sugars, oils, and fats that tenderize the dough also weigh it down, making proofing incredibly slow compared to non-enriched bread. Most recipes claim the rise should take anywhere from one to three hours. But the fact is, this time is dependent on numerous factors you can't control, including the weather, so it could be even longer than the prescribed time.
Emberling notes that you can't ignore this need for a generous proofing time, as your challah's texture and shape depend on it. A challah that hasn't been adequately proofed will turn out gummy and dense, with split braids — not the effect we're going for.
If you struggle with the visual clues for a properly proofed loaf — who can honestly tell if it has doubled or tripled in size anyway — you should use the poke test. Simply put, you'll gently poke your dough and see if it slowly springs back and leaves a slight indentation, visible evidence that your dough has been proofed. If it springs back quickly and completely, you'll need to exercise a bit more patience.