How To Turn Milk Into Evaporated Milk
Evaporated milk was invented out of necessity in the 19th century as a way to preserve and transport milk. Outside of the refrigerator, milk has a shelf life of two hours, tops, per U.S. Dairy. Keeping cans of evaporated milk in the house meant milk could always be available. All one had to do was add water to reconstitute it. Or maybe not — for, as people soon discovered, evaporated milk has benefits that go well beyond food preservation.
For one thing, evaporated milk delivers all the nutrition of fresh milk, but in a more concentrated form. In other words, evaporated milk is even more nutritious than fresh by volume; moreover, consuming it doesn't actually require reconstitution. In fact, some people enjoy it as-is, whether by the glass or in cereal or coffee.
But foodies like yourself might say that the cleverest use for evaporated milk is in recipes where the creaminess could use some amping up. That's why evaporated milk figures into this rich slow cooker mac and cheese and why it's the subtly caramelized secret ingredient in some of the best sweet potato pies we've ever had the privilege of tasting.
Even better, you don't even have to have a can on hand when inspiration strikes. As it turns out, turning fresh milk into evaporated milk is safe and super easy to do at home.
The quick and easy secret to evaporating milk
The market for canned evaporated milk is enormous and promises only to grow larger, according to The Brainy Insights. Not to put a damper on economic optimism, but the truth is that all these evaporated milk substitutes work like a charm to do precisely what canned evaporated milk can do.
But if you're of the mindset that nothing but actual evaporated milk will do, and you happen to be fresh out, the delicious news is that you can turn pretty much any milk that you've got in your fridge into evaporated milk right on your stovetop — and in a matter of mere minutes. As an added bonus, evaporating your own milk also translates to no preservatives and less waste (no cans!).
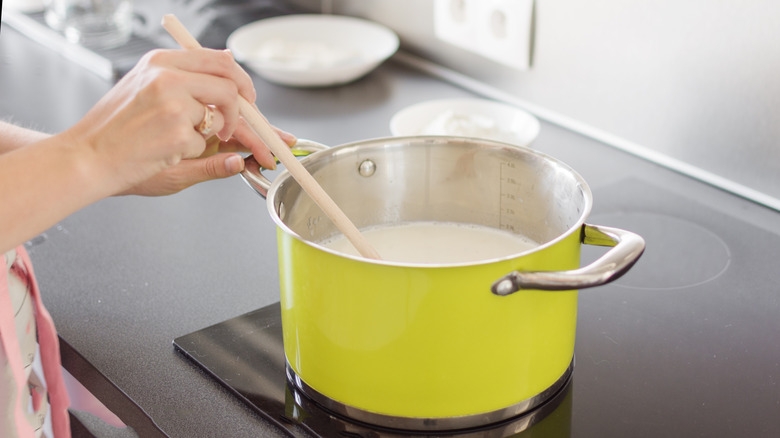
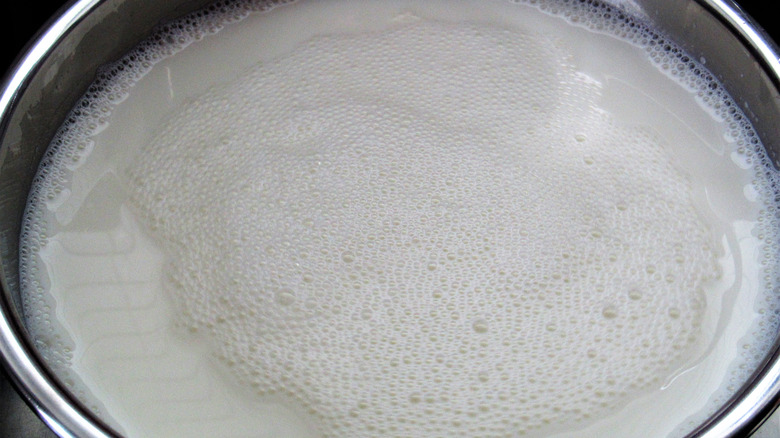
Simply place your milk in a saucepan (ideally, one with measuring markers) over medium heat, and stir constantly as it comes to a boil (feel free to adjust the heat if it starts boiling over, of course). Then, just keep stirring until the milk has reduced to about 60% of whatever quantity you started out with. The process should take around 30 minutes to make the equivalent of a 12-ounce can.
Please do note, however, that unlike commercially available evaporated milk, the homemade version isn't shelf-stable. Nor will it last any longer in your refrigerator than fresh milk would. But that shouldn't matter if you're making it for the purpose of using it now!