14 Time-Saving Tips In The Kitchen
Let's face it, life can be busy. When cheffin' at home, one of the most challenging parts isn't the actual cooking, but finding the time to do it. The very thought of it can be overwhelming enough to make you pay a delivery fee. And while ordering food will satisfy your hunger for the night, there are rarely any leftovers. Not to mention, tipping can sure add up. In the long run, the benefits of cooking at home simply can't be beaten.
Not only is cooking at home the healthier option, but it's also a time and money-saver, as well as a great way to connect with family. Trust us — nothing beats knowing where your ingredients came from or getting to control your ideal level of savory, spicy, and sweet. The right tips will help you shave a two-hour recipe down to half the cooking time. From how you store food to how you prep it, there are endless ways to simplify your weekly meals. To help you carve out more time for cooking and sharpen your kitchen habits, we've put together a list of guaranteed time-saving tips.
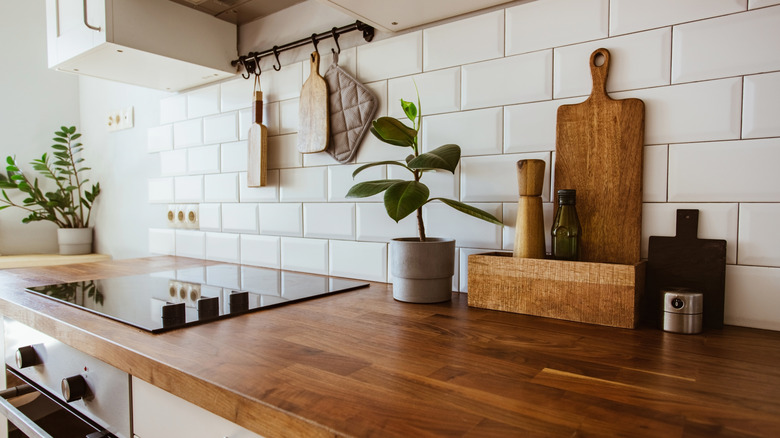
Take time to stop and organize your fridge
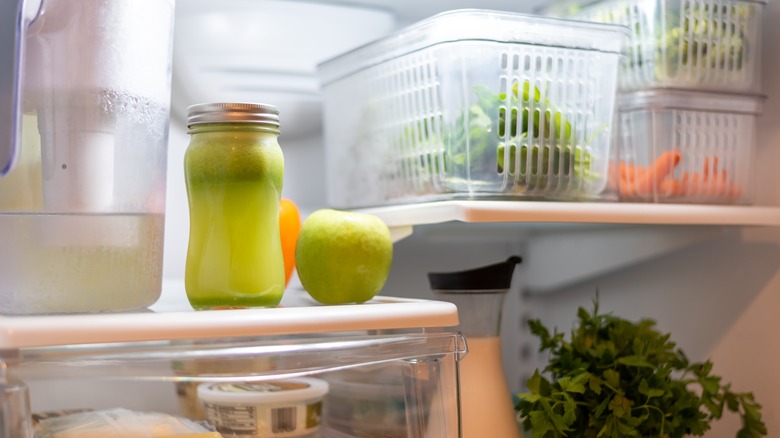
Having fresh shelves with perfectly arranged food is not only satisfying, it's also a great hack to save time in the kitchen. When everything is organized and expired or leftover foods have been removed, it makes it easier to decide what you want to eat. That means no more searching through drawers to hunt down missing deli slices, or sifting through containers to find a special mustard hidden in the far reaches.
Even with recipes, there's less of a chance you'll overlook any necessary ingredients. Having to go back to the grocery store for an item you forgot sucks in general and sucks up precious time. Another benefit of an organized fridge is the energy you save. Just think about the time you spend staring aimlessly into your fridge trying to decide what to eat. Simply put, you'll order out less with a bit of order in your fridge.
Keep herbs fresh by using a glass of water
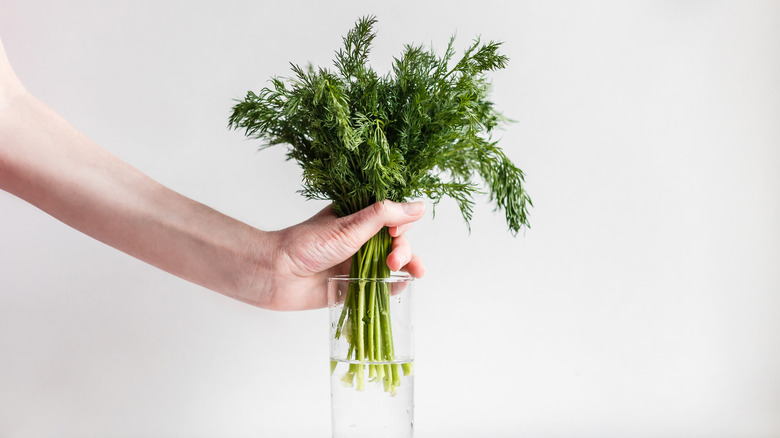
It makes sense that something nutritious, fragrant, and flavorful is also fragile. Herbs will go from pleasantly vibrant to wiltingly depressing in an instant. All it takes is the wrong temperature or handling to lose the aromatic charm. Typically, herbs are sold in large batches, so it's common to have leftovers after cooking. Then finally, you have a recipe you're ready to use them in, but they've already begun to whither. Thank goodness there's a simple food storage hack that will help your herbs stay fresh longer.
Grab your herbs and make sure they're sorted in groups based on their stem type: cilantro and mint are soft stem types, while oregano and thyme are hard stalks. Make sure to trim an inch from the stems. You then want to clean the herbs and remove any bacteria before storing them. Next, place the trimmed herbs into cups of water, separated by groups, and use cling wrap or a resealable plastic bag to cover them. Once secured, store them in the fridge, where they'll stay fresh until the next recipe calls for them.
Use colanders to quickly strip herb leaves
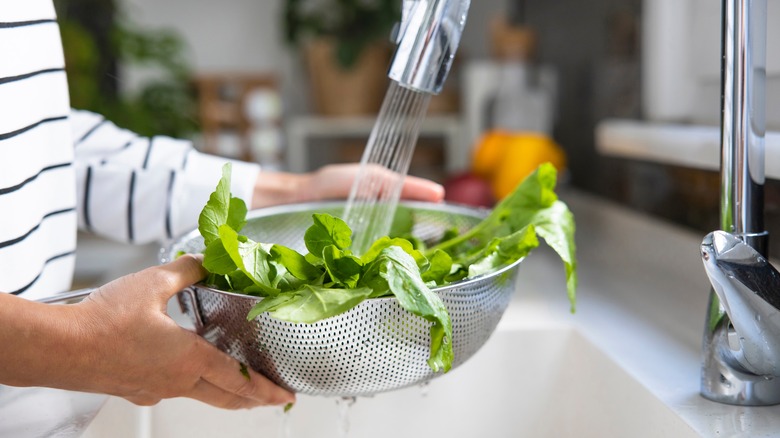
Fresh herbs pack more nutrients than the dried variety, but why go through the hassle of cleaning and stripping leaves when sprinkling only takes a second? That's why it makes sense to choose dried thyme when you're trying to save ... time. Before you go the dry route, rather than picking herb leaves off the stalk one by one, try using a colander. According to Prue Leith, a judge for "The Great British Baking Show," it's one of the best time-saving tricks for stripping mint leaves.
Using one of the tiny holes in your colander, insert a single stalk of mint (or your leafy herb of choice) from the inside out. That means the leaves should be pointing inward and pulled through the hole from outside of the colander. As you pull outward, the tiny hole will remove the leaves from the stalk, keeping both intact. With only a few strips through the hole, you'll have a colander full of fresh leafy herbs. This simple and speedy tip will have your recipe bursting with aromatics in no time.
Add an ice cube when reheating rice
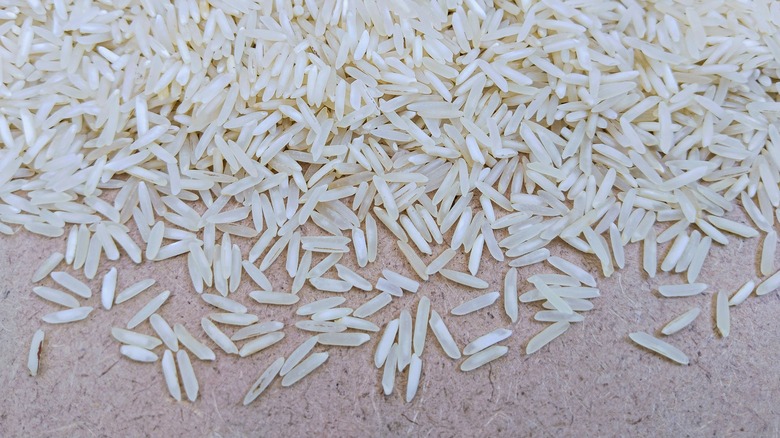
As one of the most versatile ingredients, and a great way to spend less time in the kitchen during the week, it's always a good idea to cook extra rice. When you cook large batches, they can be reused for a whole assortment of recipes. The only catch is, storing it in the fridge can cause the grains to become frigid and hard. Unless a recipe calls for it, crunchy bits of rice will most certainly ruin the experience. Fortunately, in the kitchen, every hurdle has a hack.
When reheating leftover rice, one way to avoid further dryness is by using an ice cube. This unexpected hack actually makes sense if you think about it. Simply pop the rice inside of your microwave using an uncovered container, place an ice cube on top, and let it run for only a minute. The ice will create steam for the dried rice, allowing its fluffy consistency to return. Before you know it, you've brought your leftover rice back to the land of freshness.
Preserve your tomatoes with blanching
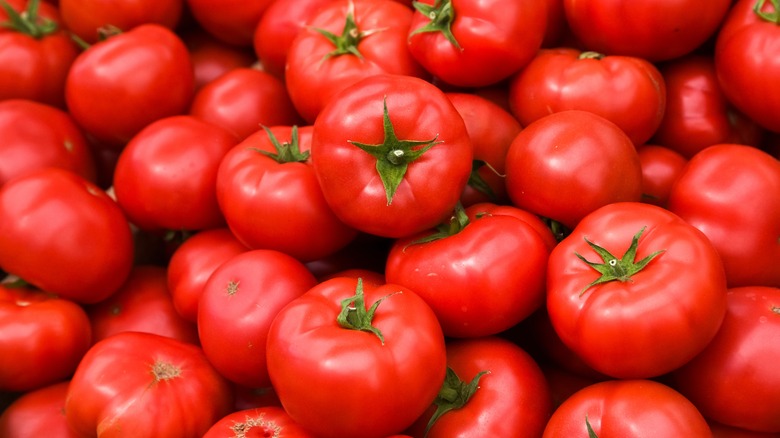
When you bring home fresh groceries, an underrated time-saver is cleaning your produce before storing it away. Doing so will give you one less step during the prep process, especially when you have several types of produce to clean. With clean fruits and veggies ready to go, you'll have more time to cook at home. Aside from saving time, it also helps foods last longer. That's why we recommend blanching tomatoes.
The process only takes a few minutes and is a great way to quickly whip up homemade tomato sauce. First, set aside a bowl of ice and water. Once that's prepared, gently cut a tiny "x" into the bottom of each tomato. Next thing is to place the tomatoes into a pot of boiling water for 30 to 60 seconds. Using a spoon, remove the tomatoes and place them in the ice water. With only a minute of blanching, the skin should easily slide off. Now your tomatoes are ready to be made into sauces and added to future recipes.
Freeze avocados to prevent browning
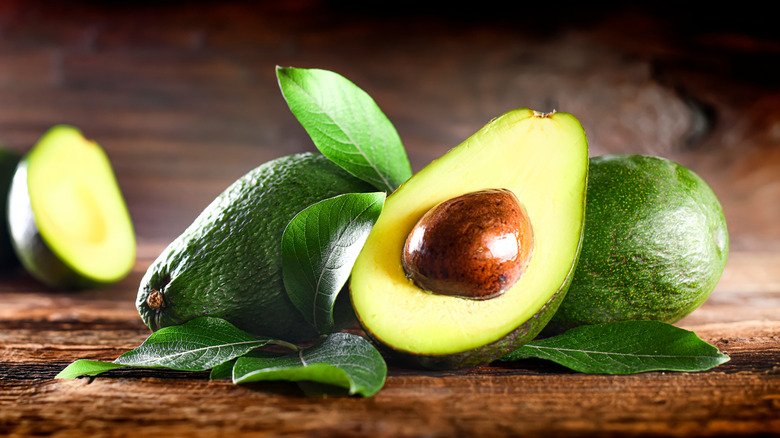
Avocados can be tricky. One moment they're hard as a rock, the next they're pudding in your palms. Sometimes it's hard to tell from the outside of an avocado when it's perfectly ripe. Even after it shows signs of ripeness, bump skin with a subtle softness, you can slice it open and still find brown spots. Luckily, there's an avocado hack that will keep it fresh and green longer. To pull it off, you only need to follow a few easy steps.
The first thing you should do is slice your avocado in half, then remove the pit with a spoon. Following that, thoroughly lather your avocados with lemon juice, around all sides. Then wrap the entire avocado with plastic cling wrap, making sure to remove the air build-up in the pit. Once you've finished wrapping them, store them inside your freezer. The cold temperature will slow down the aging process, preventing it from browning, while leaving your avocados fresh and ready to be used later.
Heat water more efficiently using a kettle
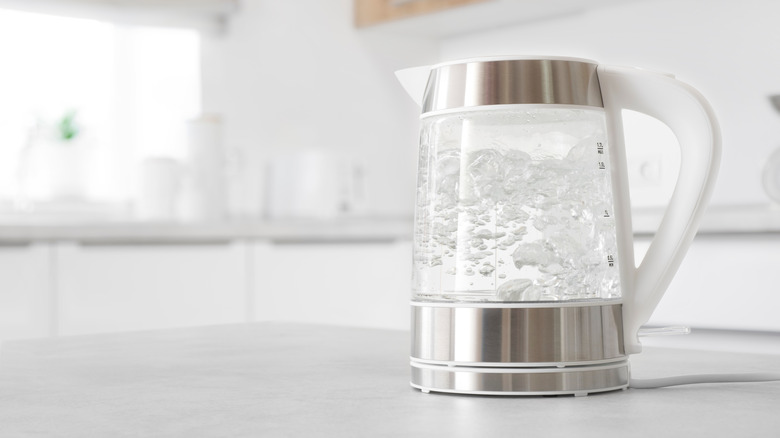
A perk of learning how to save time in the kitchen is that you'll also pick up some energy-saving tips too. One way that energy is used while cooking is to boil water. While stoves are the most common way to boil water, they're actually less energy-efficient than using an electric kettle. Stoves are only 70% effective at heating water, and microwaves are even less effective at 50%. Electric kettles, on the other hand, are designed specifically to quickly and more accurately heat water.
At 80% efficiency, it's clear that electric kettles are the best option. Besides the heating skills, they're also equipped with timers and shut off automatically. That way you're only heating the water up to the desired temperature, and not using up any more energy than necessary. If your recipe requires more water than what the kettle holds, heat water up in batches. Kettles come with measurements that will ensure you'll heat up the exact amount your recipe needs.
Save burnt pots and pans with Alka-Seltzer
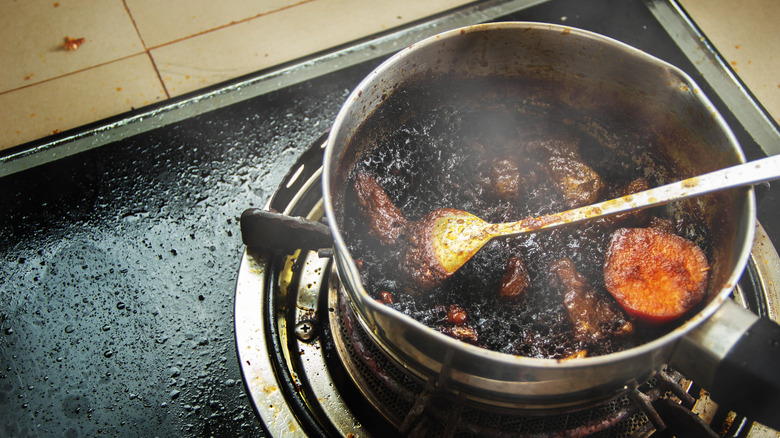
Anyone with experience cooking at home has burnt a pot or two. It's one of those forehead-smacking moments you tirelessly attempt to scrape away with a spatula, without much success. Thankfully, there are easier ways to remove charred food from your pots and pans. For mildly burnt foods, boiling water for a few minutes will do the job. If you're stuck with a seriously crispy build-up, an unlikely way to prevent losing your pots and pans is with Alka-Seltzer.
The secret to Alka-Seltzer's burn-removing abilities lies in the bubbling fizz. As the pot soaks, the antacid tablets react to the water, creating fizziness that helps break down the burnt bits. It's recommended to use at least six antacid tablets, and let them sit in the pot with water for around an hour. After an hour passes, the burnt bits should have loosened, making it easy for you to scrub the pot clean using only minimal elbow grease.
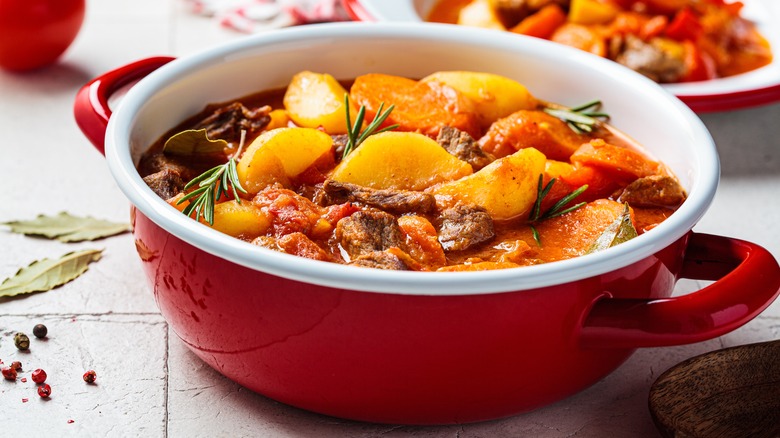
Reduce prep time with this potato peeling technique
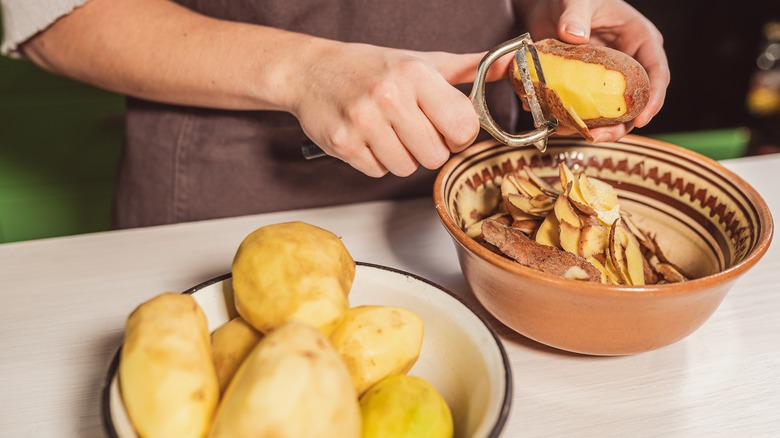
Peeling potatoes can easily add 30 or more minutes to prepping, especially if you're making mashed potatoes or potatoes au gratin. To hasten the peeling process and make your time in the kitchen a breeze, we suggest this quick and easy tip. Avoid the tedium and potential nicks of a peeler by first scoring your potatoes with a knife. Tiny slices will allow the potato to more easily absorb water, which is what you'll use to help loosen the skin.
After you've scored each potato, place them in a pot of boiling water, and let them cook until they become tender. Make sure to keep an eye on them, checking their consistency here and there. You want them soft enough to easily slice with a knife, yet not soft enough to mash under pressure. While it boils, prepare a bowl of ice water. You'll transfer the boiled potatoes into the ice water so they can cool down. After a quick cooling, you should be able to easily remove the skin.
Start with a microwave to lower baked potato oven time
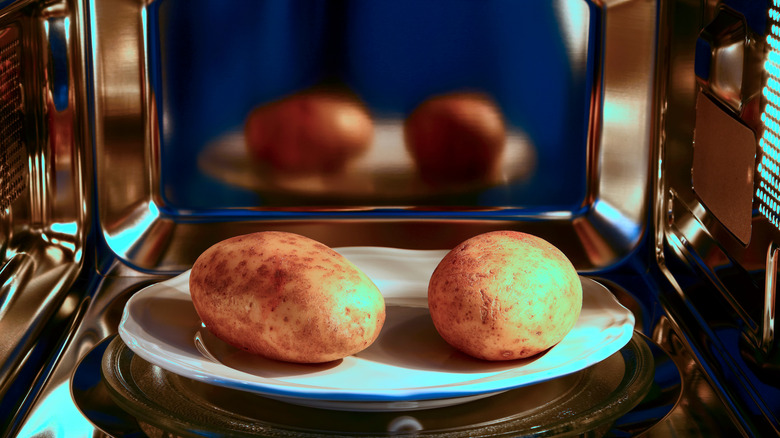
Few ingredients can take the heat like a potato. Even under scorching oven temperatures, baking one can easily take 45 minutes to an hour. Having to wait that long for something delicious can be a nail-biting experience. To reduce the oven time for your baked potatoes (and subsequent stomach growls), toss them in the microwave. This quick addition to the process will have your taters out of the oven in only half the time.
As with any ingredient, the first step is to make sure it's clean. After you've washed away the earth, poke each side of the potatoes several times with a fork. This will help moisture more easily penetrate the flesh. Then place them into the microwave on high: five to six minutes for two potatoes, or 10 to 12 minutes for four. After they finish, lather them with the fat of your choice, and put them in the oven on the middle rack at 400 degrees Fahrenheit.
Slice raw chicken easier by freezing it first
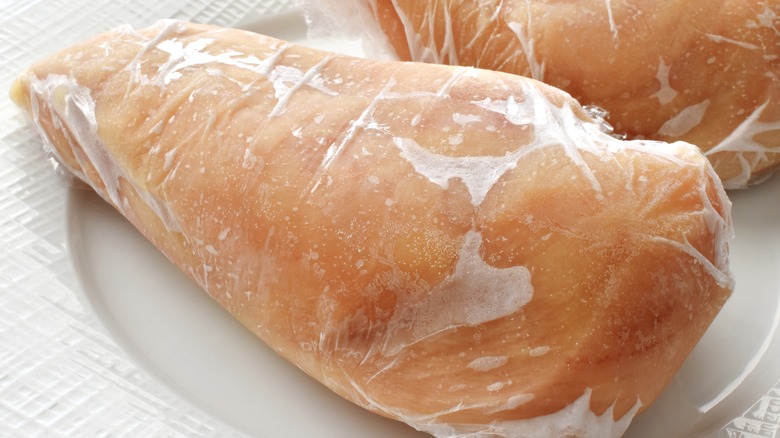
Slicing raw chicken can be tricky. It's slippery and malleable, which can make for undesirable, uneven cuts of meat. Keeping it real, how a chicken breast is cut won't impact its overall deliciousness, but there's a simple satisfaction to making a dish look restaurant-quality — especially for recipes that call for thinly sliced strips like chicken stir fry or fajitas. To help you achieve more uniformly cut chicken strips, we recommend partially freezing them first.
Giving your chicken breast a good 30 to 60-minute freeze will help it retain shape as you cut. Along with it being easier to cut uniform pieces, it quickens the prep process. You won't have to worry about the chicken slipping and sliding all over the cutting board. When you're ready to toss it into a pan, freezing grants you additional moisture for juicier chicken. This method also works for chicken that's already frozen, just defrost it until it's sliceable, and you're good to go. Fire up that pan!
Make larger batches of a recipe for future meals
Meal prepping requires planning and strategizing, which might make it too intimidating to try. It's understandable if you're interested in it, but not quite ready to take on the responsibility. Without going full meal prepper, you can still save time in the kitchen by cooking larger batches of a recipe. It's like meal prep for beginners. We especially recommend it if you have a busy work or family schedule. Leftovers are the time-saving key to your salvation.
Rather than stick to a single serving amount of your favorite recipe, double or triple your ingredients and make enough to last several days. One can be enjoyed fresh off the stove, and the others can enjoy the benefit of that next-day flavor boost. Ever wonder why leftovers seem to taste better? Initially, it may take a bit more time, but it's totally worth it in the long run. Just freeze your additional batches overnight, and they'll be ready and waiting for dinnertime.
Loosen brown sugar clumps with aluminum foil
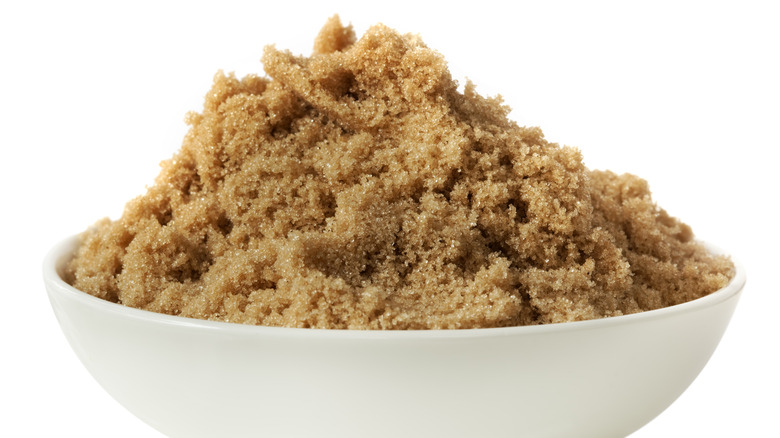
Unless you bake often or have an oatmeal obsession, odds are you go long periods without using your brown sugar. By the time you need it, it's transformed into a bag of solid sugary clumps. Rather than go with the first thing that comes to mind, which most likely involves a spoon, try this quick aluminum foil hack.
Contrary to popular belief, just because your brown sugar is clumpy, that doesn't mean it's old. Using aluminum foil, you can quickly resuscitate stale sugar in the oven. Preheat your oven to 250 degrees Fahrenheit to start. Next, pour the clumpy bits into a sheet of aluminum foil, and wrap it fully around until the sugar is enclosed. You then need to bake it in the oven for around five minutes tops. If the clumps are noticeably large, you can bake them a tad longer, checking on the consistency here and there. In a few minutes, the brown sugar will be fresh enough to sprinkle and sweeten up some delicious oatmeal.
Use vinegar for pickling and extending a food's shelf life
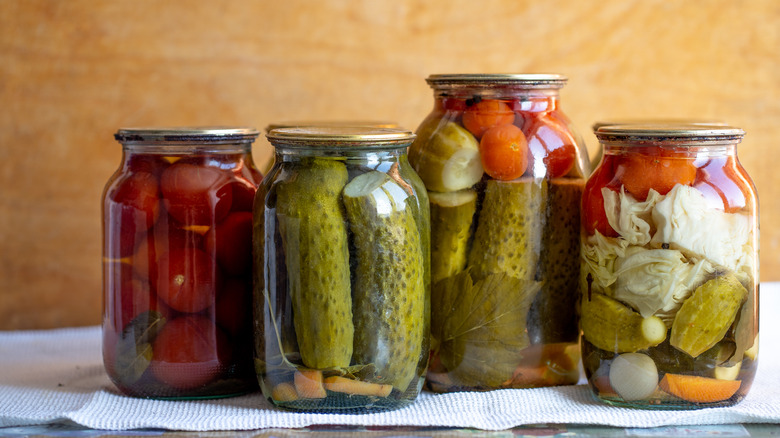
Finding ways for your food to last longer is great for saving trips to the grocery store. Pickling does double the duty, adding long-lasting shelf life and enhanced tastiness. While there are several methods for pickling food, using vinegar is probably one of the easiest. From carrots and onions to your everyday cucumber, there's a wide range of foods that taste super bomb when pickled. Using this vinegar cooking hack will have your shelves stocked and loaded.
Pickled food lasts longer because vinegar keeps bacteria from growing. It adds acidity, with a sweet and sour accent of flavor. Use them as a refreshing garnish for rice bowls, or salads, and more. To successfully pickle, you'll need to use vinegar that has at least 5% acidity; without sufficient acidity, bacteria will grow, and the water will dilute the vinegar. Distilled white or malt vinegar both work great, whereas rice and apple cider vinegar can impart their own flavors. If it pickles your fancy, mixing herbs into the vinegar can also spice up the experience.