We Tried (Almost) Every Way To Make Whipped Cream

Whipped cream is sweet, fluffy, and, well, creamy! Items like apple pie, ice cream sundaes, and Starbucks Frappuccinos just wouldn't be the same without it. If you have never made your own whipped cream, you may be missing out on one of the easiest ways to finish off any sweet treat you are serving. With just one cup of whipping cream, you get eight ¼ cup servings — pretty good bang for your buck, and the taste far exceeds store bought tub or can varieties. There is one major quirk that can have you running to the store to re-buy ingredients or sheepishly grab a pre-made tub: Be careful not to over whip. Just a minute too long can turn your fluffy whipped cream into lumpy butter — not what we are going for!
As easy as whipped cream is to make, there are many methods of doing so — especially if you have a healthy assortment of kitchen gadgets. So, what's the best tool to use to whip cream? Keep reading to discover six ways to make this creamy topping at home. In all the methods, we will be using 1 cup of heavy whipping cream, ¼ cup powdered sugar, and ½ teaspoon of vanilla extract. Let's get whipping.
Making whipped cream with a hand or stand mixer
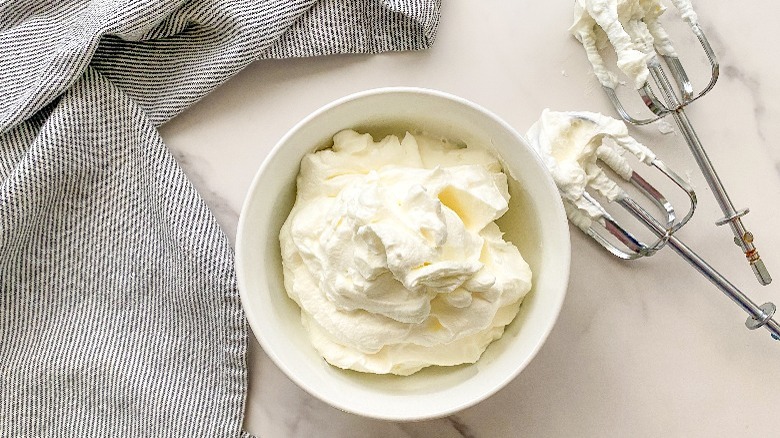
Probably the most common way to whip cream is with a hand or a stand mixer. The first trick with this method is to put the bowl you are using in the freezer for about 10 minutes to get it ice cold. If you have a metal mixing bowl, this is ideal because it will retain the cold temperature longer than other types. When the bowl is ready, pull the carton of cream out of the fridge and pour it into the cold bowl. Turn on your mixer to the low speed and beat for 1 minute. Then increase the speed a bit and, if working with a hand mixer, rotate the beaters around the bowl. After about 6 minutes you should have soft peaks (good if you are folding the whipped cream into something like mousse) and if you keep going for 1 more minute more, you should have stiff peaks (used for topping any dessert).
We like this method because the mixer is doing the heavy lifting, however 8 minutes can drag on a bit, and if you are using a hand-held mixer, it can be tiring to hold. Still, it's a breeze to scoop the whipped cream out of the bowl as compared to some of the other methods and the clean-up is minimal.
Making whipped cream by hand with a whisk
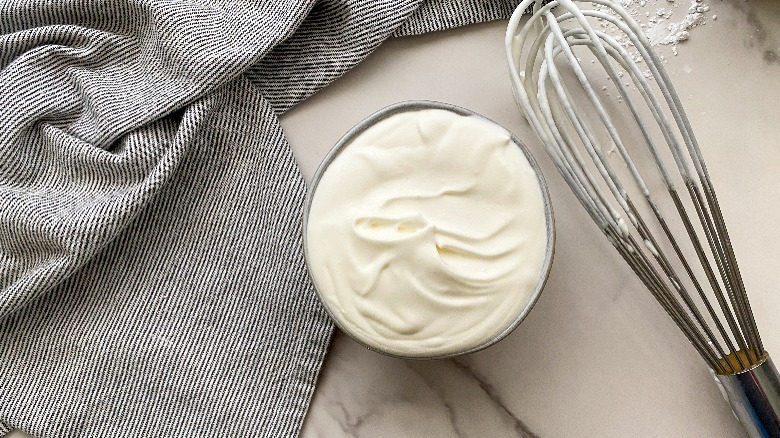
For this method, it's also helpful to put your bowl in the freezer and make sure your whipping cream is kept cold until right before you start whisking. Combine the ingredients in the bowl, tilt the bowl, and vigorously whisk the mixture. It should take about 10 minutes for soft peaks and about 12 to 14 for stiff peaks. The beauty of this method is you don't need any fancy equipment other than a bowl and a whisk (and some elbow grease). This may be handy if you are traveling and have limited gear to work with. A simple rinse of the bowl and whisk means limited cleaning. The downside is that you will be whisking for what feels like days, and unless you are ambidextrous your entire arm is going to ache.
Making whipped cream in a blender
In this method, you'll add the ingredients to the blender and turn it on to low speed for 10 seconds and then switch to the highest speed for 10 seconds for soft peaks, and 20 seconds for firm peaks. This is by far the quickest method and results in firm peaks that are (dare we say), perfect. The slight negative for this method is trying to get the whipped cream out of the blender. It tends to collect in the lid, and the area around the blade is hard to scrape free. If you are using a full-size blender, you can easily make a double batch, and this way the billowy peaks will easily scoop out from the top.
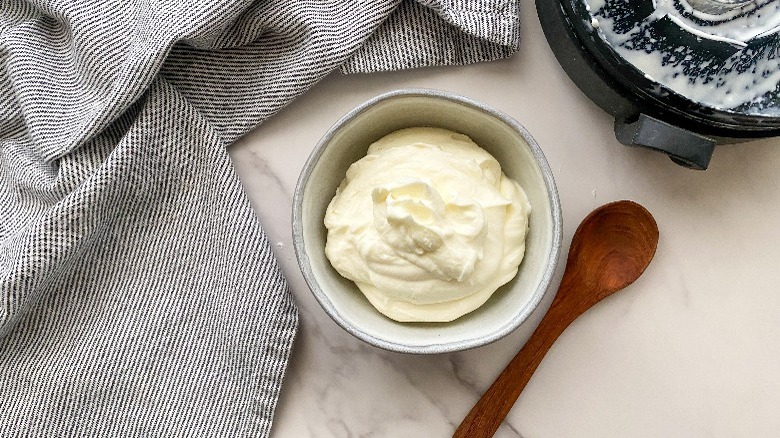
Making whipped cream with an immersion blender

Immersion blenders are handy for many things and make a great option for making whipped cream. For this method you'll use a tall, narrow container or jar so that when you are blending at high speed, it is contained and not splashing up. A wide-mouth mason jar works great. After combining the ingredients, insert the immersion blender, and in about 1 ½ minutes you'll have stiff peaks that can now be stored right in the jar — no transferring necessary. If you are going for soft peaks, only a minute of blending will do the trick. After a quick rinse of the immersion blender blade, you are done cleaning. We love a quick clean up!
Making whipped cream in a food processor
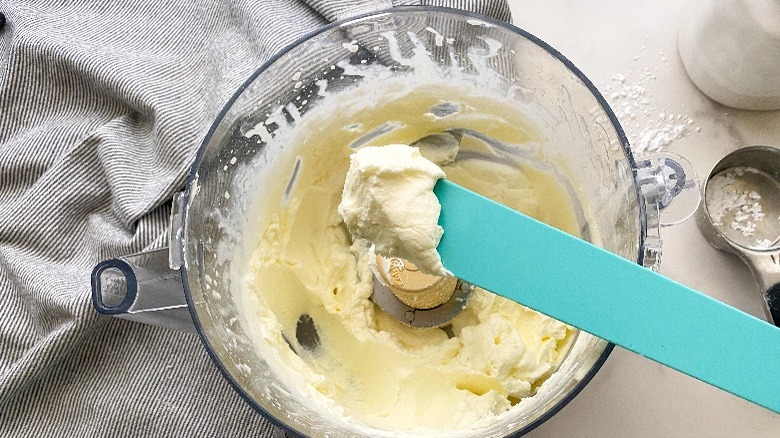
The food processor is another tool that will happily make your whipped cream. Just add the ingredients and blend for 2 minutes for soft peaks and 2 minutes and 30 seconds for stiff peaks. The tricky thing here, however, is that you can't see what's going on, so best to work in 10 second increments. Butter can form easily with this method, which can be a strong con. Because a food processor has a large, wide bowl, it's easy to scoop out the whipped cream, which is at least one point in the pro column.
Making whipped cream in a mason jar

This method doesn't even seem possible, but it actually does work. Using a wide mouth, 16-ounce mason jar, add the ingredients and secure the lid (it's worth double checking to make sure that lid is on quite tight). Start shaking, and keep going for about 12 minutes or until you no longer hear sloshing. That is your clue that whipped cream has formed soft peaks. If you keep shaking for 3 more minutes you will get firm peaks and will be ready to top off your chocolate pudding. The equipment needed for this shake method is definitely the simplest, and the cleanup couldn't be easier — perfect if you live in a dorm room or don't have a collection of cooking utensils. However, shaking a jar for 12 minutes can be a little monotonous. Trading hands works, and a friend can pitch in and help also.
Whichever method you choose, your whipped cream will last for about one day in the fridge. So, which method is our favorite? If you are making a small batch and have an immersion blender, that method takes first place. Second place goes to a full-size blender, especially if you want to make a bigger batch. Quick and easy for the win!