Why You Should Always Clean The Outside Of Your Jars After Canning
You've taken all the right steps to prepare your kitchen for canning foods, including properly washing and cleaning all the food you plan to can as well as the jars you plan to can them in. You've also sterilized any jars that will be used for jams, jellies, and pickled products that take less than 10 minutes of processing, as per the recommendations of the National Center for Home Food Preservation.
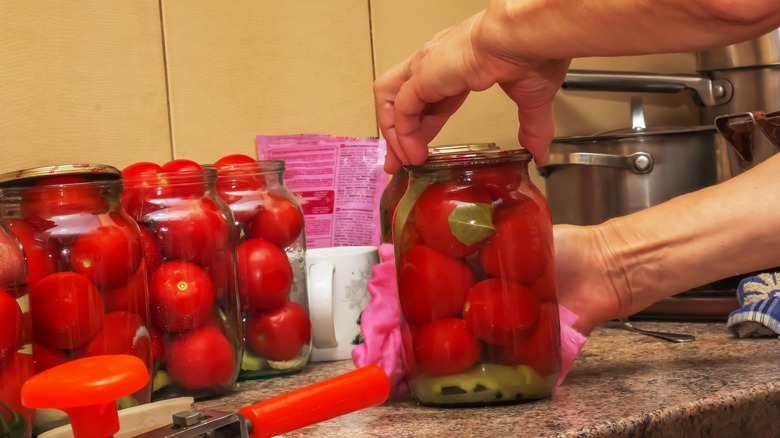
You've made sure you're using the right canning method for the type of food you're planning to can, including using a pressure canner instead of a water bath for low acid foods. You've waited the appropriate amount of time for your canning jars to process and cool. And you've used at least one of the main methods to test that the jars have properly sealed, such as looking at the lid, pressing down on the lid, tapping the lid, or lifting the jar up by the lid with the ring removed. Finally, you're ready to label your home-canned food, store them away in your pantry, and call it a day. Before you do that though, there is one more important step you should take.
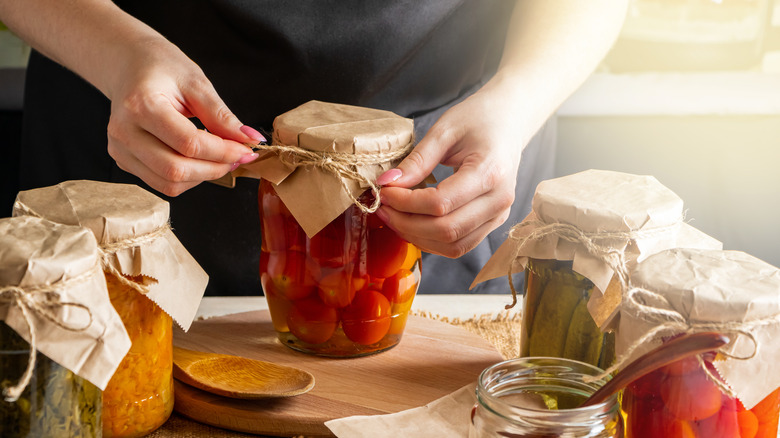
Clean the outside of your jars to avoid mold, insects, and critters
While checking to see whether your jars have sealed properly, you might have also checked to see whether there was any visible residue left on the outside of your jars. However, as noted by Preserving Food at Home, "Sometimes small amounts of starches or sugars in your food are there even though not very visible. These residues can support the growth of mold with even a little bit of humidity in the environment."
That mold on the outside of the jars may not affect the contents inside the jars, but it's still a problem since that mold is airborne, warns the National Center for Home Food Preservation. Nor is mold the only problem you have to worry about. Minute amounts of food particles on the outside of your jars can also attract insects and critters, like ants, fruit flies, or small rodents — if you use plastic lids on your jars, then you also have to worry about those critters gnawing through them (via Healthy Canning). To avoid all these problems, which could ruin all the effort you put into canning in the first place, simply add one more step to your canning process and be sure to wash (using soap and water) and dry the outside of your jars after canning and before storing.