How To Get The Best Sous Vide Chicken Breast
Sous vide cooking was once reserved for fancy restaurant kitchens, but the widespread availability of vacuum sealers and immersion circulators has made it possible for every home cook to experiment with sous vide at home. Sous vide means "under vacuum" in French (via Anova). It's a technique that involves cooking ingredients in a vacuum-sealed bag in a water bath, allowing you to finish at a precise level of doneness. Want your steak to be exactly 133.5 F? Sous vide will get you there.
Of all the many different foods that benefit from this exciting new cooking technique, chicken breasts may be one of the best foods to cook with sous vide. At one point or another, we've all experienced the atrocity that is overcooked chicken — you know, that dry, rubbery, chewy piece of chicken that's downright unpleasant to eat. Sous vide solves this issue, cooking chicken in its own juices to create a more succulent, tender eating experience. Of course, the process isn't magical, so you'll want to make sure you keep a few things in mind before you get started. Armed with this knowledge, you'll feel confident serving chicken breasts at your next dinner party. Just be prepared for everyone to ask you for the recipe!
It's helpful to have a vacuum sealer
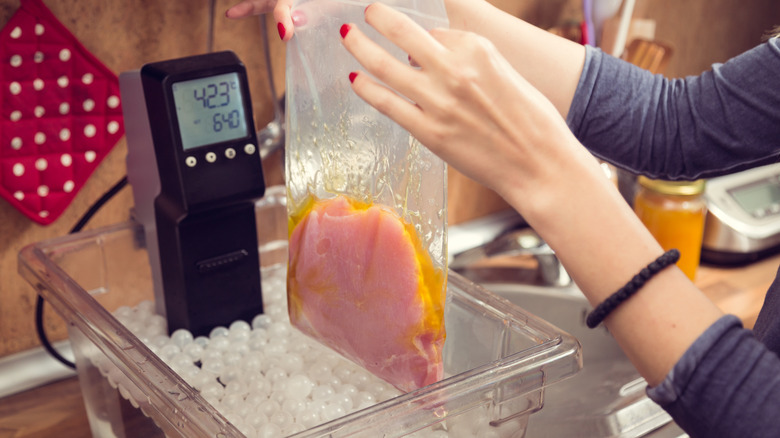
Cooking via sous vide involves submerging foods into a water bath that's heated to a precise temperature. This cooking technique is similar to poaching, where foods like eggs or fish are cooked in gently simmering water or broth. Where the two techniques differ is in how the ingredients come in contact with the hot liquid. With sous vide, the food is sealed in a bag so it cooks in its own juices instead of taking on the flavor of the poaching liquid.
Sous Vide Hub explains that there are several different bagging options for sous vide, from using canning jars to food-safe bags or reusable silicone-free bags. Ziploc confirms that its bags are safe to cook in because they're BPA and dioxin-free. However, there's no automatic way to remove all the air from the bag. It's possible to get rid of most of it by slowly dunking the filled bag into the water, allowing the bubbles to rise to the top. When the bag is close to being fully submerged, zip the top to create a seal.
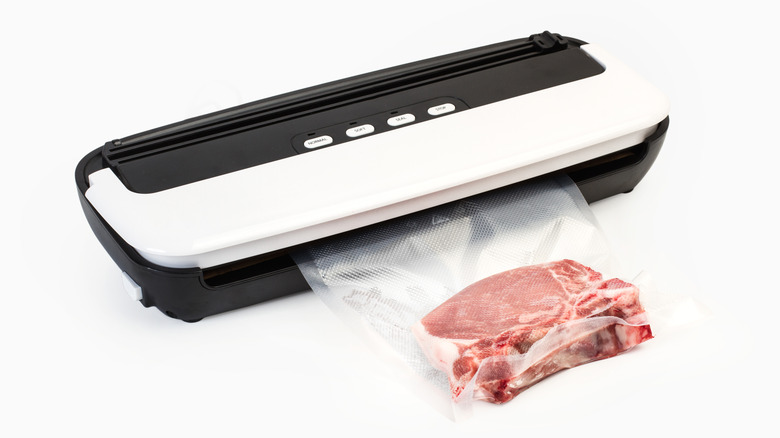
An easier option is to use a vacuum sealer. This is important because a sous vide bag with excess air won't cook properly, as it doesn't become fully submerged, floating to the top of the water bath instead. Vacuum-sealed bags also tend to hold up better in the water bath as they're designed for high temperatures and the seams won't burst as the food cooks.
Start with a good immersion circulator
First things first: You don't technically need any fancy gadgets to sous vide chicken breasts. According to Douglas Baldwin, PhD. (author of Sous Vide at Home), sous vide can be done in a pan of water on the stovetop. You'll need to regulate the temperature manually by adjusting the burner, though, which can become tiresome for long cook times. Another option is to use the sous vide hack of cooking sous vide in a cooler, heating the water to the desired temperature and keeping the cooler lid closed during the cooking time.
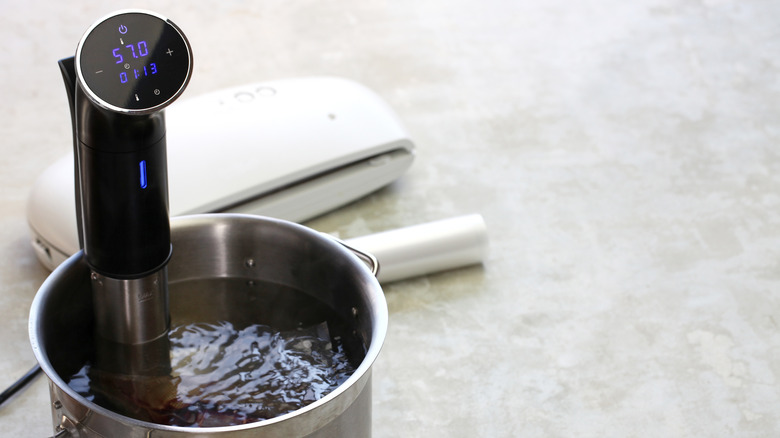
That said, if you plan to sous vide chicken breasts regularly, you may benefit from an immersion circulator. These gadgets make the process effortless. Simply insert the immersion circulator into a tub of water and it will move the water over a heating element or heating tube, keeping the water at a constant temperature for an extended period. The best sous vide machines are able to clip onto any water vessel, like a common household stockpot, saucepan, or polycarbonate tubs (sometimes called Lexans or Cambros) that are used in restaurant kitchens. You should look for a model that has an easy-to-use interface, can heat up water quickly, and will hold the water to a constant temperature while in use.
Cook the chicken to the correct temperature
The USDA has established guidelines for safe minimum internal temperatures of all meat products. For poultry, they recommend cooking chicken to a minimum temperature of 165 F. This temperature destroys pathogens that can cause foodborne illnesses (like salmonella).
While the USDA's temperature is widely accepted for most cooking methods, many people argue that a lower temperature creates a better-tasting chicken breast when cooked via sous vide. But is it safe to cook the chicken to a lower temperature? It turns out that destroying bacteria happens at a range of temperatures and times, so it can be safe to cook chicken at a lower temperature if you follow the rules. You'll want to hold chicken at 136 F for 63.3 minutes or 145 F for eight and ½ minutes to achieve the same level of pasteurization as reaching 165 F (via ThermoWorks). There'll be no foodborne illnesses here!
Leave yourself plenty of time
Sous vide chicken breasts are delicious, but don't expect this method to be the quickest cooking option available. Baked chicken breasts take around 30 minutes to cook in a 400 F oven, and Instant Pot chicken only needs to cook for 12 minutes (plus the time for the pressure to come up).
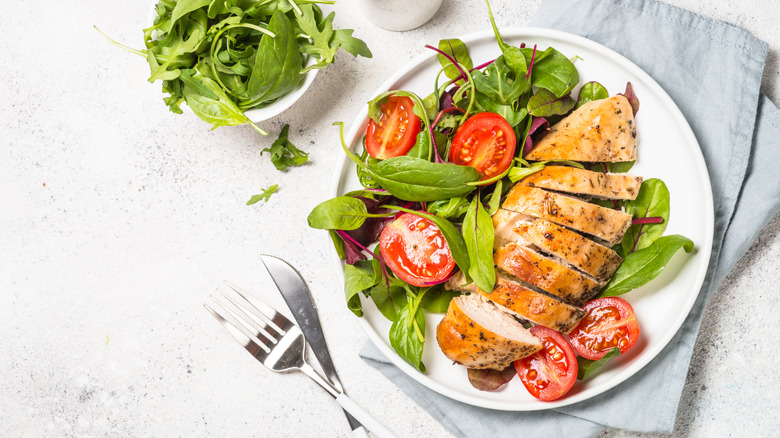
Sous vide doesn't take much longer than an oven to preheat, but the actual cooking time is much longer. Depending on the immersion circulator brand, it should take anywhere from 15 to 30 minutes for the water to preheat (via Home Kitchen Talk). From there, it depends on the temperature you've chosen for the chicken breasts. Our favorite sous vide chicken salad recipe cooks the chicken in a 150 F water bath and takes two hours for the chicken to finish. You'll find the extra time commitment is worth it when you taste the chicken's incredible flavor, but it definitely means you'll want to plan ahead.
Opt for bone-in, skin-on chicken breasts
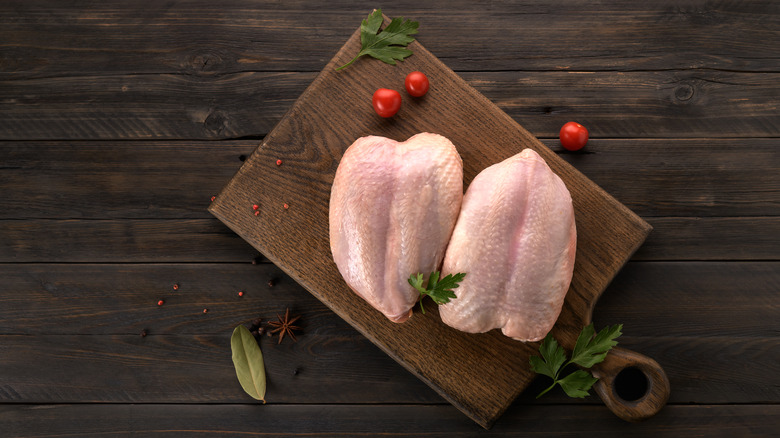
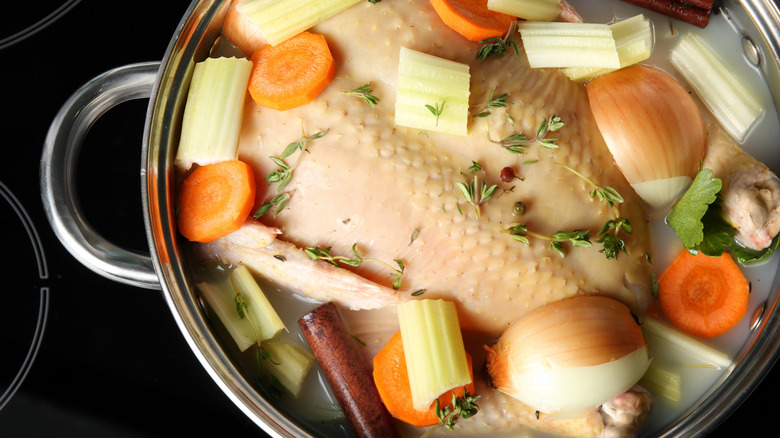
When it comes to ranking the best cuts of chicken, boneless skinless chicken breasts tend to fall to the bottom of the list. White meat chicken like chicken breasts have less fat compared to dark meat like chicken thighs, and many say this means the breasts are less flavorful. It can also lead to rubbery chicken, as there is no fat to protect the meat from becoming dry as it cooks. The best way to resolve this issue is to use bone-in, skin-on chicken breasts instead.
According to Stephanie Kay Nutrition, bone-in chicken takes longer to cook than boneless chicken, but it also turns out juicier and more flavorful. As it cooks, the bone heats the marrow inside, and those juices flow into the meat. Not only that, but bone-in chicken is also more nutritious. The bones enrich the meat with vitamins and minerals, and their collagen and gelatin may also improve gut health.
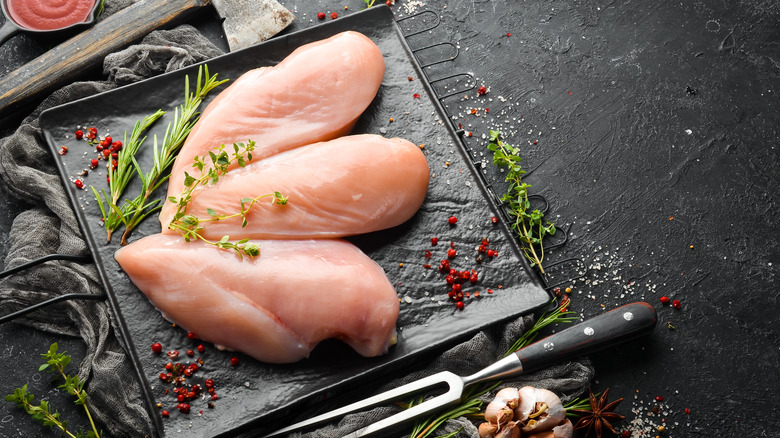
If using boneless, ensure the chicken breasts are of even thickness

If you're trying to reduce the amount of fat in your diet, you may prefer to cook with boneless, skinless chicken breasts. Healthline reports that 20% of a skinless chicken breast's calories come from fat, whereas a skin-on chicken breast gets 50% of its calories from fat. Additionally, the skin adds an extra 100 calories.
We already know that a bone-in, skin-on chicken breast will turn out juicier, but there's a way to ensure the boneless chicken doesn't turn out dry. The key is to pound the chicken breasts to an even thickness before placing them in the sous vide bag. This prevents the thinner end of the chicken breast from overcooking while you wait for the thick end to cook through. Simply cover the chicken with plastic wrap and pound it with a meat mallet until it's an even thickness, somewhere between ¼ inch and ½ inch. If you don't have a meat mallet, you can use a rolling pin or a sturdy-bottomed pan to do the pounding.
Wait to season the chicken
Sous vide will help your chicken breast turn out juicier, but it never hurts to add extra seasonings to ensure the chicken is as flavorful as possible. You can keep it simple with salt and pepper, or you can expand to any number of fresh or dried herbs, like tarragon, thyme, basil, or oregano. Spices like paprika, garlic powder, onion powder, and blackened seasoning all work well, too.
There's one additional factor that comes into play here, and that's considering when to season the chicken. Normally, it's best to season the chicken before cooking it, allowing plenty of time for the seasonings to infuse into the meat. However, SousVide Wizard advises waiting when seasoning the chicken with dried spices until after it cooks. Dry rubs don't infuse into the meat the same way as a baked or grilled chicken because the bags seal in moisture. The seasonings will get left in the bag (or become infused into butter or oil if you add those as well), so it's best to add those seasonings afterward to ensure they'll make their way to the plate.
Don't salt before you cook
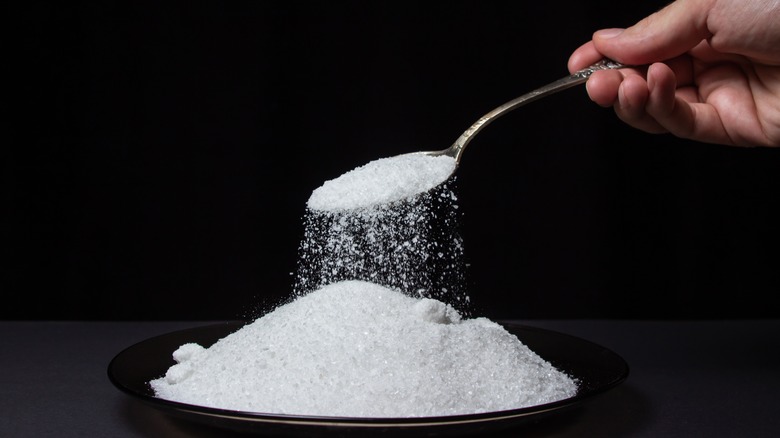
Salt is an essential component of creating a well-seasoned chicken breast, and we would generally recommend salting meat before cooking it — sometimes several hours before cooking it for the best flavor and texture. Salt draws out moisture from the meat, concentrating its flavor. Pre-salting doesn't work for all cooking techniques, though. You shouldn't salt food before frying it, for example, because that excess moisture can prevent the food from crisping up properly.
The same can be said for sous vide chicken breasts, and you don't want to add salt before the chicken goes into the sous vide bag. Cooking Issues did an experiment with sous vide steak where salted and unsalted steaks were served to a panel of three chefs. All three agreed that the pre-salted steak had a denser texture that almost tasted as if it was cured or pickled. For the most tender, juicy texture, save the salting step until after the chicken has cooked.
No need to brine
Brining chicken is a really important step for most cooking methods. Since chicken breasts don't have a high-fat content, this pre-cooking step is the only thing that keeps the chicken from drying out as it cooks. The salt in the brine denatures the proteins inside the chicken, trapping water in the meat and resulting in a juicier finished product.
As we've already learned, sous vide cooking seems to break all the rules, and it turns out that brining isn't as crucial when cooking with this method. Anova Culinary did a side-by-side comparison to determine whether brining chicken was necessary. They compared three chickens: one that had brined for eight hours, one for more than eight hours, and an unbrined chicken. The chicken that was brined for more than eight hours was too salty and had an "off" texture. The unbrined chicken was just as juicy and flavorful as the chicken that brined for eight hours, leading them to conclude that brining wasn't a critical step.
Bottom line, you can brine sous vide chicken breasts if you like, but the experiment leads us to believe that the chicken will be just as tasty if you skip this extra step.
Don't leave sous vide chicken breasts in the water bath for too long

One of the mistakes everyone makes with sous vide is leaving food in the water bath for too long. While it's true that the food won't "overcook" — a chicken breast in a 150 F water bath won't exceed 150 F — it can sit in the heat for too long. That would affect the meat's texture, turning it grainy and chewy.
We recommend cooking sous vide chicken in a 150 F water bath for two hours. Sip Bite Go advises that you can keep the chicken in the water for up to four hours, but longer than that affect the texture. If you're cooking the chicken for a chilled recipe like chicken salad, or if you're cooking it to serve at a later time, remove the chicken to an ice bath and let it cool completely. For hot dishes, serve immediately or sear the chicken before serving (more on that in a minute).
Sear sous vide chicken breasts after cooking
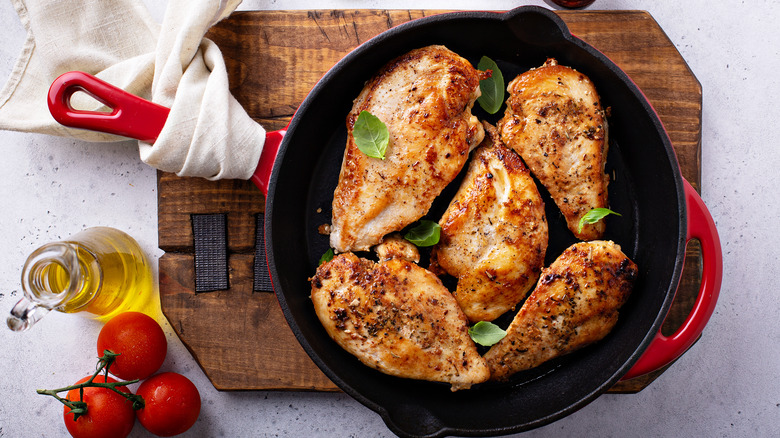
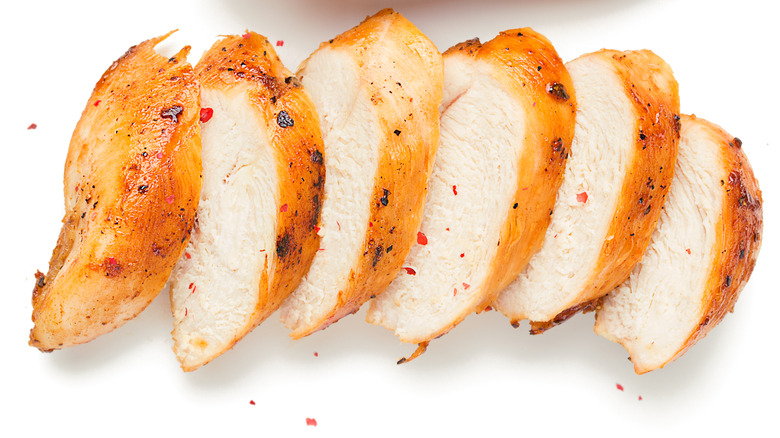
After the chicken has finished cooking, it's ready to eat and can be served straight out of the water bath. Simply cut open the bag and remove the chicken, serving it whole or sliced as desired. That said, not combining sous vide with other cooking techniques is one of the most common sous vide myths. The texture of the chicken breast will be different from what you're used to, so we recommend giving it a quick sear before serving.
You'll want to start by patting the chicken breast dry. According to Amazing Food Made Easy, you won't get the best sear if there's moisture on the outside of the chicken breast. Since it's already perfectly cooked, the goal is to create a crispy exterior while keeping the chicken on the heat for the shortest time possible. After the chicken is dry, season it with salt and any other dry rubs you desire. Then add the chicken to a preheated skillet with a little oil or a clean, oiled grill grate. Sear the chicken on each side to get a nice crust before serving it.
Rescue dry chicken if it overcooks
If you've followed the advice in this article, it's unlikely that your chicken will overcook. That's the beauty of sous vide cooking! But, if you forgot about your chicken breasts and they sat in the water bath for too long, or if you accidentally typed in the wrong temperature on your immersion circulator, don't fret. It's absolutely possible to rescue dry chicken.
It's probably best to change your plans for the dish altogether. It's pretty obvious when a whole chicken breast is dry, but the texture will be less apparent if the chicken is shredded or chopped. Switch up your meal plans to create a dish like enchiladas or chicken casserole. Before adding the chicken to the dish, try tossing the cut pieces with a little chicken broth to introduce extra moisture to the dish.
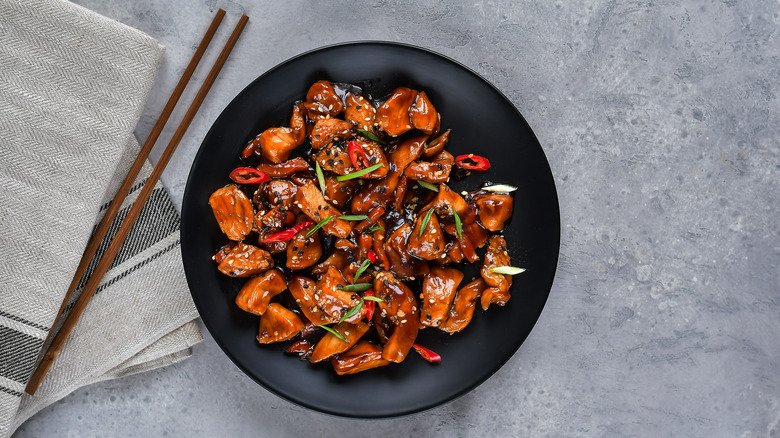
A great sauce is another fantastic way to cover up chicken that has an undesirable texture. Don't be afraid to go bold with flavorful sauces here, like teriyaki glaze, bourbon chile barbecue, or orange sauce.