This Is Probably The Reason Your Dutch Baby Didn't Rise

You may know the Dutch baby from Bob's Burgers or from your favorite brunch place. Or, perhaps this fluffy delicacy has been a Sunday morning family staple for its ease of ingredients, simple steps, and gorgeous presentation on the table. Though it may look super fancy, don't be daunted: The Dutch baby is versatile in that it has a relatively simple base recipe, which can easily be made either savory or sweet — like this unmissable Dutch baby pancake with caramelized pears and toasted almonds (you'll thank us for that one later). Not to mention, it's another excuse to use your cast iron pan.
But to achieve this popular dish and take advantage of the versatility and Insta-worthy photo opportunities it provides, there is one element of the perfect Dutch baby that you just can't mess up: its majestic rise in the oven for a puffed, fluffy, airy finish. So if you're coming out flat and don't know what to do about it, you've arrived at the right place. Read on to find out why your Dutch baby isn't rising.
How your Dutch baby rises to the occasion
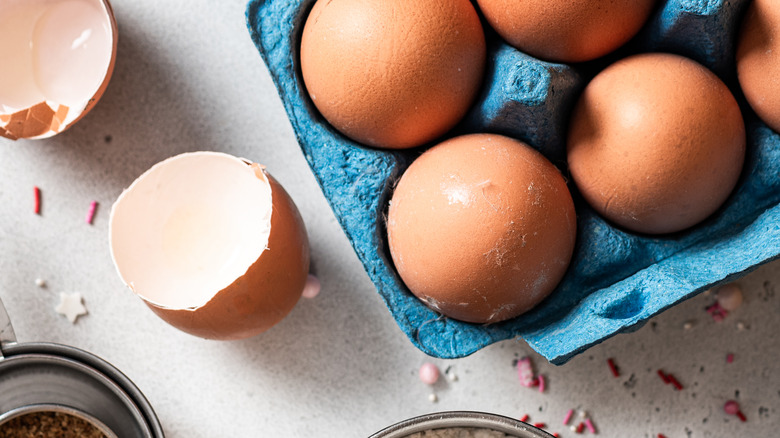
There are two main components that make a Dutch baby rise: air and heat. You may notice that the base Dutch baby recipe does not call for leavening ingredients like baking soda or baking powder. Instead, airy, well-whisked eggs and a bit of patience help this fluffy favorite rise to the occasion. According to the Kitchn, a side-by-side comparison of baking with the same ingredients but different execution (one of which did not properly nurture the batter) created dramatically different results.
What's that? Were you looking for a brunch recipe that's also a workout? Work that batter! Make sure your eggs are extremely well-whisked so that they have a light consistency before you add the dry ingredients. Be sure to vigorously mix all the elements together, ensuring that your batter doesn't have any lumps before transferring it to the cast iron skillet. Doing this by hand may take as long as five minutes, but you can opt to use a blender or food processor to combine the ingredients faster. Either way, make sure you allow the batter to rest for at least 10 minutes so that the mixture can capture the airiness you've whipped up ... or even let it chill (literally) for as long as overnight to a few days: Legendary chef J. Kenji López-Alt (via Tampa Bay Times) says the puffiest pancakes require a little beauty rest.
Bring on the heat
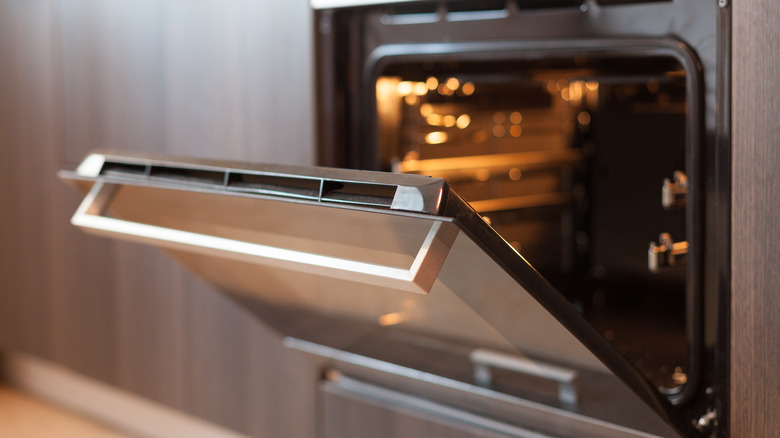
To ensure your hard work pays off, let's talk about heat. This recipe is very sensitive to temperature (one could say it's temperamental!); as chef Nathaniel Lee told Mashed, you'll even want to start with your eggs and milk (or pre-chilled batter) at room temperature to avoid one of the "biggest mistakes" of starting cold. Before combining those ingredients, make sure to place the cast iron skillet or oven-proof pan in the oven so that it's properly heated when the batter arrives. Once the batter is finished, take the skillet out of the oven, place it on a protected surface, and add your butter. Toss in your Dutch baby mixture once the vessel is coated and place it right back into the oven.
But you're not done with your temperature control yet. We know that opening that oven to see the progress of your baby is so tempting, but Girl with the Iron Cast cautions us to keep that door closed! Trust that after about 20 minutes, your Dutch baby should be puffed up and ready to enjoy. Still, you'll want to prepare this dish as close to serving as possible, since the puff will start to deflate once it hits the cool air.
As you can see, close attention to heat throughout the entire process will make a world of difference. And now that you know the keys to making a perfect Dutch baby, you can experiment with different flavors to make you and your dish the stars of the table.