The Absolute Best Uses For Your Stockpot
As passionate cooks and foodies, we can probably all remember specific moments when we've decided to experiment with an unfamiliar cooking tool. Or a time when we first learned a crucial new hack that gave renewed purpose to a tired and standard piece of cookery. The journey to becoming kitchen competent is paved with sous vides, garlic presses, and eight-function Instant Pots. If you are new to cooking or even a seasoned pro, there is always a lot to learn out there. For example, you can never know too many of the best uses for your stockpot.
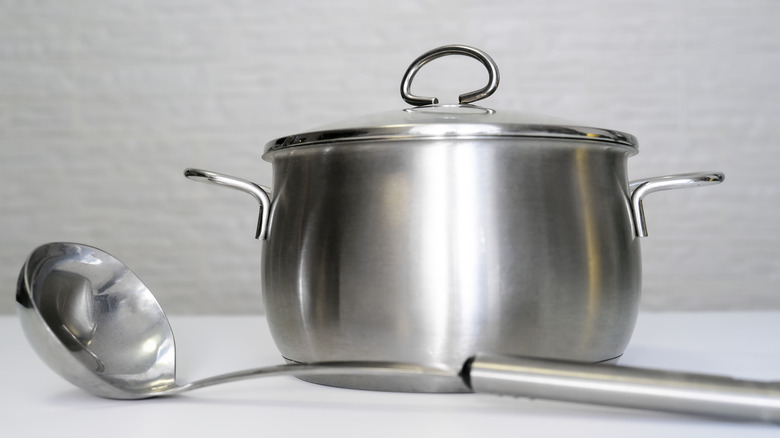
Whether you are a seasoned chef or a young adult just starting on your own, a quality stockpot is one of the most basic kitchen supplies to have in your space. This large, deep pot will serve many different purposes throughout your cooking endeavors. According to Epicurious, a stockpot's high walls make liquids vaporize at a slower rate, which gives this instrument a unique use compared to small saucepans.
Now, you may be familiar with the stockpot's general role of boiling pasta or steaming vegetables, but there are many other functions for this humble kitchen tool. Are you using your stockpot to its fullest potential? We'll bet there are a few usages that might surprise you.
Deep Frying
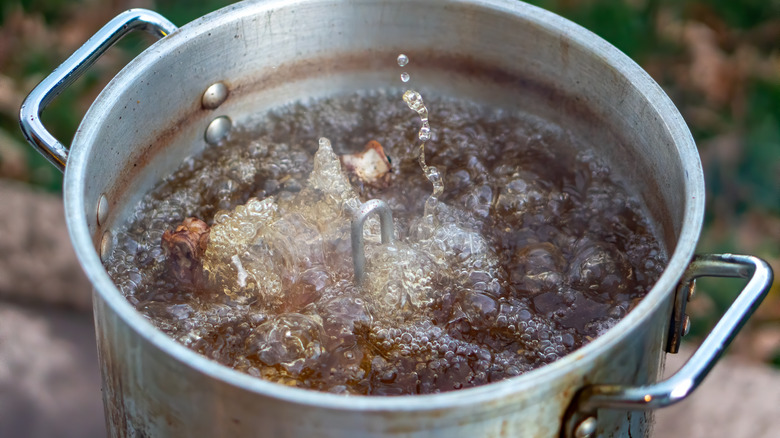
Market research firm NPD Group reports that Americans are buying more air fryers than ever. For many, air fryers are about convenience. For others, the appliance offers a more nutritious way to cook. While deep frying may not be as healthy as the trending alternative, it is definitely the more delicious (in our opinion). Traditional deep-frying remains one of your stockpot's best, easiest, and most commonly known uses.
To deep fry in your stockpot, fill it halfway with a neutral oil. Ecolution Home recommends using an oil with a high smoke point, like peanut oil or sunflower oil, so that you can avoid smoke filling your kitchen while frying. You'll also want to leave four to five inches of space between your oil and stockpot edge to prevent spillage. Next, you will use a meat or candy thermometer to measure the heat of the oil. When it reads anywhere between 375 to 440 degrees Fahrenheit, it's time for you to drop in the food and let things get crispy. Depending on what you are frying, the cooking time will vary. A typical sign of doneness is color, as well as if your food has floated to the surface. Carefully remove your crunchy foods from the stockpot and set them aside on a paper towel-lined plate to catch excess grease. Some of our favorite fried recipes include these Roman Fried Cardoons.
Steaming Seafood
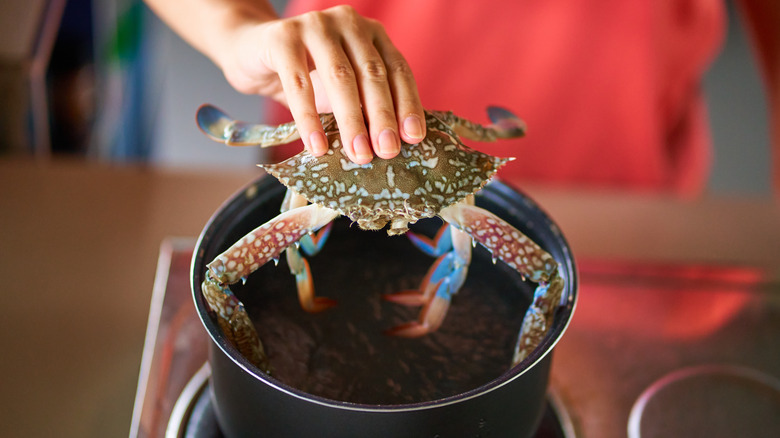
Are you craving home-cooked crab legs, crawfish, or lobsters? Another great, regular use for your stockpot is steaming. Seafood is one food category well suited for the deep well of a stockpot. You don't need any fancy equipment — a stockpot with a lid will do, though cookware producer Le Creuset recommends a steamer basket to keep your food raised above any liquid. Depending on the size and type of seafood you wish to steam, you will need to make sure your stockpot is the right size, and keep in mind that the pot's material (steel versus cast iron) can impact heat retention and cooking time.
Fill your stockpot less than ¼ of the way up with water. You'll want enough water to boil into steam, but not so much that it spills over your food. Then add your fish filets or bivalves. Shrimp, littleneck clams, and mussels are some of our favorites to cook at home. You'll add seasoning in between each layer of seafood. According to All Kitchen, the best pre-made seasoning (like Old Bay or Phillips Seafood) include celery salt, paprika, or pepper. After seasoning, place the lid and bring the water to a boil. Per Le Creuset, a higher stovetop temperature means more powerful steam in your stockpot, which is useful when cooking shellfish. Once your ocean critters have been cooked, take the pot off the heat and remove the lid. Drain the liquid, and you are all set to enjoy it.
Boiling Pasta
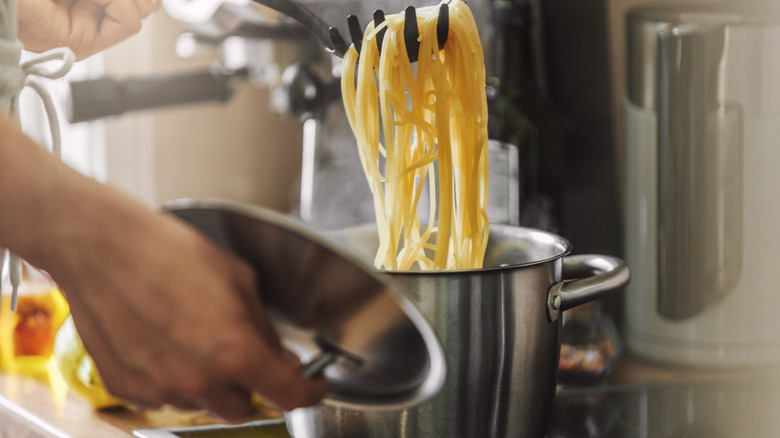
This stockpot function is the one that home cooks utilize the most: boiling pasta. Even though it may seem simple, according to Greatist, there are a few ways for people to mess up this process. Start by adding lots of water to your stockpot. A common mistake is shorting the water to get your stockpot boiling faster, but this can leave your noodles cooked unevenly. Follow the addition of water with salt. Next, bring this water to a boil. Then, you can add in your pasta and give it a good stir. Stirring at this early stage helps to ensure the pasta does not clump together.
A few more recommended tips for this stockpot use are as follows: About 2 minutes before you think it should be done per the package directions, test your pasta. This will ensure you've cooked it to the texture you want. When draining the pasta, consider saving some of that glorious starchy water rather than dumping it down the drain. It will come in handy if you're creating a homemade sauce, like in this Bucatini Cacio e Pepe Pasta. Finally, separate the pasta you want to eat right at that moment, and give a cold water rinse to the rest of the batch. According to the Kitchn, this trick will help your leftover noodles stay loose rather than sticking together in the fridge.
Making Stock and Broth
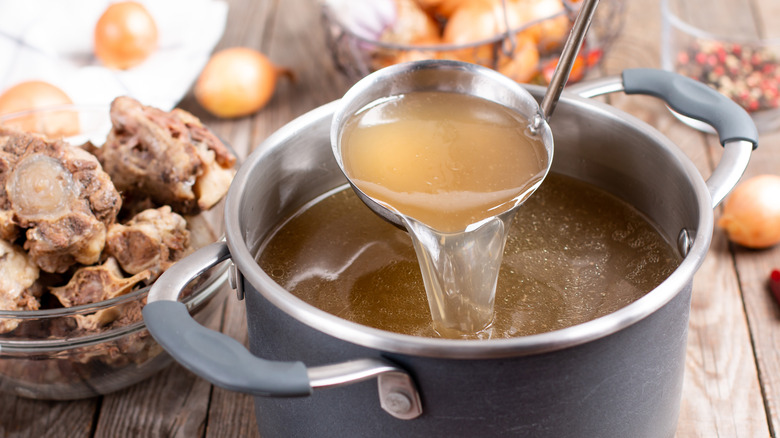
We've made a lot of soup in our stockpots. Most homemade soups start with a quick saute of aromatic vegetables, mirepoix, or soffritto cooking base. Then, you bring in the addition of meat or beans, more veggies, and broth. Give the mixture a good long simmer (maybe blend it), and you've got yourself a soup. However, you will also have stacks of empty stock cartons, and you may wonder why you've never made your own broth or stock before. We'll admit that it is intimidating at first, but we've found that this turns out to be a very easy and worthwhile use for your stockpot.
According to the Kitchn, the process of making your own broth begins at the end of a meal. Start by saving those leftover rotisserie chickens, beef bones, or clamshells — most leftover meat or seafood scraps will do! With the addition of carrots, onion, and herbs, you can make a soup or sauce base that is lower in sodium than store-bought varieties (via Women's Health). You'll cover your ingredients with water, bring this mixture to a simmer, and continue to cook for at least one hour for broth and up to eight for stock (via Healthline).
Brewing
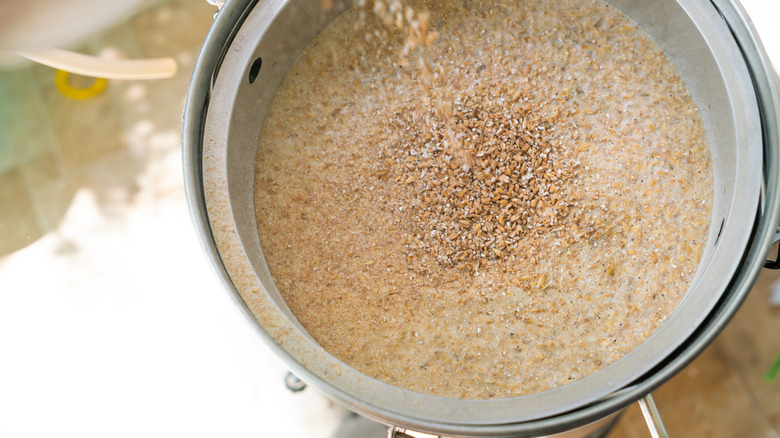
Did you know you can brew beer at home? Typically, this is done using a brew kettle, but according to Seasoned Advice on Stack Exchange, you can use a stockpot instead, if needed. In exchanges on the topic, amateur homebrewers note a few important points for doubling your cookery as a brew kettle. For one, size matters. A normal 5 gallon pot may be too small to do reliable work. Material is also important since a non-stainless steel pot could end up bleeding into your brew. Learning to Homebrew advises against weaker materials, so this may not work for you if your stockpot is aluminum.
Northern Brewer has a good recipe to work with. You'll start by steeping your grains in the stockpot. Then comes the addition of malt extracts and wort, which will be boiled in your pot. This part of the process is where the volume becomes really important, as you don't want things to overflow here. According to the site Learning to Homebrew, the wort can boil off quickly under high temperatures, so a large pot is perfect for making sure the hot mixture doesn't spill over and potentially burn you.
Preserving
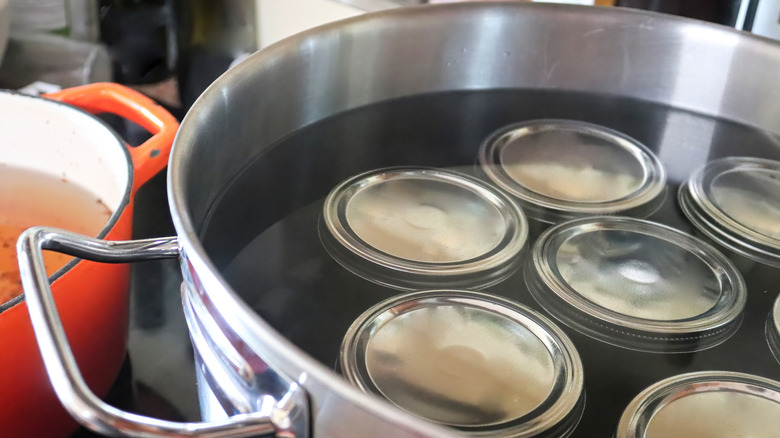
Ever wanted to preserve your own jam, pickles, or sauces? According to The Prairie Homestead, you do not need any special equipment to can or preserve food at home. Instead, you can use a large stockpot. Canning at home is simple. Start by filling your jars with homemade food, covering them with their rings and lids, and then setting your stockpot to boil. You'll need some type of rack to keep your jars from hitting the bottom of the pot, and you should also make sure your stockpot can fit enough water to cover the jars by at least two inches.
It's important to follow safe food handling guidelines when canning at home. If you are not careful and the environment is not completely sterile, you risk exposure to botulism. There are many recipes and resources that can help to ensure you are canning safely, including the National Center for Home Food Preservation. Be sure to look for canning recipes that call for a water bath as this is the method you'll utilize when canning with a stockpot.
Smashing Potatoes
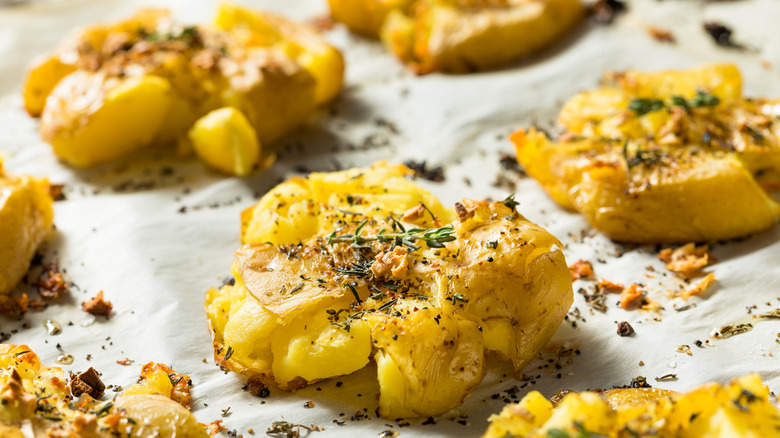
If you haven't tried smashed potatoes, we recommend you do this immediately. While they sound similar, smashed potatoes are not the same as mashed potatoes. Smashed potatoes involve boiling potatoes in their whole form, smashing them until they are almost flat, and then baking them to a crispy finish. These delicious morsels of potatoes make for an excellent side dish for nearly every meal. Check out this recipe for smashed potatoes from the cooking site Little Potatoes.
A firm, flat, and heavy tool is required to create the best smashed potatoes. So, your stockpot serves two purposes when making this dish. First, you will use it to boil your potatoes. Once cooked, your kitchen pot will become the smashing tool. You might imagine using the stockpot forcefully, but really all you need to do is place it on top of each potato and press down firmly until the tubers are about the height of a pancake.
Pressing Tofu
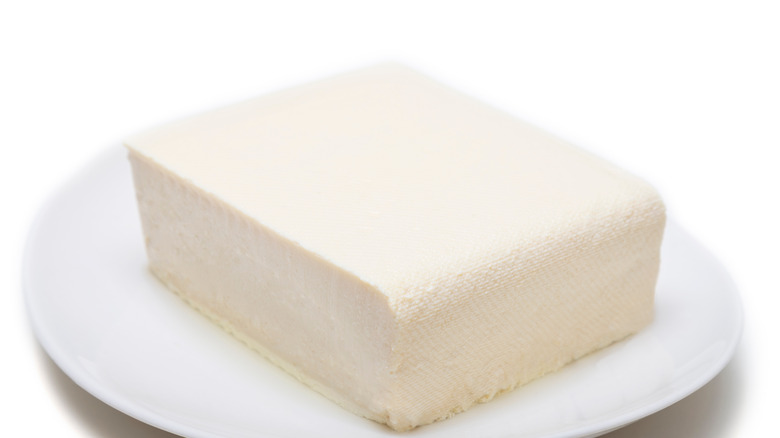
Calling all the tofu haters! This food is not just for vegetarians anymore — it is a delicious source of protein for all. But, if you find yourself unsatisfied with a soggy home tofu preparation, you are likely missing a crucial step (and a valuable plant-based protein). One of the most impactful things to do when preparing tofu is pressing it.
Because tofu is filled with water and usually stored in liquid, most blocks have a lot of excess wetness to ring out (via BBC Good Food). To get a good crispy texture on tofu, we need to remove this surplus moisture, and the best way to do this is to push it out. According to the BBC, all you need to press tofu is a dish towel, a plate, and something heavy. I bet you can guess what we are recommending: A stockpot. The steps are simple. Place your tofu on the plate. Then, cover it with a dishtowel and place your large stockpot on top of the tofu. Allow gravity to do its work for at least 30 minutes. The stockpot will eventually force out most of the excess liquid from your tofu, and you will be left with an ingredient that can add serious texture to your recipe.
Tomato Sauce
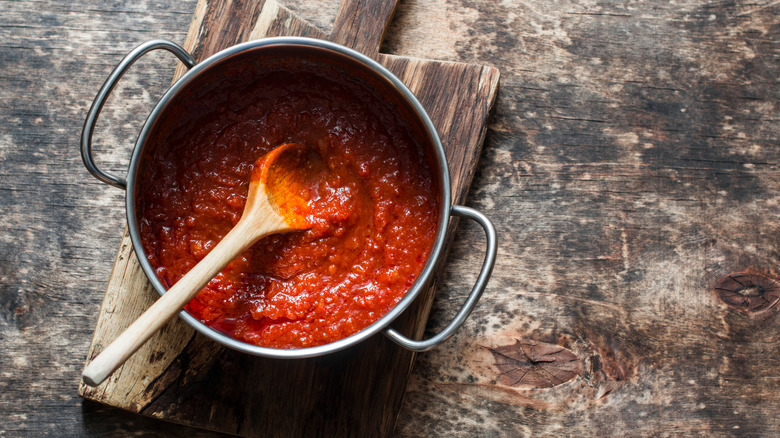
If you are anything like us, you grew up in households that would simmer a tomato sauce on the stovetop all day for a Sunday night pasta dinner. Although convenience is hard to beat, there is nothing better than a handmade marinara sauce. While it is leaps and bounds easier to buy a store-bought tomato sauce, Spoon University writes that there is a hidden cost to going pre-made for your pasta nights. Most popular brands are loaded with sugar.
According to the Toasty Kitchen, you will need precious few tools to make your own tomato sauce. The primary piece of cookery is none other than your trusty stockpot. Start by browning the meat in the bottom of the pan. Then, add some diced onions, bell pepper, and minced garlic. Once those have sauteed and softened for several minutes, you can add crushed tomatoes and various seasonings and let the mixture simmer for 30 minutes up to several hours. VeryWellFit writes that homemade marinara can be more nutritious than store-bought since you'll control what ingredients go into your stockpot.
Making Jam or Jelly
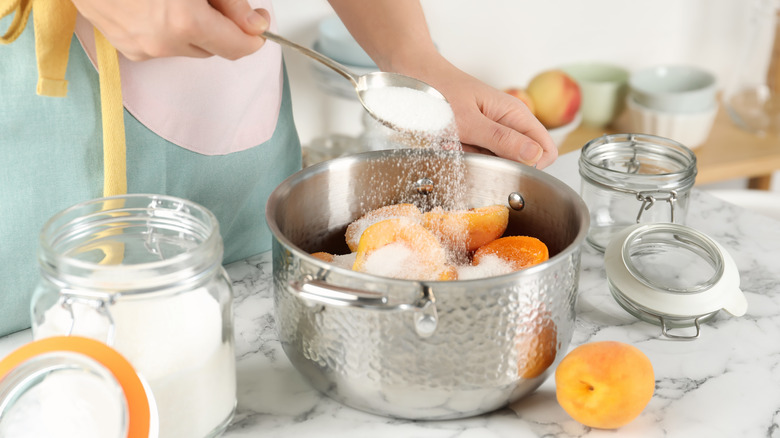
The Masonic Village Farm Market clarifies that the difference between jam and jelly is small. Their distinction depends on whether or not you've strained (jelly) or mashed (jam) your fruit. Despite their distinguishable characteristics and textures, New York Magazine writes that any saucepan, Dutch oven, or stockpot will work as a tool to cook your fruit sauce. However, one of these tools has multiple benefits should you choose it.
Home cooks can make jellies and jams from any fruit, but we especially love this Hot Pepper Jelly. To make this rendition, you will need to start by mixing vinegar and peppers in a high-speed blender. Then, add the combination to a stockpot with sugar and salt, allowing the sugar to dissolve. This should take about 5 minutes when boiling. Because the high walls of a stockpot conduct heat so well, you'll have to keep a close eye on the temperature not to burn your mixture. Preservation is the next step for jelly makers who have made a big batch. Luckily, a stockpot can cook your jam, and it can also seal the jars for storage. A simple water bath makes sure you have fresh fruit topping year-round.
Applesauce
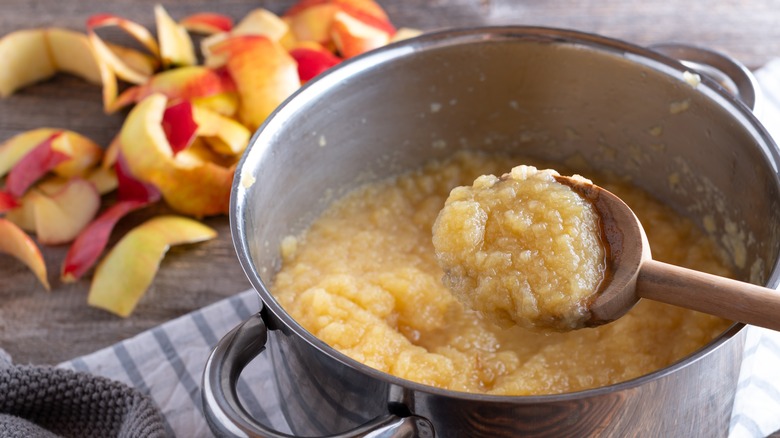
Along the same lines, you can also prepare applesauce using your stockpot. According to a recipe by Culinary Hill, cooks can make homemade applesauce in a stockpot in under an hour. To make this applesauce, peel and chop several apples. Then add the apples to the stockpot with water and bring to a boil. Once the apples have softened, be sure to purée the mixture until smooth. Pour the puréed apples back into the stockpot with sugar, lemon juice, and any other flavors or seasonings that you would like. We love adding ground cinnamon to applesauce. Continue to cook for a few minutes to allow the sugar to dissolve. The result is homemade applesauce. Applesauce is another type of food that holds up well in preserving jars, which you can seal through the stockpot water bath method.
Pickling
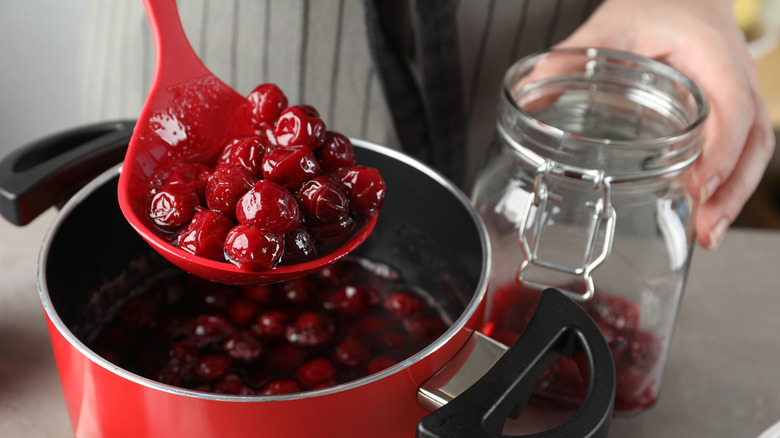
Along with jam and applesauce, you can use a stockpot to preserve foods and make home favorites, like classic dill pickles or even pickled fruits, like cherries. According to Seed to Pantry, the stockpot used for pickling must not contain aluminum, copper, brass, or iron. These materials will leach into the pickling liquid giving off a metallic taste.
To make classic dill pickles, you will start by adding quartered cucumbers into sterilized jars along with dill. Then, in a stockpot over high heat, add water, vinegar, sugar, salt, coriander seeds, dill seeds, and minced garlic. Once this mixture begins to boil, remove the stockpot from the heat and pour the liquid into the jars with the cucumbers. Seal the jars, and be sure to allow them to cool completely. Store the jars in the fridge for at least 24 hours to pickle. Once the time is up, you can remove the jars from the refrigerator and enjoy.