How To Freeze Summer Fruits And Vegetables
Succulent strawberries, juicy melons, and melt-in-your-mouth corn are just a few of the delights summer brings. But, like a lot of things in life, there's a downside to any fruitful harvest — too much food. Sure, you can pass some tomatoes to a neighbor or search for 50 unique ways to serve green beans, but, despite your best efforts, it's nearly impossible to make good use out of every single berry or peach. Plus, as soon as October rolls around, you'll be missing all the fresh food and slapping yourself for not preserving some of it for the rest of the year.
If you've landed on this article, it's a sign for you to learn more about freezing summer fruits and vegetables. We won't lie, it requires some effort, but you'll appreciate the extra work when you're enjoying fresh herbs in March. Aside from spreading your bounty throughout the year, freezing fruits and vegetables is an excellent way to retain their nutrients. Done correctly, frozen fruits and vegetables may even have higher levels of vitamins and minerals than their fresh counterparts. So don't delay. Our comprehensive guide will teach you how to freeze summer fruits and vegetables the right way.
Berries
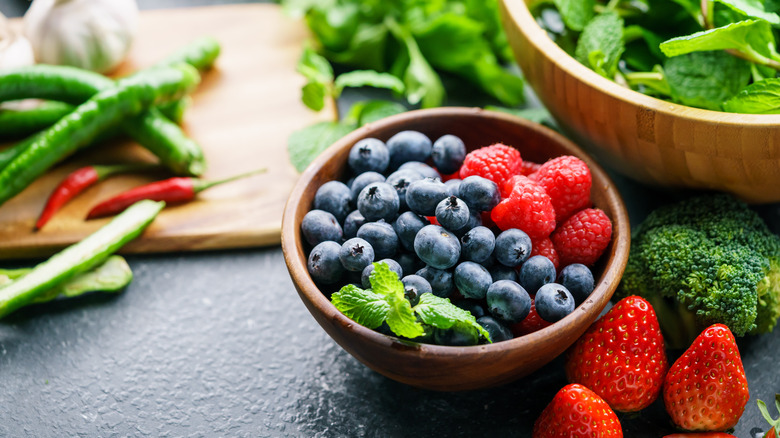
With their bright colors, sweet flesh, and endless versatility, berries are some of the most exciting fruits to come out of the summer season. The only downside is that their shelf life is basically non-existent. While you can (and should) make a strawberry shortcake recipe or a homemade blueberry pie, chances are you'll still be left with extra berries.
The first step to freezing involves washing and drying the fruit. If you're freezing just raspberries, blueberries, or blackberries, skip to the next step. However, if you're freezing strawberries, remove the stems. Next, arrange the clean berries on a baking sheet lined with waxed paper. Make sure they're arranged in a single layer, as this prevents berries from forming clumps. Slip the tray into the freezer. Once the berries are frozen, transfer them to an airtight freezer bag or plastic container.
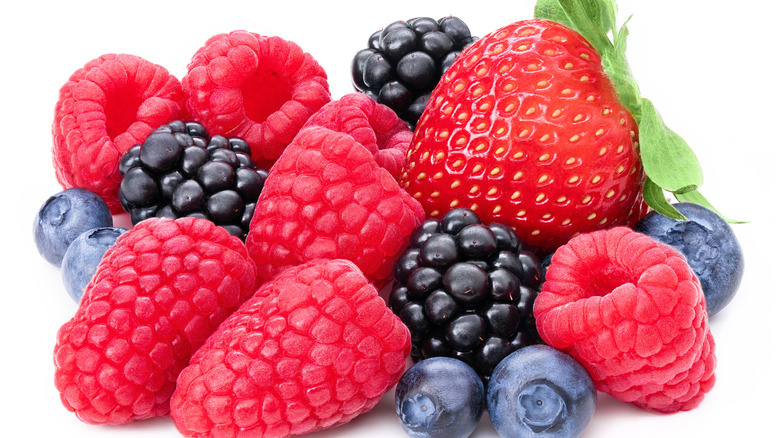
Frozen berries are freshest during the first six months after freezing. Blackberries have the shortest freezer life and should be consumed within the initial six-month window. Blueberries last a bit longer (up to 10 months), while strawberries stay tasty for up to one year. Although they're the most delicate, raspberries can keep for up to 18 months.
When thawing, you have a few options. If you need the berries right away, microwave them in one-minute increments using the defrost setting. Alternatively, you can leave them on the counter for a few hours or move them to the refrigerator overnight.
Stone fruit
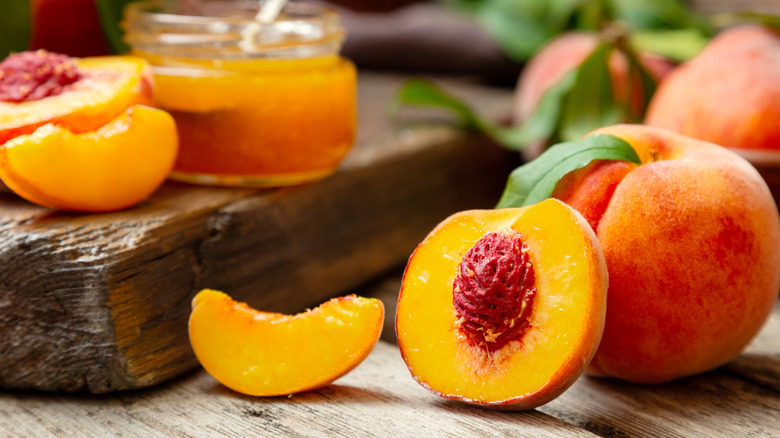
The skin of stone fruits becomes hard when frozen, making them hard to work with when you want to whip up a classic peach cobbler recipe. For that reason, blanch and remove the skin of large stone fruits before freezing. You can skip the blanching for cherries, but make sure to remove the stems and pits before freezing.
To blanch, make an X-shaped incision on the bottom of each fruit, then place the fruit in a pot of boiling water for 30 seconds. When time's up, remove the fruit with a slotted spoon and transfer to a bowl filled with ice water. Once the fruit is cool, remove the skin and pit and cut into slices. To prevent the fruit from browning, dip each slice into a lemon juice-water mixture. Next, freeze the slices on a wax paper-lined baking sheet, then transfer them to a freezer-safe container.
To thaw, either placed the sliced fruit (or whole cherries) in the refrigerator overnight or place a fruit-filled bag into a water bath. The water bath option is faster, but make sure to change the water every 20 minutes for the best results. When it comes to shelf life, stone fruits are best when consumed during the first three months after freezing. That said, feel free to use them for up to 12 months.
Melon
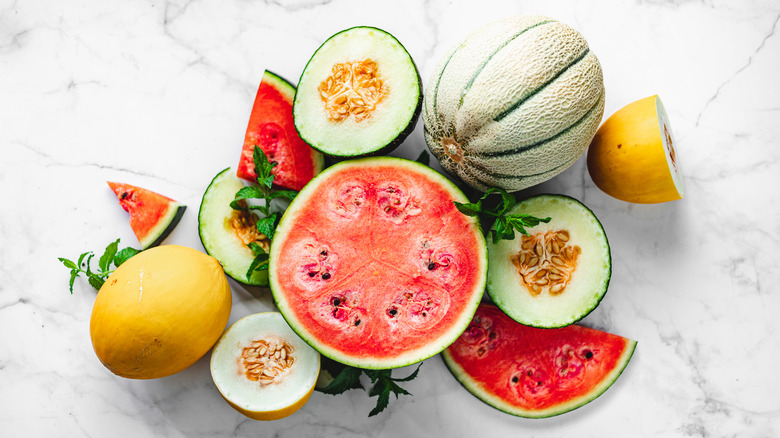
Whether you're preparing a cantaloupe and prosciutto appetizer or serving watermelon slices as a dessert, nothing says summer quite like biting into a satisfying morsel of melon. While frozen melon has more of a puréed consistency compared to fresh ones, it's still worth freezing any leftovers you may have. In particular, frozen melon is an excellent addition to smoothies, sorbets, and frozen cocktails.
Before freezing, you'll want to remove the seeds and rinds. Next, cut the melon into chunks using a knife or scoop it into balls using a melon baller. As with other fruits, it's a good idea to freeze the melon pieces in a single layer before storing them away somewhere more permanently. As you're packing, make sure to leave some space in the bag or plastic container. Because of their high water content, melons need room to expand in the freezer.
The best way to thaw watermelon is to transfer the desired quantity to the refrigerator. Because melon gets mushier the more it thaws, we recommend only thawing it about halfway through. If you're planning to make a chilly drink or dessert, you don't have to thaw it at all. Simply remove it from the freezer and toss it into your blender or ice cream maker. Melons taste best when consumed within the first three months after freezing, but the fruit will still be decent up to eight months later.
Green beans
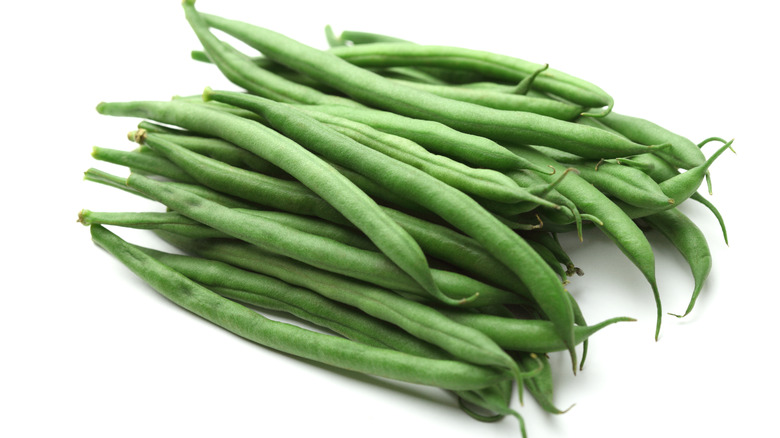
To freeze green beans, start with only the freshest, most flawless specimens. Trim both sides of the beans, then rinse them thoroughly to remove any dirt or fibers. The next step is blanching. Blanching stops enzymes in the beans from acting, something that preserves the bright color, crunchy texture, and healthful nutrients.
We recommend using one gallon of water per pound of beans and letting the beans boil for two to four minutes. When the timer dings, transfer the beans to an ice water bath for about four minutes. Remove the beans and allow them to dry before freezing. Per usual, it's a good idea to do an initial freeze on a baking sheet before packing the beans away in freezer bags or containers. Frozen beans keep for about eight months.
When it comes time to make a green bean casserole, there's no need to thaw. Simply transfer the frozen beans into your casserole dish and bake as you usually would. This technique also works when simmering or stewing green beans.
You'll want to thaw beans if you're planning to sauté or stir-fry them as these techniques don't allow beans enough time to thaw. The best way to thaw beans is by placing them in a bag, placing the bag in a heat-safe container, then pouring boiling water into the container. Your beans should be thawed within five minutes.
Corn
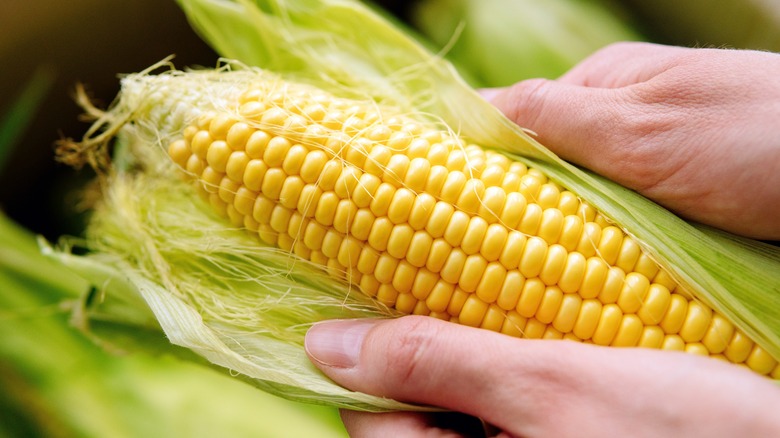
Few vegetables scream summer more than fresh corn. Keep those relaxed summer moments alive by freezing corn to enjoy during the cold winter months. The preparation process for freezing corn is pretty similar to the cooking process. First, husk the corn and remove the silk. At the same time, bring six to eight quarts of water to a boil. Once the water is boiling, submerge the corn for four minutes. Using tongs, transfer the corn to an ice water bath for another four minutes. This process, known as blanching, renders the naturally occurring enzymes inactive. As a result, the corn maintains its color, flavor, and texture.
After the corn has soaked in the ice bath, drain the water and separate the kernels from the cob — this step is tricky, so we recommend using an electric knife if you have one. Freeze the kernels in either a freezer-safe plastic bag or a plastic container, making sure to leave at least half an inch of room for the corn to expand. Corn will keep for up to one year if properly frozen.
Because of their small size, you can throw frozen corn kernels directly into your corn chowder or a shepherd's pie recipe. The heat from the cooking process is enough to defrost them. If you're using them for another recipe, either thaw them in the refrigerator overnight or submerge them in a water bath.
Okra
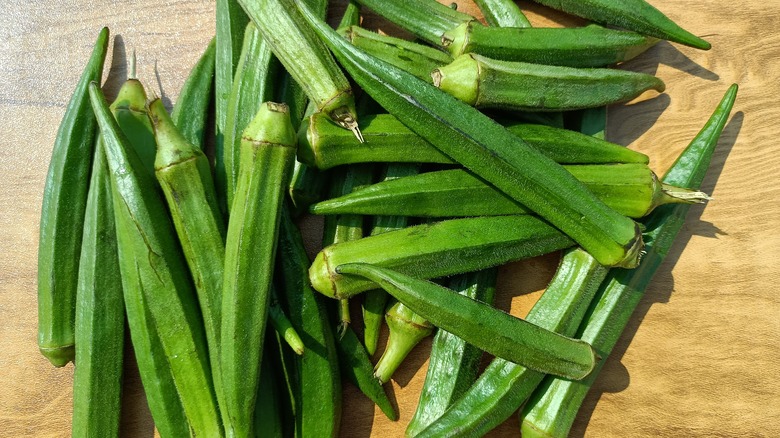
With its shape and sticky center, okra is one of those vegetables that has divided people for decades. If you're part of the love-it camp, then pay attention because we've got some expert tips to help you enjoy your favorite gumbo ingredient year-round. Not only does okra freeze well, but it's also easy to prepare it for the ice box.
Start by washing and draining the pods, then cut off the stems. Either keep the pods whole or slice them into ½-inch rounds. Whichever method you select, make sure to do an initial freeze for about four hours. To do so, place the okra on a wax-paper-lined baking sheet and freeze it in a single layer. This will prevent the okra from freezing into an unwieldy clump. The last step is to transfer the okra to your preferred freezing container. Store it for up to one year.
Feel free to use frozen okra when making a soup or stew. The heat is enough to thaw the vegetables. However, if you're planning to make pan-fried okra, allow it to thaw in the refrigerator for several hours.
Cucumbers
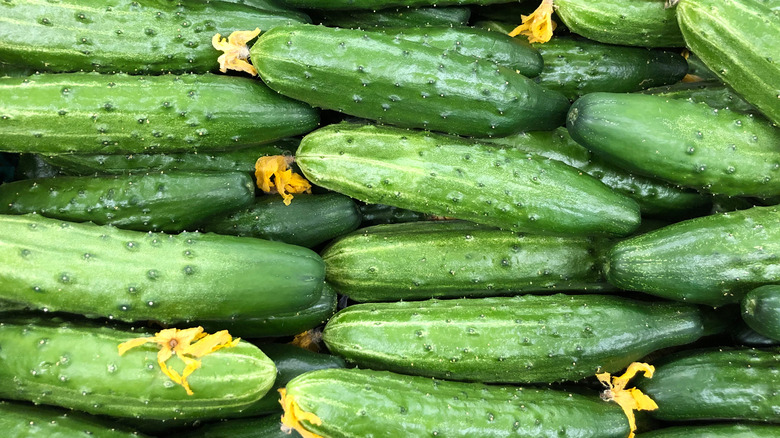
Not only are cucumbers low in calories and full of water, but they're also ridiculously tasty for how subtle their flavor is. While we're partial to the just-picked variety, it's possible to freeze cucumbers for later use. In the interest of managing expectations, we should mention that frozen cucumbers won't impress you the same way fresh ones do. Because they're made up of 96% water, freezing changes their texture dramatically. As a result, thawed cucumbers tend to be mushy. Mushy cucumbers aren't ideal for making salads, but they're perfect for blending into a cucumber soup or smoothie.
To prepare cucumbers for freezing, start with a good wash. This helps remove the wax film (from store-bought cucumbers) or dirt (from garden cucumbers). Slice the cucumbers and place them on a parchment paper-lined baking sheet for a quick freeze. After about an hour, transfer them to an airtight container for long-term storage. If slicing isn't your jam, another option is to use a food processor to pulverize the cucumber. Pour the mush into an ice cube tray and freeze until ready to use.
Either way, cucumbers keep for about nine months in the freezer. To thaw, place puréed cucumbers in the refrigerator for several hours. When it comes to sliced cucumbers, either thaw them in the fridge or use them frozen.
Squash
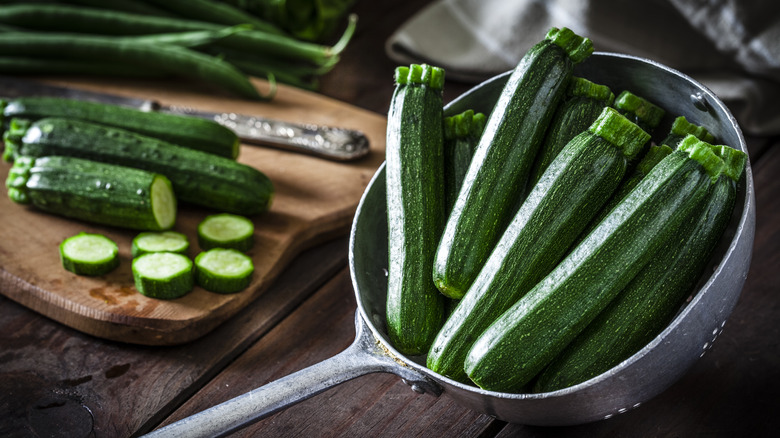
Successful squash freezing starts with the selection process of your zucchini, summer squash, and crooknecks. Look for medium-sized squash (about six to eight inches for a zucchini) with a one-inch head and a relatively thin body. You should also make sure your selected veggies are free of bruises or imperfections.
After you've got your final lineup, it's time to start the preparations. Wash the outside of the squash, then cut them into ¼-inch slices. Cook the slices in boiling water for one minute, then use a skimmer or slotted spoon to transfer them to an ice bath for two minutes. Drain the water, then blot the slices dry with paper towels. Freeze in a single layer for one hour before moving the slices to a baggie or container.
Another option that doesn't require blanching is grating fresh squash before freezing. With this method, you'll want to grate fairly large pieces. Additionally, you should blot the slices dry before freezing. No matter which option you choose, frozen zucchini is best within the first three months of freezing. It's also better when used in baked goods like homemade zucchini bread or soup. To thaw for cooking, place the sliced or grated zucchini in the refrigerator a few hours before you need it.
Butter lettuce
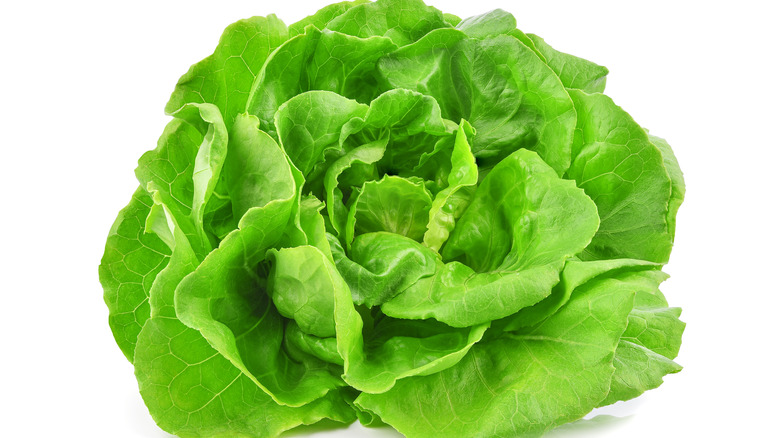
Anyone who has accidentally turned their crisper drawer up to seven knows that lettuce doesn't freeze particularly well. While we don't advocate making a salad out of frozen leaves, there are some times when frozen lettuce works perfectly fine for the task at hand. In particular, thicker-leaved varieties like butter lettuce hold up sufficiently well to freezing and can be used in a smoothie or a stir-fry.
There are two main ways to freeze lettuce. Both start with freshly washed and dried leaves, so make sure to take care of that first. The first freezing option is to separate the individual leaves and place them in an airtight freezer bag. Another option is to blend lettuce with water to make a purée. Then, pour the liquid into an ice cube tray and freeze until you're ready to make a savory pea and lettuce soup or a refreshing smoothie.
Whichever method you choose, butter lettuce will stay fresh for up to six months. As if the extra-long shelf life weren't enticing enough, there's no need to thaw frozen lettuce before cooking.
Tomatoes
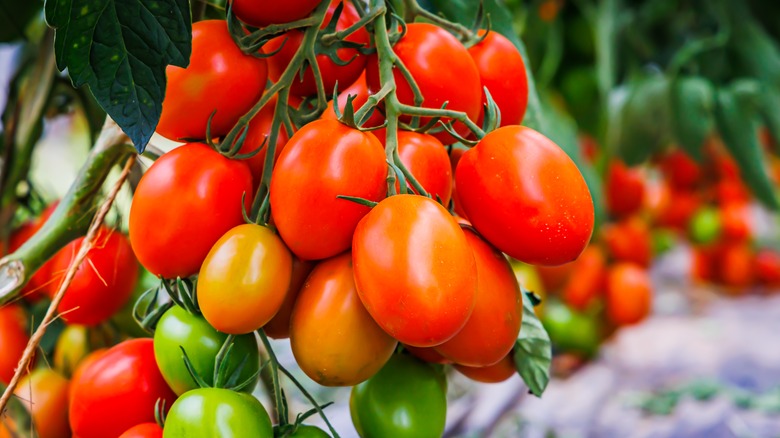
Even if you're a novice, there's a decent chance your garden is overflowing with tomatoes from the Fourth of July to Labor Day. While we encourage you to eat as many caprese salads as possible during the summer, we recommend freezing any extras you have so you can continue to enjoy tomatoes well into the winter (they'll keep for about six months).
There are several ways to freeze tomatoes. The easiest way is to rinse them, remove the stems, and place them in freezer bags. Another option is to blanch them before freezing. To do so, make an X-cut in the bottom of each fruit, then boil for 30 seconds. Shock them in an ice bath and watch how easily the skins come off. From there, either store the tomatoes whole or slice them up before putting them in a freezer-safe container. Either way, make sure to leave at least an inch of air space to prevent freezer burn.
The third option is to stew the tomatoes before freezing. Blanching is the first step in making stewed tomatoes. Once you've removed the skin, heat the tomatoes in a saucepan over low heat and stir in some salt. Allow them to simmer for about 20 minutes until thickened. Transfer the mixture to a plastic container and freeze. This technique takes a bit more time, but it lowers the risk of freezer burn. To thaw, place the amount you need in a bowl and let sit at room temperature.
Tomatillos
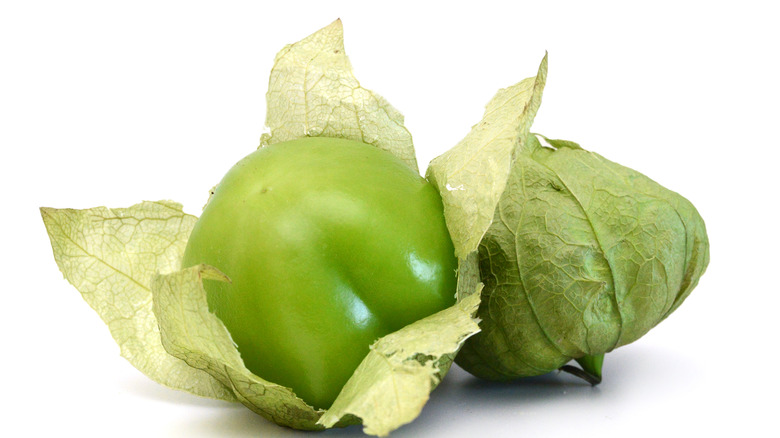
A staple in Mexican dishes like salsa verde and tomatillo rice, tomatillos are small green fruits resembling tomatoes. They're at their best between midsummer and fall and you'd better snatch them up when you can because finding them isn't always easy. Thankfully, they freeze well, meaning you can stock up whenever you get your hands on a few.
The first step in the freezing process is to remove the husk and rinse them until clean. This step is particularly important with tomatillos because the husk contains a sticky residue. After cleaning, dry the tomatillos using a kitchen or paper towel. Next, line a cookie sheet with parchment paper and arrange the fruits in a single layer on top. Freeze for a few hours, then place the fruit into freezer bags. These hearty fruits will retain their flavor for up to a year in the freezer. As long as you're using them in soups, smoothies, or stews, there's no need to thaw them before cooking.
Herbs
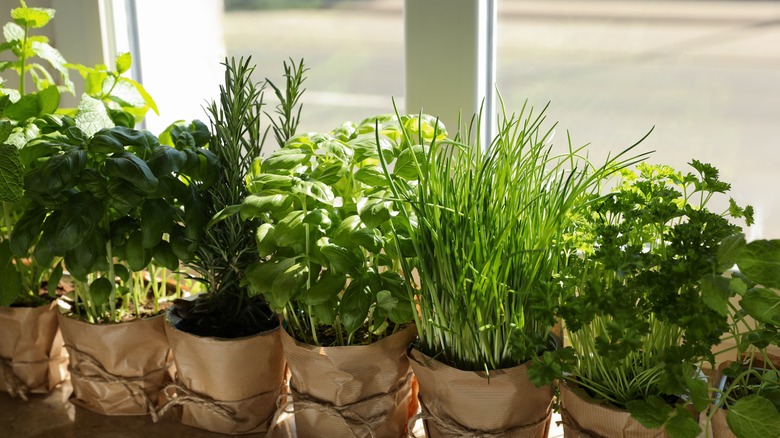
Store-bought herbs are pricey and last just a few days (if you're lucky). That's why it's so exciting to have garden-fresh aromatics come summertime. Unfortunately, even fresh herbs don't last forever. But there is good news. Summer herbs like basil, chives, and dill freeze remarkably well.
Prepping them for the freezer couldn't be easier. Start by washing and drying the herbs. As you clean, remove moldy or wilted leaves, as well as stems. During step two, either chop the herbs into small pieces or leave them whole. Then comes the fun part. Fill each compartment of an ice cube tray halfway with herbs. Top with water or olive oil, ensuring you cover the herbs to prevent browning. Finally, slip the ice cube tray into the freezer. Once the cubes have solidified, transfer them to plastic bags for easy access the next time you're making homemade pesto or vegan dill dip. They'll stay in tip-top shape for up to six months and there's no need to defrost.
Shallots

Although they're less famous than their onion cousins, shallots are culinary dark horses. They provide all of the wonderful flavors and aromas of other alliums but with a milder flavor. Whether you bought too many by accident or just want to have a stash on hand, storing shallots in the freezer is a cinch.
The first step is to peel the shallots. Next, slice or mince them depending on your preference. After cutting, place them into a freezer-safe plastic bag, squeeze out excess air, and seal tightly. Allow them to freeze for about 20 minutes, then shake the bag to prevent the pieces from clumping together. Place the bag back in the freezer for another half an hour, then shake once more. Plan to use them within three months of freezing. When you're ready to use them in your favorite pasta or breakfast casserole, there's no need to thaw ahead of time. They'll defrost during the cooking process.
Static Media owns and operates Tasting Table and Mashed.