6 Creative Ways To Decorate Your Easter Eggs
Plus, some helpful tips to keep you from cracking under the pressure
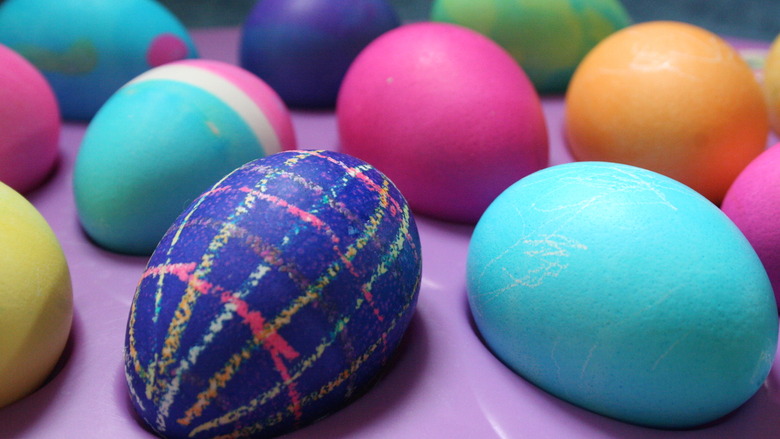
Easter is almost here, which means it's high time to decorate some eggs—but don't resort to those cheesy store-bought kits just yet. We've pulled together a list of our favorite decorating tips and tricks to help spruce up your springtime table this Sunday.
① Dye Eggs in a Muffin Tin
Instead of making a mess with multiple bowls, simplify cleanup by using a muffin or cupcake tin to hold your food coloring. Fill the compartments with water, vinegar and dye (up to 12 different colors), and swirl an egg around inside until it's fully coated. When you're done, you have only one pan to clean.
② Dip Eggs with a Whisk
Eggs can all too easily slide off spoons or wire holders. Avoid staining your fingers and keep spills to a minimum by using a whisk to carefully lower the egg into the dye.
③ Make Homemade Dyes Using Fruits, Vegetables or Spices
Skip the chemicals and DIY your own dye with common household ingredients. Most people already know that beets are a great resource for making red-tinted cakes, icing and buttercreams, but there are dozens of other color-rich foods like turmeric, paprika, purple cabbage, yellow onion and spinach that work just as well. Pay attention to each dye recipe, as some might also call for vinegar, sugar or other extras.
④ Decorate Eggs with Temporary Tattoos
Temporary tattoos are a genius way to transform your eggs into Instagram-worthy works of art. Place the tattoo on the egg, affix a wet paper towel on top and hold for about a minute. Once you remove it, you'll have a cool product.
⑤ Dye Eggs with Rice and Food Coloring
We love this tip, because it's an easy, stress-free way to dye your eggs. Place about half a cup of white rice in a small plastic container with a lid. Then, add four to five drops of dye, snap the lid on and shake it until the rice is coated. Drop one egg at a time into the container and shake again (gently) until the egg is fully colored. Remove it with tongs to avoid getting dye on your fingers and let dry.
⑥ Create Marbled Eggs with Cool Whip
Believe it or not, the secret to perfectly marbleized Easter eggs is just a dollop of Cool Whip or shaving cream. First, cover a sheet pan with Cool Whip or shaving cream and dot the entire spread with drops of food coloring. Next, use the end of a spoon or a toothpick to swirl the colors around. Roll the eggs in the pan, remove them and prop them up to dry for 30 minutes to an hour. Once dry, wipe off any excess whipped topping, and you'll have yourself one mesmerizing marbled egg.