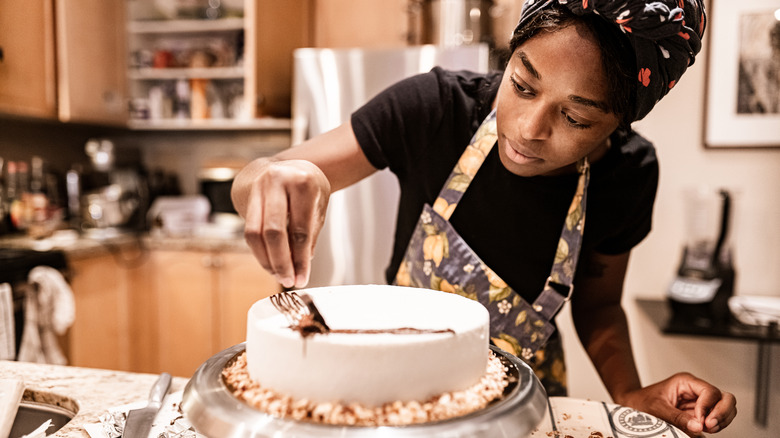
Harness Your Inner Pastry Chef With 16 Cake Decorating Tips
So you need to decorate a cake. Maybe you're a cake-decorating pro, maybe you're not, or maybe you just haven't decorated a cake in a really long time. Whatever the case, you've come to the right place. We've compiled some valuable pointers for making professional-looking (and tasting) cakes that can serve as a good refresher for a seasoned pro or a strong foundation for a newbie to build upon. Whatever your skill level, we are confident these practical pieces of advice will help your cakes look better than ever!
Our simple but extensive list of tips for decorating a cake is essential reading for any baker. It covers everything from baking even cake layers and applying a crumb coat to frosting a cake smoothly and using the proper tools. Get ready to learn our favorite tips and tricks for harnessing your inner pastry chef and achieving all your cake-decorating dreams.
1. Bake the cake layers the night before
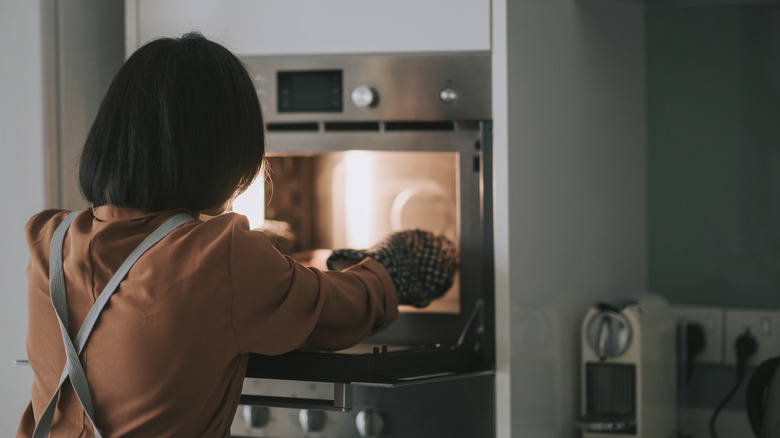
Making a cake from scratch can take hours, from baking the layers and preparing the frosting to chilling the crumb coat and applying decorations. Trying to do it all on the same day can easily take from dawn to dusk and become an unpleasant chore. We recommend baking the cake layers the night before to save time, allow your kitchen to cool down, and let you focus on decorating your cake the next day.
To store the cake layers overnight, wrap the completely cooled cakes in their pans and let them sit at room temperature — or in the refrigerator. Some bakers prefer to work with chilled cakes because they hold their shape better and are easy to carve for sculpted cakes. Ultimately, you can decide what works best for you.
Need to bake the cake layers more than a day beforehand? No problem — you can actually bake your cake layers weeks in advance. Remove the cooled cakes from their pans onto cardboard cake rounds, double-wrap them in plastic, and store them in the freezer for up to two weeks.
2. Weigh the batter to produce even cake layers
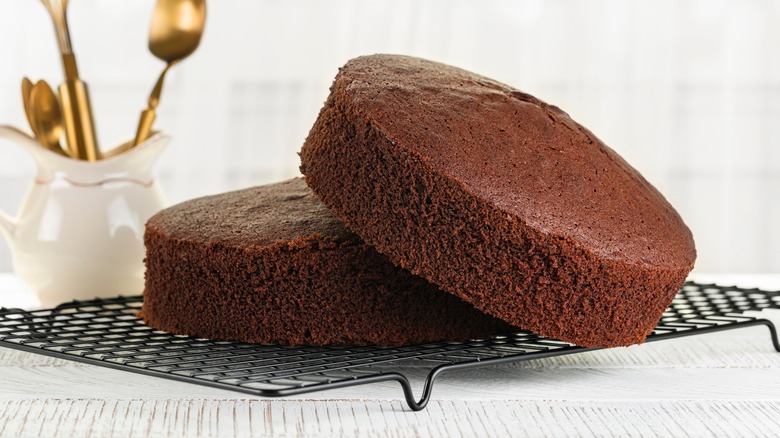
To get perfectly even cake layers, the same amount of batter must be put into each cake pan. The best way to do this is with a digital scale. If each pan holds the same weight of batter, the cake layers will have the same height and finish baking at the same time. Measuring by weight is far more precise than volume measurement, which is messy, inaccurate, and likely to deflate the batter. And don't even think about just eyeballing the batter into the pan.
To weigh your batter, place a greased or lined cake pan on the scale and zero it. Then, spoon the batter into the pan, a little at a time, until the desired weight is reached. Finally, spread the batter evenly, tap the pan lightly on the counter to remove air bubbles, then bake. Portioning cake batter with a digital scale will always result in even cake layers. Stick to doing this and you'll be well on your way to success.
3. Trim the cake layers with a serrated knife
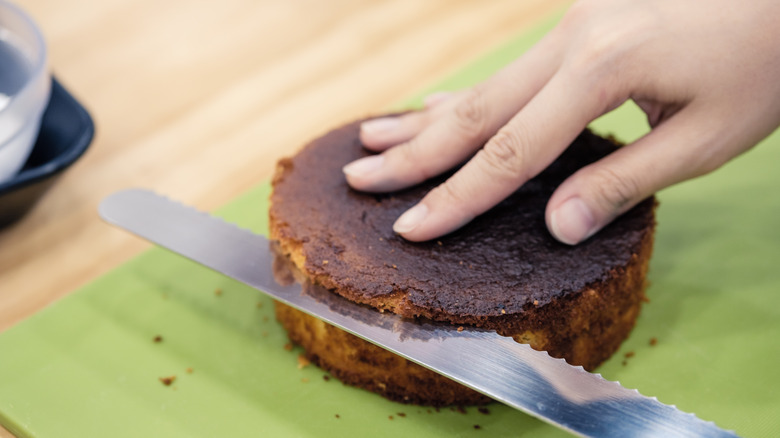
Most cake layers bake up with a browned and sometimes domed top. The top must be trimmed to create a flat surface that ensures the layers stack up evenly and straight. If the cake layers aren't perfectly level, you'll likely have a leaning cake that can topple anytime. Removing the top also allows the soft interior of the cake to be in direct contact with the filling, so the cake can absorb moisture and flavor to improve its taste and shelf life.
The best tool for trimming cake layers is a strong serrated cake or bread knife, which features a long blade with a jagged edge. For the cleanest cuts, make sure that the knife blade is longer than the diameter of the cake. Place the knife's blade on the edge of the cooled cake layer just below the top crust. Keep it level while using a sawing motion to cut through the cake. Don't forget to save the trimmings for making cake pops — or, better yet, for snacking.
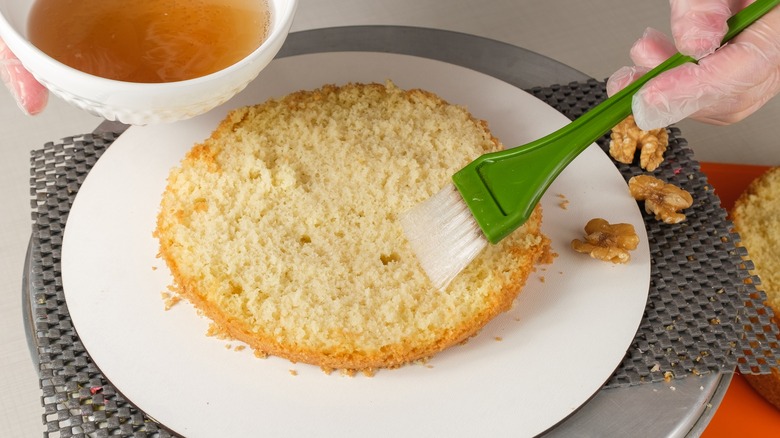
4. Moisten cake layers with simple syrup
Even the most experienced bakers have off days and deal with dry cakes. Simple syrup is an easy way to add moisture to dry cakes and ensure the layers remain moist. You may be tempted to skip this step if your cake is already moist, but even a cake that starts moist will dry over time.
Make simple syrup by combining an equal amount of water and white sugar in a saucepan and bringing it to a boil to dissolve the sugar. You can flavor the simple syrup at this point if desired. Popular flavorings include vanilla bean, citrus peel, or alcohols like Kirsch and Amaretto.
After your simple syrup has cooled completely, you'll want to apply enough syrup to the trimmed cake layers to soak in comfortably, but not so much that it pools on the surface. An easy way to avoid over-soaking is to use a squeeze bottle to drizzle the simple syrup. Alternatively, you can use a pastry brush to coat the surface of the cake with simple syrup as it seeps into the cake crumb. Be sure to apply simple syrup all over the top of the cake, especially the edges where they dry out the fastest.
5. Invest in a turntable
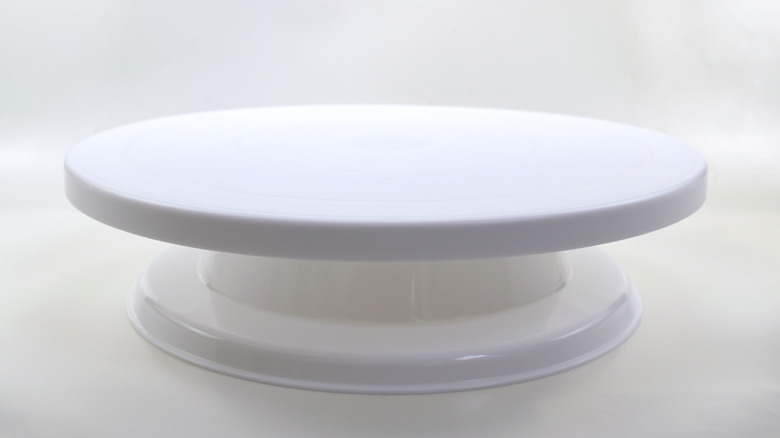
If you're serious about cakes, a turntable is a necessary piece of equipment that makes decorating enjoyable and efficient. A turntable is a cake stand with a top that spins, or an elevated Lazy Susan if you will. It provides a flat surface for your cake to sit on and allows you to spin it around while applying a coat of frosting or adding decorations. The elevated rotation of a turntable helps you apply a smooth layer of frosting and work on all sides of the cake efficiently. It is much better than having to walk around your cake while decorating it, which is a hassle that can turn into a huge mess.
If you don't have a turntable, all is not lost. A more affordable option is a classic Lazy Susan, found at most home goods stores. Or, give your microwave plate and rotating ring a try. A final option is a pedestal cake stand. While it won't rotate as easily as a turntable, it will at least bring the cake closer to your eye level, which is really helpful when decorating.
6. Use cake boards
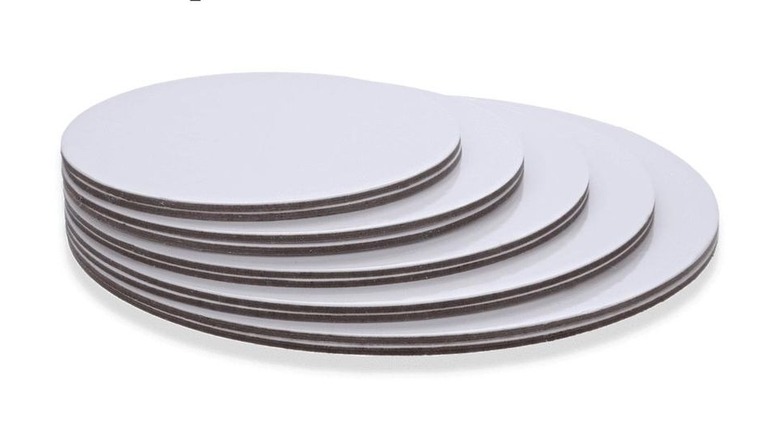
Whether making a single- or multi-tier layer cake, you'll want a stash of cake boards in your kitchen. Cake boards are sturdy cardboard rounds that support the cake layers and improve presentation. When choosing cake boards, make sure they are sturdy enough to hold the weight of your cake.
Multi-tier cakes should never be stacked on each other without proper support. A cake board placed under each cake tier provides the support needed to hold the cake upright as you stack the cakes on top of each other. Single-tier cakes should be placed on a cake board for support and mobility. You could also glue several cake boards together and wrap them with food-grade foil to make a quick and easy decorative display board for lighter cakes.
To use a cake board effectively, pipe a dollop of frosting onto the center of the board, then place the bottom cake layer on top, pressing it gently into the buttercream. Chill the cake layer for 10 minutes to tighten the adhesive before assembling your cake.
7. Secure the cake board to the turntable
It's incredibly frustrating to attempt to build and decorate a cake that slides around. Your cake must stand perfectly still for your frosting to be smooth and the decorations to be exact. To prevent this slippage from happening, secure the cake board to the turntable with a ring of masking or blue tape. Place the tape in the center of the turntable, then place the cake on its board over the tape. Doing this will keep your cake steady during assembly.
There are round nonslip cake mats that cover turntables, which are worth purchasing if you plan on decorating many cakes. If you have leftover nonskid kitchen drawer liners, they work great, too. You can also place a dish towel under the cake board to apply friction to prevent slippage. In a pinch, you can tear off a paper towel, dampen it slightly, and lay it between the turntable and the cake board.
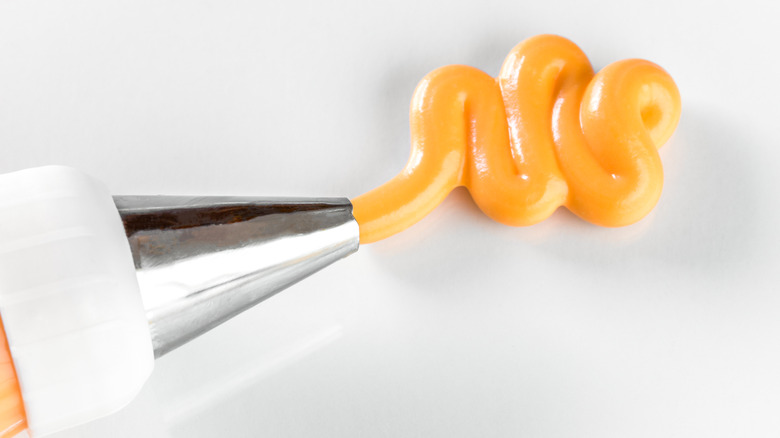
8. Fill your piping bag properly
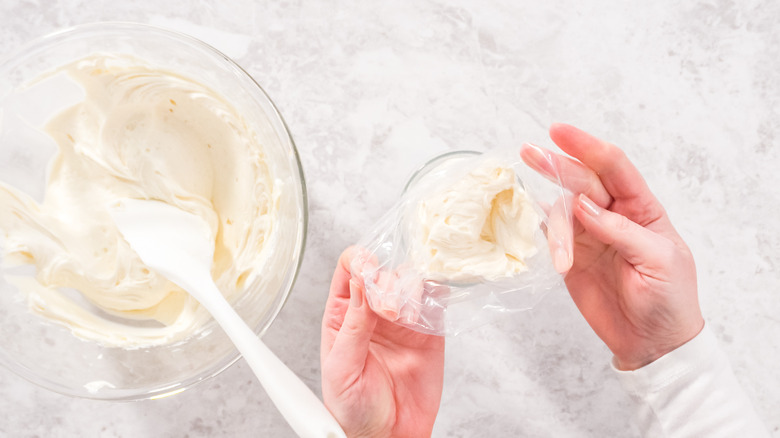
Filing your piping bag cleanly — and not overfilling it — will make decorating your cake much more enjoyable and less messy. Begin by attaching a tip (if using) to the piping bag, then place the piping bag into a large, tall glass and fold about 2 inches of the top of the bag down over the sides of the glass. Next, drop spoonfuls of buttercream into the piping bag, pushing the frosting all the way to the bottom to prevent air pockets. Finally, unfold the piping bag and twist it tightly to prevent buttercream from oozing out the top as you pipe.
If you need to refill your piping bag, squeeze out any remaining frosting in the bag before adding more frosting. If you don't, there will be an air gap between the remaining frosting in the bag and the frosting you add. This can lead to an explosion of frosting while piping, which is never a good thing.
9. Pipe a buttercream dam to hold fillings
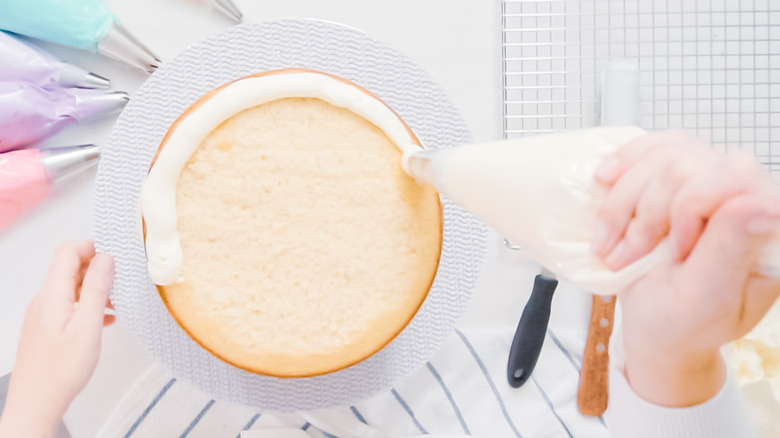
There's nothing more mortifying than a leaky cake. Okay, a lopsided cake is pretty deflating too, but a bulging cake with filling seeping out the sides is right up there if you ask us. When leaks occur, it's usually due to a missing or improperly piped buttercream dam. If you are filling your cake with soft, loose mixtures — like fresh fruit, sauces, or custards — you must take the time to pipe a dam to hold the filling in.
Making a buttercream dam first involves piping a thick ring around the outer edge of each interior cake layer. Next, spoon your filling into the buttercream circle, but no higher than the height of the ring. Lastly, top with another cake layer, pressing slightly to ensure the filling doesn't squeeze out. Now you can rest assured that the buttercream dam will hold the filling and prevent it from oozing out the sides of your cake.
10. Apply a crumb coat
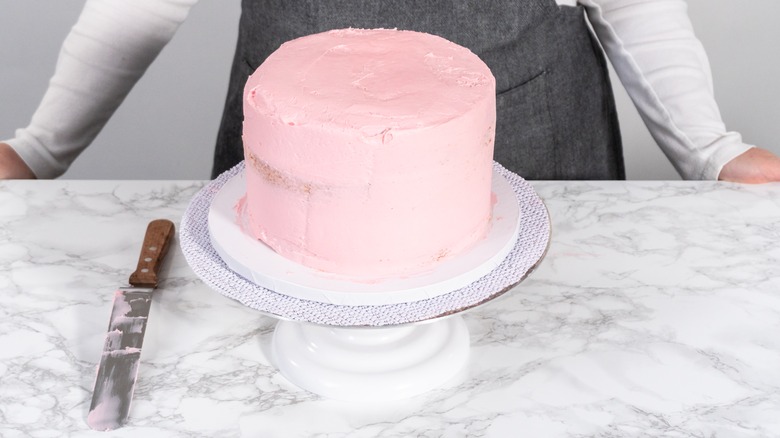
A crumb coat is a thin layer of frosting covering the top and sides of a cake. It seals in uneven surfaces and traps any crumbs that fall off the cake, ensuring the final coat of frosting is pristine and crumb-free. You'll likely see the cake layers through the crumb coat. The crumb coat won't be pretty — and it doesn't need to be.
After applying the crumb coat, you'll want to chill the cake in the refrigerator for about 30 minutes (or in the freezer for about 10 minutes). This allows the crumb coat to firm up before applying the top layer of frosting. If you notice cake crumbs mixing into the top coat of frosting, your crumb coat is not set all the way. Place the cake back in the refrigerator for a few minutes, then try again. A properly set crumb coat is vital to making a pristinely frosted cake.
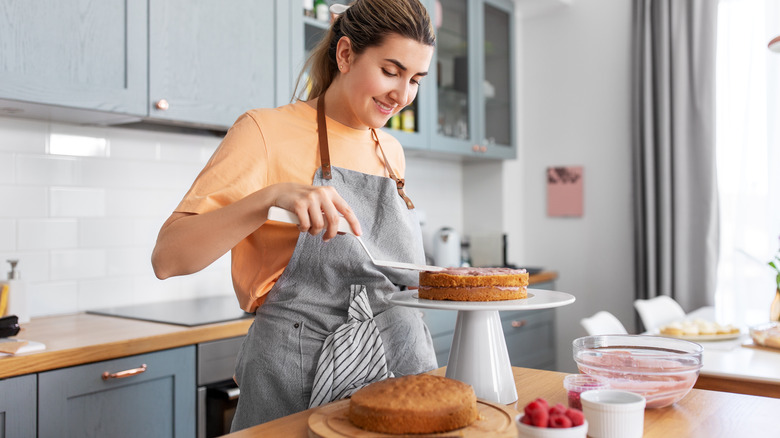
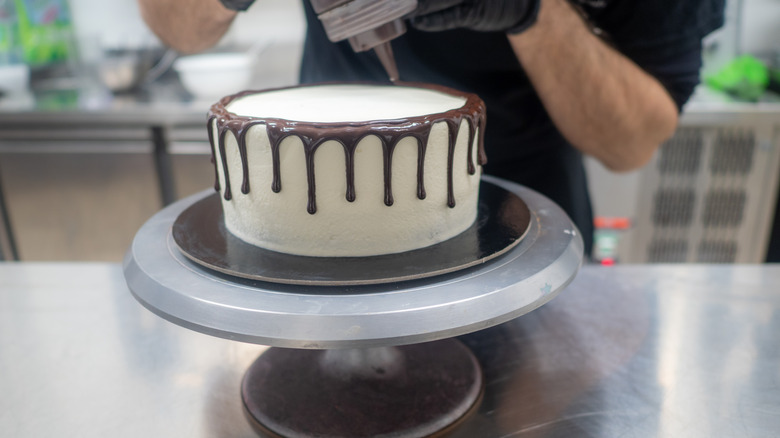
11. Use a cake spatula and scraper for the smoothest frosting
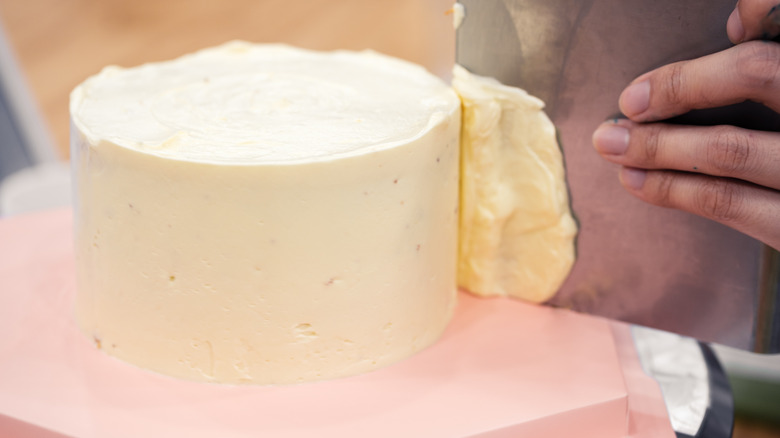
Icing a cake with buttercream may look simple, but there is a technique behind it. Begin by securely placing your chilled, crumb-coated cake onto the turntable (with a ring of tape or nonslip mat) and spoon a large mound of frosting onto the top. Use a cake spatula to spread the frosting in a circular motion while rotating the turntable top. Push the frosting down the sides until the entire cake is covered.
To smooth out the frosting, you'll need a cake scraper. A cake scraper is a flat piece of metal (or acrylic) with one flat edge and one serrated edge, and it does wonders for producing a gorgeously smooth finish. Hold the cake scraper at a 90-degree angle and run it along the sides of the cake while rotating the turntable in the opposite direction to produce smooth edges. Squat down if you need to get eye-level with the cake to get a clear view of what's happening. If you need to step away while frosting the cake, it's best to return the cake to the refrigerator to keep it chilled between breaks.
12. Chill the cake before decorating
After you have applied the top coat of frosting, we recommend chilling your cake before decorating it. This will give you a cleaner, firmer surface to pipe or place your decorations on. The only instance when you wouldn't want to chill the cake too much before decorating is when you apply decor that needs to stick to the frosting, like sprinkles.
Since your cake's crumb coat would have already been chilled, the top coat of frosting will harden pretty quickly. If you place your cake in the refrigerator to chill, it will take only about five minutes — and even faster if you use the freezer.
Chilling your cake before decorating keeps the cake stable and your piping precise. It's just good practice to get in the habit of keeping your cake cold while you work with it. Once you start doing it, it will become second nature to you. You'll work cleaner and faster, and the results will be stellar.
13. Practice piping
While your cake is chilling, you should use the time to practice piping. You can pipe directly onto the back of a baking sheet, the flat surface of a turntable, or a sheet of parchment paper. This is a great way to effectively and cheaply practice your decorating skills and get "warmed up." This time is also great for pre-making decorations, like buttercream transfers on parchment paper.
There are a few things to remember when it comes to piping borders on your cake. First, pipe the borders before decorating, including piping an inscription. The borders create a clear boundary for your decorating canvas. Next, pipe the top border slightly away from the edge of the cake to prevent it from drooping down the sides as the frosting settles. Lastly, if you're creating a drop border with stars or rosettes, pipe each one at 12 o'clock, 6 o'clock, 3 o'clock, and 9 o'clock, then fill in the empty spaces.
14. Use straws to support tiered cakes
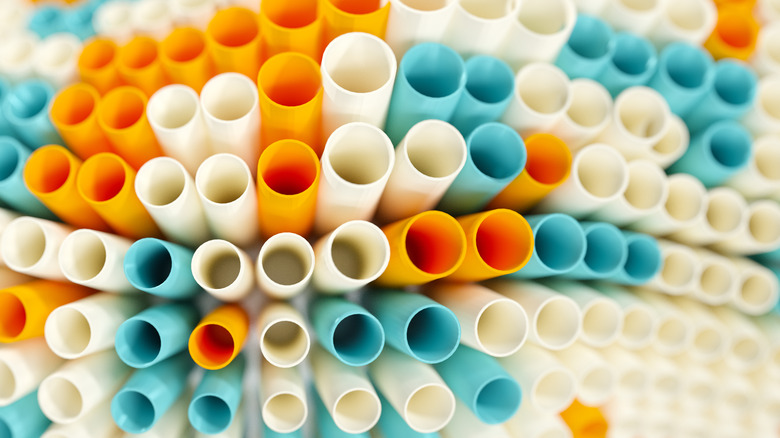
If you're making a tiered cake, you'll need to use plastic straws to stack the cakes on top of each other so the finished product will be sturdy. It may seem scary to use plastic straws, but trust us — they are strong, easy to use, and inexpensive.
The rule of thumb is to put as many straws into a cake as the size of the cake it will support. Use a cake board (or a cake pan) the size of the top cake tier to trace an indention in the bottom cake tier so you know where to insert the straws. We like to insert one straw in the center and others into the outermost edge of the indentation. This layout provides the most stability and keeps the cake from imploding. Use scissors to trim the straws so they're the same height as the cake, then set the next cake tier (with its cake board) on top. Repeat this process with any remaining tiers.
15. Freeze the decorated cake
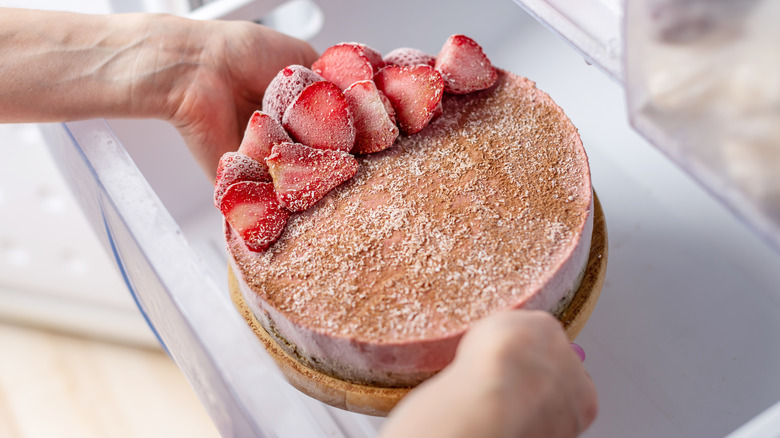
It's never a good idea to rush making a cake. So if you can plan ahead (and make room in your freezer), we suggest making and freezing your decorated cake for up to two weeks before it's needed. The outer layer of frosting will act as a barrier to keep the layers fresh and moist, and the frozen cake needs just 24 hours to defrost in the refrigerator.
To freeze a decorated cake, place it in the freezer for an hour before double-wrapping it in plastic wrap to prevent condensation. Return the wrapped cake to the freezer and store it there for up to two weeks. Transfer the cake to the refrigerator 24 hours before it's needed to allow it to thaw slowly. Then, remove the cake from the refrigerator, discard the plastic wrap, and allow the cake to sit at room temperature for about 2 hours to remove the chill before slicing.
16. Decorate your cake board
After spending time, energy, and money on making a cake, you'll want to ensure it's presented as beautifully as possible. One way to do this is with a foil cake drum made of thick, corrugated cardboard or styrofoam. They come in various colors, shapes, and thicknesses. These sturdy decorative boards have an embossed finish and are grease resistant.
A more cost-efficient way to present your cake is to decorate the cake board with ribbon. You'll need a turntable, clear glue, and some fabric ribbon — the same width as the cake board's thickness. Place your cake on the turntable and squeeze drops of glue around the edges of the cake board. While spinning the turntable, press the ribbon into the glue all the way around until both ends meet. Trim the ribbon for some slight overlap, then secure the end of the ribbon with glue so it's flush. Pro tip: Use a ribbon that matches the colors of the cake for the most beautiful presentation.