Roasted Strawberry And Black Pepper Gelato Recipe
When the weather's hot, there's nothing like a cool and creamy treat. "It may take a bit of extra effort, but making your own ice cream is well worth it for the sweet, sweet payoff," says recipe developer Taylor Murray. Before we begin, it's worth noting the key difference between ice cream and gelato. Both are delectable frozen treats, but they are fundamentally different in their ingredients, processing, and ultimate texture. Ice cream is made with a higher proportion of cream to milk and is churned at a faster speed, which introduces more air, giving it a lighter, fluffier texture. Gelato (technically the Italian word for 'ice cream') uses a higher ratio of milk to cream and is churned more slowly, giving it a creamier texture.
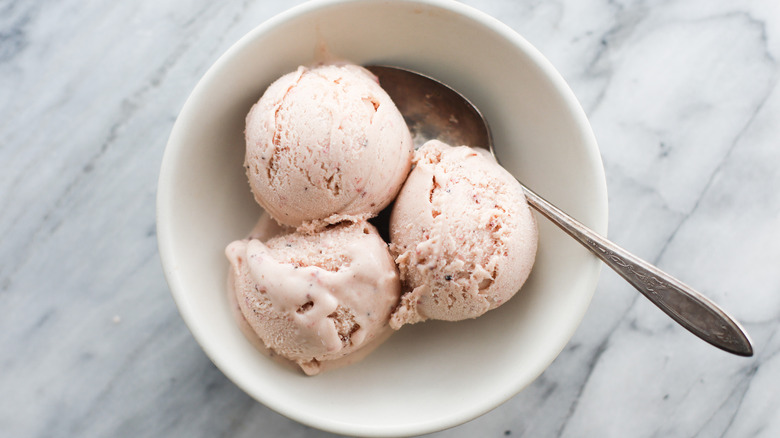
This texture makes gelato a perfect base for highlighting great, in-season fruit. In this case, Murray chose strawberries bursting with flavor from the summer sun, in addition to a spicy hit of black pepper. "Black pepper works phenomenally with strawberries, enhancing their sweetness while providing an exciting counterpoint of heat," says Murray. The roasting process further intensifies the strawberries' natural sugars, adding a depth of flavor that pairs splendidly with the spiciness of the black pepper. The result? An unexpected, harmonious blend that dances on your tongue, both refreshing and inspiring.
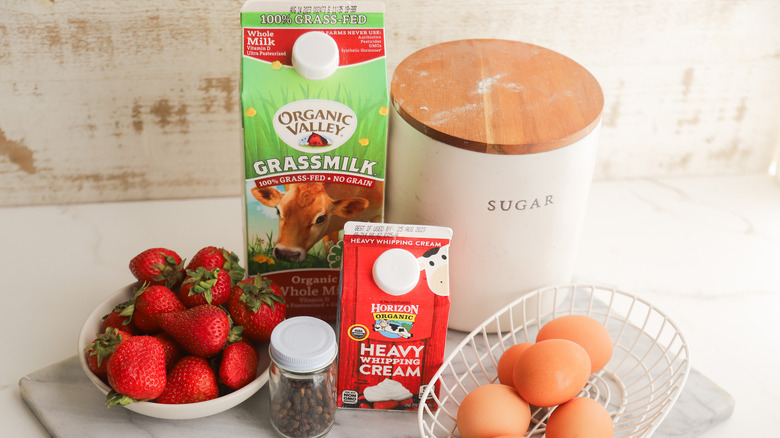
Gather the ingredients for roasted strawberry and black pepper gelato
Start with milk and heavy cream, which form the base of our gelato. The milk provides the main liquid, while the heavy cream introduces the fat that gives us the rich, smooth texture we're after. Go for the high-quality dairy. The difference in taste and texture is noticeable and well worth it. Opt for organic, or better yet, source your dairy from a local farm where you know the cows are well-cared for. You're aiming for 'mind-blowing' gelato here, not just 'good'.
Next up, we've got sugar. Sugar lowers the freezing point of our gelato, making it soft and easy to scoop. Plain, granulated sugar will work best. Save the raw sugar for something else — it will throw off the delicate sugar chemistry in the base. The egg yolks serve as emulsifiers and lend a hand in thickening the mix, giving our gelato that luxurious texture.
We're going for ripe, juicy strawberries here to infuse our gelato with a burst of fruity sweetness. Roasting them takes it to another level, amplifying their natural sugars for a deeper, more complex flavor. If you can, make the trip to your local farmer's market to get the freshest, most flavor-packed strawberries. Last, the black pepper. It's going to add a surprising kick that beautifully complements our sweet strawberries and balances out the rich dairy. However, make sure to ditch the preground pepper. For a truly vibrant flavor, go for freshly cracked black pepper instead.
Roast the berries
Roasting is a secret weapon in the culinary world to bring out the natural sweetness and flavor of many fruits and vegetables, strawberries included. This step also removes some of the water — which can cause the gelato to form an icy texture – from the strawberries. In this case, you'll be roasting the berries at a relatively high heat of 400 degrees F. This temperature allows the sugars in the strawberries to caramelize somewhat, enhancing their sweetness and developing an almost jammy consistency that will bring a depth of flavor to the gelato.
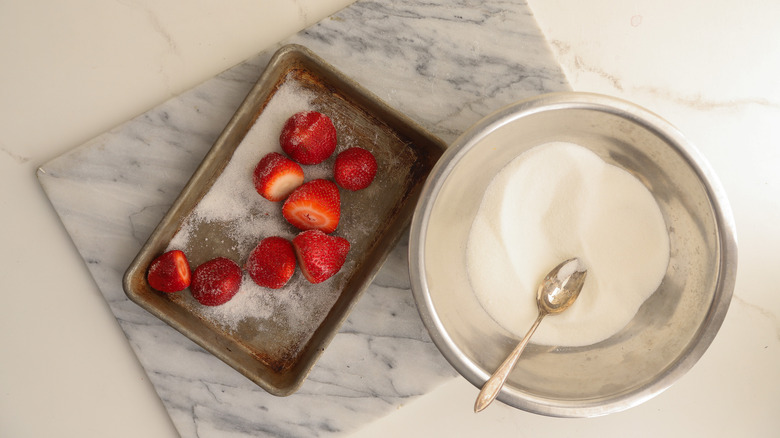
First, you'll want to preheat your oven to 400 F. Place the strawberries in a single layer on a baking tray lined with parchment paper to avoid any sticking. Next, sprinkle a tablespoon of sugar evenly over the strawberries. This sugar is going to help draw out the strawberries' natural juices and enhance the caramelization process. Place your tray in the preheated oven and roast for about 15–20 minutes. You'll know they're done when the berries are softened, the juices are bubbling, and the strawberries have lost their shape. Set the berries aside while you make the base.
Scald the milk and temper the eggs
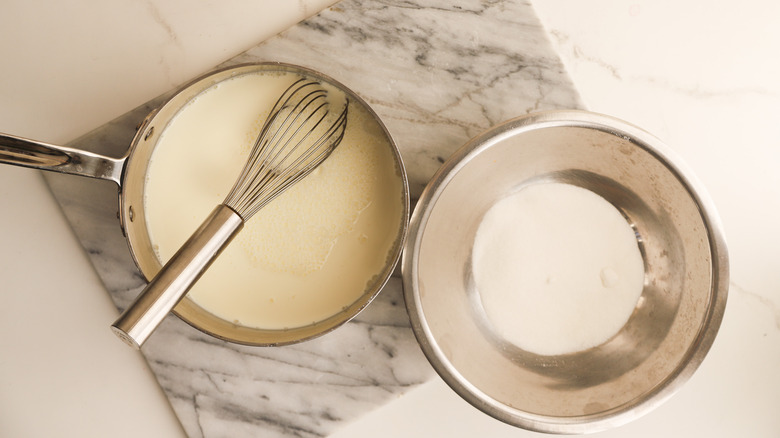
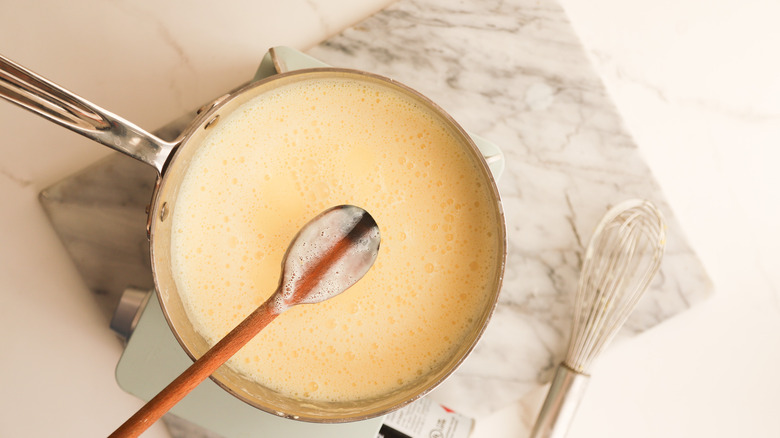
Start by pouring the milk, cream, and half of the remaining sugar into a medium-sized saucepan. Stir the mixture gently over medium heat until it reaches a gentle boil. The sugar should fully dissolve into the milk and cream during this process. Be sure to keep a watchful eye on the pot to avoid it boiling over. When you see it starting to bubble, remove the saucepan from the heat. The goal here is to heat the mixture enough to dissolve the sugar and prepare it for tempering the egg yolks, without letting it scorch or develop a skin.
While your milk mixture is heating, grab a separate small bowl and start preparing your yolks. Using a ladle, carefully spoon a teaspoon at a time of the hot milk mixture into your bowl of whisked egg yolks and sugar. Whisk constantly while adding the milk, as this will ensure that the heat is evenly distributed and the yolks won't curdle.
After you've added about ¼ cup of the milk mixture, you can begin adding a few tablespoons at a time. Continue whisking while adding the milk to keep the mixture smooth and well blended. Repeat this process until about half the milk mixture has been incorporated. By this point, your egg yolks should be fully tempered and ready to be combined with the remaining milk mixture.
Cook the base
Pour the tempered egg yolk mixture back into the pot with the remaining milk mixture. Heat the combined mixture on medium heat while continuously whisking. This constant motion is key to avoiding any lumps and creating a smooth, rich texture. Your target is to heat the mixture until it reaches 170 F. A good candy or digital thermometer is a lifesaver here. This temperature is perfect as it's hot enough to pasteurize the eggs, making them safe to consume, but not so hot that the eggs start to scramble.
Once you've hit that sweet 170 F mark, remove the pot from the heat. Let it cool slightly, but not completely, as it's easier to strain while still warm. Grab a clean container and a fine-mesh strainer. Pour your custard mixture through the strainer into the container. This helps to catch any egg bits that may have cooked a little too much during heating, ensuring that your final gelato is perfectly smooth and creamy.
Add in the blended berries and pepper
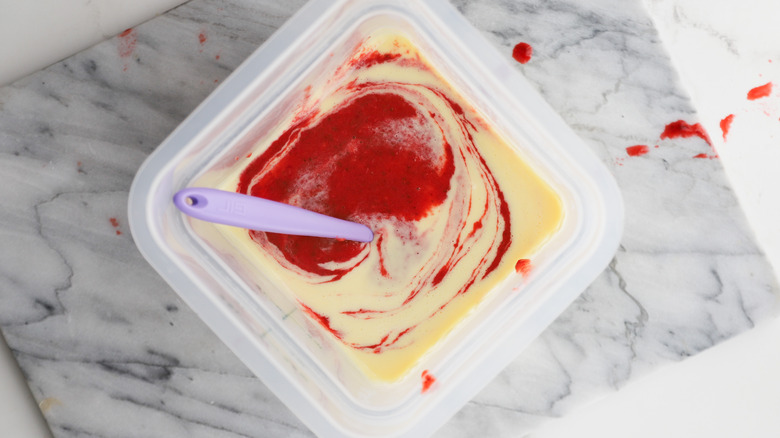
Grab the roasted strawberries and transfer them into a blender (along with any juices) and blend until it's completely smooth. If you prefer a strawberry ice cream with some visual chunks, feel free to pulse the berries instead. Whisk the puree directly into your strained gelato base. Make sure to whisk thoroughly, ensuring that the strawberry and the creamy base are fully combined. You can also strain the mixture now, instead of before adding the puree, if you prefer an ice cream without any texture whatsoever. Whisk in the ground black pepper.
Pour the mixture into a container, cover it, and put it in the refrigerator. You'll want to leave it there overnight, or at least for several hours until it's thoroughly chilled. This step is known as "aging" the ice cream base and is an important step in homemade ice cream making.
Churn the base
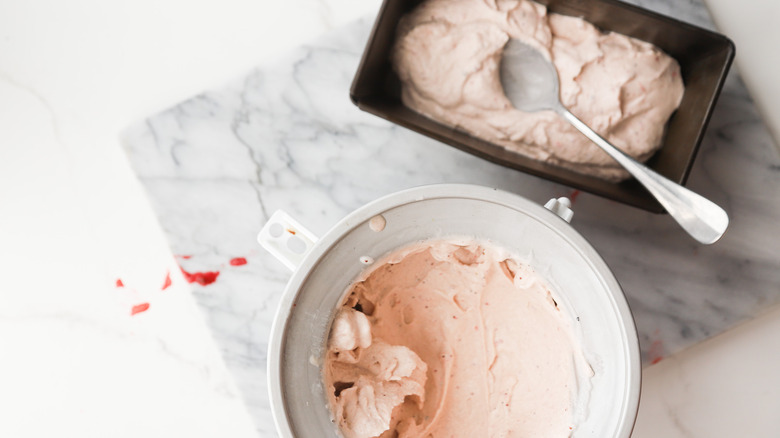
Transfer the aged base to an ice cream churn and process per the manufacturer's instructions. Remember, in order for this to have the right texture to be considered gelato, you have to churn it on the lowest possible speed for the lowest amount of time, to ensure a less air is incorporated into the base.
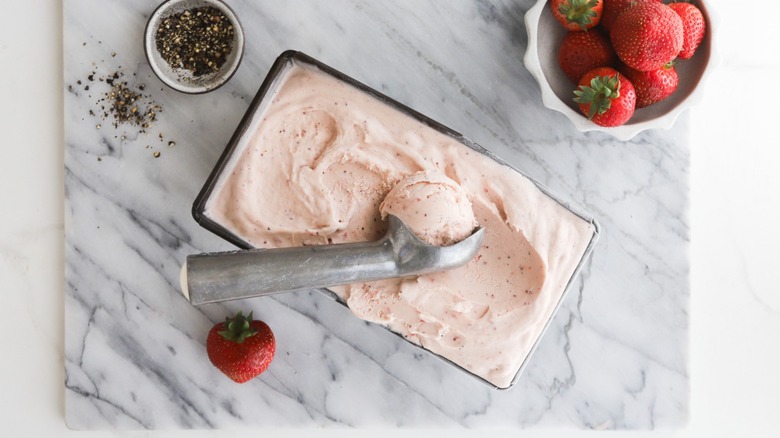
When it's done, spoon the gelato into your desired container and chill for two hours to firm up. After that, you can eat it up to your heart's content or store it for future use. The gelato will keep in the freezer for up to three months (just make sure it stays tightly sealed to avoid freezer burn).
- 14 ounces of strawberries, hulled
- 1 cup + 1 tablespoon granulated sugar, divided
- 3 cups whole milk
- ½ cup heavy cream
- 8 each egg yolks
- 2 teaspoons fresh cracked black pepper
- Heat an oven to 400 F. Toss the strawberries with 1 tablespoon granulated sugar. Transfer to a baking sheet lined with parchment or a silicone baking mat and bake until berries are softened and juicy, about 16 minutes. Set aside.
- Bring the milk, cream, and a ½ cup of the remaining sugar to a boil. Remove from heat.
- In a small bowl, whisk the yolks with the remaining ½ cup of sugar. Use a ladle to pour the hot milk mixture into the yolk mixture 1 teaspoon at a time. After roughly ¼ cup of the milk has been added, stir in a few tablespoons at a time until half the milk mixture has been added.
- Whisk the tempered egg mixture into the pot with the rest of the milk. Continuously whisk the combined mixture as you heat it to 170 F over medium to medium-low heat. Remove from heat. Strain into a clean container.
- Blend the strawberries in a blender until smooth. Whisk into strained ice cream base along with black pepper. Refrigerate overnight.
- The following day, process per ice cream maker directions. Freeze for 2 hours to firm.
| Calories per Serving | 180 |
| Total Fat | 8.1 g |
| Saturated Fat | 4.3 g |
| Trans Fat | 0.1 g |
| Cholesterol | 114.3 mg |
| Total Carbohydrates | 24.1 g |
| Dietary Fiber | 0.8 g |
| Total Sugars | 22.7 g |
| Sodium | 33.8 mg |
| Protein | 3.9 g |
