13 Tips You Need When Baking With Butter
Butter is an essential baking ingredient that adds richness, structure, and flavor to everything from cookies and cakes to pastries and pies. By altering how butter is incorporated into a recipe, bakers can change its function to produce a wide range of desserts. For example, creaming soft butter with sugar results in light, tender cakes, cutting cold butter into flour creates flaky pie crusts, and melting butter into dough produces chewy cookies.
Because of its varied function in baking, it's important to understand the role of butter in a recipe so your baked goods turn out well. Dense cakes, flat cookies, and greasy pie crusts can all be caused by the incorrect use of butter — be it the wrong type, the wrong temperature, or improper handling. If you want to become a better baker, mastering the science of butter is essential. Read on to learn our best tips for baking with butter to help you use butter more successfully in the kitchen.
1. Stock up on butter when on sale
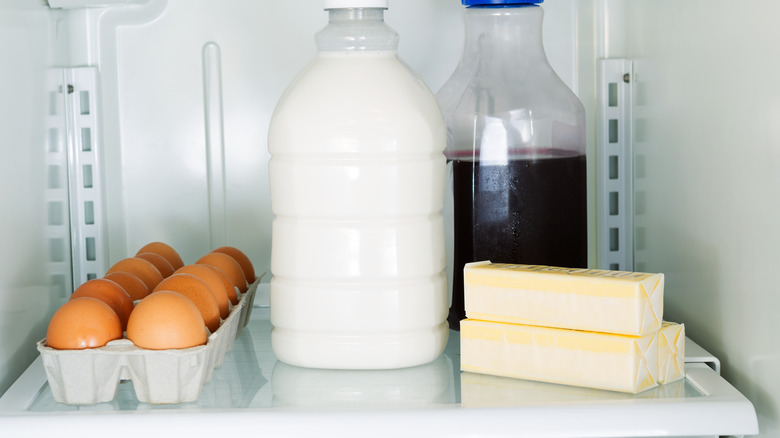
In order to bake with butter, you need to have butter (bear with us). Good quality butter — the kind you want to bake with — comes with a hefty price tag. Between supply chain issues and inflation, grocery bills are taking a beating. And according to the Consumer Price Index, food-at-home prices are predicted to increase by 5.9% in 2023. So if you spot a sale on butter, buying a bit more than you need and storing an extra pound or two in the freezer is a good idea.
To freeze butter, wrap it tightly — in its packaging — with foil, then place it into an airtight container. To defrost, remove the butter from the freezer and allow it to thaw in the refrigerator overnight. If you're dubious about whether frozen butter is safe to eat after a few months, you'll be surprised to learn that frozen butter can be safe to eat for up to 18 months. Of course, you should apply common sense to determine if butter frozen for a lengthy time is still usable. Fuzzy mold, off odors, and discoloration are all signs that your butter has gone rancid.
2. Store butter properly
With something so useful (and pricey), it's important to store butter properly so it stays fresh for as long as possible. Because of its high-fat content, butter risks going rancid if exposed to oxygen, heat, or light. To reduce the chance of spoilage, it's best to store butter in an airtight container, Ziploc bag, or water-sealed butter dish in the refrigerator. When stored in the refrigerator, butter can last one to two months before it loses its sweet, rich taste. This is less the case for salted butter because the salt will preserve it and inhibit bacterial growth. For this reason, it's okay to leave pasteurized salted butter out at room temperature for an extended period, and it will likely stay well in the refrigerator much longer than unsalted butter.
As convenient as it may be to store sticks of butter in your refrigerator door's compartment, it's best to place them in the back of the fridge where it's the coldest. Since butter can easily absorb odors, store the sticks away from pungent foods, like onions and garlic, so they remain delightfully fresh.
3. Choose between salted or unsalted
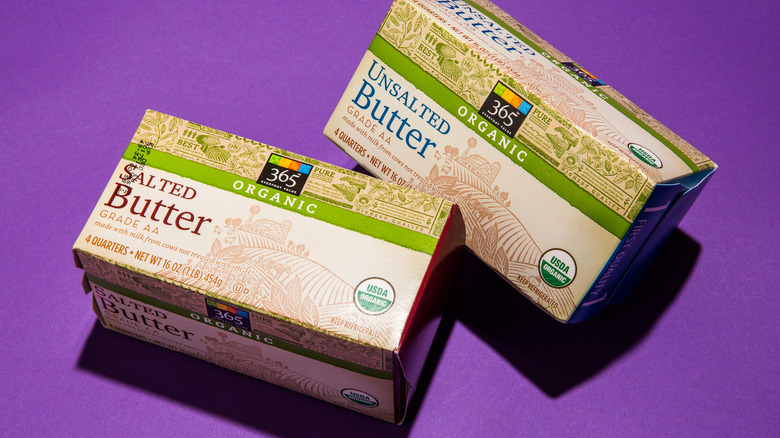
If you're new to baking, you've likely stood perplexed in the grocery aisle, trying to decide between unsalted and salted butter. Many companies add salt to butter to improve flavor while extending shelf life; be wary of inexpensive brands which likely use salt to hide impurities and mask odors. Salted butter is ideal for cooking and a convenient way to add flavor quickly. But when it comes to baking, unsalted butter is your new best friend.
You should almost always use unsalted butter for baking, mainly because the amount of salt in salted butter varies depending on the brand. Unless the recipe you're using calls specifically for salted butter, opt for unsalted butter to control the overall flavor of what you're baking. Another reason to choose unsalted butter is that it tends to be fresher than salted butter. Salt is a preservative, so the salted butter you see on the grocery shelves has likely been sitting there a lot longer than the packages of unsalted butter.
While unsalted butter is the better choice to bake with, don't fret if only salted butter is available. In a pinch, you can reduce the amount of salt in a recipe by ¼ teaspoon for every ½ cup of salted butter used.
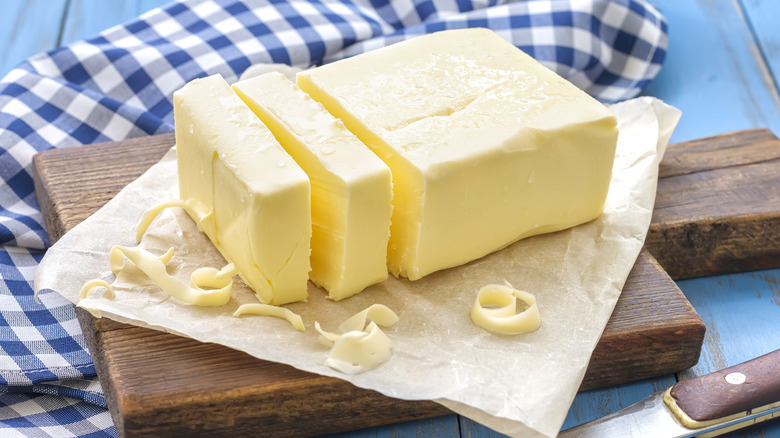
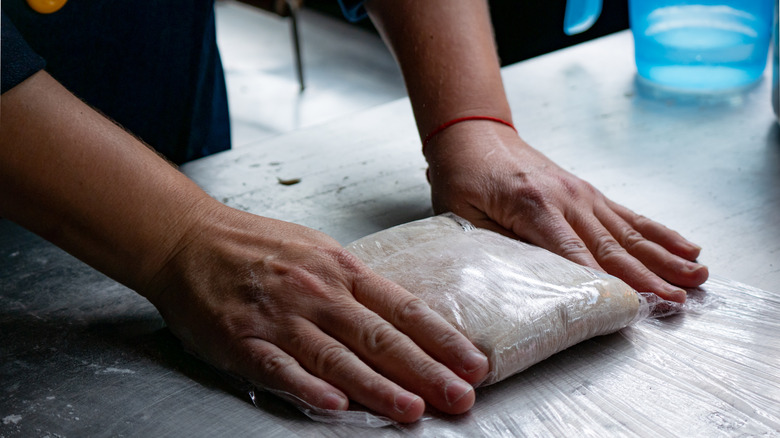
4. Use cold butter for delicate, flaky pastry
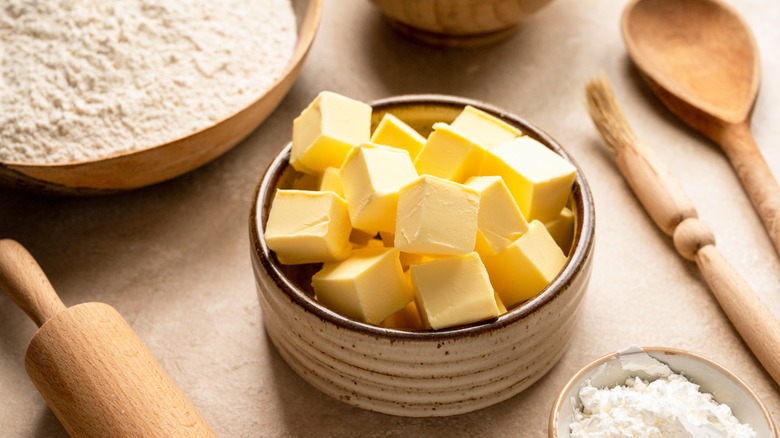
In baking, butter is used in various forms, including melted, room temperature, and cold. When making flaky pastry, you'll notice that the recipes call for cold, cubed butter. Cold butter is critical to achieving a tender, flaky texture in laminated delicacies like biscuits, pie crusts, and croissants. These foods turn out best when their dough has distinct layers of butter and flour, and the key to ensuring those layers are even and clean is well-chilled butter. The colder the butter, the better the texture!
To ensure your butter is sufficiently cold, use a knife (a stainless steel bench scraper works well, too) to cut the butter, then place the cubes in the freezer for 10 minutes for an extra boost of chill. Alternatively, some bakers swear by grated butter, made by running cold (or frozen) butter along the largest openings of a box grater to produce short strips of butter that incorporate easily into pastry dough.
5. Use a food processor to cut in cold butter
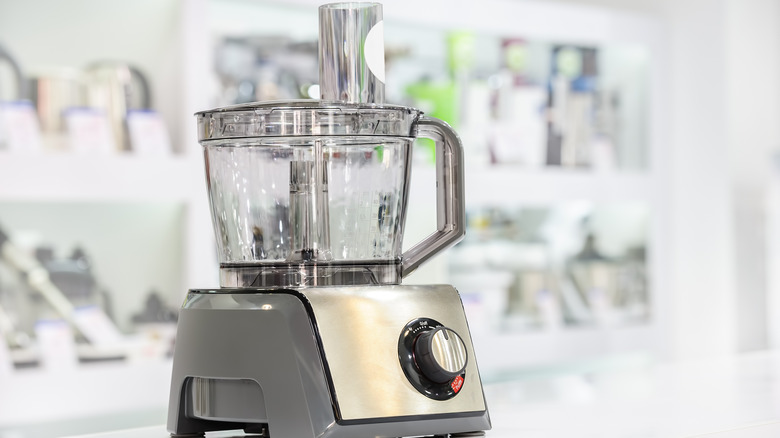
A food processor is a handy kitchen appliance because it relieves you from prep work that can often be tedious and laborious. It can dice, chop, purée, grind, slice, and shred all sorts of ingredients, from hard nuts to soft veggies, in seconds. One of the absolute best uses for your food processor is to cut cold butter into flour for your pastry dough because it disperses the fat quickly and evenly into the flour. Using your food processor to make pastry dough is a game changer.
The key to making flaky pastries is to minimize heat exposure to the dough while it's formed and avoid over-handling it. So, we recommend using the pulse button of your food processor to quickly break down the cold butter while it mixes with the flour. Once the mixture is crumbly, slowly add ice water, pulsing just until the dough comes together. If you use your hands to incorporate the ice water, heat can be transferred from your hands to the dough, causing the butter to warm and separate, likely resulting in dense pastry with undefined layers.
6. Use soft butter for light, tender baked goods
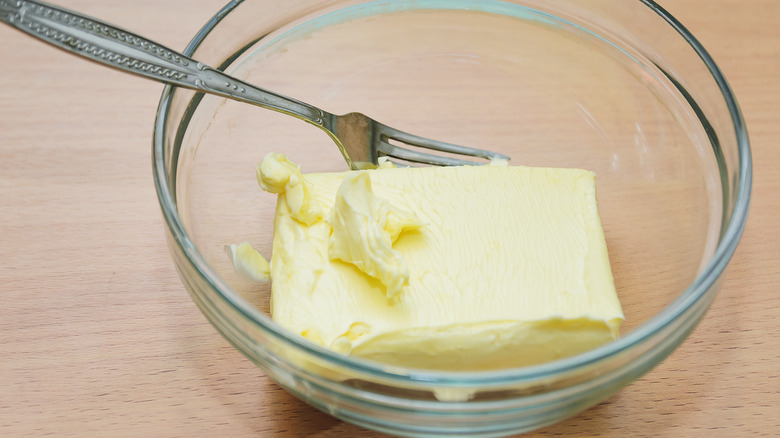
One of the most common ways to incorporate butter into cookie doughs and cake batters is via creaming. This method involves beating softened butter and sugar together to increase the airiness of the dough or batter, resulting in a lighter, fluffier final product. It's important to use softened butter when using the creaming method for baking. Softened butter blends smoothly with the sugar, allowing more air pockets to form, and incorporates more easily with the other baking ingredients. The most important thing is never to try and cream cold butter because it will not incorporate well — not to mention overwork your mixer.
Allowing cold butter to soften at room temperature can take up to an hour, which is fine if you have that time to spare. But if not, the easiest way to soften butter more quickly is to cut your chilled butter into small cubes and spread them on a cutting board or plate, where they'll soften up in about 15 minutes.
7. Do not soften butter in the microwave
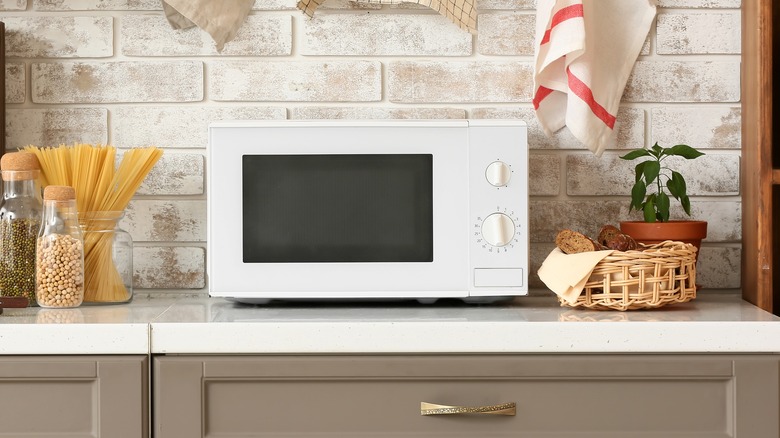
Softening butter can be the bane of many a home baker's existence. More often than not, a craving for homemade cookies comes without warning, and you need soft butter stat. While it's tempting to pop the butter in the microwave, you'll be better off avoiding it to soften your butter. The problem lies in the microwave's heat not softening the butter evenly, leading to parts of the butter being oversoftened — or even melting. And once butter is melted (meaning, its emulsion is lost), it's impossible to get air back into the butter as its chemical structure has changed.
A better option for softening butter is to cut it into small cubes. The cubes will soften at room temperature in about 15 minutes — enough time for the oven to preheat and for you to measure other ingredients. You can also use the hot jar trick to soften butter quickly. This method involves filling a microwave-safe jar, like a mason jar, with water and warming it in the microwave for about two minutes. Dump the hot water out, then invert the jar over your butter. After five minutes, your butter will be perfectly soft for creaming.
8. Do not skimp on the creaming time
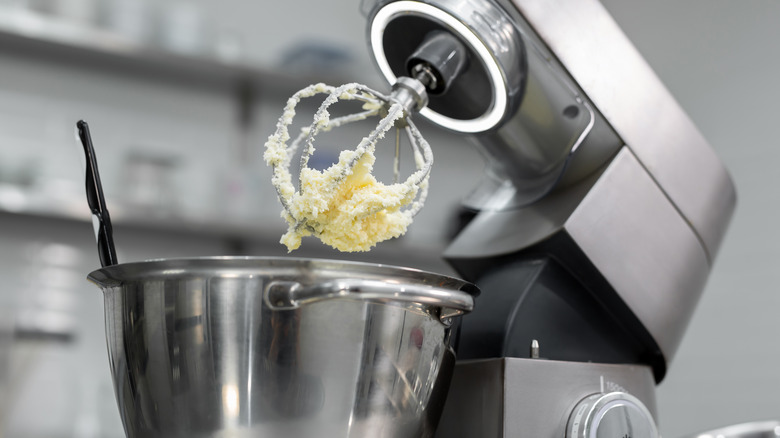
Creaming softened butter with sugar is an integral first step when making light and airy baked goods. This process, known as creaming, incorporates air into the mixture, which naturally leavens your baked goods and creates a tender crumb. When done correctly, cookies and cakes rise in the oven and end up with a delightfully soft texture. When not done correctly, cakes can fall flat, and cookies can bake up greasy.
In general, creaming the butter and sugar longer will make your cake fluffier, and the amount of time spent on this step will directly affect the texture of your final product. A good rule of thumb is to let your mixer run on moderate speed for at least three minutes — and up to five — to incorporate enough air into the batter for voluminous results. While visual cues like a whitened color and fluffy texture will present themselves, we recommend setting a timer while creaming for better accuracy.
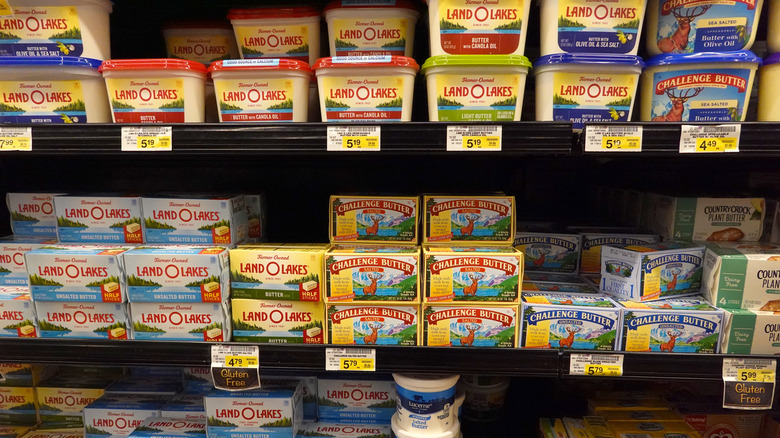
9. Use the right variety of butter
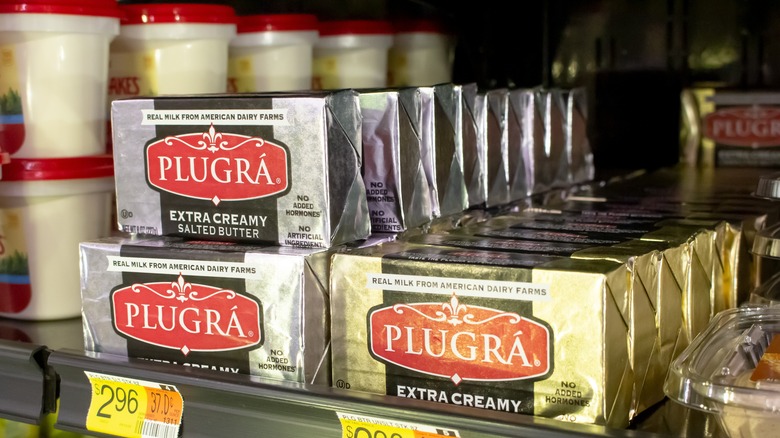
If it seems like shelf space for butter at your local market has been expanding, you're not seeing things. There are more butter varieties than ever — and many of them are making their way to the United States from across the pond. European butter, like Plugra and Isigny Ste. Mère, is readily available here in the States. But how is European butter different from American butter (hello, Land O'Lakes), and which should we use for baking?
The main difference between European and American butter is their fat content. American butter has a fat content of 80%, while European butter contains a minimum of 82% fat. European butter is revered for its rich taste — a direct result of its higher fat content. This makes European butter favored when baking foods where you want the flavor of butter to shine, like pound cake. European butter also has a lower water content which inhibits gluten formation, making it ideal for producing flaky pie crust and tender, pull-apart pastries. One caveat: While you may think it wise to use European butter for making biscuits, it's best to use American butter because its higher water content produces steam, which allows the biscuits to rise and puff. In recipes where the flavor of butter isn't the main attraction (think brownies, banana bread, etc.), it's perfectly fine to opt for lower-fat (and cheaper) American butter.
10. Chill doughs made with butter to prevent spreading
We've all been there. We open the oven door and let out a sigh as we pull out a tray of unsightly, overspread cookies. Even the best bakers can experience this frustrating heartache. The best way to prevent spreading from happening is to refrigerate the dough before baking.
Chilling dough for cookies or pie crusts allows the fat in the dough to solidify. This prevents the fat from melting faster than the dough bakes, resulting in a baked good that holds its shape better. To get cookies to hold their shape or pie crusts to keep a defined edge, you should chill the dough before baking.
The longer your dough is in the fridge, the colder it will be, making it less likely to melt or spread. But remember, not all cookie doughs need to be refrigerated. If you're making pumpkin cookies or cookies intended to be served thin, crispy, or crunchy, like lace cookies, there's no need to refrigerate the dough before baking.
11. Brush butter over baked goods for a shiny, tasty finish
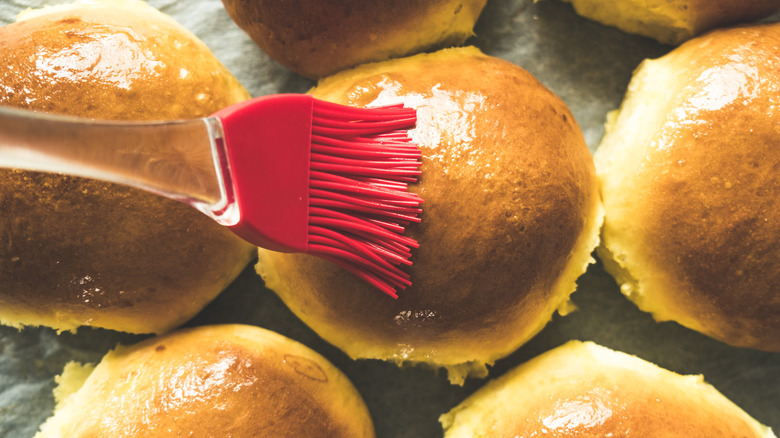
Many homemade treats can benefit from a brush of melted butter when they come out of the oven. For example, a coat of warm butter over just-baked dinner rolls or cranberry-orange muffins can improve taste and add moisture while providing a shiny finish. Savory foods can also benefit from a brush of hot butter. If you want to add a boost of mouthwatering flavor to biscuits or cornbread, add some minced herbs or finely grated cheese to melted butter and brush away. Or, add some minced garlic to melted butter and brush the mixture over toasted French bread for the ultimate garlic bread. Remember that stick of salted butter sitting in your refrigerator? This is a good time for you to use it.
The best way to apply melted butter to baked goods is with a pastry brush. An inexpensive and practical tool, a pastry brush is typically sold with a plastic or wood handle and natural or silicone bristles. Pastry brushes with silicone bristles are the most economical and can be conveniently cleaned in the dishwasher. Pastry brushes with natural bristles are more expensive, and you'll need to hand wash them. But keep in mind that natural bristles absorb liquid better than silicone bristles, so they will consistently provide a uniform coating over your baked goods without streaking.
12. Use a light-colored, heavy-bottomed pan for browning butter
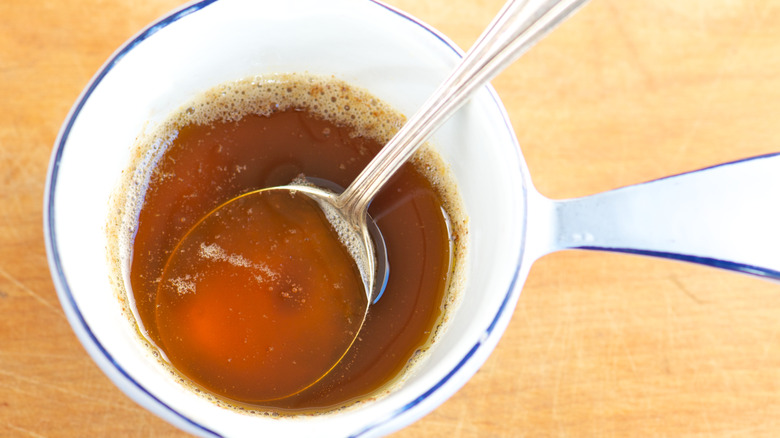
If you've ever eaten a baked treat and tasted notes of nuttiness and caramel, there's a good chance that brown butter was used to make it. Many bakers consider brown butter their secret weapon for elevating their treats to heavenly status, using it to add bold richness and a nutty aroma to baked goods. Brown butter can be used to improve chocolate chip cookies and banana bread recipes by adding another dimension of flavor.
Brown butter is made by slowly melting butter in a pan over medium heat and whisking it continuously until the milk solids caramelize. The trick with brown butter is knowing when to stop heating the butter. Golden brown milk solids, an aroma of toasted nuts, and little-to-no sizzling are all signs to remove the pan from heat. When browning butter, use a light-colored pan to clearly see when the butter has browned. It's also best to use a pan with a heavy bottom to create even heat as the butter browns. Depending on your recipe, you can use the brown butter immediately or chill it thoroughly before creaming it into doughs or frostings.
13. Flavor your butter
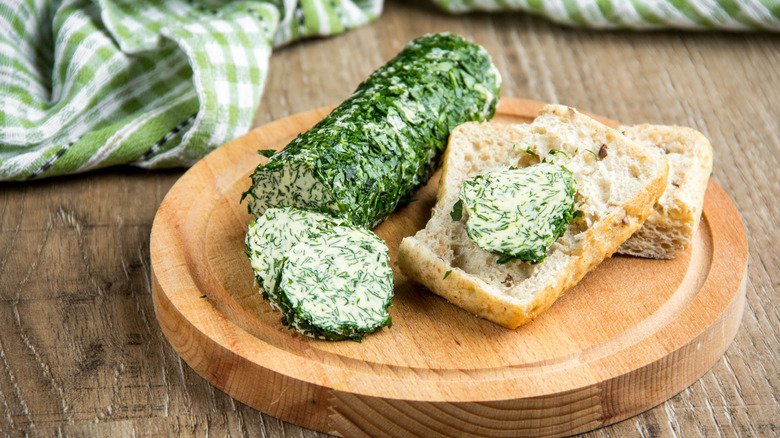
Have you ever wondered why fatty foods taste so good? It's because many flavors dissolve well in fat. A perfect example is compound butter, a simple mixture of butter and aromatic ingredients like chopped herbs. Compound butter gives a depth of taste when used to cook dishes such as steak and can add a mouthwatering flavor to warm dinner rolls and steaming baked potatoes.
In baking, when you add flavorings like citrus zest, spices, or extracts to butter before adding the base ingredients, the butter carries all the concentrated flavor into the dough or batter, creating desserts with well-rounded, distinct flavors. The results are notable and something that you should taste for yourself. The next time you make a batch of homemade snickerdoodles, sprinkle the cinnamon into the butter while creaming instead of with the dry ingredients, and you'll notice a boost of flavor. Or, try mixing some grated orange zest into the butter the next time you make Danishes for pastries with incredibly bright citrus notes.