13 Ways You're Ruining Your Homemade Sour Cream
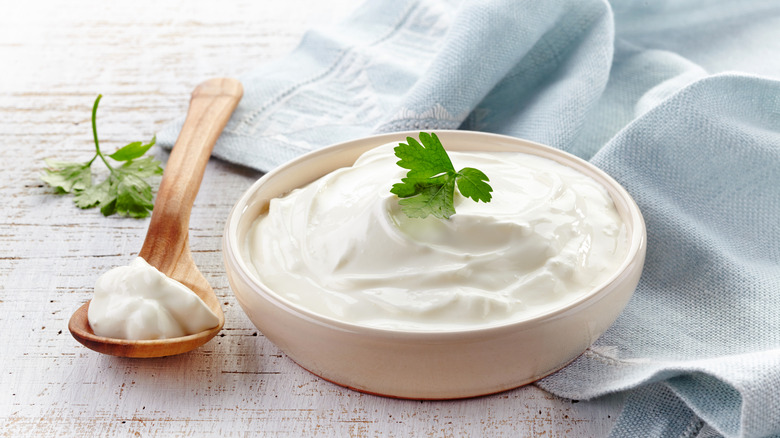
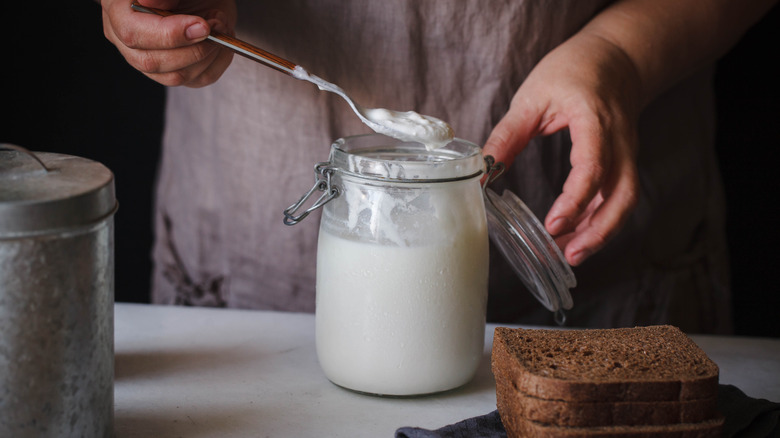
Homemade sour cream is a fun, delicious, and cost-effective alternative to the store-bought version, and there are many benefits to making your own sour cream. It reduces waste and plastic packaging. It's economical and allows you to take advantage of any surplus cream supply. Making sour cream at home also gives you greater control over the ingredients, so you can use cream from your favorite dairy farmer or local supplier and avoid preservatives and other additives. But by far the biggest advantage to making sour cream at home is the superior taste and texture.
When you make sour cream at home, you get a finished product that is exactly what you want. You get to decide how thick or thin it will be and precisely how sour it will taste. By choosing the ingredients you prefer, you can influence the sour cream's character and select nuanced notes of grassy, buttery, fresh, neutral, or pungent cream. It simply tastes better and is worth the effort ... assuming you avoid these common blunders that can ruin your homemade sour cream.
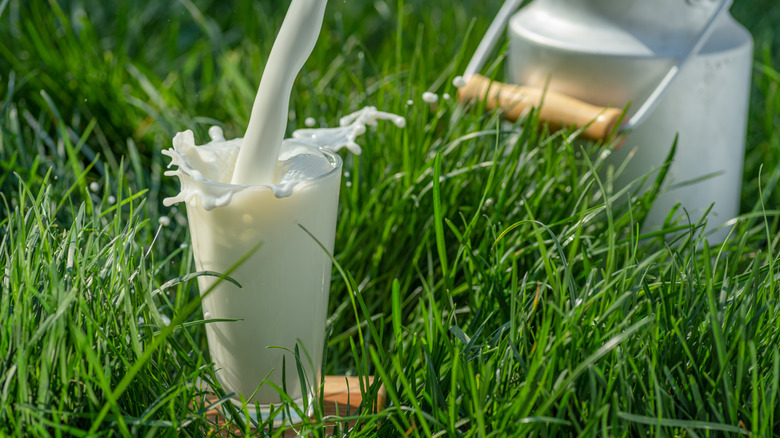
Using old or poor-quality dairy
There are only two ingredients in homemade sour cream, so the flavor of your cream is prominent. There's nothing for subpar cream to hide behind, so choose the freshest, best-tasting cream you can. Using poor-quality cream (or once-quality cream that's now past its prime) will only amplify any unpleasant flavors.
In addition to having an undesirable influence on flavor, sometimes older cream won't work at all for sour cream due to its bacterial content. All dairy contains naturally-occurring bacteria; some are harmless or even beneficial and others that cause spoilage or foodborne illness. Lactobacillus is one well-known example of a beneficial bacteria, also called a probiotic. As dairy is stored, the naturally-present bacteria multiply and their levels increase. This isn't necessarily harmful, but if those bacteria become too numerous, they can outcompete your added culture bacteria and make it harder for your sour cream culture to do its work. As a result, it may introduce unpleasant flavors, or the sour cream may not set at all.
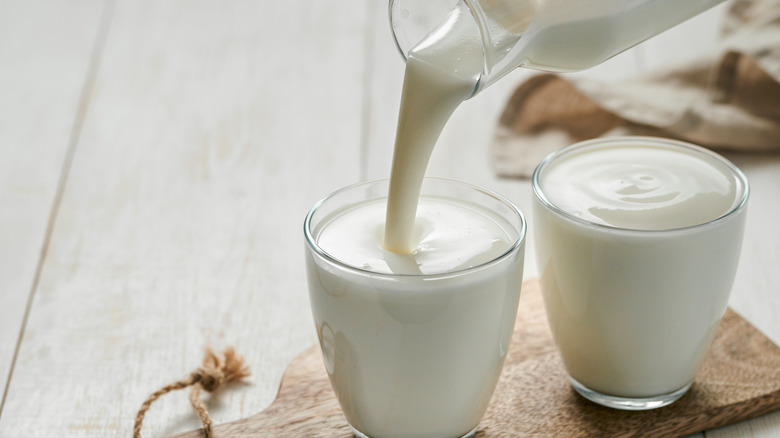
Using dairy without enough fat content
Sour cream, by definition, must contain at least 18% milkfat, so if you're making your own, you absolutely must start with heavy cream or half and half — not whole milk, which contains only 3.25% milkfat. Fermenting milk produces yogurt, or the thinner beverage variety, kefir (the dairy version). To put it plainly, if you don't start with cream, you won't end up with sour cream. Your sour milk, buttermilk, or kefir might be delightful, but by definition, it isn't sour cream.
You can opt for heavy cream, whipping cream (not whipped cream or whipped dessert topping, mind you), light cream, or half and half. When selecting which dairy to use for your homemade sour cream, half and half which contains between 10 and 18% milkfat is the lowest you should go when it comes to fat content. You will get better, more reliable results by using cream with more milkfat.
Using ultra-pasteurized dairy
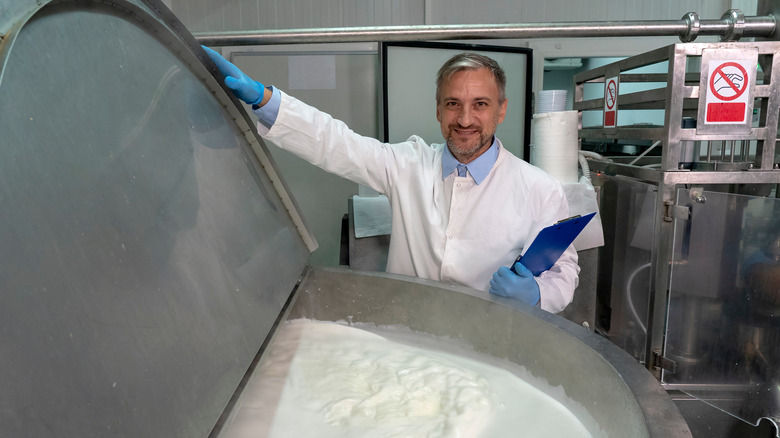
The ultra-pasteurization process subjects dairy products to very high temperatures — temperatures much higher than standard pasteurization. Since 1987, the Food and Drug Administration has banned the interstate sale of raw milk. State laws on the topic vary, but most milk products commercially available in the U.S. are pasteurized prior to sale. During pasteurization, milk is heated at 161 degrees Fahrenheit for 15 seconds to kill harmful bacteria.
During Ultra High-Temperature Pasteurization, (sometimes marked on dairy cartons as UHT), raw dairy is heated to approximately 280 degrees Fahrenheit for only two seconds. Some harmless and beneficial bacteria survive pasteurization, but cannot survive ultra-high pasteurization. Exposure to such high temperatures not only kills off beneficial bacteria but may also denature the proteins in the cream, which can impact the flavor and texture of the sour cream when it's finished. Your best bet is to steer clear of the ultra-pasteurized varieties when making sour cream.
Not using a starter culture
Many recipes online suggest using edible acids such as lemon juice or vinegar to make sour cream, but a starter culture will produce better, more reliable results. A starter culture is a small quantity of microorganisms that are added directly into food to bring about desired changes. Sour cream starter contains several varieties of Lactococcus bacteria strains. The culture is added to the cream, and the bacteria go to work producing lactic acid. The lactic acid coagulates the protein, which thickens the cream and produces sour cream's distinctly tangy flavor.
You can purchase starter cultures from cheesemaking stores which will dependably yield the desired results. You can also use a cultured dairy product, such as cultured sour cream, as a starter — just make sure the cultures in it are still alive and viable. You can reuse it a few times, but over time your starter culture may become less active. You'll know your culture is becoming less robust if it starts taking longer to set each time, if you need more starter to get the process going, or if the taste seems off. In that case, you'll need to start again with a fresh packet of sour cream culture.
Choosing a starter culture can be fun since the specific "recipe" of each starter has its own balance of bacterial strains and these unique microorganisms affect the outcome in subtle ways. Experiment and try different starters to see which one is your favorite.
Improperly storing your starter culture

The starter culture is so important because these bacteria are what transform cream into sour cream. By eliminating unwanted bacteria and controlling the temperature, you set the optimal conditions for them, but the bacteria are what actually cause the change. It's crucial to ensure that the cultures remain alive so they can go to work and create the desired results. Improper storage can lead to live cultures dying and they will no longer be effective. Unfortunately, there's no reliable way to tell if your cultures have died off before you try them in your sour cream. Therefore, take care with proper storage for the best chance of a strong living culture.
Always refer to the supplier's storage instructions for your culture. Most culture retailers indicate cultures should either be frozen, and then brought to room temperature before use, or simply stored in the refrigerator. Use cultures within the recommended time frame to ensure they are living and vigorous.
Not using a thermometer
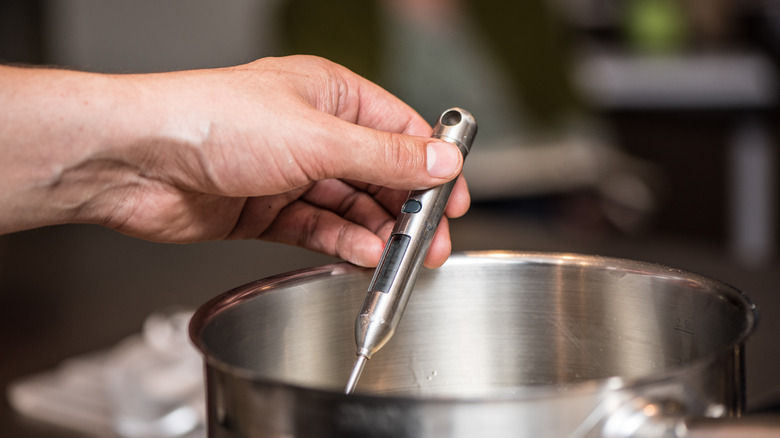
The first step in making sour cream is heating the cream to eliminate competitive bacteria that would interfere with your starter culture. Precise temperature is critical for achieving a good homemade sour cream. You don't want to heat it so hot that you boil or scald it, but you want to make sure you heat it high enough to get rid of unwanted microorganisms. It's too important to leave it to guesswork. Instead, use a cooking thermometer to ensure the cream is heated to exactly the correct temperature.
Some recipes suggest heating the cream to 77 degrees Fahrenheit, but others suggest 86 or even 145 degrees Fahrenheit. Heating the cream denatures the proteins, which makes the sour cream thicken, so heating to a higher temperature produces a thicker sour cream. Depending on how thick you want it, determine how hot you will choose to heat it in the first step and how long you choose to keep it hot before adding your culture. (Pro tip: A multicooker is perfect for holding a consistent temperature without scalding the cream.) Whatever temperature you decide on, a thermometer is imperative for making sure you get that heat exactly right.
Adding the culture while the cream is too hot
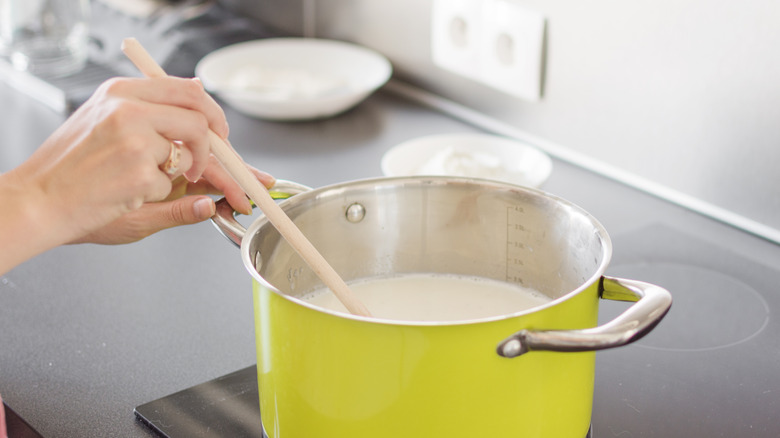
After heating your cream, the next step is to stir in your starter culture. Remember, you are trying to set ideal conditions for your starter culture bacteria to do its thing. If you add the culture while the cream is too hot, you will kill the precious bacteria you need in your culture.
Sour cream is made using mesophilic culture. Mesophilic cultures work best between 62 and 102 degrees Fahrenheit and die quickly at temperatures above 102 degrees Fahrenheit, so it's imperative to hold your cream in that temperature range while the cultures work. If you heated the cream above 102 degrees to thicken it, you must let your cream cool back down before adding the cultures in. It definitely needs to be below 102 degrees, but between 77 and 86 degrees Fahrenheit is the most optimal temperature range. Once your cream is within this range, add your starter culture and stir it to combine.
Adding too much culture

It can be tempting to go overboard with the starter culture thinking it will set the sour cream more quickly or more firmly. After all, these are beneficial bacteria, so more can only be better, right? Sadly, no. Adding excessive amounts of starter culture means those little bacteria produce more lactic acid. This can cause high acidity in your sour cream. The result is a sharp flavor (it gets too sour) or, in extreme cases, separation of the whey.
The amount of culture you have to add is usually very small. For a quart of cream, you'll use less than a teaspoon of culture from a packet. If you're using cultured sour cream as a starter, you only need a couple of tablespoons per quart of cream. Follow the guidelines provided on the starter culture or in your recipe, even if it seems impossible that such a small amount of culture could work on large quantities of cream.
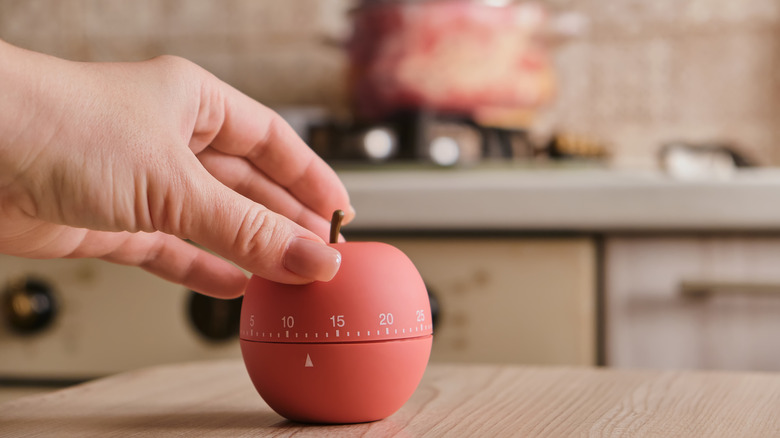
Not letting it set at room temperature
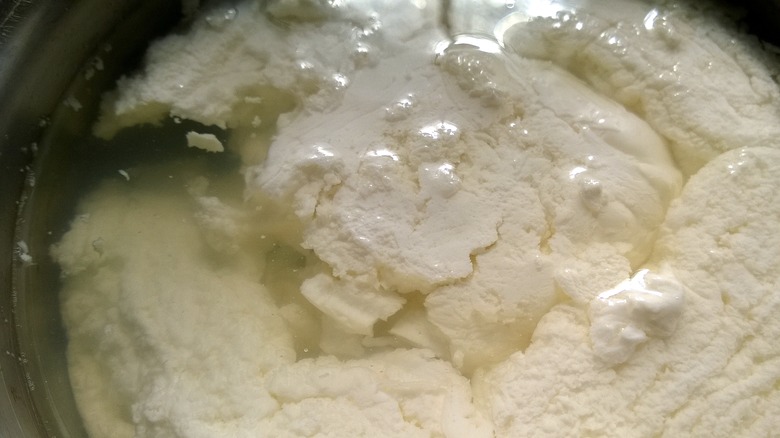
After you add the starter culture to the cream, your work is pretty much done. All you have to do now is wait. Cover your cultured cream to protect and leave it unrefrigerated for 12 to 24 hours. It may feel strange to leave a dairy product unrefrigerated on the counter, but we know that mesophilic cultures work best at room temperature, so you have to let it sit where the cultures can remain active. It's unlikely to spoil because, in the short term, the beneficial bacteria outcompete the bacteria that cause spoilage.
If you refrigerate your cultured cream at this point, your beneficial bacteria will stop working and your sour cream won't thicken or get sour. The setting temperature is also a significant factor in developing the final flavor. Higher temperatures during setting can lead to more acidity and a more sour flavor in the finished sour cream.
Not letting it set for long enough
Sour cream takes up to 24 hours setting at room temperature to achieve its characteristic thickness and sour tang. This step is easy on its face since it takes no effort to leave your sour cream to set, but it's also difficult because you have to be extremely patient. There's nothing you can do to hurry it along. You just have to wait. And wait.
As it sets at room temperature, the cultures are busy making lactic acid which thickens the cream and gives it a sour flavor. The longer you let it set, the more lactic acid is getting produced. So as it sets, sour cream gets thicker and it also gets more of the flavor that makes sour cream sour.
Once you lower the temperature via refrigeration, the cultures become less productive and the fermentation process stops. There will be no additional thickening or souring once your cultures stop working. You must resist the temptation to refrigerate it before it's ready.
Letting it set too long

Sour cream can take a full day to set, but it can also set in as little as 12 hours, which is a pretty broad range. After the first 12 hours, check your sour cream to see how firm it's getting and how sour it tastes. If it's not thick enough or sour enough, leave it longer. If your sour cream is too sour for your taste, try a shorter set time to get a sweeter flavor. The longer it sets, the more sour flavor it will acquire, so check it several times as the flavor develops.
You want to let it ripen enough to be tangy, but catch it before it hits the tipping point and becomes too sour. Where that point lies is entirely a matter of personal taste, and over time you will know how long is the ideal set time for your preferences. Ambient temperature, variations in the cream and cultures, and other factors can still cause variation, though, so always check the taste periodically as your sour cream sets.
Allowing contamination during the process
Always use clean pots, jars, and utensils when making homemade sour cream. Since you are encouraging bacterial growth during the process, it's important to only have the desired, beneficial bacterial strains present. Contamination of "bad" bacteria will outcompete the desirable bacterial cultures, which can cause bad flavors or even bubbling gasses in your fermenting cream.
Usually, a thorough cleaning will suffice, but for added protection against contamination, some recipes recommend sanitizing your cooking tools and containers before you begin. You can do this by boiling water in your pot and submerging smaller items in the boiling water for 10 minutes to kill any bacteria present on these surfaces.
You can tell your homemade sour cream is contaminated by many of the same signs that indicate any dairy product has spoiled: unpleasant odor, poor taste, chunky texture, or build-up of gasses. If you suspect your homemade sour cream is contaminated, dispose of it and try again.
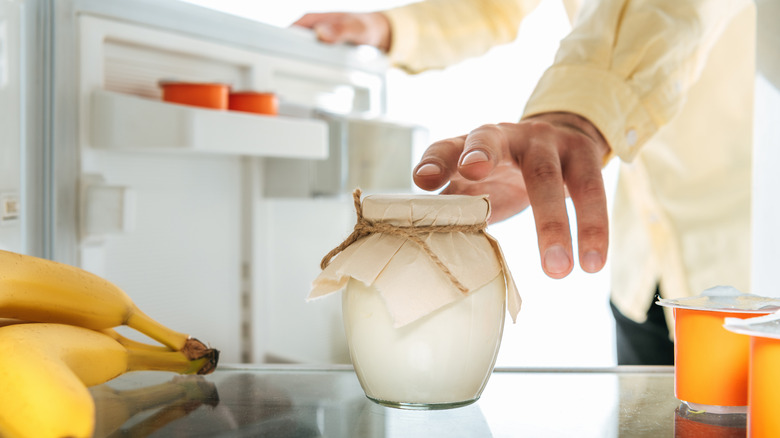
Not storing your finished sour cream properly
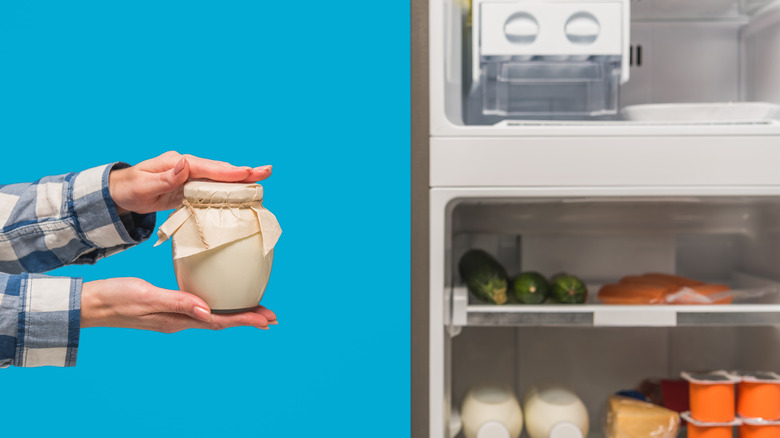
After you've worked to make your own homemade sour cream, losing it to spoilage is extremely disappointing. This can be easily avoided with proper storage. After the fermentation is complete, store your finished sour cream in the refrigerator in a clean, airtight container for up to two weeks. You can even use this trick to make your sour cream last longer in the fridge: store it upside down so that the sour cream forms a vacuum and no air gets in between the top of the sour cream and the lid.
Freezing your sour cream is one last way to ruin it. Sour cream doesn't freeze well because dairy products tend to separate during freezing. However, you can freeze a small portion of your homemade sour cream to use as a starter for your next batch.
During storage, watch for signs that your sour cream is going bad. Mainly, use your senses. Check for changes in the flavor or an obnoxious smell. Look for discoloration or visible mold, and separation or changes to the original texture. If you see signs that it has spoiled, don't risk it — throw it out.