12 Tips For Making The Absolute Best Grilled Chicken
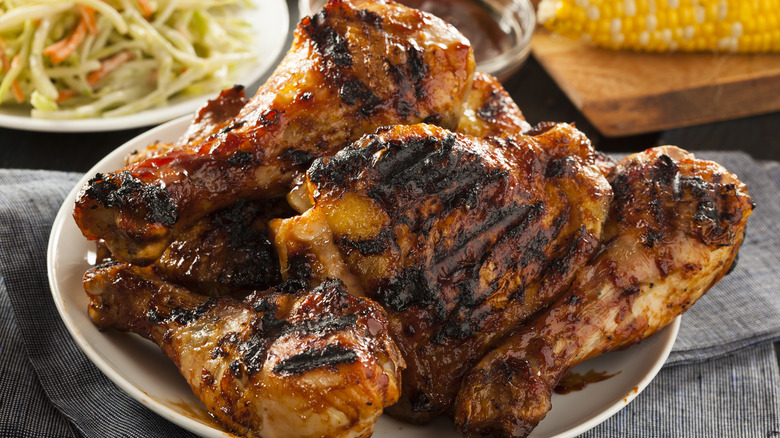
Grilled chicken is so versatile that most cultures have some variation of the dish: Mexico's pollo asado, Indonesia's chicken satay, Caribbean jerk chicken, American barbecue — the list goes on and on. These dishes each have distinct flavors, but they all start with perfectly cooked poultry: moist, tender, and juicy with a lovely golden brown crispy skin kissed by a few lines of grill marks.
Barbecuing is a very old tradition: Humans have been cooking meat over fire for over 700,000 years, and in that time we've gotten pretty good at making it. Flame grilling imparts a unique smokiness to meat which is best complemented by flavorful rubs, sauces, and marinades. However, the biggest challenge is making sure the meat gets cooked all the way through without letting it get overcooked, dried out, or burned. What's the secret? Read on for the best tips and tricks for achieving the perfect grilled chicken.
Prioritize high-quality bone-in, skin-on cuts
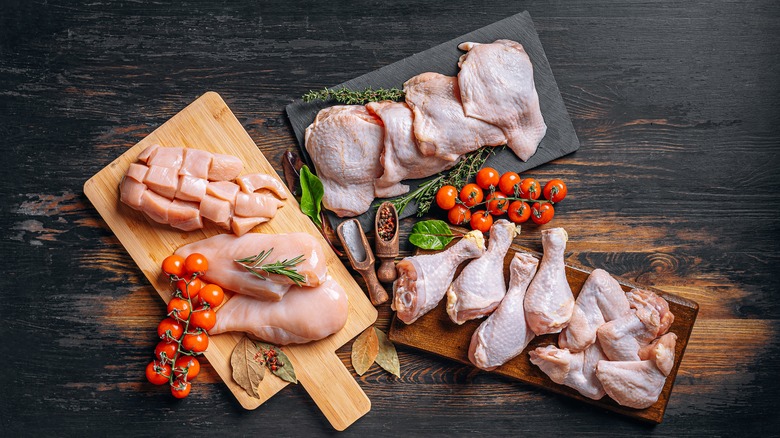
To start your grilled chicken off right, you'll want to carefully select high-quality ingredients. Avoid brine-injected chicken because not only can it be full of unhealthy additives, but the added ingredients may be used to disguise deficiencies in the chicken's flavor and quality. You should also opt for meat that's sold fresh; avoid portions that have previously been frozen because freezing can impact the texture of the meat. Lastly, consider buying free-range or pasture-raised birds because it's the chicken's diet that imparts flavor to the meat. Chickens that are able to forage for a variety of foods result in a better-tasting product.
For the best results, choose cuts with the bones in and keep the skin on. Bone-in cuts will cook more evenly while the skin offers a layer of fat and gets nice and crispy when it's grilled. You can use bone-in breasts, drumsticks, thighs, or wings depending on your preference.
Boneless, skinless chicken breasts are a healthier option but they require extra care to prevent them from drying out. The varied thickness of boneless breasts presents a challenge: some parts may cook quickly and dry out, while other parts remain raw. One technique to help boneless breasts cook more evenly is to pound them flat prior to grilling. This will ensure an even cook.
Spatchcock for a even cook
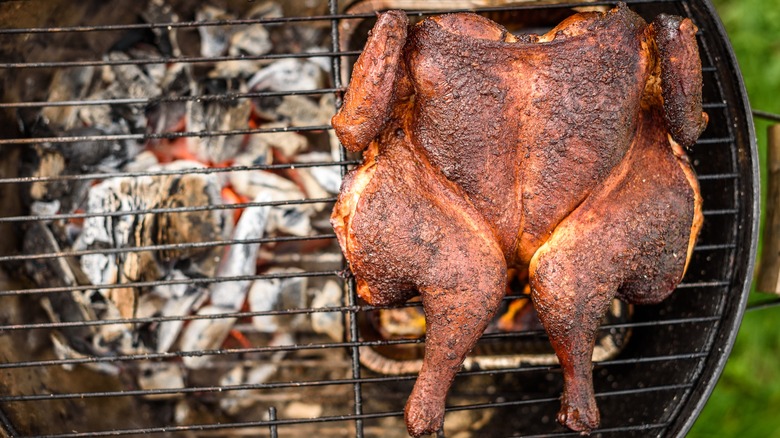
If you can't decide which piece of chicken is your favorite, you can always grill the entire bird! Spatchcocking is a quick and easy way to cook an entire chicken with very little wasted meat or wasted time. The method, which involves removing the spine and flattening the chicken out, ensures the meat cooks faster and more evenly.
To prepare a spatchcocked grilled chicken, use kitchen shears to cut along both sides of the backbone through the rib. This will separate the spine so it can be removed. Next, flip the chicken over and press down to flatten the chicken out. Remove the spine and discard it or save it for making soup stock. Once your chicken has been spatchcocked, brush it with oil all over and season it on both sides. Keep it all in one piece, and place the whole flattened chicken on the grill. Grill it for about 20 minutes on each side.
Use a marinade
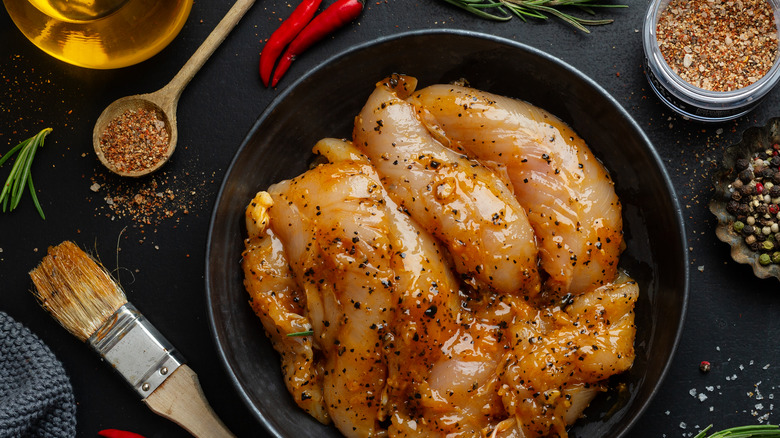
Marinating your chicken infuses flavor prior to cooking, helps tenderize the meat, and prevents moisture loss. A basic marinade has three components: an acid (often vinegar or lemon juice), an oil, and flavorings (usually herbs and spices). The combination transforms the taste and texture of your meat. The acid breaks down the meat's proteins so it can absorb the oil and flavoring, while the oil gets absorbed and helps prevent moisture loss during cooking and the herbs and spices provide a boost of flavor.
Poke a few holes in your chicken to let the marinade penetrate into the meat. Then place your acid, oil, and flavorings in a sealable bag or container with your punctured chicken and let it sit in the fridge for at least four hours to absorb the flavors. To avoid bacterial growth, never marinate at room temperature and avoid reusing marinade that's touched raw meat. If you want to use a portion of the marinade as a sauce, set it aside before you place the raw meat in the container for marinating. Get creative with the acid-oil-seasoning combo and use what you have on hand to create mouth-watering homemade marinades.
Pat your chicken dry
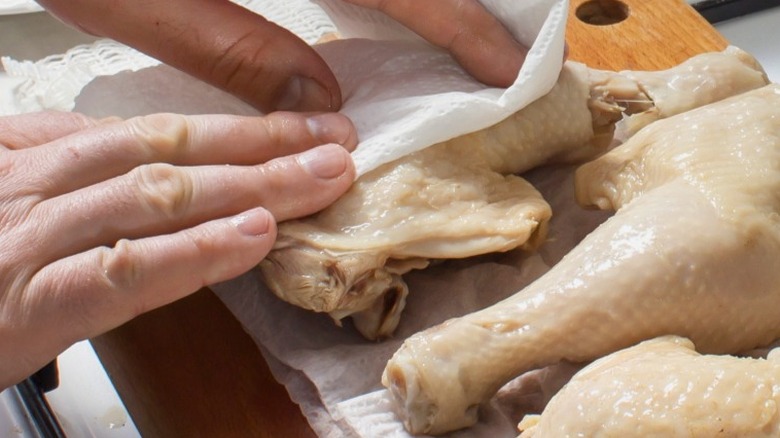
One step that's often overlooked when grilling chicken is drying your chicken before it's cooked. When there's water or marinade left on the surface of the chicken as it comes into contact with the heat source, it will create steam. That steam will prevent the chicken skin from getting crispy on the outside as it grills.
You can avoid this by patting your chicken dry before you begin cooking it. You should do this step after removing it from the package, or after taking it out of the marinade (if you used one). If you are planning to remove the skin from your chicken, pat the chicken dry after you've taken off the skin. A dry exterior means you won't get that undesirable steam from water evaporation, so the skin is now able to get crispy and golden brown. Keep in mind that it is a bad idea to wash your chicken before cooking — you're drying off the juices that naturally occur in the meat, not water from rinsing the meat.
Salt your chicken at least a day in advance
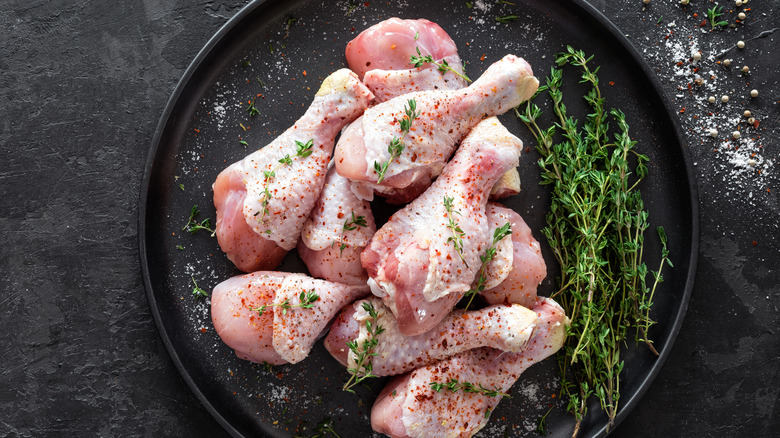
Consider salting your chicken at least a day (if not more) in advance of grilling. This gives the crystals time to absorb into the meat, rather than sitting on the surface. This technique, known as dry brining, produces similar flavor and texture enhancements that a marinade or wet brine achieves, but with less mess. It's particularly effective for large cuts or whole chickens that may be hard to submerge in a wet brine or marinade.
Dry brining also creates exceptional grilled chicken because the salt causes moisture to evaporate off the skin, which means it can get nice and crispy on the grill. Dry brining can be done with only salt, or you can include spices and seasonings with the salt to create a dry rub. Use about 2 teaspoons of salt or rub per pound of chicken, and rub it all over the meat on both sides. Then, just like with a marinade, refrigerate the chicken while you wait for the flavors to soak into the meat.
Brush your chicken with oil
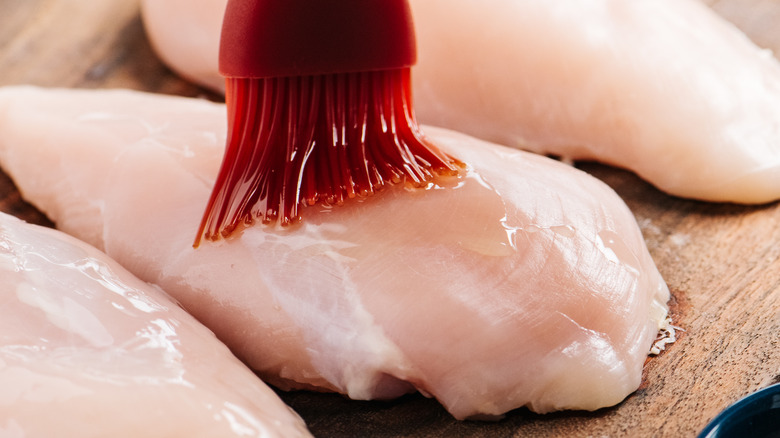
Just before you place your chicken on the grill, brush it with cooking oil. A light coating helps create the perfect crisp browned skin, and even if you opted for skinless cuts, it will help get that exterior just right. It is also practical because the oil prevents your meat from sticking to the grill. Think of your grill surface as similar to a pan or baking sheet — you want to prevent the food from sticking by creating a barrier between the metal and the meat.
The oil will keep the proteins in the chicken from creating a chemical bond with the metal. This allows you to easily and cleanly lift the meat off when it's finished cooking. It's so disappointing to grill a beautiful piece of chicken, only to have chunks of it left behind because they stuck to your grill grate. Brushing your meat with oil helps prevent such troubles.
Keep the temperate of the grill in check
A common mistake when grilling chicken is to use the hottest heat and cook the meat over roaring flames. It's tempting to crank the heat up and cook the chicken quickly, but your patience will be rewarded if you take your time and don't rush this part.
On the flip side, you don't want to start with a cold grill. Preheat the grill before you begin so it has time to get hot enough to cook the chicken. Then, when it's time to cook your chicken, reduce the heat a bit. Depending on the type of grill and the fuel you're using either turn the flames down, wait for the charcoal or wood flames to die down, or set your grill temperature to medium-high. Your grill should be around 425 to 450 degrees Fahrenheit for chicken breasts. Grilling at a temperature that is too high causes the outside of the chicken to cook too quickly or even burn, while the inside remains undercooked or raw.
For even more control over the temperature, consider using the indirect grilling method which involves placing your meat just to the side of the heat source rather than directly over the flames. There's still enough heat from the nearby flames to cook the chicken at the slower, even level needed for a thoroughly cooked interior. The indirect method also reduces the risk of burning your meat because it avoids flare-ups caused by fat dripping into the fire.
If your grill has a lid, use it strategically
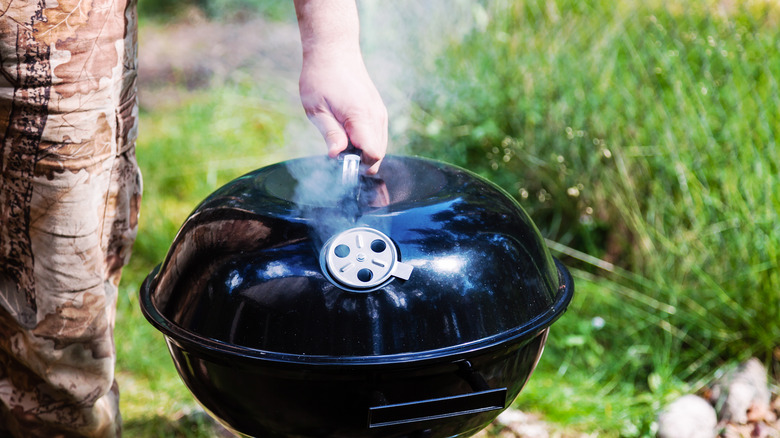
Covered and uncovered grilling each has its advantages. Covering the grill allows for convection heating to surround the meat, similar to the way an oven cooks food. But high, open heat is what gives the outside of your meat a nice char and produces those perfectly seared grill marks that look incredibly appetizing. So does covered or uncovered grilling create the best results?
You can get the best of both worlds by covering and uncovering the grill strategically. Leave the lid off when you initially place your meat on the grill to get the char you want on the outside. Next, lower the heat or move to indirect heating and cover your grill with the lid while the chicken finishes cooking through. This way, you don't have to sacrifice the benefits of slow, even cooking and you still get picture-perfect grill marks on your chicken.
Flip the Chicken Only Once
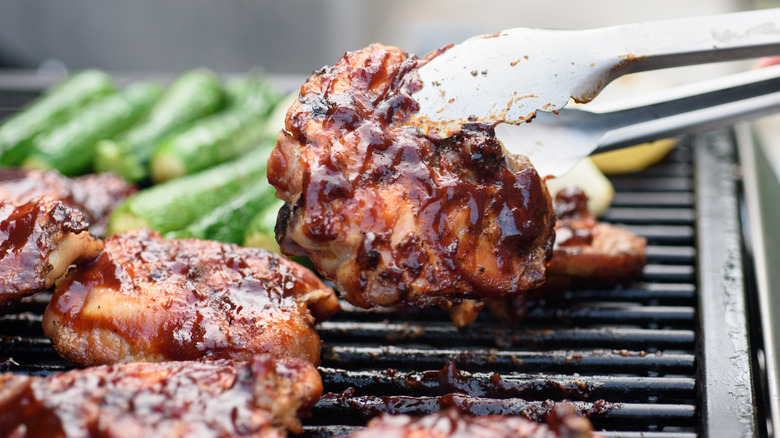
Sometimes, less effort is the key to success. Resist the temptation to flip your chicken over and over as it cooks. Instead, flip it just once about halfway through grilling. For one thing, minimal flipping keeps your sear marks looking neat and beautiful. More importantly, flipping less often creates a slow even cooking temperature. Every time you remove the cover from the grill, heat escapes. This cools things down temporarily. By minimizing the number of times you need to open the lid, you'll get more consistent heat and better results.
Even if you're not using a covered grill, you should still flip the chicken only once. Changing the side that's in contact with the heat source disrupts the cooking process and also leads to inconsistent cooking temperatures.
One final reason to limit flipping is that it can be hard to keep track of how long the chicken has been cooking on each side when you keep turning the meat over. If you flip it just once halfway through you'll know each side got an equal amount of cook time and you can be confident both sides are evenly cooked.
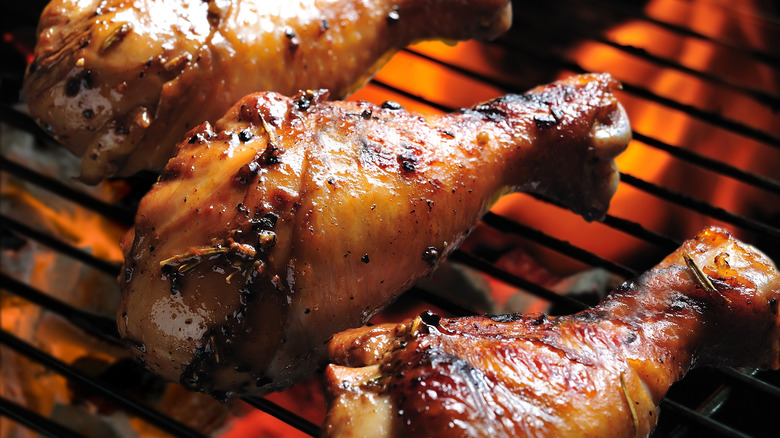
Baste with sauce at the end
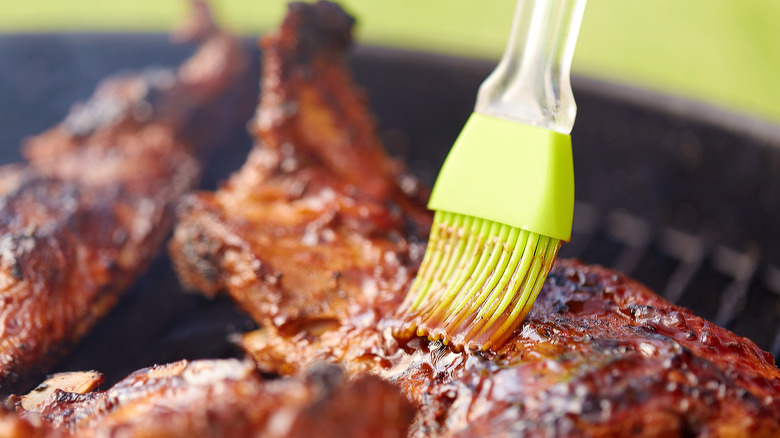
A sauce or glaze can add a sweet or spicy coating to grilled chicken, but it's important to hold off on slathering until the final 10 to 15 minutes of cooking. If you add sauce too early, the flames can cause sugary sauces like barbecue or honey glaze to burn.
Rather than pouring your sauce or glaze, use a basting tool or brush to paint it onto the meat. Pouring the sauce directly over the chicken can be messy, as well as unpredictable — some areas of your chicken may get too much sauce while other parts are left bare. A brush or similar tool lets you control exactly how much sauce goes on your grilled chicken. Brushing on several thin coats is best because a smaller volume of sauce stays put, rather than dripping off onto the grill where it does nothing for the flavor of your chicken.
Make sure your chicken is fully cooked
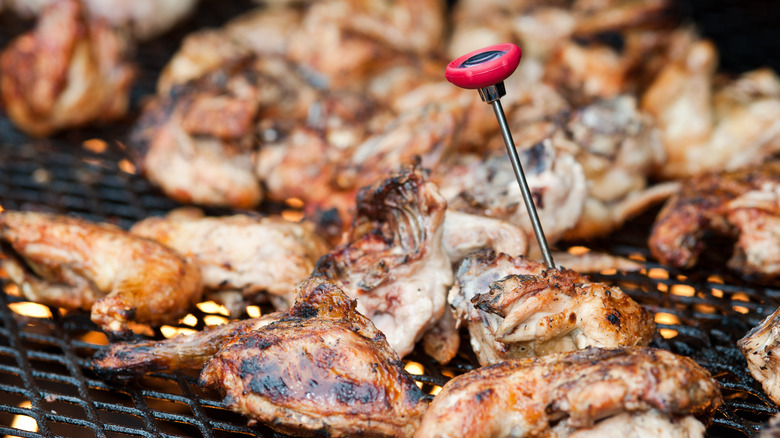
When making grilled chicken, the last thing you want is undercooked meat. A pink center will have a less appealing texture than properly cooked meat, but more importantly, eating raw chicken can be dangerous to your health. To avoid food-borne illness, the USDA advises using a food thermometer inserted into the thickest part of the muscle, away from the bone, to make sure the internal temperature has reached 165 degrees Fahrenheit.
Once the chicken is safe to remove from the grill, it's still not quite finished yet. Let the chicken rest for three to four minutes before slicing or serving to prevent the juices from running out. Resting grilled meat helps it retain the moisture and flavor you've worked so hard to achieve. When the meat is fresh off the grill, its juices are hot and therefore still very liquid. If you cut into it right away, those juices are going to run out onto your plate. But as the meat cools, that liquid solidifies slightly and the structure of the muscle fibers relaxes. Resting your meat takes only a short time (about half the length of the cooking time) but if you're concerned about the meat getting cold while it's off the grill, you can tent it with foil to keep in the heat.
Let the meal guide your flavors
As you select your cuts, marinade, and sauce, keep in mind how you will use your chicken once it's grilled. For example, if you plan to shred it and stuffed it into a pita, let Mediterranean flavors influence your preparations. If you want to use your grilled chicken as a salad topping, choose a large cut that will be easy to slice later, keep your meat flavors simple, and skip adding sauce so that it doesn't compete with the salad dressing.
If you plan to serve it as a main course with a few sides, go all in with big bold flavors to make it the star of the show. For a Southwestern spin, consider a bourbon-chile barbecue grilled chicken recipe, or if you're a citrus fan, a yuzu marinated grilled chicken recipe is sure to satisfy. Keeping your final dish in mind as you select, prepare, and grill your chicken results in a meal that effortlessly comes together with a delectable combination of flavors, textures, and presentation.