14 Tips You Need When Making Broth
We may receive a commission on purchases made from links.
Broth is having a moment. Although it is just becoming trendy in the U.S., broth has been used for thousands of years in Ayurvedic medicine as a healing remedy, according to Svastha Ayurveda. Made from boiling meat, bones, and connective tissue in water, it provides important amino acids and nutrients that can help with nutrition, weight management, and a healthy sleep cycle (via WebMD). In fact, bone broth may actually improve your skin!
While many people still use ready-made broth in the form of bouillon cubes and powders for making soups and flavoring dishes, these are just seasonings. Since they're not made with actual bones, they lack the health benefits that come with making your own bone broth. On top of all of the health benefits that you stand to gain by making and eating broth, it has a delicious, rich, umami taste that can stand alone as a healthy snack or be used to add a deep, complex flavor to a variety of dishes.
While it may seem intimidating at first to make broth in your very own kitchen, it's not as complicated as it may appear. The list of tips below will have you making your own broth in no time!
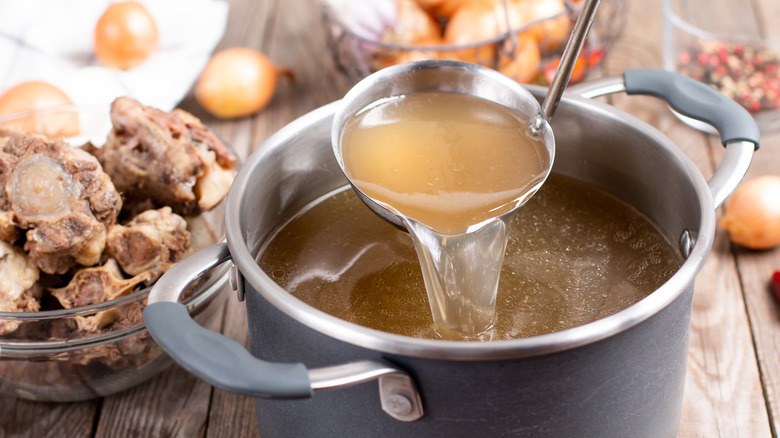
Start with cold water
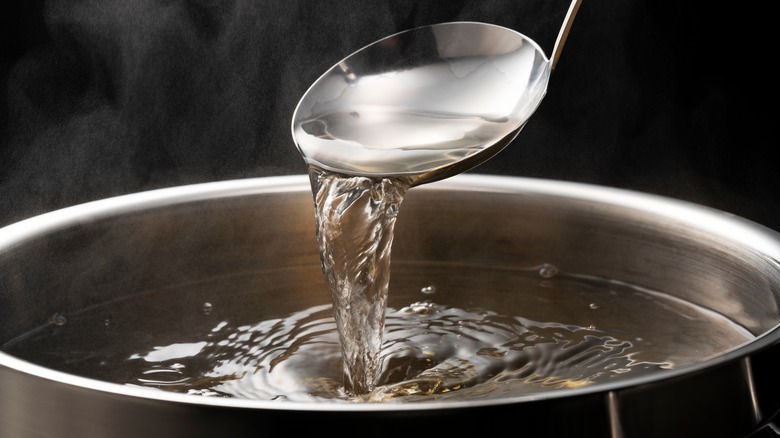
Don't try to make your broth more quickly by starting with warm water. If you cover the bones with cold water and gradually bring it up to a boil, you'll end up with a more flavorful product. And you'll thank yourself later down the line because it will be easier to skim the fat and proteins off of the top of the broth at the end of the process. And it turns out there's a scientific reason why.
According to Robert Wolke, a chemist and former food columnist for The Washington Post, the proteins in the bones that eventually seep out into the water become denatured during the cooking process, meaning the individual molecules unfold and then re-fold into coagulated structures. When you start with cold water and heat the broth slowly, this denaturation process slows down so that the proteins "have time to coagulate into relatively large, insoluble clumps." When your broth is almost ready, you can skim them off, leaving you with a clean, clear liquid instead of a cloudy mess.
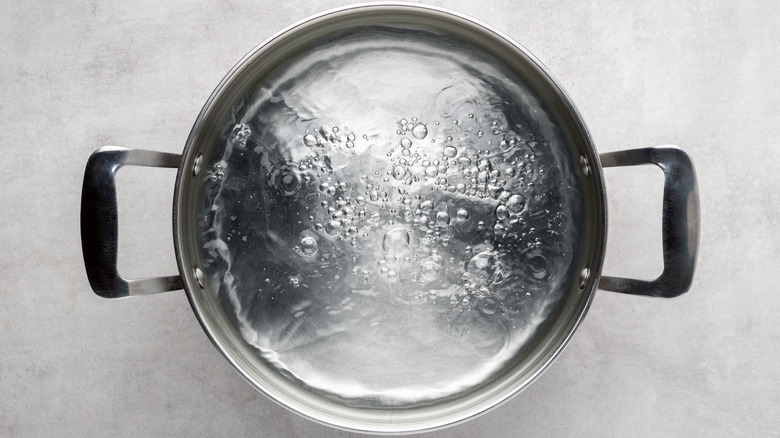
Blanch and roast the bones

It seems like there is no shortage of tips and tricks on how to make rich and healthy bone broth. While the ingredients that you should use, according to different chefs, may vary, the star of the show is always the bones themselves. The best way to maximize the flavor that comes from the bones is to roast them before starting your broth. And before roasting them, you should blanch the bones in boiling water for about 20 minutes to remove the undesirable impurities that might leave you with a cloudy broth, which is not what you want.
According to Katherine and Ryan Harvey, who wrote "The Bare Bones Broth Cookbook," which offers a wealth of information on how to make the best broth, roasting the bones caramelizes them and gives the broth a rich, smokey, umami flavor. You can do this by placing the bones on a sheet pan and putting them in the oven at 425 F for 30 minutes. And while you want the bones to be slightly browner when they come out of the oven, be sure not to burn them by leaving them in too long.
Add apple cider vinegar
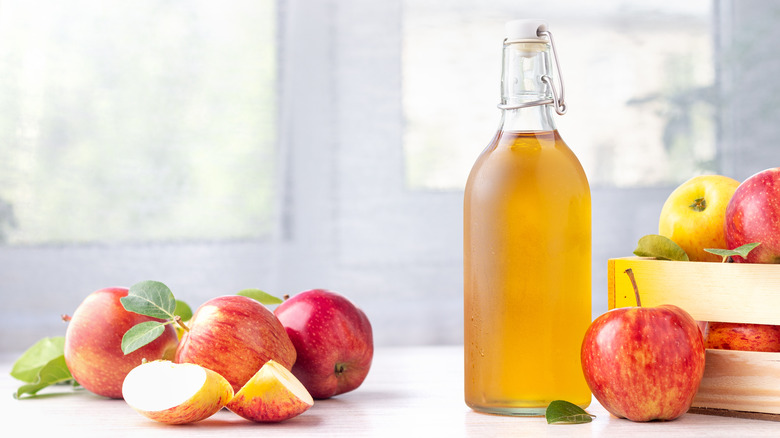
Apple cider vinegar has been in the spotlight lately for its supposed health benefits. The apple cider vinegar myth that won't go away is that the liquid supposedly aids in weight loss, but this claim has never been proven in any scientific capacity. According to West Virginia University, apple cider vinegar has been around for thousands of years. Hippocrates, the father of modern medicine, prescribed it to his patients to treat coughs and colds.
Although the vinegar itself may or may not be a holistic health miracle, there is a reason that proves why you should be adding apple cider vinegar to your bone broth, and it is backed by science. Vinegar is an acidic liquid, and adding it to your broth before you reduce it to a simmer will help draw the collagen out of the bones, which is ultimately what you want when making broth, according to MasterClass. Once the collagen is extracted from the bones, it begins to break down into the amino acids, nutrients, and antioxidants that not only flavor your broth but make it beneficial to your health.
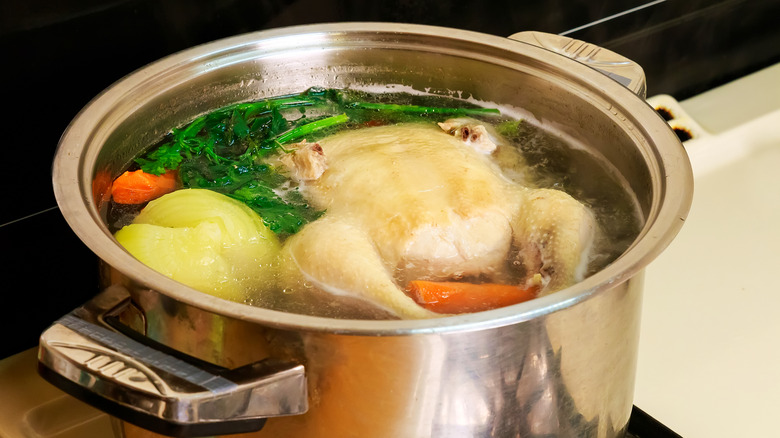
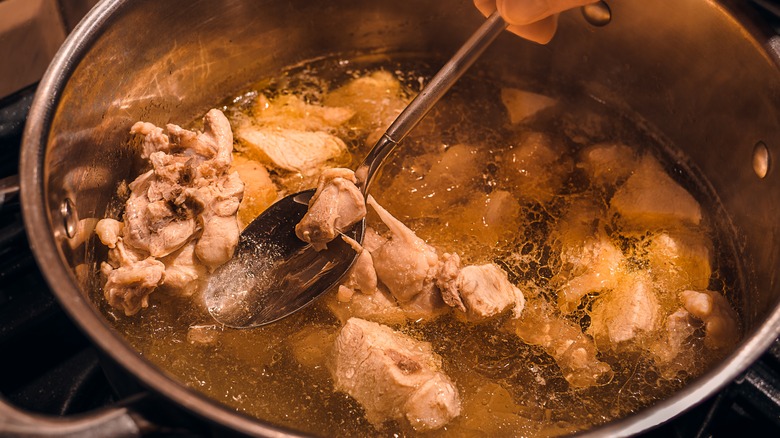
Soak the chicken before making chicken broth
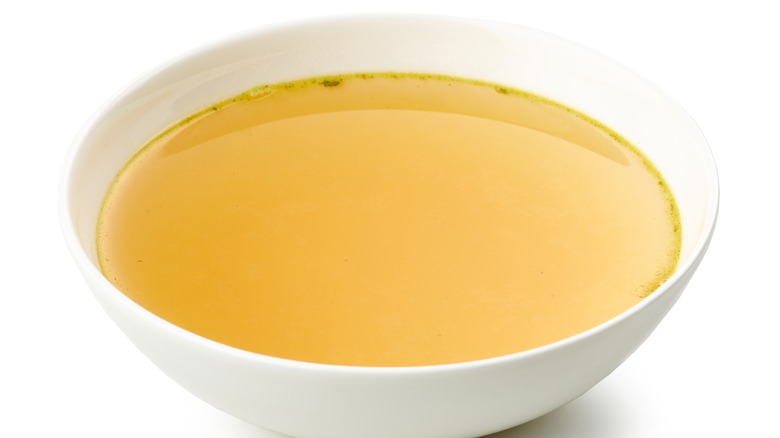
As we've mentioned, when you're making broth, you want to keep the liquid clear. Ideally, when you pour yourself a bowl of broth, you should be able to see the bottom of the dish through the liquid. A clear, flavorful broth is achieved by preparing the ingredients properly beforehand. And if you're using chicken meat, there is a trick for keeping chicken broth clear.
Before preparing your broth, you should soak your meat in cold water for at least an hour. During the process, you should change the water once or twice as needed and then rinse the meat to remove the blood and other impurities. Then, add your meat to a stock pot and cover it with cold water; bring it to a boil for a minute, and rinse it again. If you're tight on time, a quicker alternative is to boil the chicken until the skin can be removed easily. Then, scrub any part of the chicken with exposed bones and discard the water. Don't forget; the devil is in the details!
Keep the heat low
You can't rush perfection, which is good to remember when making bone broth because the best broth is made when your stove is at low heat and the liquid simmers for a long time. Bone broth contains gelatin, and the ideal broth should have just a little jiggle in it because it's extracted from the bones during the cooking process. This gelatinous texture not only gives the broth a rich mouth feel and flavor profile, but the body breaks it down into collagen, which is good for your joints.
If you keep the heat too high on your broth, it can denature the gelatin to the point that it breaks down, and the liquid fails to gel. So just after your mixture reaches a rolling boil, turn the heat down low and keep it there. Let the broth simmer for at least two hours, and you'll be good to go.
Simmer for the right amount of time
As you've probably gleaned already, patience is perhaps the most important ingredient to making delicious bone broth. You certainly don't want to simmer your broth for too short a time because the nutrients and proteins in the bones that flavor the broth won't break down enough to seep into the liquid, resulting in a flat flavor that lacks the slightly gelatinous texture that is the mark of a good broth.
On the other hand, you can have a bit too much patience and simmer your broth for too long. If you let the liquid simmer for more than 24-48 hours (depending on the type of bones you're using), the bones can become overcooked, resulting in a bitter, unpleasant flavor. You also risk denaturing the proteins in the bones and limiting the nutritional value of the end product. A good rule of thumb is to simmer your broth on low heat, uncovered until it reduces by 1/3 or 1/2.
Add a pig's foot
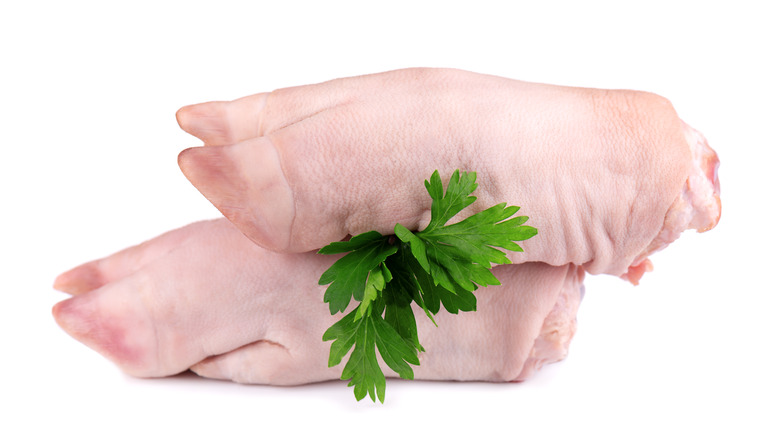
Whether you're using lamb, chicken, or beef bones to make your perfect broth, there is one ingredient that can elevate its flavor profile, and it might surprise you. There are many options that you can use as additions to up your broth's game, but for the best broth, add a pig's foot. Though this might sound strange at first, if you think about it, it makes perfect sense. Pig's feet have tons of tiny bones, all connected by cartilage in the joints, not to mention tendons. All of this connective tissue has plenty of protein that will give your broth a rich, complex mouth feel and flavor profile.
Also known as "trotters," pig's feet can be easily stored by covering them in plastic wrap and putting them in the freezer. And when you're making your broth, you simply put the trotter in the liquid and let it simmer with the other ingredients. The process requires minimal preparation and is a great way to achieve the perfect texture for your broth.
Use spices
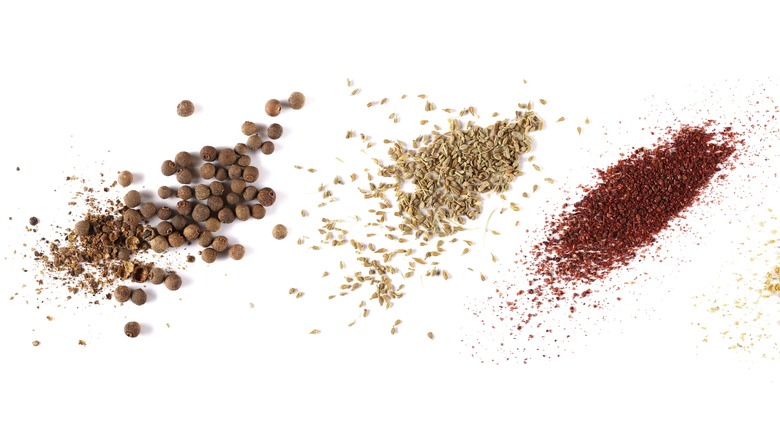
Apart from being tasty, one of the great things about bone broth is that it can boost your immune system. Using an immunity bone broth recipe is a great way to help you get over a cold and give you a warm, fuzzy feeling inside, especially if you've got the winter blues. According to Harvard-trained molecular biologist and broth maven Kanchan Koya, author of the cookbook "Spice Spice Baby," there are certain spices that you should add to your broth to maximize its healing effect.
Turmeric, for instance, has been used for centuries in Chinese and Ayurvedic medicine and, according to Science Direct, has been proven to effectively treat stomach ailments. And black pepper is the perfect partner for turmeric because it helps to activate its anti-inflammatory properties. Other spices that Koya recommends adding are star anise, lemongrass, ginger, and bay leaf, all of which not only give your broth important healing properties but make it even more delicious.
Save your scraps
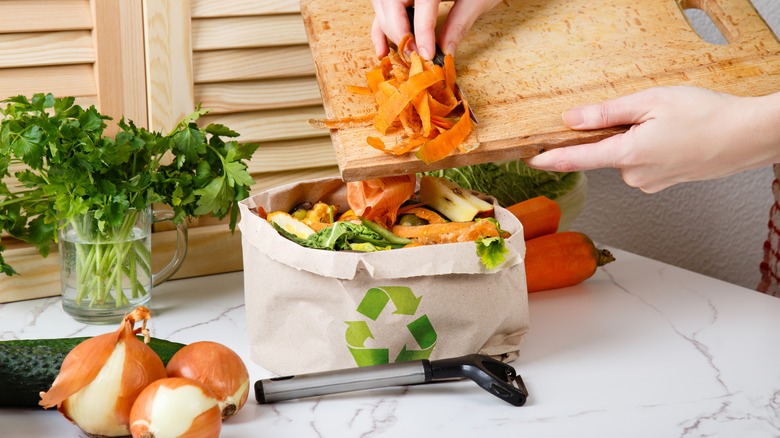
Waste not, want not! According to ReFED, 35% of all food in America is wasted, which is one of the reasons you should stop throwing out your vegetable tops when you're cooking. Not only is it better for the planet, but it also saves you time and money and (most importantly) can help you make a delicious broth.
To avoid being a contributor to this statistic, you should save your vegetable scraps in the kitchen. If you're going to wait longer than a week or so before you make your broth, you can put them in a bag and store them in the freezer. But not all vegetables are created equal, at least when it comes to flavoring your broth. While root vegetables, stalks, leaves, and peelings can lend a great, subtle flavor to your broth, you might want to avoid using cabbage, brussels sprouts, turnips, and other vegetables that could potentially overpower the taste of your broth.
Add veggies at the end
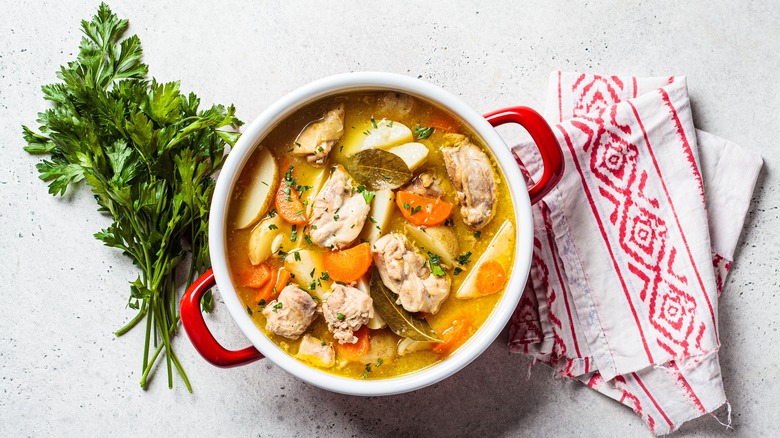
Adding vegetables to your broth is a common way to achieve a more complex flavor profile. Onions and celery are perhaps the most common additions to broth, although carrots, leeks, mushrooms, and fennel also make great additions. While the types of vegetables may vary in your bone broth, and we encourage you to get creative, you should always follow this rule: Put your veggies in at the end of the cooking process.
Vegetables cook much more quickly than bones, so the order makes sense. If you cook your vegetables too long, they become soggy, mushy, and tinny, detracting from the hard work and time that you put into your broth. A great tip is to add your vegetables to the broth at the end of the cooking process (30 minutes or so before the broth is done). Your vegetables will maintain their crisp flavor and lend your broth the perfect taste to counterbalance the salty, umami liquid.
Use a pressure cooker if you're tight on time
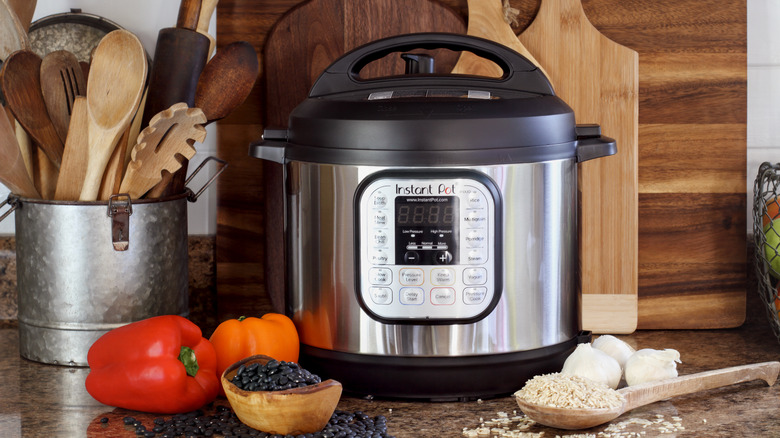
Although we've spent the better part of this article singing the praises of patience, you don't always have hours and hours to spend making the perfect broth. The good news is that when you're short on time, you can use this instant pot chicken stock recipe to have your broth ready in less than an hour. Not only does this method save tons of time, but you'll still end up with a delightfully delicious product.
When it comes to how to use an instant pot, there are certainly a lot of options. In this context, the instant pot functions as a pressure cooker. You place a whole chicken, along with vegetables and spices, in the bowl, seal it, and cook it on high pressure for about 25 minutes. Another added bonus to this method is that after you take the chicken out, you can shred the meat and serve it in the broth.
Keep it simple
What ingredients belong in bone broth is a subject of debate among chefs. While some chefs, like molecular biologist and cook Kanchan Koya, in her book Spice Spice Baby, advocate adding vegetables like carrots as well as spices and aromatics to your broth, many other culinary experts say that you shouldn't add extra ingredients when cooking bone broth. Other than bones, the only other ingredients that really matter in a broth are salt, water, and plenty of time.
Andy Baraghani, a former senior editor at Bon Appétit, says you should be judicious about which herbs, spices, and vegetables you add to your broth. He is particularly opposed to the addition of carrots, which have a relatively high sugar content and add a slightly sweet flavor to the broth, which he thinks detracts from the flavor. The most important aspect of flavoring your broth is salt. Be sure to taste your broth as it's cooking so as not to overseason it, and remember that by focusing on the basics, you'll ultimately end up with the tastiest product.
Skim the fat
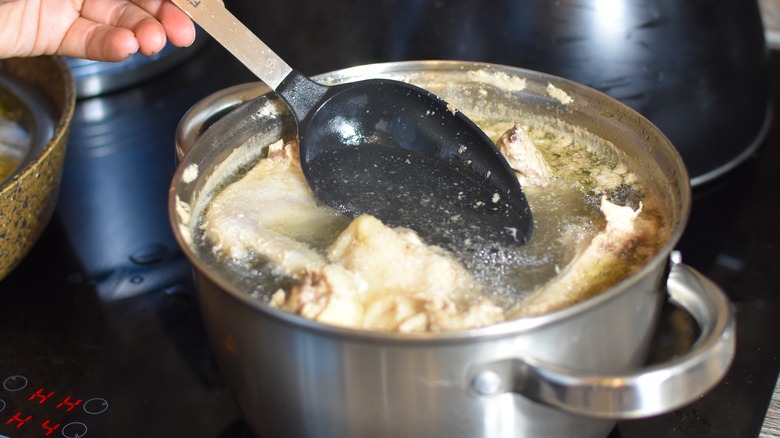
After your broth has finished simmering, the wait still isn't over. Before your broth is ready to serve, you'll want to remove the excess fat. If you don't, the broth can be oily and create an unpleasant sensation in your mouth when you're eating it, and skimming the fat will also shave off a few extra calories.
The first thing you'll want to do after your broth has cooled to room temperature is to cover it and put it in the refrigerator for 6-8 hours. During the cooling process, the fat will rise to the top of the broth, and you can simply skim it off with a large spoon. If you need to use your broth right away, there is a workaround — dropping a tray of ice cubes in the broth. The fat will congeal on the surface of the ice cubes, and you can lift them out with a slotted spoon, but you want to be sure to work quickly so that the ice cubes don't melt and you end up with too much excess water in your broth.
Freeze your broth to eat later
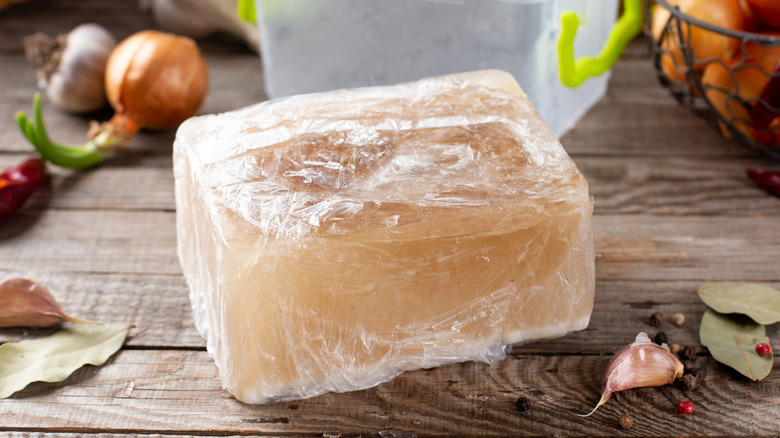
Broth is the gift that keeps on giving. After you've made your broth, you can easily put it in the freezer and heat it up whenever you're ready to enjoy a nice, hot serving. The best way to freeze soup in single servings is to use a muffin tin. Use a jumbo muffin tin (the kind that has only six spaces for muffins instead of twelve) and pour your broth into each of the spaces, leaving a little space for the liquid to expand as it freezes (one of Ina Garten's tips for freezing leftovers fast).
The broth should be fully frozen within two to 24 hours, at which point you can pop the single servings into a silicone bag and store them in the freezer for up to three months, according to Southern Living. Use a permanent marker to label the bag so that you know how long it has been in the freezer, and when you're ready to enjoy it, simply put the frozen block of broth into a saucepan and heat it up until it's ready to eat.