13 Hacks For Grilled Cheese You'll Wish You Knew Sooner
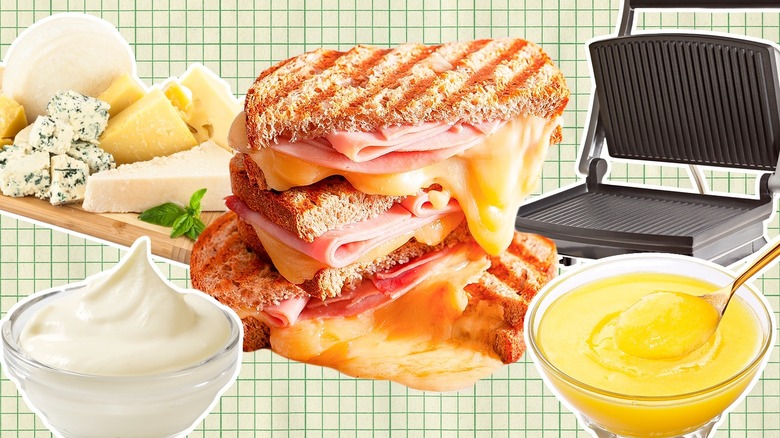
Let's get this right out of the way: The humble grilled cheese sandwich is perfect exactly how it is. Any time of day, any time of year, in any place in the world. There's something magically perfect about the simplicity of American cheese oozing between two golden, buttery pieces of what is essentially fried toast that doesn't actually need hacking or updating. This is a legitimate culinary place to come from.
But if you want to add a little zip to your already-perfect grilled cheese, there are ways to take it to the next level. These tips, tricks, and ingredients are gilding the lily, to be sure, but they also make each grilled cheese sandwich more of an occasion. They don't require extensive training or a fat wallet, but you can reap big rewards with just a few tweaks.
Think of it this way: The grilled cheese is the perfect blank canvas upon which to experiment. There aren't many ingredients getting in the way, so it's easy to build flavor and try out new tools and cooking methods. No matter where you start, you will end up with something amazing.
Make it waffle
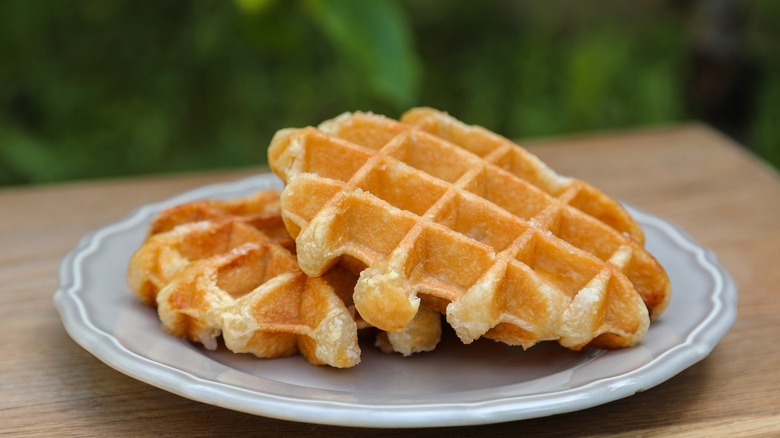
Who doesn't love a waffle? Those crispy ridges, those deep pockets to catch extra syrup — another perfect dish that needs no frills to be incredible. So imagine what happens when you waffle your grilled cheese. The joys of grilled cheese in a waffle iron — more crispy, buttery edges and bits of hot cheese that ooze out get crunchy-chewy with the heat of the waffle iron.
The technique is simple. Preheat your waffle iron. Get your cheese ready. This may mean unwrapping a few slices of American cheese (classic approach), or you might need to cut slices or shred another cheese. If you do slice your cheese, aim for an even thickness. Butter one slice of bread and place it on the waffle iron. Add cheese, then place another slice of bread on top, buttering the side that faces out.
Close the waffle iron, but don't smash the lid down. The weight of the waffle iron will do the job as the cheese melts, but if you want to be more involved, press gently down. Give your waffled cheese a few minutes, then check for doneness.
Use a panini press
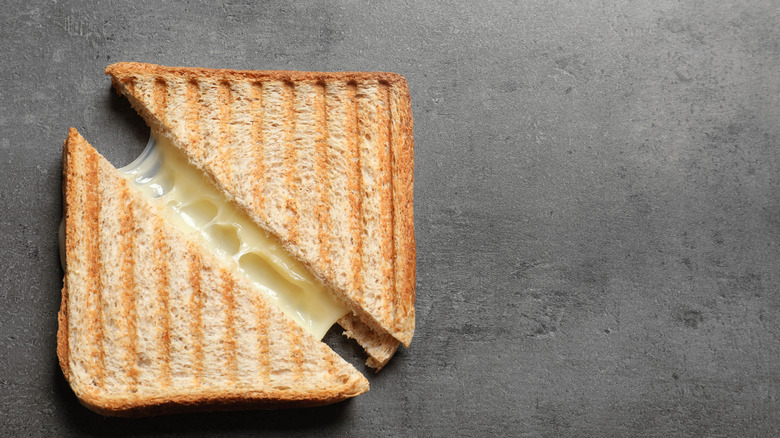
For perfect grill marks inside your house, nothing beats a panini press. The proper cooking technique of a traditional grilled cheese requires an even, firm press with the spatula to ensure a golden brown finish and perfectly melted cheese. But you can go one further and pull out the panini press to make it even better. A panini press has two heated plates instead of just one (like your frying pan), and pressing them together makes your sandwich cook faster and more evenly. There's no flipping and no sad spots of unmelted cheese.
Even better, panini presses come with a raised surface. This means that the ridges get charred slightly under the weight of the press. The result? Smoky bits of flavor that cut through the richness of the cheese to add another layer of flavor. This technique is great for grilled cheese sandwiches with additional luxury ingredients or especially rich cheeses.
Preheat your press before you add your sandwich. Because you are using fat on the bread, spraying the press with additional cooking spray is unnecessary. Press gently down and cook until the cheese is melted and your bread is crispy and delicious.
Swap out the butter
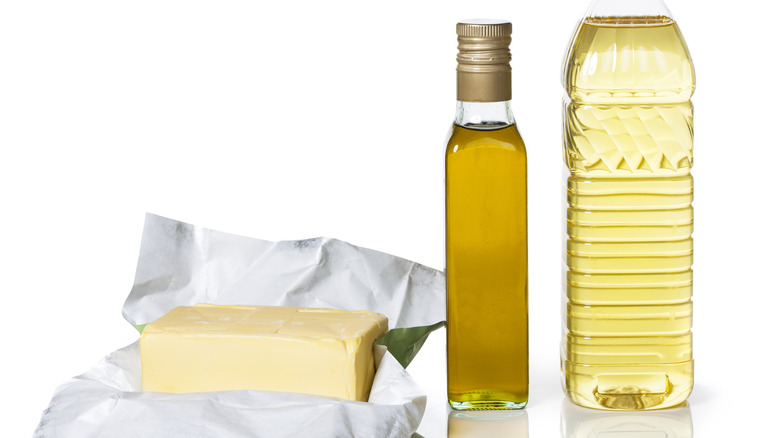
Butter (and even margarine) gives a traditional grilled cheese its characteristic flavor, but mixing up the outside can make a big difference. There is more than one way to grill, and it's another easy experiment with potentially groundbreaking results.
Mayonnaise is the go-to bread spread for Geoffrey Zakarian, celebrated chef, restauranteur, and cookbook author. The high smoke point of mayo (450 F as compared to butter's 350) means there's more grace when it comes to an overheated (or unevenly heated) pan.
Coconut oil is another alternative spread with a high smoke point and the ability to achieve a golden, crunchy outside without burning. Generally, the cheese inside hides any flavor that coconut oil might impart, but if you are concerned, add salt to the outside and get creative with a stronger cheese between the bread.
Finally, if you are one of those cooks who burns water, one more fat makes it nearly impossible to scorch your sandwich: ghee. Ghee is also known as clarified butter. Its butter simmered over low heat until the milk solids separate and sink, leaving only the clear, pure essence of fat on the top. In addition to imparting a mild, nutty taste, basting your bread in ghee gives you a beautiful golden-brown color that is less likely to burn.
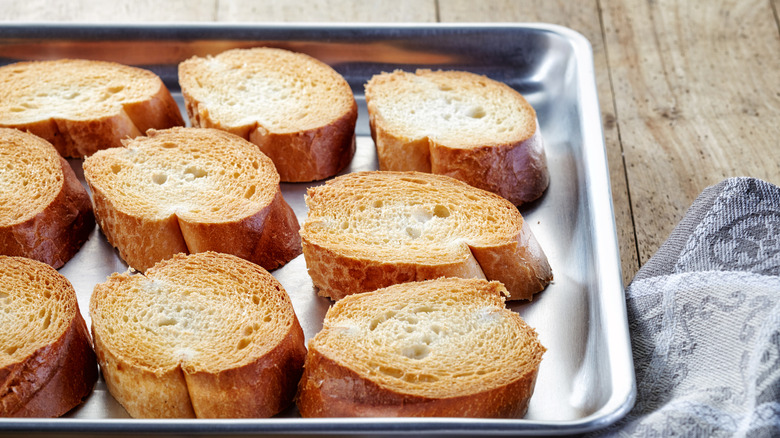
Toast your bread first

This may sound counterintuitive since you'll be essentially frying bread in copious amounts of fat until it becomes a heavenly shade of tan, but there's one key technique that many home cooks skip. You don't have to change anything about the sandwich itself, and you don't need to buy another specialized kitchen tool. The secret to a perfect grilled cheese?
Toasting both sides of the bread. Yes, popping bread in the toaster before adding fat and cheese and grilling it means more crusty bread all the way around. Toasting bread brings out more of its natural flavor before it joins together with fat and cheese. This makes it a formidable foil to even the most strongly flavored fillings. Plus, there's exactly zero chance of any type of soggy bread situation inside your sandwich, and because the bread is warm when you add the cheese, the entire sandwich grills faster. It's a game-changing technique.
Make it with a one-eyed jack
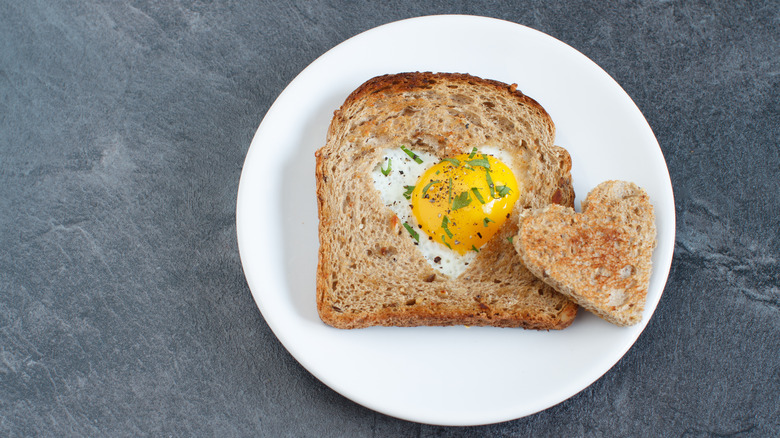
One-eyed jacks, egg-in-a-hole, one-eyed Sam. No matter what you call it, cutting a circle in toasted bread and frying an egg in it means you have toast and a delicious eggy sauce in one dish. To add a different level of luxury to your plain grilled cheese, use one-eyed jacks as the bread. Making these is a delicate operation with multiple steps (and requires a fork and knife to eat), but your efforts will be worth it.
The perfect one-eyed jack has a cut-out of about 1 ½ inches in diameter. This gives you plenty of bread for a good structure but with ample space to catch the egg. Toast your bread, cut out the circle (or any shape you like), then cover the outside with the fat of your choice.
Heat your skillet, and place the bread side by side in the pan. Crack an egg in the center of each cutout and cook for several minutes until the bottom is set. Flip carefully, then add your cheese to one slice of bread. Cover the pan if the cheese is not melting fast enough, and you're worried your egg yolks will set before your cheese melts. Serve immediately, and don't forget the hot sauce.
Use more than one cheese
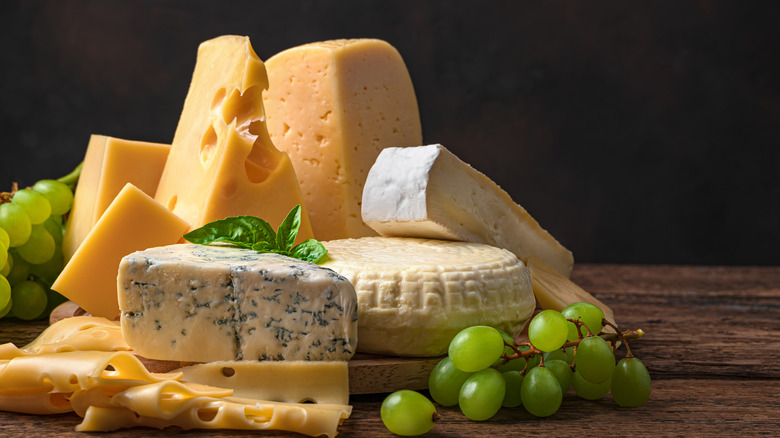
Yes, we understand that American cheese is the optimal cheese for this sandwich. This processed cheese hit the scene in 1911 when Swiss chemists sought a way to make cheese last longer. They used sodium citrate combined with Emmentaler to create a cheese that is still ready to eat today (exaggeration, but close). James Lewis Kraft was working on the same thing in the U.S., using a process that gave us the American cheese we know today: mild, with a low melting point and a creamy consistency.
But there's more to grilled cheese life than American cheese. Not all cheese melts equally well, but mixing it up and adding more than one type of cheese is a good way to get the melt you need and the flavor you want. For a nutty taste, add some asiago, or go bold with a little provolone. Brie goes well with apples or apple butter (get creative with additions), or stick with a cheese that's great for both flavor and melting (like Fontina Val d'Aosta).
There are definitely cheeses to avoid, though. Burrata or other soft, fresh cheeses aren't going to give you what you want. And on the other end of the spectrum, hard cheeses won't melt at all. Choose cheese for both flavor and texture for the best results.
Bake more than one at a time
If you routinely cook for a handful of hungry teenagers or a large family, it's very possible that even with all burners making sandwiches, you won't have enough ready, fast enough, to keep people from getting hangry. The solution? Batch baking grilled cheese in the oven. This simple innovation is very hands-off and can have multiple sandwiches ready simultaneously — perfect for game day (or any day, really).
Use a rimmed baking sheet to catch any runaway melted cheese. Preheat your oven to 400 F, and add fat to one side of the bread, placing it face down on the sheet. Add your cheese: Shredded cheese works well here, but if you use slices, make them uniform. Top with another piece of bread and bake for 10 minutes, flipping halfway through.
While you're at it, make it a party. Set up a variety of cheeses and additional toppings and let family member build their own grilled cheese. This way, everyone gets exactly what they want (see below for more suggestions on fillings).
Iron for crisp results
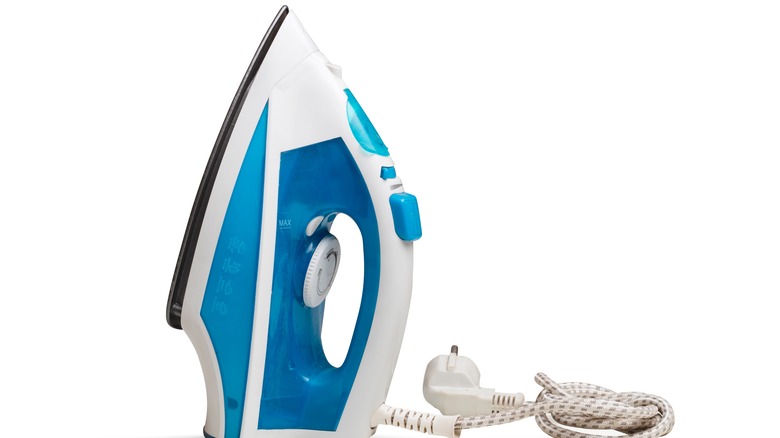
Are you stuck in a hotel room and sick of microwave ramen? Off to college and wanting something you can make in a dorm that doesn't allow a hot plate? Don't despair. A comforting grilled cheese is just one laundry service away. If you have an iron, grilled cheese is possible.
An iron is a great direct heat source, and grilling cheese is quick. Preheat your iron and make sure you have a safe surface to work on. Assemble your cheese sandwich (butter one side of the bread, add cheese, top with another slice of buttered bread) and wrap it in foil. Place the iron on the sandwich, covering as much of the sandwich as possible. Let the iron sit on the sandwich for about 7 minutes, then flip and repeat on the other side. Check for toastiness, and repeat if needed. A word of caution: Do not use the steam function on your iron. Moisture is the enemy of browning, so keep the sandwich dry for best results.
Wrap it in bacon
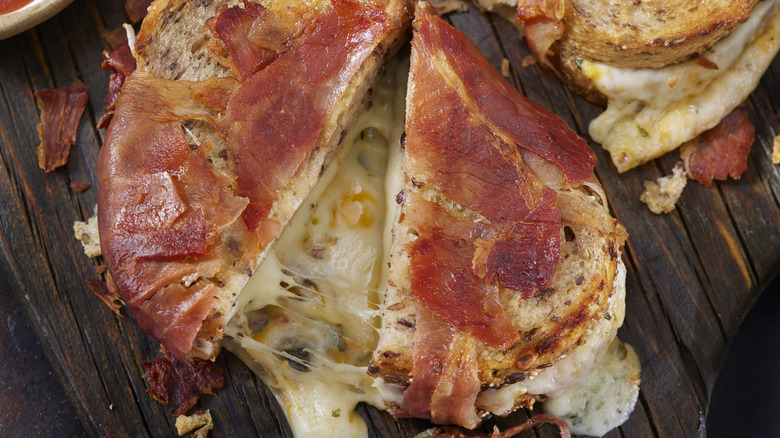
Bacon makes everything better. It's a cliché, but is it wrong? Bacon's smoky, fatty bite adds depth to almost everything it touches, and grilled cheese is no different. In this case, bacon replaces the fat on the bread, and it crisps up as the bread gets golden and the cheese melts.
You can use cured or uncured bacon — cured bacon lasts longer, so if you're using uncured, check the packaging to ensure it's good to go. Preheat whatever cooking vessel you'll be using before you begin, and grab six uncooked strips of bacon per sandwich. These strips completely envelop a smaller sandwich and provide a hearty cross hatch on bigger loaves.
Assemble your cheese sandwich, and set it aside. On a cutting board, lay out three strips of bacon horizontally, then three strips on top of them vertically. Place the sandwich in the middle, then wrap it like a present — bring the strips of bacon up the sides and lay them on the top. Place your sandwich in whatever cooking vessel you'll use (an air fryer is perfect for this). The side where the strips end should be facing down. Cook times depend on the method, but you'll likely need 5 to 7 minutes per side.
Mix up the filling
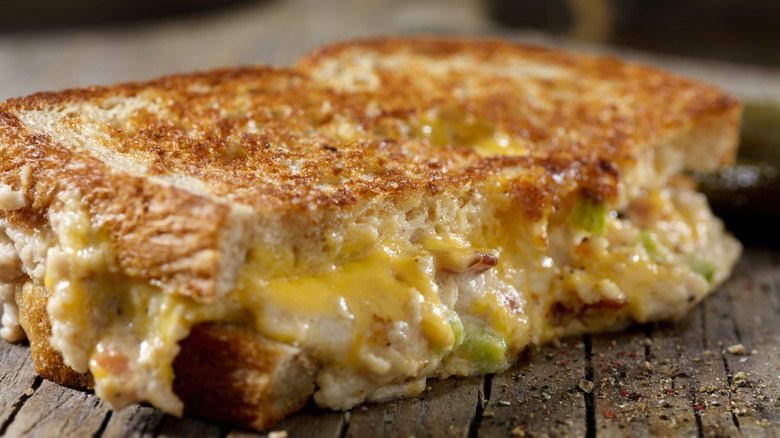
As noted before, the basic grilled cheese is a blank canvas. Think of a charcuterie board: It starts with cheese and bread and then builds from there, with dips and spreads, nuts, fruits, and other cheeses rounding it out. Grilled cheese sandwiches are similar, just waiting to be embellished and built upon.
Instead of simply shaking up the type of cheese you use (a noble gesture, of course), consider elevating your grilled cheese with other flavor combinations. Add a protein like bacon, grilled chicken, or pulled pork. Swipe a sauce on the inside of the bread (pesto, apple butter, and jalapeño jelly are all good choices). Go highbrow with your simple Colby Jack grilled cheese and add red wine caramelized onions. Get low with leftover mac and cheese (or even spaghetti, because why not?). Your imagination is the only limit to the kind of filling you can use. Follow your preferences regarding cheese and food pairings, and you can't go wrong.
Use a different bread
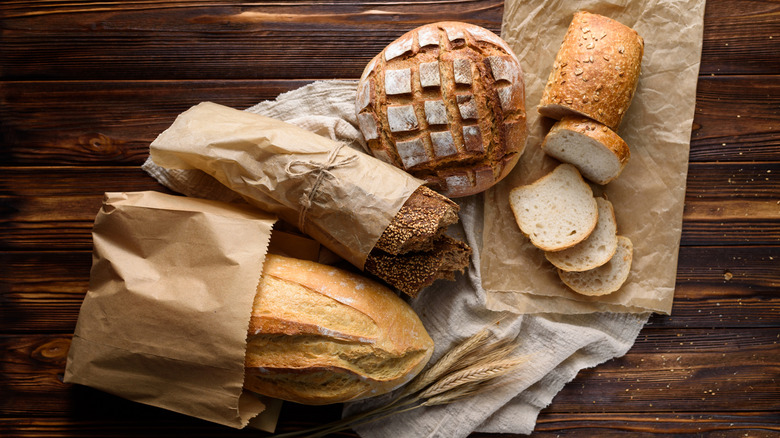
White bread is traditional, but it's not much more than a buttery conveyance for melted cheese. Why not make the outside as interesting as the inside? There is a world of interesting bread choices just waiting to boost your sandwich.
The simplest swap is focaccia. This dimpled, flat Italian bread can be split in half for grilled cheese or used as one sheet on top of the other when baking for a large group. It's usually finished with olive oil, so you may not need to add additional fat to the outside.
Another flatbread that's a great choice is naan. Naan is a swap that makes for a grilled cheese that's mostly crispy with a sidebar of chewy and oozy that feels a little bit like heaven. Be aware that naan is flavored strongly of garlic, so you'll need a hearty cheese to stand up to it.
Finally, suppose you've not yet feasted on an arepa grilled cheese. In that case, you may want to head directly to your favorite purveyor of traditional South American foods and get yourself one post haste, but you can also make them yourself. Arepas are made with just four ingredients: masarepa, water, oil, and salt. They are shaped into cakes and griddled before splitting and filling. You could even use these as the base for a pimento grilled cheese and bring two kinds of Southern flair to your table
Make grilled cheese croutons
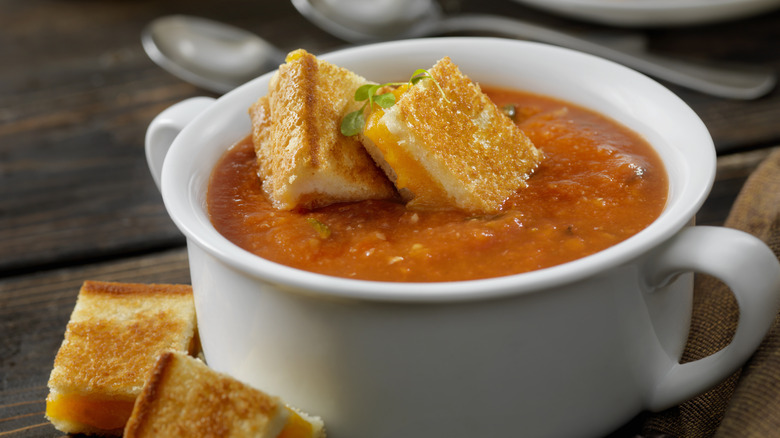
The best friend of grilled cheese is, of course, tomato soup. Side by side, they have lightened up many a gloomy day and filled many a belly. This classic combo doesn't require revising, but sometimes it's fun to shake things up. In this case, consider making grilled cheese croutons to add to your soup.
Make grilled cheese croutons in one of two ways (or, ideally, a combination of both). Make your standard grilled cheese in whatever method and with whatever changes you like, being mindful of the filling and how it will pair with tomato soup. You can cut the finished grilled cheese into smaller bites, pop them on the top of your soup, and be done with it.
Alternatively, once you've cut up your grilled cheese, give each cut side a swipe of fat and briefly return them to the pan to brown. This seals the croutons and makes them even crispier, a bonus when you plunge them into the liquid soup. This is not strictly necessary, but it's a nice touch to keep a variety of textures in your meal.
Pop it in the air fryer
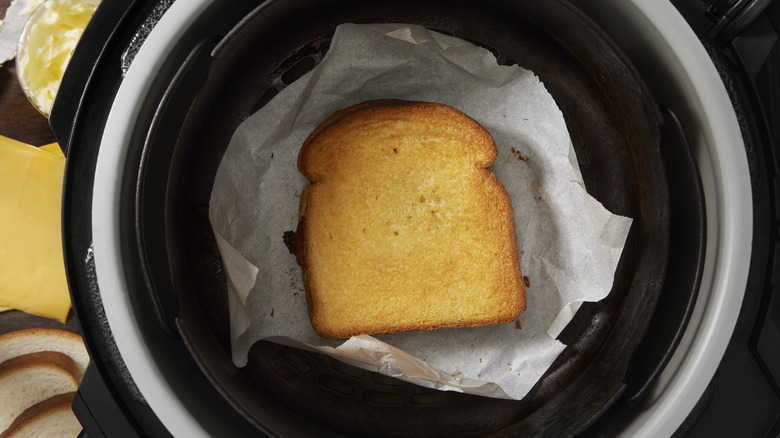
A roundup of hacks and tricks for making your grilled cheese more bougie wouldn't be complete without adding an air fryer. But truthfully? The air fryer is one of the fastest ways to get a grilled cheese sandwich in your belly.
Air fryer grilled cheese needs to be prepared open-faced. This ensures that the cheese melts evenly and the crust gets nice and crisp. Slather your bread with the fat of your choice, then place it fat side down in a preheated air-fryer basket. Add cheese — shredded makes it even faster — and top with another piece of bread. Close the basket and cook for 7 minutes at 375 F before flipping and cooking for another 7 minutes.
Because air fryers are all different in design, your sandwiches may cook faster or slower than the above. If you're worried about burning, use a higher smoke point fat and check on them at 5 minutes.