How To Throw Pizza Dough So That It Doesn't Tear, According To An Expert
Nothing complicates the circus act of making homemade pizza more than a dough that constantly tears when you stretch it, roll it, or toss it in the air. Somehow, the patched-up parts end up tougher than the rest — cruel battle wounds despite our best efforts.
To find out how to prepare dough at home with minimal frustration, we stepped into the kitchen with Chef Noah Zamler of Terra e Mare, a regional Italian trattoria in Chicago's South Loop. From pasta to focaccia to naturally leavened pizza, Zamler is no stranger to the inner workings of dough, baking a myriad of different breads for his two restaurants. (Zamler co-owns Irene's, a diner in North Center where he makes bagels from scratch.)
Zamler has been mastering the art of pizza making for over 14 years and can throw pies in the air like the best pizzaiolos in Napoli. And while gluten may get a bad rep these days, Zamler believes that harnessing this protein's elasticity is key to a thin, chewy, toss-able pizza. "Because at the end of the day," says Zamler, "if you've built enough of a gluten structure and a strong enough dough, then almost no matter what you do ... you're not going to tear your pizza dough."
The tools you need for throwing pizza dough
While baking a pizza might require more elaborate equipment — like a super-hot oven and plenty of delicious toppings — preparing the dough is surprisingly simple. The first step toward pizza dough perfection is accurately weighing your dry ingredients. Toss your measuring cups aside and pull out your kitchen scale instead to avoid the tedium of tracking how many cups you've added.
Once your dry ingredients are weighed, you'll add in your wet, which includes your starter (or yeast) dissolved in water. If you're squeamish about mussing up your countertops, a large, shallow bowl will help you mix your dough while minimizing the mess. If the bowl is large enough, you can mix, rest, and proof in the same vessel — just cover the bowl with plastic wrap to ensure the top of the dough doesn't dry out. Alternatively, you can mix the dough directly on your countertops and put it into a large, covered storage container for the bulk rise stage of fermentation.
While much of this work of kneading, folding, and stretching the dough can be accomplished with a pair of clean hands (plus a bit of skill, dexterity, and finesse), a bench scraper is a great kitchen tool that will help you shape the final dough into balls. A scale is also useful here for ensuring evenly sized pizzas.
Step 1: Select the right flour
Wheat flour is the base of any traditional pizza dough recipe. Selecting the right grind of wheat is essential in ensuring your dough develops the ideal flavor and structure for pizza making.
In Italy, flours are graded by coarseness, not protein content like they are in the United States. The finest grind is 000, while the coarsest is referred to as integrale, meaning "complete" or "whole" in Italian. Occasionally, Zamler will even sneak whole-wheat flour into his recipes. "For some of our breads, we do use stone-ground flour," he says. "In those breads, it's always a combination of some finely ground flour and stone-ground flour, just to hold it all together, just give it a better chew."
For making thin, chewy pizza, Zamler recommends choosing a finely milled flour like 00. Using finely ground flour ensures a well-knit web of gluten will develop once the dough is mixed. "If you have a thicker grind, then the individual piece that gets hydrated isn't going to form as tight of a bond with the rest of the flour," Zamler explains. "... And you're not going to be able to toss it up in the air and make it look cool." Though 000 is one of the finest grinds produced in Italy, it's difficult to source commercially, and Zamler notes this fine of a grind is unnecessary for pizza dough.
High-protein vs. all-purpose flour
While the coarseness of the grind is important for building a strong gluten structure, there is another attribute to consider before making stellar pizza dough: the grain itself. Gluten is a protein, and thus, the protein content of the flour you choose impacts how gluten will develop once flour is mixed with water.
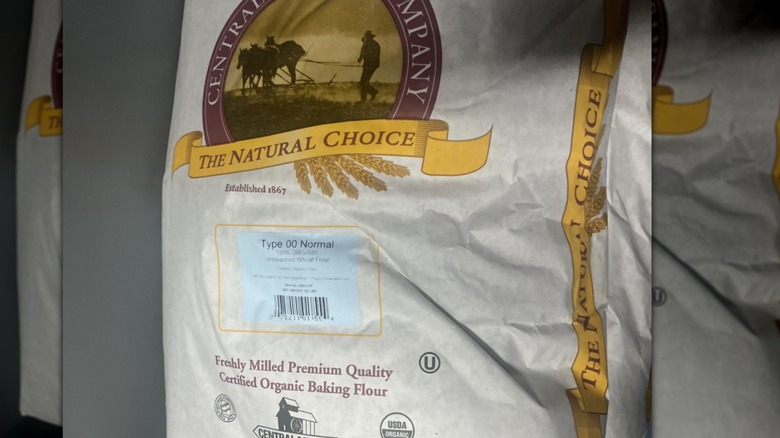
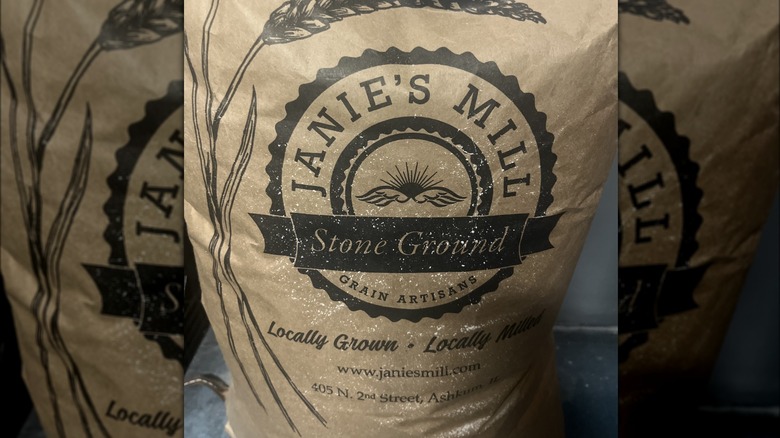
Classes of wheat vary in their protein content. Some classes contain higher proportions of protein than others, like durum (or semolina in Italian). This golden wheat is responsible for giving pasta its springy texture and signature chewiness. For pizza dough, Zamler recommends bread flour, the name we've given flour in the U.S. with a high protein content. Zamler sources his domestically from California-based Central Milling Company and Janie's Mill in Ashkum, Illinois, but you don't need anything fancy to still yield a solid pizza.
Just stay away from all-purpose flour, which is typically a blend of hard and soft wheats. While it won't undermine your efforts entirely, it doesn't contain as much protein content as bread flour, which can impact how your dough rises, stretches, and ultimately, eats. Save your all-purpose flour for baked goods that favor less gluten development, like cookies, cakes, and muffins.
Step 2: Mix and fold the pizza dough
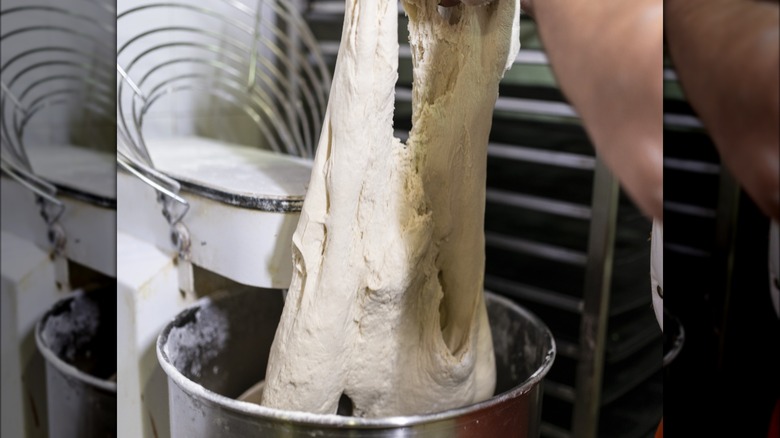
Once you've selected your ingredients, you can begin building your dough. Salt, as well as yeast or a starter (and occasionally olive oil, which adds crispness and flavor), are important additions — but water is what activates gluten. Gluten is not an inherent property of flour; it's the substance formed between two proteins, glutenin and gliadin, once flour is hydrated. Both kneading and resting this flour-water mixture activates the gluten. Since pizza dough can be quite wet and sticky in its initial phases, Zamler works it through a series of folds and turns instead of directly on the countertop.
To fold the dough, grab a handful from the outside and stretch it over the larger mass of dough, continuing this motion a few times while rotating the bowl. "Once you've mixed the dough, you're stretching the gluten structure and you're essentially pulling it over ... and folding it in on itself," says Zamler, explaining that this process organizes "those gluten strands in longer and tighter lines." Unlike bread dough, which is often stiffer and can be kneaded, this fold-and-turn technique allows for the gluten structure to develop gently in high-hydration dough.
Step 3: Bulk ferment the dough
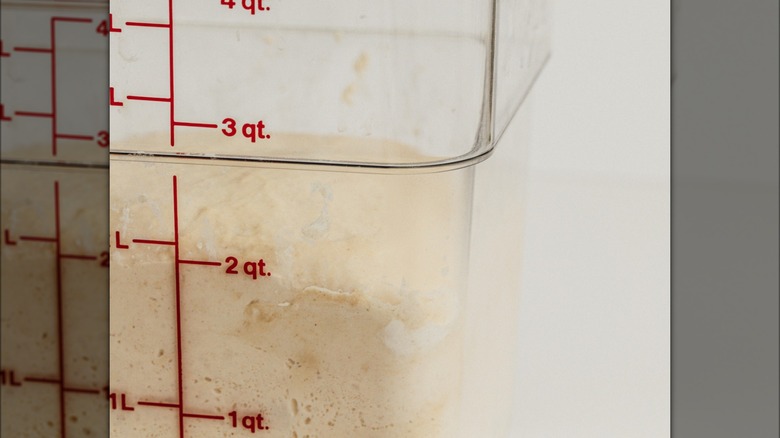
Bulk fermentation refers to the stage before the dough is shaped into pizza-sized balls. During this phase, the dough is left to rest while covered and refrigerated. Zamler prefers a longer bulk fermentation of 36 hours. Aside from giving the pizza dough its signature tang, bulk fermentation is important for several reasons, the primary being an open crumb — that immaculate webbing of starch you see in the most Instagram-worthy of sourdough loaves.
Pizza dough is no different. Yeast consumes the sugars in the flour. Coupled with the dome-like elasticity of gluten's structure, bulk fermentation also accomplishes the tricky process of further developing the gluten while still giving the strands a chance to relax. This gives pizza, according to Zamler, "The air and the gas that everyone likes to see."
Like exercising a muscle that hasn't been properly warmed up first, gluten strands will tear if they're stretched too soon after they've been developed. From there, Zamler tell us of the later stages, "The more you agitate it, the tighter it's going to be, and the harder it's going to be to shape. ... If the gluten is super tight and it's not malleable or pliable, then when you go to stretch it, you have a better chance of tearing it."
Step 4: Test your pizza dough before shaping
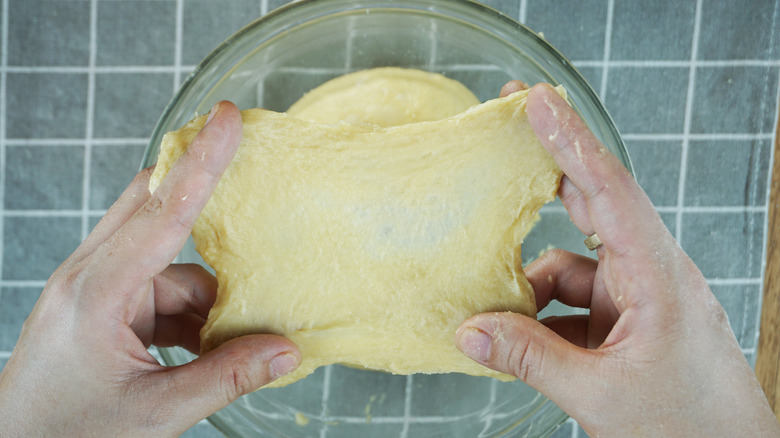
How do you know when your pizza dough has the structure to endure throwing? Pull it apart and see what appears. "One test to see if your dough is ready is you should be able to stretch it so that it is see-through," says Zamler. This technique — referred to as the windowpane test — involves taking a small piece of dough between your fingers and stretching it to its thinnest point, revealing the intricate webbing of gluten chains.
If the dough can stretch to the point of translucency without tearing, the dough is ready to be portioned and shaped into balls. But if the reverse is true and you stretch the dough to the point where it rips, Zamler says the gluten needs to be further developed. He adds that this step should only be executed after your bulk fermentation has been completed, giving the dough a proper chance to rest.
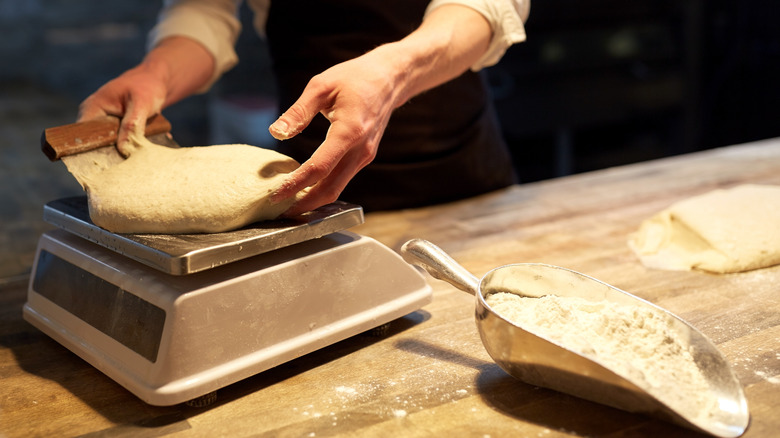
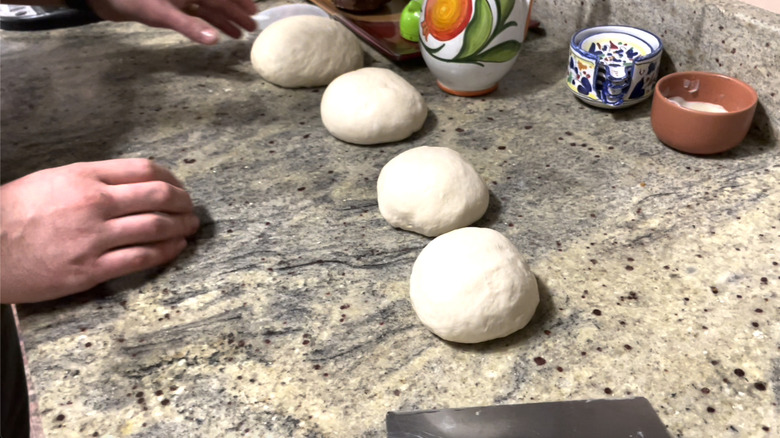
Step 5: Portion the dough evenly
After resting, turning, and folding the dough, your dough has developed the proper strength to move forward with portioning. Have you ever stopped to consider the beauty of uniformly sized pizza? This isn't some pizzaiolo magic trick — it's largely the product of a kitchen scale, and it's accessible to even the most novice of home cooks.
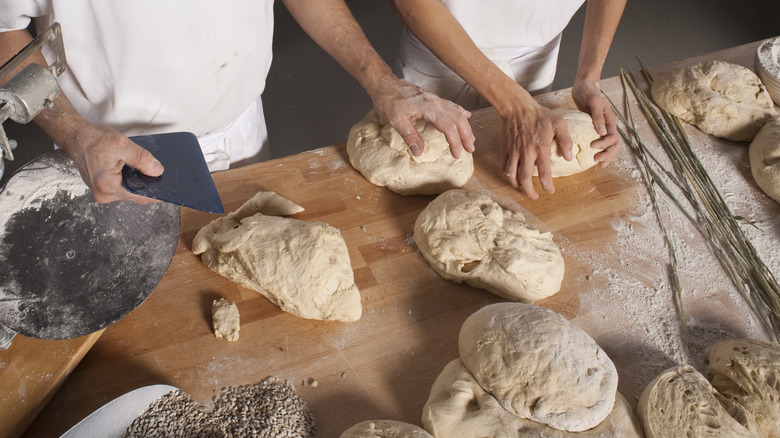
For the wood-fired Neapolitan-style pizzas Zamler serves at the restaurant, he weighs each portion to a perfect 250 grams using a kitchen scale. If you don't have a kitchen scale, you can easily eyeball each potion. Just be sure you're stretching each dough ball to an even thickness to avoid varying bake times. To assist in ushering each blob of dough onto his scale, Zamler portions using a bowl scraper, a flat, plastic, handle-less spatula that scoops, cuts, and shapes dough. If a bencher scraper isn't in your toolkit, a bench knife — though it lacks the flexibility of a bowl scraper — will get the job done.
Step 6: Shape the pizza dough into cohesive balls
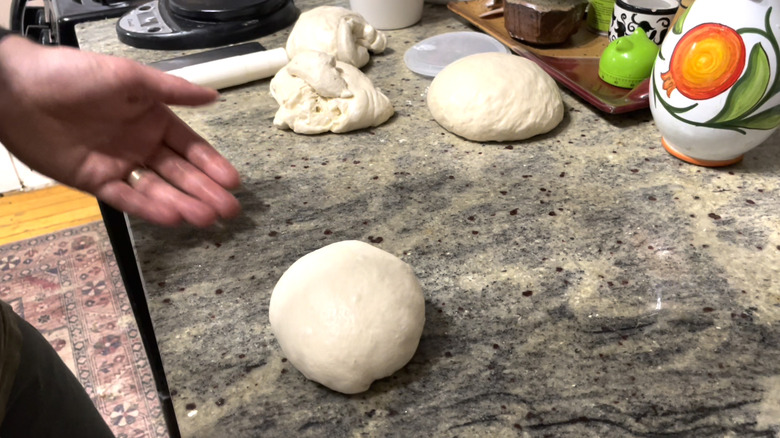
Once the dough is portioned, it's ready to be shaped. How you go about this is up to the individual cook. "There are many, many ways to do this," says Zamler, noting that the technique you choose depends on your familiarity working with dough and how many balls you'll need to shape. "Some are built more for speed. Some are built more for precision. Some just ... that's the easiest way to do it." He adds that the cooks at his restaurant choose the technique that's best suited to their skills and comfort levels.
Zamler's preferred method involves stretching a bit of the shapeless dough up and over itself toward the center in each cardinal direction. When the dough is gathered toward the center point, you can flip the mass over. Using cupped hands, begin to gather it into itself by gently rolling the ball over the work surface. The friction created between the dough and your work surface will seal off the dough.
A bench scraper can also help with this step. Instead of cupping the dough ball with your hands, gently scoot it along your work surface with the edge of a bench scraper.
Step 7: Ensure there are no holes
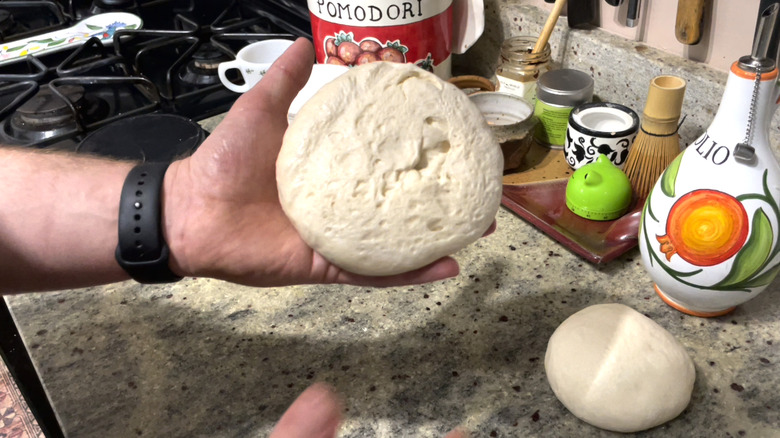
By now, the motion of gathering the dough onto itself will have created a smooth, taught surface on top and a properly sealed underside. But what does "properly sealed" even mean? According to Zamler, a properly sealed dough ball ensures there aren't any holes or craters in the bottom of the ball — spots forged from dough that didn't quite marry with its neighbor.
These small craters are particularly vulnerable when it comes time to stretch the dough into pizza. Zamler says it's paramount to roll your dough balls accurately, not leaving any holes in the center that could create unevenness in the thickness of your pizza when the dough is eventually stretched. Any seemingly minor unsealed portions of dough will grow thinner at an uneven rate, leaving you with either a too-thick or torn pizza.
Step 8: Let the pizza dough balls rest
If you were to try and roll each dough ball out into a pizza-sized shape, you'd struggle at this stage. All that working of the dough will cause the gluten strands to seize up again. "When they're tighter ... it has so much more pushback," Zamler says, adding of the dough, "Since it's contracting, I have to put more force into each one of these." When the dough contracts, it requires putting consistent, even pressure to roll it out properly. However, maintaining consistent, even pressure is difficult to do, and it can leave the dough vulnerable to developing thin patches. These thin patches, when stretched further, will tear and develop into full-blown holes.
To avoid this, the dough balls must be properly rested to relax the gluten chains further and increase its elasticity. Zamler recommends covering your newly shaped dough balls with plastic or a clean kitchen towel and letting them rest in the refrigerator or at room temperature.
Step 9: Dust the rested dough with flour
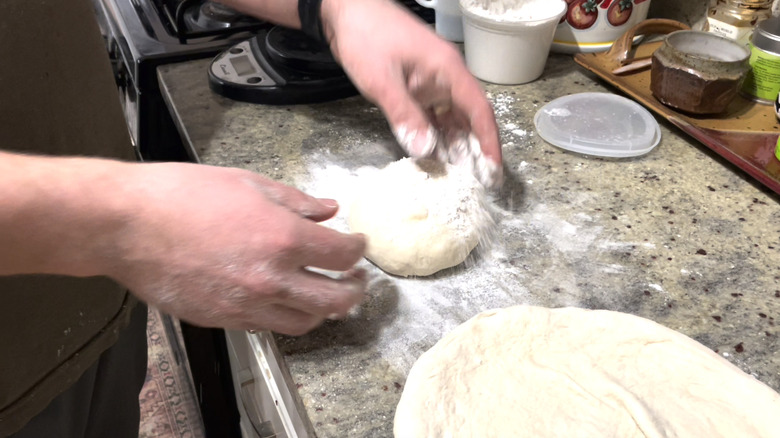
Once the dough balls are properly rested, your dough is ready to be stretched. To do this without causing multiple trips to the sink to wash up, sprinkle the dough ball with flour to prevent the dough from sticking to your hands and work surface.
Alternatively, you can dip the dough ball in a bowl of flour and shake off the excess to ensure full, even coverage. Though adding additional flour to the dough should be avoided at this stage because it can cause toughness, your dough is sealed off. This means you're safe to add flour to the exterior without disrupting the proportion of flour to water in your dough, otherwise known as the hydration level.
Step 10: Press out the dough balls, leaving space for the cornicione
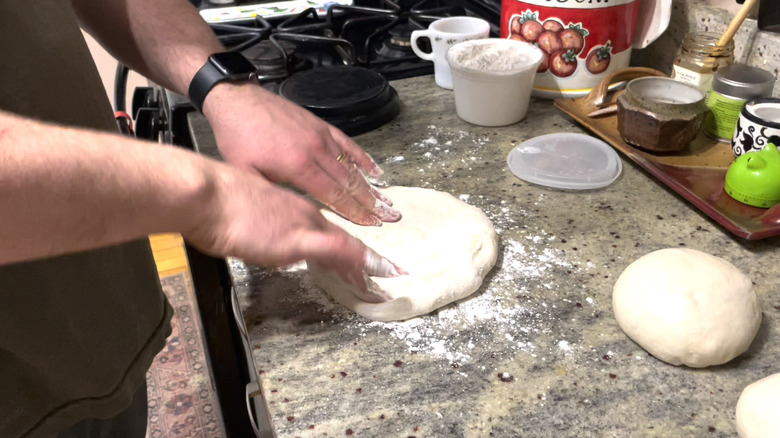
After the dough ball has been dusted with flour, you can begin the process of stretching it. Place the dough on your work surface and — using the pads of your fingers — pat in a circular motion, gently pushing the dough outwards without forcing it. "This part is where it's also important to make sure that you're even across it," Zamler says, meaning that "no part's significantly thinner than any other part of the dough." The uniformity isn't just for distinguishing between crust and base. It's also for ensuring the dough doesn't thin out in certain spots before others, as he adds, "If this part was thinner to start with, and I went to throw it in the air, then it's going to tear."
The exception is the perimeter of the pizza, which should be thicker. "We always like to leave a little bit of crust for the cornicione," says Zamler. A thick, fluffy cornicione, the Italian word for "risen crust," is ideal. It's achieved by leaving a half-inch of slightly thicker dough around the edge of the pizza.
Step 11: Gently stretch the dough in your hands before throwing
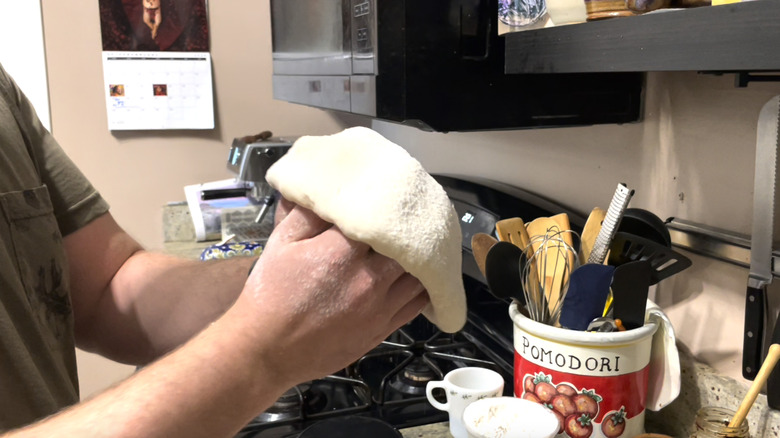
The next step of throwing pizza dough like a pro first involves a bit more practice in order to accurately achieve it. Take the now roughly stretched dough in your hands and gently drape it over the flats of your fingers. Rotate the dough and gently stretch it across your fingers. "And you're pulling straight," Zamler says. "Just small straight lines to create a circle." This begins the process of letting gravity aid in stretching the dough while allowing you to maintain greater control.
The dough can be continuously stretched like this until you've achieved your desired thickness, and this is how Zamler prefers to prepare his pizzas when he's working. "At the restaurants, we just do this. It's a bit of a throw, but it's not like the big one up in the air," he tells us.
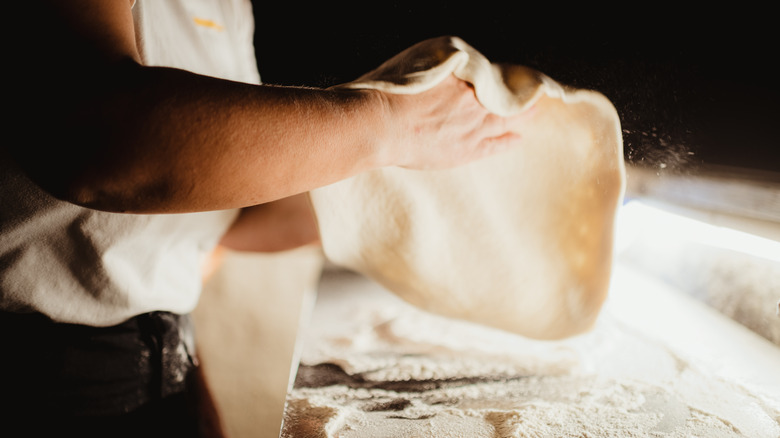
Step 12: Leverage gravity to stretch the pizza dough further

To get your dough even thinner, you can give it the ole' Hollywood pizza throw. "You're just going to guide it into the air," says Zamler. "You're not really like punching it or throwing it." To achieve this without the dough tearing, you'll want to use the flats, not the tips, of your fingers. After about four or five tosses, the pizza will have reached its desired thickness and is ready to be topped.
While you can easily achieve a thin, crispy crust without throwing your dough in the air, tossing it has a function aside from simply looking cool. "What is happening here is the centrifugal force is pulling the pizza outwards," Zamler tells us. "So you're keeping the crust a little bit thicker while the center of the dough is getting thinner." However, the chef cautions against engaging in this pizza toss if your dough is too thin, as the excess gravity will tear it. If you want to practice throwing pizza dough, try it with a tighter, less-rested dough ball, which will have greater resistance.
"It's more of a for-show thing," Zamler says of throwing the pizza dough in the air. He adds, "But really, at the end of the day, the important part is starting with a good dough. Because if you don't have a good dough that's risen properly, then you're not going to be able to throw it in the air properly."
Pizza dough recipes
While we didn't push Chef Noah Zamler for the exact ratio of flour-to-water-to-starter in his naturally leavened pizza doughs, there are numerous recipes available that will yield an enviably thin, chewy crust like the ones baked in Naples. This Neapolitan pizza dough recipe from Miriam Hahn is made from 00 flour and utilizes a shorter rise without sacrificing flavor and texture. Hahn also adds dried garlic and Italian seasoning, which gives the dough a savory quality, almost like focaccia.
If you're in a pinch and haven't been nursing your very own starter (or a biga, as they call them in Napoli), why not try this unusual recipe for a two-ingredient pizza dough? Leveraging self-rising flour and the cultures in Greek yogurt to leaven the dough, it's a convenient alternative when you have little time available and find yourself out of yeast. Though it may be sacrilege to Italians, nothing ever beats homemade pizza.