12 Tips For Making Apple Butter
Apples are an easy snack any time of year, but fall is when they really shine. Cooler temps bring apples to their peak flavor, and it's tempting to visit the farmer's market or pick-your-own farm and fill up bushel baskets of their crunchy goodness. But while apples stay fresh for a long time, what do you do if you have an excess?
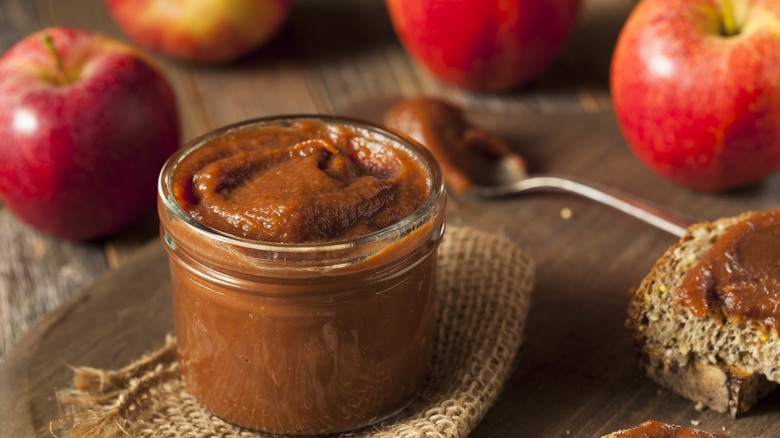
Using up an abundance of fall apples is easy when you make apple butter. This simple condiment is delicious, versatile, and simple to make. The key to great apple butter? Patience. The longer and slower it cooks, the more concentrated and delicious the flavors will be.
While patience is the first ingredient in apple butter, you'll need some know-how to find culinary success. But with a few tips and tricks, plus some imagination and persistence, you'll be able to stock your pantry or freezer with the flavors of fall.
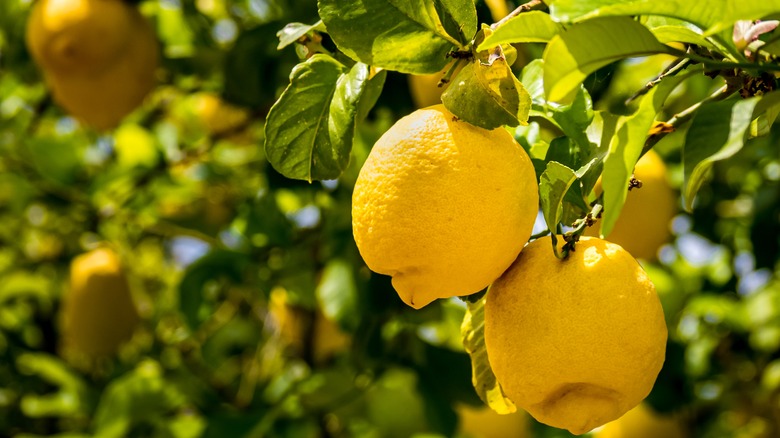
Choose the right apples
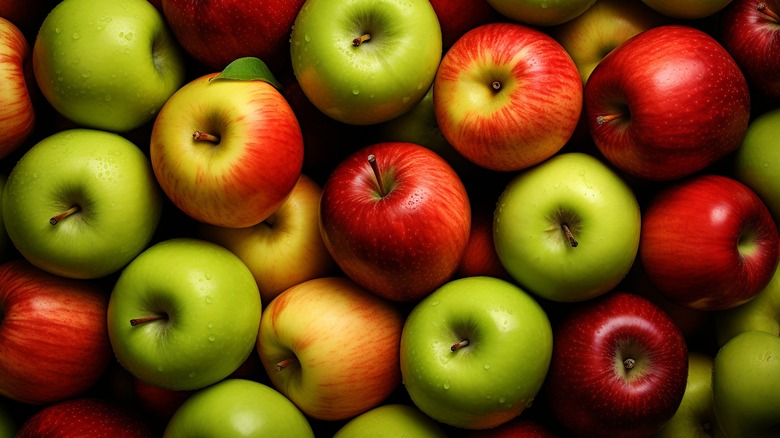
Spices and sweeteners aside, the star of the show is the apples. More than 7,500 varieties of apples are cultivated across the globe, but chances are good you'll have a dozen or fewer to choose from when you make apple butter. Selecting the best apple is about flavor, texture, and cooking time.
Generally, a mix of apples provides the most well-rounded, complex flavor and has subtle undertones of each apple. A blend of sweet and tart varieties serves you well here, with McIntosh, Granny Smith, and Winesap providing a solid combination of flavor layered over sweet and sour tastes.
The texture of the apple matters, but not as much as you think. While most people shun a mealy apple for eating out of hand, apple butter is the perfect place to use these castoffs. You can also use bruised or wrinkled apples. Keep in mind, though, that older or mealy apples may be drier and require a bit more liquid to purée to a smooth consistency.
Finally, the cooking time can be dramatically altered by the type of apple you use. Softer apples like Cortland and McIntosh cook faster and are ready sooner than crispier ones. Honeycrisp and Cosmic Crisp apples have a delightfully crispy crunch when you bite into them, but if you plan to make apple butter on the stovetop and want to finish faster, these are not a great choice.
Wash and prep
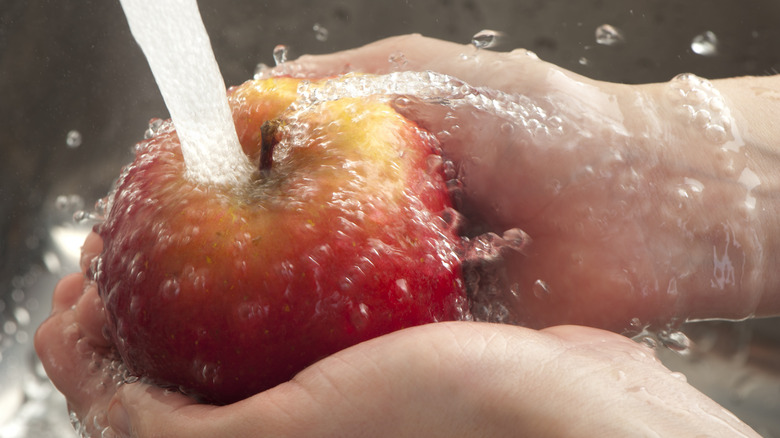
Prepping apples for apple butter takes time but is an important step. If you don't want to peel them, purchase organic apples and wash them thoroughly. A quick rinse is not enough — get in there with a vegetable brush and scrub the skin to remove dirt and bacteria picked up during transit or storage. If you prefer to remove the skin, a y-peeler works best, removing the least amount of flesh as the skin peels away. Mind your fingers as you peel. Resting the apple on a cutting board and peeling it away from your body can prevent nicks from the blade.
Once your apples are washed or peeled, use an apple corer to remove the core and seeds. You can use a standard corer that looks like a column or cut the apples in half and use a melon baller to scoop out the seeds. To save time, use an apple corer designed to remove the core and cut the apple simultaneously. If you just remove the core, you'll also need to cut your apples into slices or chunks. The size is largely a matter of preference. Remember that smaller chunks or thinner slices cook faster, and proceed accordingly.
Make sure to wash your apples thoroughly. Some people prefer to leave the skin on for added color and nutrients, but if you want a smoother texture, you might consider peeling them. Use an apple corer or simply slice the apples into quarters, removing the seeds.
Cook slowly
Making apple butter is not a speedy process. One of its joys is a long, slow few hours as the house gradually becomes fragrant with melting apples and mingling spices. Could you pop apples in the microwave and soften them? Sure. But this would not create the same magical melding of flavors as a long, slow cook. Slow cooking removes excessive water in the apples and gradually concentrates the flavors. Apples take on a depth of flavor they don't have raw, and the best way to get there is by taking your time.
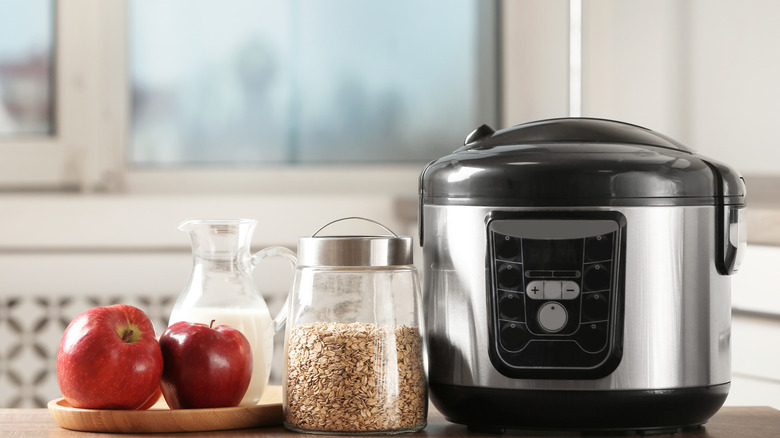
This does not mean your cooking must occur on a stovetop (which is traditional but not required). Using a slow cooker or simmering on a stovetop over low heat works best, as you can monitor the progress and taste how things change. If you don't have a slow cooker, you can make apple butter in the oven. By cooking it in a large, uncovered roasting pan at a low temperature (around 250 F or 120 C), you can achieve the same deep flavor and rich color that you get on the stove.
You can also use an Instant Pot to get the same results. Apple butter cooks for about 90 minutes on the manual Instant Pot setting before switching to simmer for a couple of hours on "slow cook."
Stir frequently
Another reason apple butter tastes so delicious is the slow caramelization of sugars that occurs when cooked for a long time. Low heat is key, but a new danger lurks as it thickens. Your apple butter will send up a slow, burping bubble now and then, but it won't move around at a boil as it did when more liquid was present. When this happens, scorching is possible.
Scorched apple butter is a tragedy and can occur in all cooking vessels. Take care to stir your apple butter frequently, even at the expense of releasing built-up heat in the Instant Pot and slow cookers. Even the best of these appliances can have hot spots. Once the sauce starts to stick, burning is not far behind.
The saddest part is that there is really no rescuing burnt apple butter. Some cooks suggest repurposing the batch in things like smoky apple barbecue sauce, but the unintentional bitterness of the burn will linger even when masked in a different application.
Spice it up
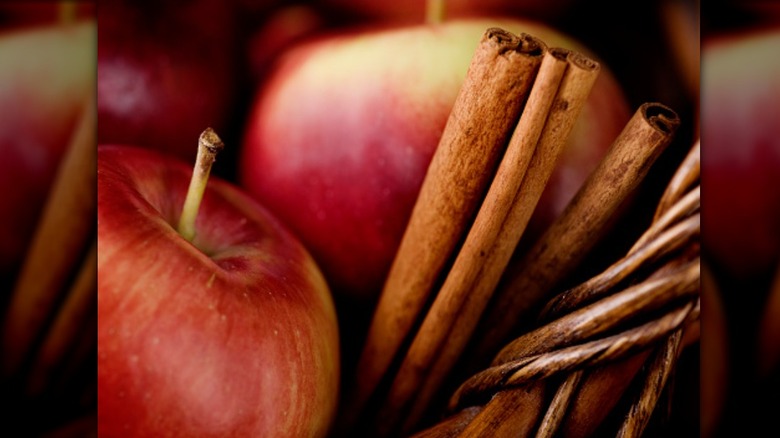
Apple butter tastes like all of autumn encapsulated in one sweet, silky spoonful of luscious apple jam. Cooked-down and concentrated apples bring their own delicious flavor to the party, but apple butter is made even more miraculous with the addition of spices.
The most common spices in apple butter include standard apple pie spices: cinnamon, nutmeg, cloves, and allspice. Some adventurous cooks branch out and reach for cardamom, while others stick with a premade pumpkin pie spice blend.
The amount of spice you use depends on what you like and may differ from batch to batch. Spices can be added over the cooking time to layer in flavor. Where possible, grinding fresh spices from whole is the best option. Spices purchased in large quantities from the grocery store are often old, with much less flavor than when they were first packaged. If you buy whole spices and grind them as needed, you know they are fresh. Whole dried spices also keep better and cost about as much as ground spices (sometimes less).
Sweeten carefully
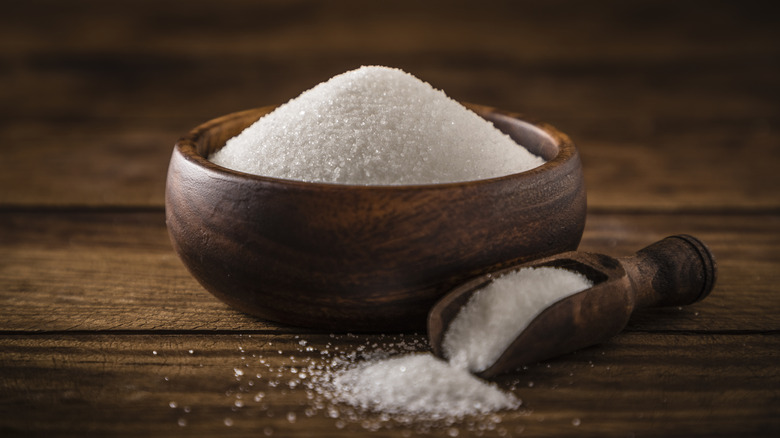
Although the best apple butter has a hint of tartness shining through and brightening all of the flavors, it is typically a sweet condiment. This means some form of sweetener is necessary to balance the final flavor.
Sweeteners work well in apple butter, and which one you use will affect the final flavor. Some cooks like plain white cane sugar for its melting ability and action as a thickener in the final sauce, but you have options if you're looking for another layer of flavor. Brown sugar, light or dark, is simply white sugar with molasses added. Maple syrup is a deeply flavored additive that can be as subtle or upfront as you like, depending on how much you use. If you are lucky enough to keep your own bees or have a reliable source of local honey nearby, this sticky sweetener is about as natural as you can get.
Avoiding typical types of sugar? You can try adding alternative sweeteners such as monk fruit or stevia. Just be aware that both have different flavor profiles and can add an aftertaste that some might find unpleasant. Also, consider the sweetness of these options, as some (such as monk fruit) are much sweeter than sugar. Still, this is also a good option if you are avoiding processed sugar for health reasons or just prefer a different option.
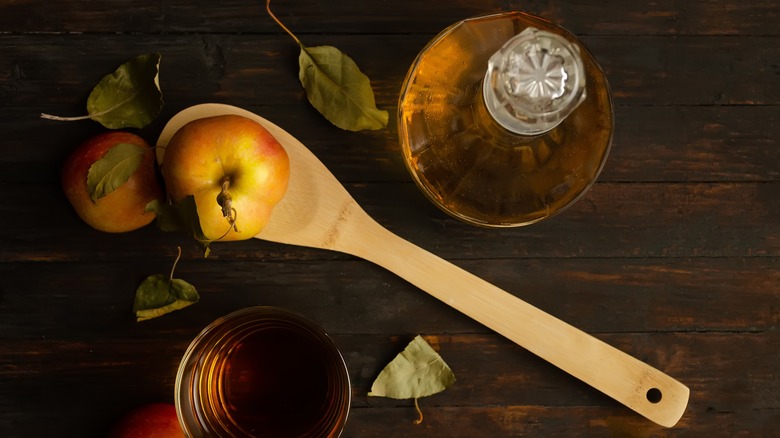
Add acid
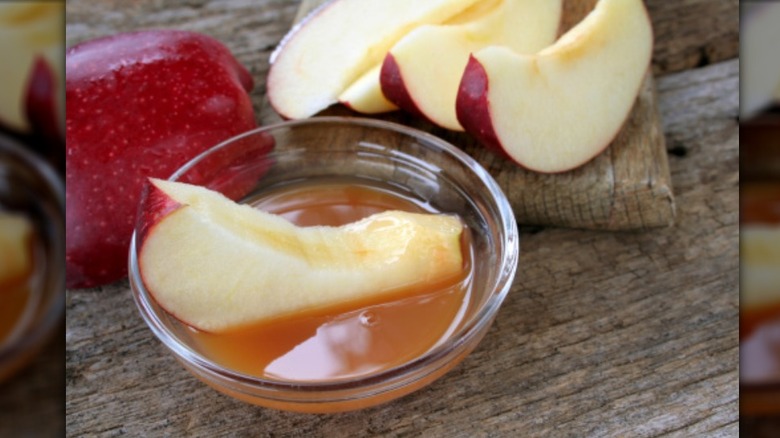
Acid in the form of lemon or vinegar is a critical ingredient that many cooks forget. For safety reasons, adding acid to your final product makes it less likely to harbor bacteria when processed in a water bath canner. Generally, a pH of 4.6 or lower is necessary to can without a pressure canner. Apples weigh in around 3.5-4, depending on the variety, but extra acid does not hurt.
The primary reason to add acid has less to do with safety. It's all about flavor. Savory cooks know that adding a touch of acid to the final dish brightens everything but goes one further. Acid lifts each flavor and makes it somehow more itself. It's like putting a culinary frame around what you're eating.
But it's possible to careen too far in the other direction, ending up with apple butter with a sourness that eradicates the pleasure of eating. A splash of lemon juice or apple cider vinegar is all you need to lift your apple butter to another level. Think a teaspoon or two for every 4-6 pounds of apples.
Purée for smoothness
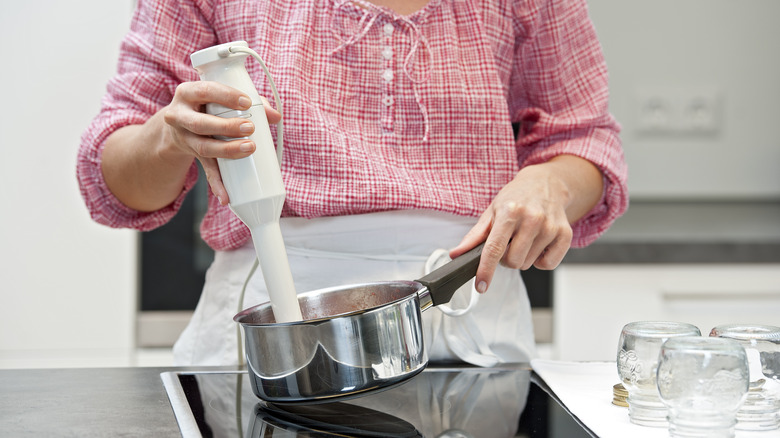
The first step is cooking the apples and spices until they are entirely soft and melting into the cooking vessel. Next is when the apple butter begins to take shape: puréeing. An easy kitchen tool for this is an immersion blender. It's safer because you don't have to transfer boiling apples to a blender — you can submerge the blender in the apples and blend away. Many immersion blenders have variable speeds, so you can start slowly to break it down and then increase the speed for a finer purée.
A blender or food processor might be better if you leave the skin on. Some immersion blenders just can't get that velvety texture you want. When using a blender, process in small batches. Overloading your blender can result in the pressure of the steam building up and exploding the lid of the blender. This is less of an issue with a food processor, but small batches in either appliance will make for a smoother purée. Hold the lid of the blender closed with a dish towel-covered hand for safety.
Once your apples are puréed, return them to the pot to finish cooking. Check for any remaining apple chunks and purée more if needed.
Test for doneness
One of the most challenging aspects of making apple butter is to know when it's done. Sure, your house smells incredible, and the apple butter in your slow cooker has thickened to a deep, rich brown. But is it actually done? If it's not, the solids in the apple butter will separate from the liquid, leaving you with a jar filled with goopy sludge topped with a watery mess.
After you purée the apples, put a small plate in your freezer while your apple butter enters the final phase of cooking. When you have cooked it for as long as your recipe recommends, a good test for doneness is to spoon some apple butter onto a cold plate. If the liquid separates from the apple butter, it needs more time. Rinse and dry the plate, then place it back in the freezer to chill again. Cook your apple butter for another 5-10 minutes, and test again.
If you spread your apple butter onto a plate and it remains consistently spread with no liquid releasing, it's done. Some cooks go too far in one direction, though. If your apple butter becomes too thick, thin it with a little apple juice or cider. Conversely, if it's too thin, let it simmer longer to reduce.
Store properly
If you are cooking a small batch of apple butter and plan on eating it in the next week or two, it can be safely stored in clean jars in the refrigerator. Allow the apple butter to come to room temperature before transferring it into glass jars and sealing it with lids. For longer storage, you'll need to plan to freeze or can your apple butter. Regardless of the method, ensure your storage containers are clean before proceeding. If you freeze your apple butter, leave space at the top of the container. Liquids expand when frozen, and this will protect against shattered glass in your freezer.
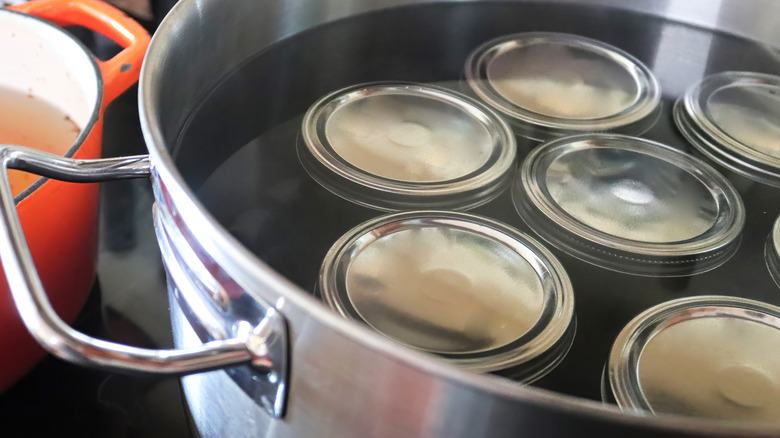
Canning apple butter requires sterilized glass jars. You can run them through the dishwasher and use the hot jars straight from there, or you can boil a large pot of water and submerge jars and lids for five minutes to sterilize (do the same with your cooking tools, too).
Whether you choose water bath canning or canning in a pressure cooker, keeping everything scrupulously clean and processing the jars for the recommended time is critical. The National Center for Home Food Preservation recommends water-bath processing hot-packed apple butter in half-pints or pints for five minutes (quarts for 10). Follow the instructions that come with your pressure canner for the best results.
Consider other ingredients
Apple butter is a traditional food with traditional ingredients, but sometimes it's fun to mix things up. The sky's the limit for a culinary exploration of fruit-based butter. Forage from your local persimmon tree and make clove-scented persimmon butter. Turn that excessive bag of pears into beautiful chai-spiced pear butter.
But the height of luxury? Adding caramel to your apple butter. Caramel's silky, rich flavor marries beautifully with apple butter's deep spices and texture. While you can add store-bought caramel to your finished apple butter, swirling it in before you can or freeze your final product, homemade caramel is easy to make. It has three or fewer ingredients, depending on which method you use.
You can even make caramel in the microwave by carefully heating a can of sweetened condensed milk in two-minute intervals. Stir between each heating, and watch as the sugars in the milk caramelize and become a luscious caramel color. Pay attention to your sweetener if you add caramel to your apple butter. You will likely not need additional sugar if caramel is in the plan.
Enjoy creatively
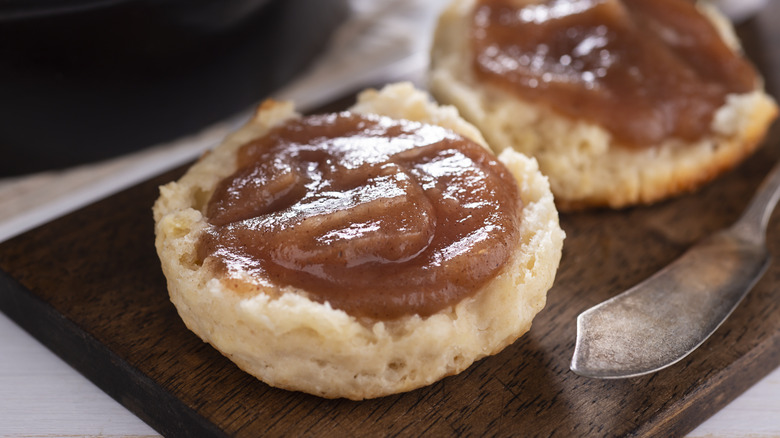
Many people can't seem to get beyond apple butter on toast or biscuits, but apple butter is a remarkably versatile fruit spread with so much more to offer. Waffles and pancakes are an easy place to use it, but that's not all. Apple butter is a delicious seasonal filling for homemade toaster pastries and doughnuts, and it makes a delicious filling in a layer cake.
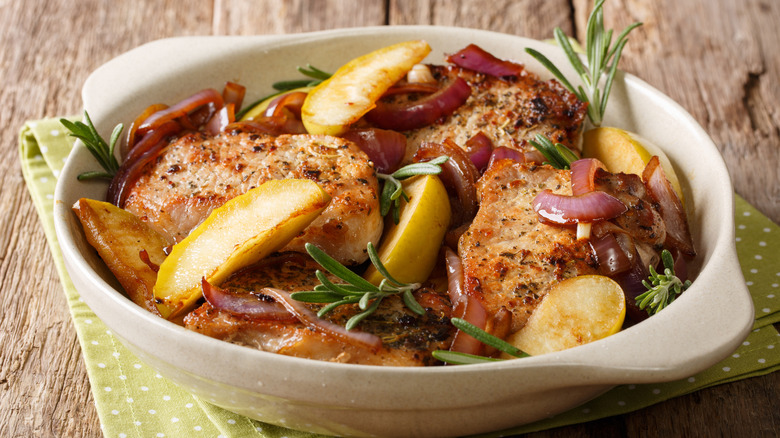
Swirl apple butter into your oatmeal or yogurt, and top ice cream with it. You can substitute apple butter for pumpkin or applesauce in vegan recipes and swirl it into cupcake batter (or use it as a filling there, too). Fill cinnamon rolls with apple butter for a delicious breakfast treat. Apple butter has savory applications, too. Pork chops and applesauce is a classic — swap in apple butter. Add apple butter to a charcuterie board; it plays well against salty meats and creamy cheeses.
While apple butter is delicious on toast, you can also use it as a filling for pastries, a topping or swirl for ice cream, or even a sweet glaze for meats. Use apple butter as a sweet spread on a turkey sandwich, and glaze a holiday ham or brisket with it.