Homemade Chicken Stock Recipe
It's one thing to buy boxed chicken stock from the store because it's convenient in the moment, but it's an entirely different experience to savor the rich taste of homemade chicken stock. Although many people dismiss making stock as a task best left to domestic idols, it's really not as hard as you might think. In fact, recipe developer Ting Dalton of Cook Simply remarks, "it's pretty hands off, once you throw [in] all the ingredients, you let the stove do all the work."
If you're wondering where to start, in the case of chicken stock, the precursor is cooked chicken. However, you don't need to buy a chicken with the purpose of only making stock. Dalton suggests, "Next time you have roast chicken, don't throw away the bones and the carcass, as you can use them to make your own homemade stock." We're always fond of using leftovers to make a second recipe. Take Dalton's word for it, "[This recipe] is so versatile, and it means you can have freshly made stock any time you want."
Gather up the ingredients for this homemade chicken stock
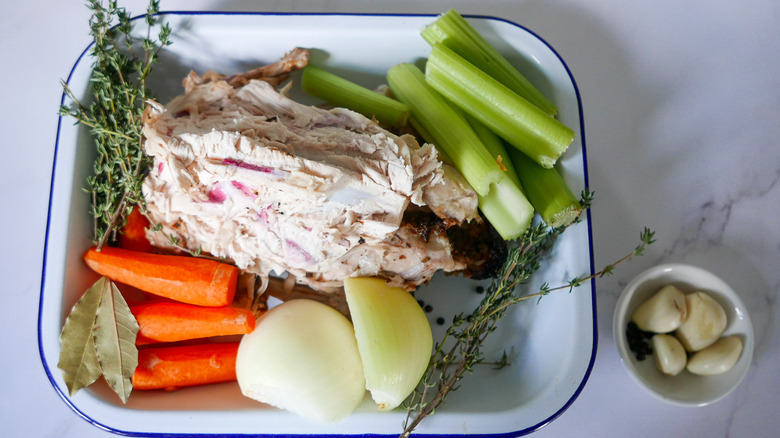
First off, you'll need the leftover bones and carcass from a large cooked chicken. To add flavor and aromatics to the stock, Dalton opts for celery sticks, carrots, fresh thyme, garlic cloves, bay leaves, black peppercorns, and a white onion.
Prep the vegetables and add them to a pot
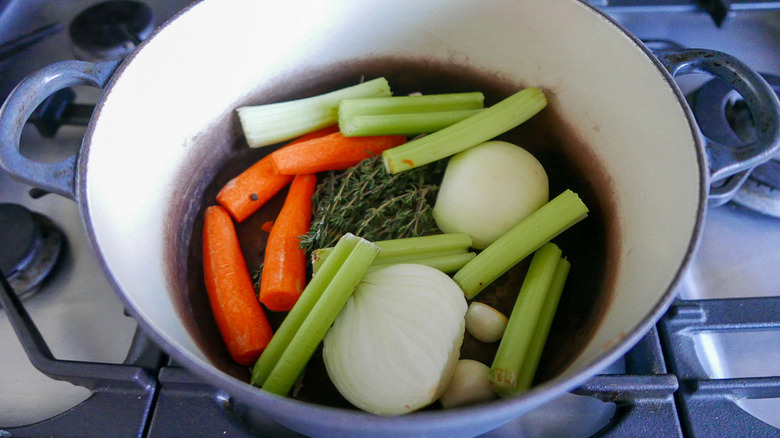
Cut the celery sticks in half, chop up the carrots, and peel and halve the onion. Next, set out a large deep pot and toss in the garlic and peppercorns. Then, throw in the bay leaves, fresh thyme, onion, carrots, and celery sticks.
Add the chicken and water, then cook
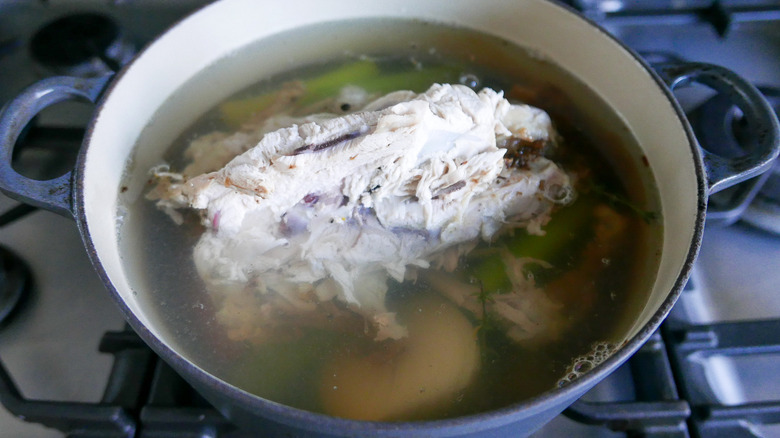
Now, place the chicken bones and carcass over the vegetables. Top the contents of the pot with water — you want all of the ingredients to be fully submerged. Place the bot on a burner and bring it to a boil. Once it starts bubbling, lower it to a simmer and cook it for 2 hours.
You don't have to stand by it for the entire duration, but be sure to check to see if the water content is significantly decreasing. Chances are you'll need to add some water as it evaporates.
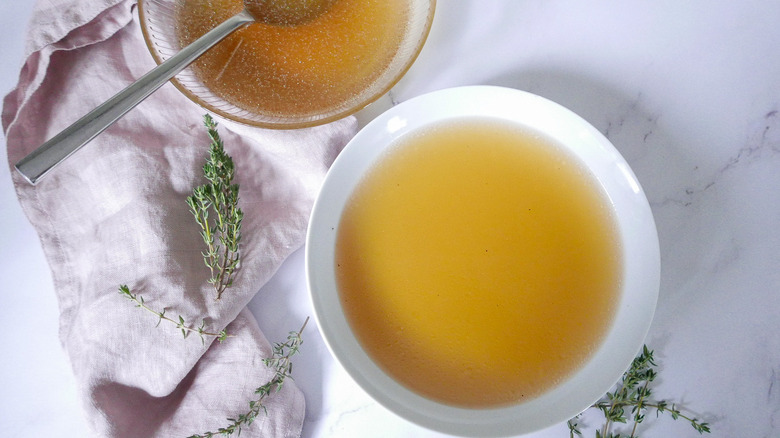
Strain off the stock and serve or store it
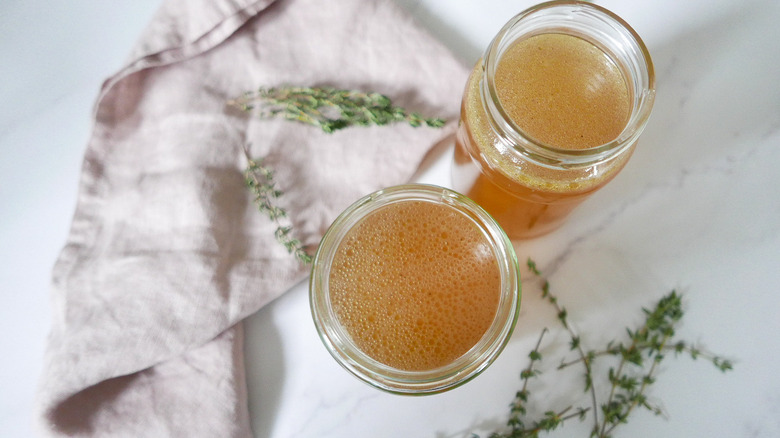
After about 2 hours, pour the stock into a colander to strain off the large pieces. If you want your stock to be more clear, follow it up by straining it through a fine mesh sieve.
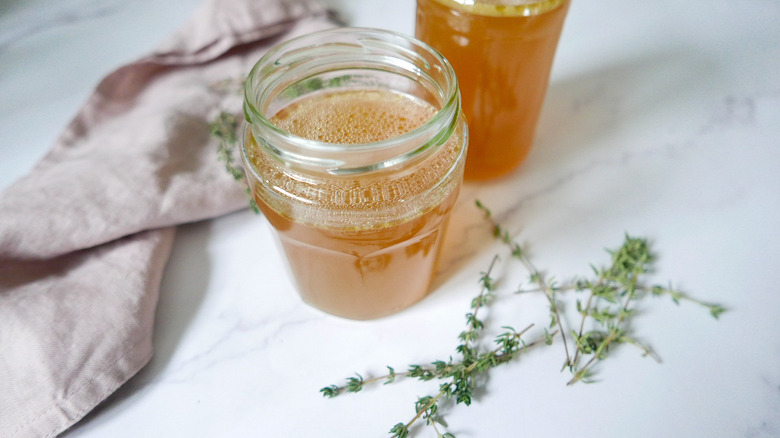
At this point, you can enjoy a portion of warm savory chicken stock to reward your hard work. Otherwise, let the stock cool down and pour it into jars or airtight containers for storage. Dalton recommends keeping it in the refrigerator for up to 1 week or in the freezer for up to 3 months. If you plan to freeze it, she notes, "you may want to refrigerate [it] for a few hours, then you can skim some of the excess fat off the top."
Dalton gives some suggestions on how to use this rich broth: "As a base for sauces, or use as a soup broth — [it's] perfect for noodle soups or Asian broths." She also says that it works well in stews and casseroles.
- 4 garlic cloves
- 1 tablespoon black peppercorns
- 2 bay leaves
- 6 sprigs fresh thyme
- 1 white onion, peeled and halved
- 2 carrots, chopped
- 3 celery sticks, halved
- bones and carcass from 1 large cooked chicken
- Add the garlic and peppercorns to a large deep pot or pan.
- Then, add the bay leaves, thyme, onion, carrots, and celery.
- Place the chicken bones and carcass over top.
- Top the contents with boiling water, ensuring that all the ingredients are submerged.
- Bring the contents to a boil, then simmer for at least 2 hours.
- Check on the pot once in a while in case you need to top up the water due to evaporation.
- Once it's ready, strain the stock through a colander.
- If necessary, strain it again through a fine mesh sieve.
- Pour the stock into jars and refrigerate it for up to a week. Alternatively, transfer it to airtight containers and freeze it for up to 3 months.