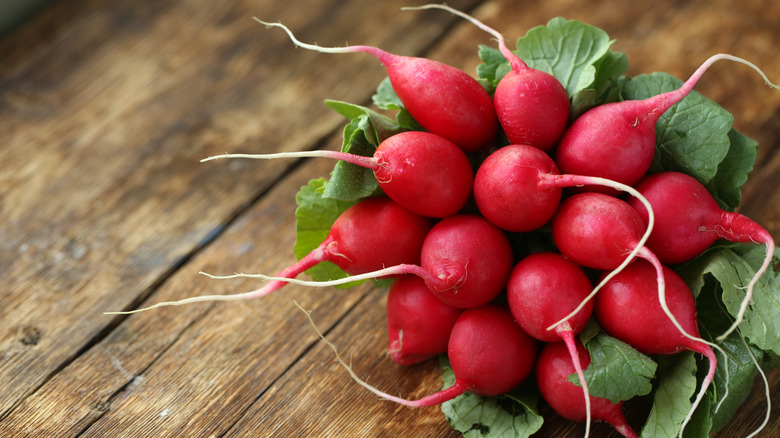
The Absolute Best Ways To Store Radishes
Radishes are root vegetables, which means that their job is to absorb important nutrients to provide the plant with energy during winter (via Harvard Health). This makes them powerful sources of all kinds of vitamins and minerals, like vitamin C, potassium, calcium, and magnesium. While many other root vegetables are considered starches that are high in carbohydrates, VeryWell Fit says that radishes deliver high amounts of antioxidants with fewer carbs. These antioxidant compounds give them their bright color, which not only looks pretty on our plate, but provides phytonutrients like ferulic acid, caffeic acid, and glucoraphanin. The Canadian Academy of Sports Nutrition explains these may help boost our immune systems and protect us from chronic diseases.
Coming in a range of colors like yellow, pink, purple, red, and green, radishes can provide a rainbow of vitamins and minerals with a crisp, peppery, and tangy taste, depending on which variety you choose. However, there are some common radish storage mistakes that can make it difficult to enjoy their beauty, flavor, and health benefits for as long as we'd like. When stored correctly, Michigan Fresh says that fresh radishes can stay good for as long as two weeks. By following the best storage method for your needs, your radishes can maintain their crispy texture and punchy flavor for as long as possible. Here are five potential ways to store radishes.
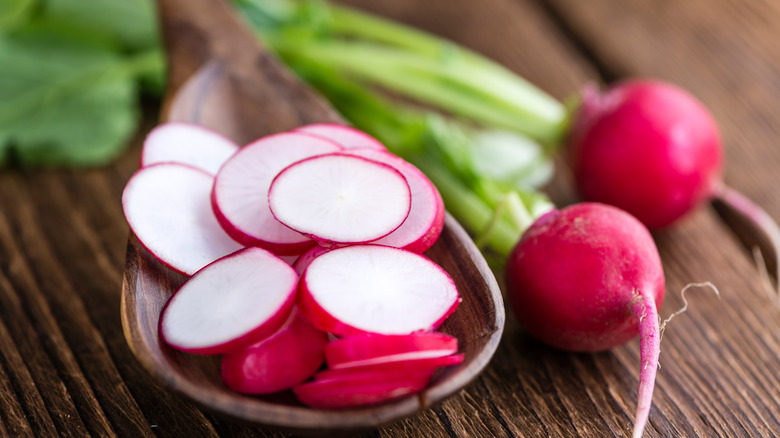
Store radishes in cold water
The cold water method is a great storage option for those who aren't planning to eat their radishes right away. With it, Food In Jars says radishes will keep fresh between four to five days, staying nice and crispy — just the way we like them. Radishes stored using this method are perfect eaten raw in a fresh salad, sliced thin and layered on a slice of crusty bread with a thick smear of butter and a sprinkling of salt, or even quickly sauteed.
All you need for this radish storage method is a large enough bowl or jar and some free space inside of your refrigerator. Simply rinse the radishes in cool water, cut off their green leaves (sorry, the greens only last about three days, per Michigan Fresh, so you'll want to prioritize cooking them), and fill that large jar with enough cold water to completely submerge the root veggies. When the time comes and you're ready to munch, simply pick a few from the jar, pat them dry with a paper towel, and proceed to slice, dip, or bite straight into them.
The crisper drawer is another option for storing radishes

The crisper drawer is a great storage option for those who know they'll be using their radishes up quickly. Whether you're planning on sharing your radishes with friends or keeping them all to yourself, this spot in your fridge is the perfect short-term home. The radishes will maintain their flavor and crunchy bite — just don't forget that they're there. Even if you snag them at their peak freshness, radishes stored in the crisper drawer will last about a week tops, says MasterClass.
In order to get the most shelf-life out of the crisper drawer radish storage method, use some of your handy dandy paper towels. By dampening them and wrapping the towels around your radishes, you'll be able to prevent the veggies from drying out and losing their crispiness. Once wrapped, the radishes should be zipped inside of a food storage bag and placed inside your refrigerator's crisper drawer.
Freeze radishes for long term storage
Freezing radishes is a sure-fire way to keep them fresh for months on end, but be wary — if done wrong, you could tarnish their snappy texture and peppery flavor. To ensure that your radishes maintain their glory, Stay Healthy Hacks says to blanch the root veg. As with most frozen produce, this storage method is best for recipes that don't rely heavily on their texture, like those that call for cooked radishes.
After giving your radishes a good rinse and trim, it's important to cut them into smaller pieces. Whatever you do, don't peel them; While a frozen radish isn't going to taste nearly as good as a fresh one, the skin is important to maintain its texture. After blanching your radishes, drain, dry, and freeze them by placing the prepared vegetables inside a storage bag and in the freezer.
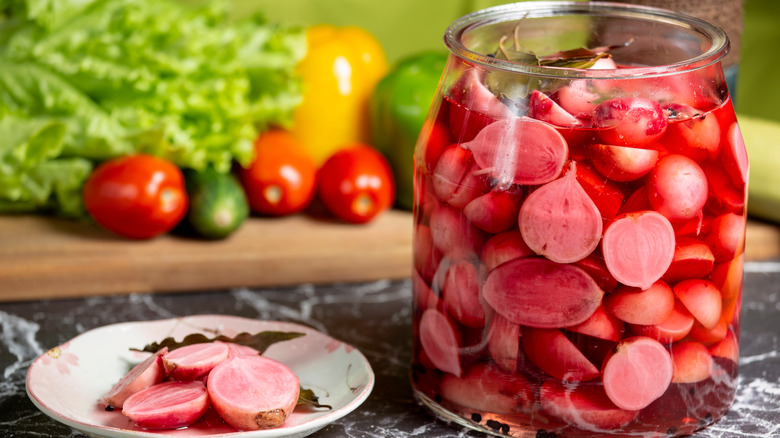
Pickle your radishes for a punch of flavor
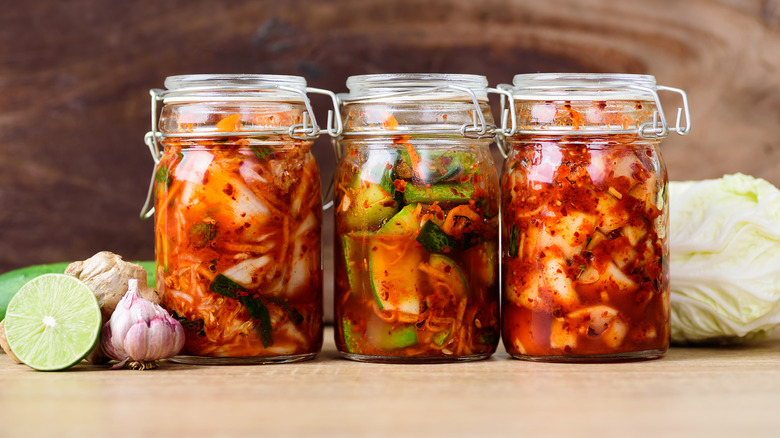
Due to its acidic pH level, vinegar has the power to stop bacteria in its tracks (via Preserve and Pickle). For this reason, pickling radishes is a great way to give the crunchy veg an extra two months of storage life, shares FoodPrint. Like most pickling processes, many pickled radish recipes follow the one-to-one method of using equal parts vinegar to water. However, because of the crunchy zing radishes are famous for, you'll want to use the hot pack pickling method and simmer them in the mixture for about a minute. Radish is also the main ingredient of a popular type of kimchi, kkakdugi, if you're looking for a more fermented flavor.
Pickling radishes is a great way to enhance their tangy taste and makes it easy to add their funky flavor to a variety of dishes or simply eat them solo as a nutritious snack. Keep in mind that you can be creative and adjust the pickling recipe slightly to your own personal tastes. Different seasonings and herbs can be added to further enhance the radish flavor you love, all while adding months to their storage lives. Just make sure to not mess with the pH level of your pickle, which is what keeps your food safe to eat.
Keep radishes in your cellar
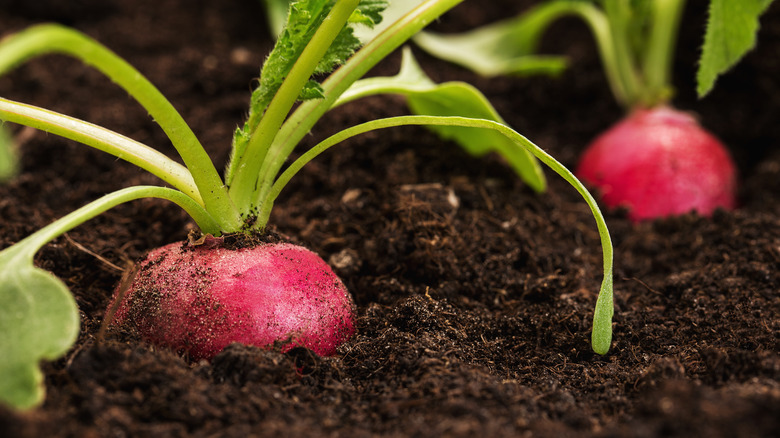
If you have a cold, dark, dingy basement that sometimes gives you the heebie-jeebies, it could be the best place to keep your radishes fresh. By mimicking the way that radishes grow in nature, MasterClass explains they can stay good for three months or more.
To make your radishes feel right at home, all you need to do is fill a box with some good-quality moist soil. Then, use your hands or a small shovel to bury each of your radishes inside the dirt with their leaves facing up — just like they were on the farm they came from. Hopefully, using this storage method for your bright radish friends will help you conquer your fears of the basement, because you'll of course need to go back down to get them when it comes time to prepare your favorite crudités platter with green goddess dip.